Likes
Comments
Share
@Robin87
Follow
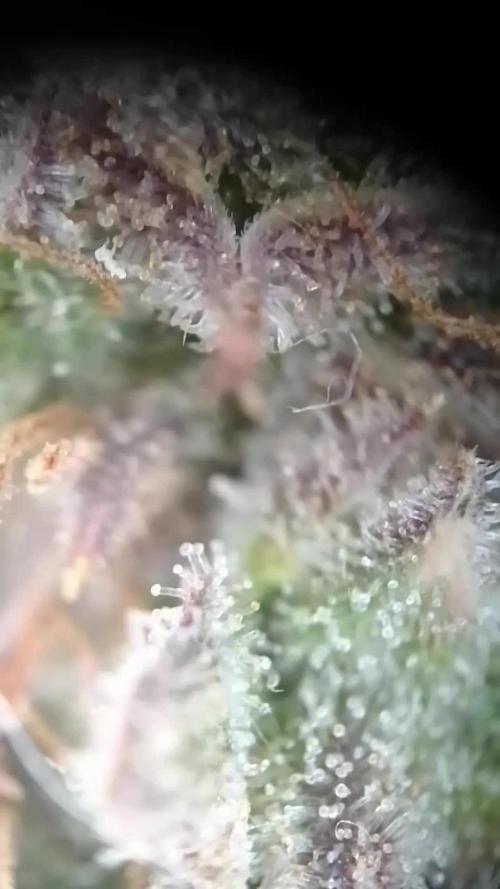
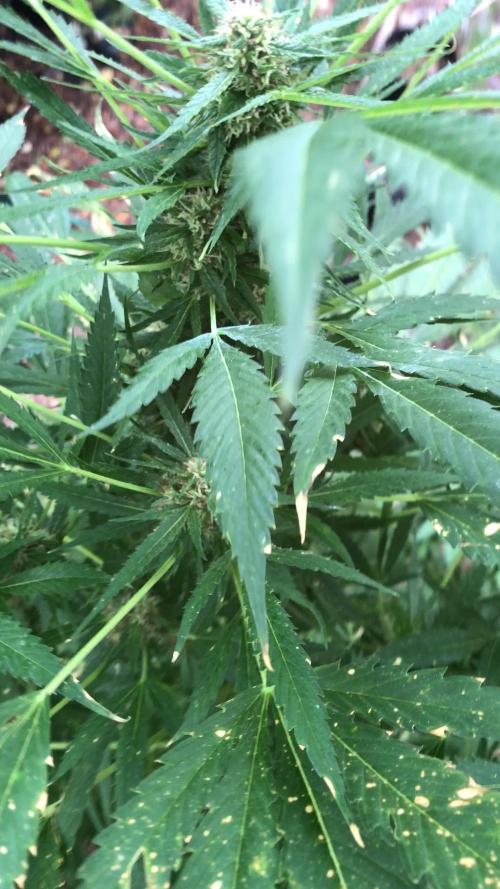
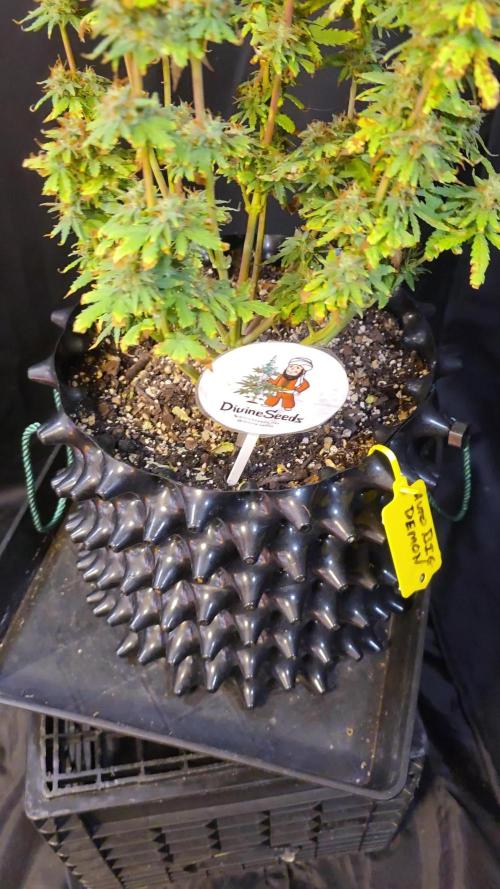
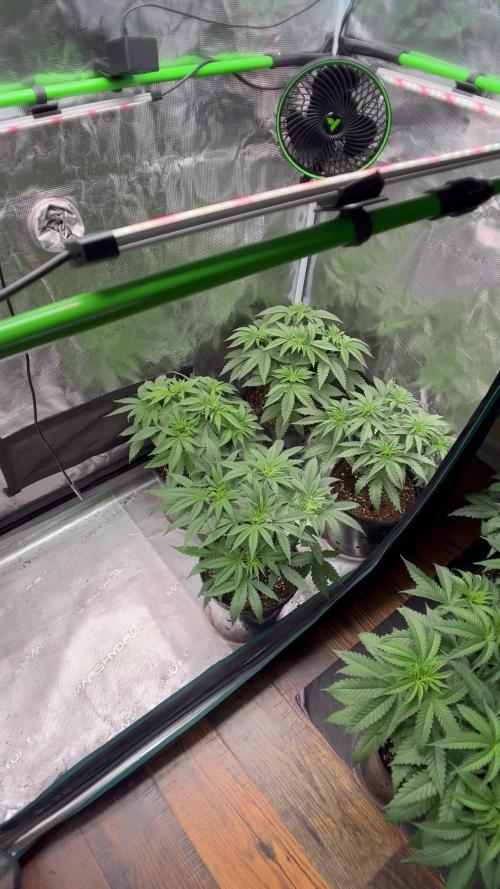
And there ready along with there big sister 67 days in flower to achieve the best smell I’ve ever smelt, these plants weren’t touched at all, not one leaf was removed throughout the entire grow, no nutrients, no PH the water, and I think it just shows for its self. same plan for drying and curing as the big one, will be back with a smoke review. Thanks for stopping by 👊🏻
Likes
19
Share
Skywalker OG — Harvest / Trim / Cure Part 1 — The Giants Begin First of all, we want to apologize once again for dividing this harvest series into multiple parts. But honestly… there was simply no other way to do this properly. This Skywalker OG run became massive. Not just in terms of plant size and harvest weight, but also in documentation, photos, observations, and the amount of details we wanted to properly share with everybody following this journey. So instead of rushing everything into one overloaded update, we decided to divide the: * harvest * trimming * drying * curing * and smoke review into three, maybe even four different reports. Mainly because we are dealing with: three huge plants all with slightly different expressions, structures, and personalities. And honestly? These girls deserve proper attention. ⸻ Quick Recap — 12/12 From Seed This entire run was done: 12/12 from seed with almost no training at all. No topping. No aggressive manipulation. No heavy canopy control. Mostly: * gentle leaf bending * small adjustments * minor defoliation * and simply opening light paths where needed The rest? We allowed the plants themselves to decide. To grow naturally. To express themselves freely. To shape their own structure. And what they became honestly surprised us. ⸻ Legends Of The 12/12 Galaxy These plants did not become extremely tall. Instead… they became monsters horizontally and structurally. Massive production. Heavy flowers everywhere. Dense stacking all across the branches. Everywhere you looked: * colas * side branches * swollen flowers * branches collapsing under their own weight Support or no support… it honestly barely mattered. These girls were simply too heavy. The branches kept bunching, leaning, and dropping from pure flower mass alone. Exactly the kind of “problem” growers love having. ⸻ The Fade One thing we absolutely loved during the final weeks was watching the senescence develop naturally. Toward the end, these plants received mostly: * water * enzymes * patience And they faded beautifully. The yellows. The pale greens. The autumn-like transitions. The dying fan leaves surrounding swollen flowers. It gave the room this incredible “end of season” energy. The plants truly looked finished. Not forced. Not rushed. Just naturally reaching the end of their cycle. And visually? Beautiful. ⸻ The Flowers Honestly… these flowers are ridiculous. Huge colas all over the plant. Top colas. Side colas. Lower colas. Everywhere. And dense. Very dense. The kind of flowers where even holding them lightly leaves resin on your fingers instantly. You can see it in the photos too: our hands next to the flowers almost look small beside some of these colas. And we don’t exactly have tiny hands. The stacking came out incredibly effective too. No wasted structure. No airy towers. Just thick, compact, greasy flowers from top to bottom. Exactly the type of structure we hoped Skywalker OG would give us. ⸻ Harvest Day So finally… week 14 from seed arrived. And it was time. We harvested the first giant. And honestly, carrying this girl into the studio already felt surreal. Huge branches. Massive colas. Beautiful fading colors. Trichomes absolutely covering the flowers. Most of the trichomes sat exactly where we personally like them: * mostly cloudy * a touch of amber * and still a few clears remaining Because honestly? It is impossible to have every single trichome perfectly identical at once. And this specific harvest window gives us the balance we personally enjoy most: * potency * terpene expression * complexity * and overall effect balance Not too early. Not too late. Right in that beautiful middle ground. ⸻ Charas & Resin One thing that immediately stood out during harvest was how absurdly sticky these plants were. Simply removing fan leaves and touching flowers started building resin layers onto the gloves almost instantly. And naturally… we started collecting charas. For people unfamiliar: charas is a traditional hand-rubbed cannabis resin made directly from fresh living or freshly harvested plants. Unlike dry sift or ice water hash, charas comes purely from physically collecting the resin through contact and friction. And honestly? We absolutely love this type of medicine. There’s something incredibly old-school and ritualistic about it. Sticky. Greasy. Dark. Aromatic. Almost alive in texture. Very different from the finger hash we’ll later collect during dry trimming sessions. Fresh charas feels softer, oilier, richer, and incredibly expressive terpene-wise. This Skywalker OG produced beautiful charas too. Easy to collect. Very greasy. Very resin-heavy. Exactly the kind of resin that instantly tells you: “This plant is loaded.” ⸻ Full Plant Drying After harvest, we decided once again to dry the plants whole. Entire plant hanging. All of them. We personally love this method because it slows the drying process slightly and helps preserve: * terpenes * moisture balance * aroma complexity * and overall flower quality This first plant will now dry roughly: 7–10 days under: * 18–20°C * ~60% RH Although during the first couple of days we intentionally lower humidity closer to: ~45% RH mainly because these plants are extremely large and dense. And with flowers this thick, we prefer removing the initial excess surface moisture a bit faster to reduce risks of unwanted issues like: * trapped moisture * stagnant humidity pockets * or bud rot After that initial phase, conditions stabilize again for slower drying and proper curing preparation. ⸻ What Comes Next The next reports will continue covering: * the remaining Skywalker OG plants * their individual structures * harvest observations * drying progress * trimming sessions * cure * and eventually full smoke reviews All while still staying within this same harvest week timeline. Because honestly? Each plant deserves its own spotlight. And each one brought something special to the room. ⸻ Thank You Huge thanks once again to everybody following this journey. To the growers. To the silent viewers. To the curious minds. To the old followers. To the new followers. To the skeptics. To the lovers. To the people stopping by for just a few seconds. To the breeders at Zamnesia behind these genetics. To Plagron for the nutrients. To Future Of Grow and Lumiflora for the LEDs helping drive this jungle. To everybody creating the gear, tools, and spaces that allow growers like us to keep learning and sharing openly. And especially to the growing community itself. Because without growers sharing knowledge with growers… none of this culture survives. From grower to growers. Skywalker OG harvest series officially begins. 📡 DELETED @ 1K Please stay tuned.we never quit https://www.youtube.com/@TheDogDoctorOfficial NEW 🙏 Thank you for your patience and continued support. FOR DISCOUNT CODES AND MORE JUST FOLLOW THE LINK https://website.beacons.ai/dogdoctorofficial 📲 Don’t forget to Subscribe and follow me on Instagram and YouTube @DogDoctorOfficial for exclusive content, real-time updates, and behind-the-scenes magic. We’ve got so much more coming, including transplanting and all the amazing techniques that go along with it. You won’t want to miss it. GrowDiaries Journal: https://growdiaries.com/grower/dogdoctorofficial Instagram: https://www.instagram.com/dogdoctorofficial/ YouTube: https://www.youtube.com/@dogdoctorofficial Deleted by Youtube - https://www.youtube.com/@TheDogDoctorOfficial NEW Vimeo : https://vimeo.com/dogdoctorofficial Under construction stay tuned ⸻ Explore the Gear that Powers My Grow If you’re curious about the tech I’m using, check out these links: 🔆 Lighting & Environmental Control • Future of Grow — Advanced LED lighting technology https://www.futureofgrow.com/ DISCOUNT CODE: DOG20 • Lumiflora — Under-canopy LED lighting https://lumiflorade.com/ • TrollMaster — Environmental controllers and automation gear (past collaboration) ⸻ Genetics • Zamnesia Seeds — Genetics used in this project https://www.zamnesia.com/ ⸻ 🌱 Soil, Substrates, Boosters & Root Support • Plagron — Substrates, bio mixes, and supportive products https://plagron.com/en/ ⸻ 🎒 Storage, Curing & Preservation • Grove Bags — Curing and storage solutions https://grovebags.com/ ⸻ 📸 Photography Equipment & Tools (Not sponsors, but part of my creative toolkit) • Sony A6700 • Sony full-frame macro lens + few more • Stacking photography workflow - learning • iPhone (for behind-the-scenes shots) We’ve got much more coming as we move through the grow cycles. Trust me, you won’t want to miss the next steps, let’s push the boundaries of indoor horticulture together! As always, this is shared for educational purposes, aiming to spread understanding and appreciation for this plant. Let’s celebrate it responsibly and continue to learn and grow together. With true love comes happiness. Always believe in yourself, and always do things expecting nothing and with an open heart. Be a giver, and the universe will give back in ways you could never imagine. 💚 Growers love to all 💚 📸 P.S. – The Eye Behind the Lens All photos in this diary (for now — except for the ones showing the camera, which I took with an iPhone) are taken with a Sony A6700 paired with a Sony full-frame macro lens and a few more. Photography is part of the story — it’s how we share the fine textures, the glow, and the quiet details that words can’t always capture. I’ve also started experimenting with photo stacking — a technique where multiple images, each taken at a slightly different focus point, are layered together to create one perfectly sharp image from front to back. It’s not digital enhancement or AI; it’s pure photography — a way to reveal the plant’s beauty in microscopic depth, from trichome to petal. You’ll even see a few shots of "ghost me" capturing the shots — camera, lens, setup — because every grow deserves not just to be cultivated, but documented like art. FOR DISCOUNT CODES AND MORE JUST FOLLOW THE LINK https://website.beacons.ai/dogdoctorofficial NEW DISCORD - Official Server Invite Link : https://discord.gg/ksjAkA5T74
Likes
16
Share
@AutoCrazy
Follow
Week 6 Well, I finally have 8 tops 😎. Now it’s just a matter of keeping her growing strong and training the tops into the right position. After that is accomplished it’s show time. I am going to guess that it will take a 7-10 days for me to get her where I like it at which point I’ll let her get a few nodes taller and then flip. Main-lining takes some extra time but it is worth it imo. Cooler internals are: 6.0 pH 0.4 EC 65 F solution temp. The tent is running 71 F lights on and 68 F lights off. Humidity is 36-38%. Onward!! 😎🍻
Likes
35
Share
@Rap_a_cap
Follow
This is exactly the 🇲🇦 morroccan 🇲🇦 way of sifting resin from kief. Traditionally, apart the hand rubbing method, dry sifting through a mesh is the most used way to obtain resin, from 🇦🇫 Afghanistan 🇦🇫 or 🇳🇵Nepalese 🇳🇵 Mountains to 🇲🇦 Morocc 🇲🇦 Rif passing through Bekaa valley in 🇱🇧Lebanon 🇱🇧. The average size of meshes used vary from 90 to 180 microns and are mostly made by silk and for this reason uneven. I think the most productive ways to sift are Dry Ice and  rotating pollinator + CO2, I've tried a DIY pollinator built by a friend and it can reach up to 20/25% of resin extracted at 120 microns and 15% at 90 microns. But smell and taste don't reach that traditionally extracted but this is another story. Morroccan way is good compromise between a stashbox or more evolute methods. It requires less than 10 dollar of expenses. You need: a basin or pot  without handles a heavy-duty plastic bag that contains the basin a pair of chopsticks a good 120 microns net an elastic band tape Kif or trim q.s. Here is the link where I buy my meshes. Very high quality, customable size and material (steel or nylon) and length and very kind vendor on AliExpress https://a.aliexpress.com/_uwfQzq Drum for 3 minutes. .....perhaps you will find that you have an innate talent as a drummer, throw the shit away and put your head right......
Likes
7
Share
@Ninjabuds
Follow
The OG kush from rqs is a stellar plant. I grew the OG kush from rqs b4 but it turned out way different b4 it was all green and stacked really well with a hash smell and old school kinda growth. This plant is grayish black nugs with dense goofball size nugs with far internodal spacing. This plant has some super dense nugs with a dank smell with this really good other smell but I can’t put my finger on it kinda fruity but not the normal fruit smell. I can’t wait to smoke this plant when it’s dry and cured. This plant has really long stems that need some help so they don’t fall over the plant has a lot of bending to it so the branch’s can bend a lot without breaking witch is good for long stems but you have to hold them up somehow at the end of flower with steaks or string or something to hold it up right
Likes
61
Share
@Hou_Stone
Follow
☄️Salut les copains,👋 🍊J'ai récolté 4 plantes au 53 ème jour de floraison. Après avoir retiré pleins de feuilles de mes bourgeons, j'ai pesé 75 grammes de bourgeons sec sur la balance. C'est ok mais j'aurai aimer avoir plus. 🍊J'ai commis des erreurs durant cette culture et je n'avais malheureusement pas la possibilité de m'en occuper comme je le voulais. 🍊Je vous suggère de ne pas reproduire mon dosage pour les nutriments(+serait mieux) et ma fréquences d'arrosage(moins d'eau et + souvent serait mieux). 🍊Je compte modifier certaines choses pour ma prochaines culture en espérant améliorer le rendement 👌 🍊 🍊Je prévois aussi de faire du ice o lator avec les plus petits bourgeons et les feuilles de mes Lemon Orange, je vous partagerais ça ici et sur mon instagram bientôt !✌️ 🍊 🍊Mon Instagram ☄️ https://www.instagram.com/hou_stone420/
Processing
Likes
10
Share
lil be hide put in the work thought id share with you guys the 30 min ride 20 min walk boy im glad the hard works be hide me time to sit back and injoy the sunshine sound of water i love this beautiful
Likes
21
Share
Day 43, pH is at 6.0 currently. Plants are praying towards the light so that’s a good sign. Some spots still show up on a couple leaves, just a couple small spots, could still be adjusting. Will know in another day or so if the problem has been corrected or not. Day 44, they seem to be responding better to the change in nutrients. They’re eating and still putting on growth. Some spots are appearing but that’s probably just still an affect of last weeks overload. Day 45, PPMs have continued decreasing and they have consumed about 1.5 gals of water over the past 72 hours. I topped off their res a little bit and readjust pH to 5.9 (it rose to 6.6 because they’re consuming a lot of nutrients) Day 47, Nutrients was almost gone, changed nutrients and bumped up to 800PPM (0.5 scale) Day 48, the nutrient solution inside the buckets gets up to 78-79° by the end of the day (lights on). When lights go off, they drop down to about 70-72°. I built some insulation sleeves out of double layer bubble foil. Should insulated them enough to maintain their lower temp without increasing throughout the day. You can see in photos but in the video I also created tops for each of the buckets to help reflect light and heat from the buckets. Day 49, plants are doing great PPMs are staying pretty stable meaning they have about the perfect ratio of nutrients which is 815PPM currently. Insulating the buckets was a great idea it’s kept the res temps stable and stopped them from rising throughout the day! Today marks day 14 of flower.
Likes
11
Share
Processing
Likes
5
Share
Had to change the lamps bc some changes were made in my other tent.
Likes
26
Share
Start of week 6 of flowering for 4 Getting really frosty !!! Coming to and end of week 6 of flowering Tangie ,gg4,sweet creme and glueberry all.started.to.get flushed!!! Exciting.for.chop . The hazes are all looking amazing . Forgotten cookies is amazing =). Just added grapey walter and douple grape. =)
Likes
9
Share
Well it's safe to say the foop will work with legit strong good bacteria! But the focus has to be on the root health when it comes to how much food you can add and still maintain healthy roots. But the game changer for me has been switching to a air stone, 1st and for most. The recirculation pump suggested by foop when running foop in dwc ran the solution temps into the high 70's around 77°F and anything over 75°F has been where root rot sets in for me. Even switched to way smaller recirculation pump with same results. So switching to running a air stone was big! But also found that running one Vivosun 317GPH Air Pump 15W split to 4 plants was not enough air for the roots to be happy in the foop plants. So I moved to a 2nd air pump, same size per tent. So now it's only split to 2 plants on the foop plants. And that made a big difference! But found after a few weeks that I had to bleed a slight amount of air off because there soo much extra air the humidity was sky rocketing in the tent to high 80%. So there's a sweet spot where they get extra air but not soo much that the humidity is affected. But the 2nd most beneficial thing I've done is start running Orca. It has made such a huge difference. I think I need to go up with how much I'm using or find something that works even better if possible. But the sweet spot now is 8 to 9ml total of each foop veg/bloom 1,2 and sweener. When I go to 12ml with foop 1,2 the roots take a noticeable hit. So idk how I would go to the recommended 20 to 50ml per gallon as suggested on the foop grow chart. I tried going to 10ml foop 1,2 on this one but the roots didn't like it and it shows they have never turned back to a blonde or white color again Currently running around 6 to 10ml orca total per feeding. And adding 2 to 4ml when I add foop 1,2 mid week and got happy roots! Also the Seaweed extract has made a difference in the smell the plant puts off. Last few grows have been really muted with smells and this grow I actually get hit in the face when entering grow room. So has made a difference forsure!! I'm soo excited!! Currently has issues getting the humidity below 55% in the grow room. I was running 6 damprids 1 on intake(outside tent) to tent, one on inside of tent(at inlet) and 1 on exhaust(outside tent) for 2x4 tent and 2 hanging at 4x4 tent exhaust and one hanging by ac unit. That brought it down like 5% over all but now I'm running 12 damprids to try and get the room down humidity in the mid 40's. We will see. The house runs a swamp cooler and that basically makes the whole house pressurized. So even tho I sealed the grooe room door and the window with ac the best i can. it's a uphill battle! Once swamp cooler comes on the humidity in grow room climbs like 10%. So here's to hoping🤞🤞🤞🤞 6/25 added 2L 6/26 added 1.5L, 10ml Seaweed extract, 4ml orca, 4ml foop bloom 1&2, 4ml foop sweener, 3ml cal mag 6/28 added 2L 6/29 added 1.5L 6/30 added 1L, 20ml Seaweed extract 7/1 refreshed, gave 20ml hydroguard, 15ml orca, 25ml Seaweed extract, 9ml foop bloom 1&2. 10ml foop sweener, 6.5ml cal mag Records kept here: https://1drv.ms/x/c/fa218bbdbbfbd064/EelXI2vd0VdDoZBL4JvZ6xMB7lSyddsPGq8FdBGttRAjgg?e=rY8meL 👋👋👋 Hello, Thanks for checking out my grow!! Please like and follow I really appreciate it!🤟 Please feel free to leave questions and comments below!!👇 I really appreciate all advice!!! Check out my Instagram, you can message me there too! And check out my youtube for more content! Mistakes were made, but what better way then to live it and learn it yourself!!!!
Likes
6
Share
La banana purple ha scaricato tutti i sali minerali il run off è di 0.3 con un ph di 6.0 È pronta al taglio La gelato sta iniziando il lavaggio
Likes
21
Share
Been a busy week, everything is looking good I still have 1 that is behind and still recovering. Potted into 6.5L pots. Vpd is in range but does fluctuate. Gonna back the EC off a little as i find it to be high in nitrogen in places I don’t like doing plain watering so I shall lower the ec and do a little extra run off Midweek so some good recovery from transplanting everything looking good still environment perfect backed off the nutrients added a water butt and and air pumps to the room. Later week update, all these ladies are thriving in there environment really healthy plants, I need to get rid of the shite from the early growth when they were fresh cuttings now. The branching has exploded now these girls take about a week from topping to get back to full growth rate under these led lights other than that all good. 🌱
Likes
40
Share
@MrJones
Follow
47th Parallel Crowly's Comet 🔹⊱╮🔹╰⊰🔹 GROW Started 03.10.24 INFORMATION 🔹╰⊰´🔹⊱╮🔹 🌞Environment - Maintaining 80F and 65%Humidity 🌾Training - Nothing this week just letting the seedlings veg out. ⚱️2-Gallon 📊6.2 PH 💧 Feeding - Using Horti Grow 8-11-21, Bloom 5-15-26, Late Bloom 0-24-26, Cal 12-0-0 🌞Medic Grow Smart 8 760 Watts 🕷️ IPM - CannControl from Mammoth and Mosquito Bits as needed 🔹⊱╮🔹╰⊰🔹 PLANT UPDATES 🔹╰⊰´🔹⊱╮🔹 📝 Notes - These girls have completely transformed into their new buckets and have started to drink up, increasing the amount of fertigation, (Nutrients and H20), and defoliation to expose the lower growth. 🗓️03.29.24 Maintaining Temps and Humidity - Plants are Looking Great! 🗓️03.30.24 Today fed with Hort-Grow @ 3.3 GRMS Per Gal, and Horti-Cal @ 2.5 GRMS Per Gal. I defoliated the plants to water them better and the middle growth could get more light and develop. 🗓️03.31.24 Maintaining Temps and Humidity 🗓️04.01.24 Today fed with Hort-Grow @ 3.3 GRMS Per Gal, and Horti-Cal @ 2.5 GRMS Per Gal. Check out the amazing growth and recovery after the defoliation! 🗓️04.02.24 Maintaining Temps and Humidity, watching these ladies are just nailing the veg phase. 🗓️04.03.24 Today fed with Hort-Grow @ 3.3 GRMS Per Gal, and Horti-Cal @ 2.5 GRMS Per Gal 🗓️04.04.24 Maintaining Temps and Humidity, closing out week 2 of veg and these ladies will need to be defoliated again, this new nutrient line from Greenpnaet is killing it, and so easy to use! ╰⊰🔹╰⊰´🔹⊱╮🔹╰⊰🔹╰⊰🔹STRAIN INFORMATION🔹⊱╮🔹╰⊰🔹╰⊰🔹╰⊰🔹⊱╮ Crowley's Comet / https://www.47thgenetics.com/product-page/crowley-s-comet-10-fem-birdseeds It's everyone's favorite piece of space rock, Crowley's Comet! The culmination of reversing our Matterhorn cut off Mr. Crowley to Intergalactic Runtz, and the results were out of this world (I had to do it). These ladies were slow to start, but once they hit their stride they put any worries we had to rest. Compact, short-framed, and robust. They pack beautifully boulder-like flowers that reek of garlic and sickly sweet cotton candy. Dark green to a mosaic of purples, yellows, and silvers. Frost production is off the charts, the internode spacing is tight, and they certainly will impress in their last few weeks of flower. This is one of our favorite crosses in the new fem lineup. If you're looking for your hype fix, here you go. Yield: Heavy to XL Flower Time: 63 days Feeding Schedule: Heavy
Likes
9
Share
-Tag 61 Heute haben wir leider feststellen müssen das sie ein Zwitter ist und sehr viele Männliche Blüten entwickelt hat. Zum Glück haben wir es rechtzeitig gemerkt, denn sie stand direkt neben unser Membrana die auch schon in der Blüte ist.... Schade das wir sie vernichten mussten und sie nicht probieren konnten
Likes
151
Share
@PapaNugs
Follow
After topping last week we've just been watching them grow. Bending down the branches to help them spread out. Over this next week I'll start my lst ties to help pull them down and out.
Likes
60
Share
Día 15: 🔹 Primer riego con toda la gama de productos BioBizz, una EC ajustada a 900 y pH a 6.2. Le agrego Rootbastic para una mejora de las raíces. 🔹Sigo pulverizando las plantas con una EC de 400ml, con acti-vera y Rootbastic. Van de miedo, sin quemaduras ni signos de alguna carencia. 🔹Le pongo un higrostrato conectado al extractor y un humificador para mejorar las condiciones del cultivo. Día 16: 🔹Pulverizo las plantas 2,3 veces al día con Rootbastic a 0,1ml/ y Acti-vera BioBizz a 1ml/l Día 17: 🔹Riego según la tabla de nutrientes con una EC de 1000ms y pulverizo las plantas cuando se despiertan con el enraizante. Día 18: 🔹 Aplico foliarmente 2/3 veces al día una solución de Rootbastic a 0,1ml x litro. Día 19: 🔹Trasplante a maceta definitiva de 11 litros 🔹Aplico Special THC Plus foliarmente en base mínima establecida por el fabricante, ya que en unos 10 días aprox. la pasaré a floración. 🔹Riego con una solución suave de abonos EC de 900 y un pH de 6.2 Día 20: 🔹Aplico foliarmente 2 veces al día una solución de Rootbastic a 0,2ml x litro. 🔹Aplicación tierra de diatomeas en las nuevas macetas para evitar futuras plagas. Comentar que es la primera vez que la utilizo y ha sentado genial al cultivo. espolvoreo una cucharada sopera por cada maceta por encima del sustrato. Día 21: 🔹Descanso. Comentar que el trasplante las ha sentado genial.
Likes
170
Share
@nonick123
Follow
Día 47 (03/03) Las señoras siguen su imparable Stretch. Solo mirarlas y disfrutar 😍😍😍🎉🎉🎉 Día 48 (04/03) Riego 1,25 Litro H20 + Wholly Base 2,5 ml/l + Solid Green 1,5 ml/l + Early Flower 0,75 ml/l de Gen1:11 TDS 960 PPMs - pH 6,26 Día 49 (05/03) Se empiezan a formar los erizos! 😍😍😍 Gorilla Cookies FF ha despegado hacia el cielo! 🚀 Día 51 (07/03) Riego 1,25 Litro H20 + Wholly Base 2,5 ml/l + Solid Green 1,5 ml/l + Early Flower 0,75 ml/l de Gen1:11 TDS 950 PPMs - pH 6,37 Día 52 (08/03) Los erizos empiezan a engordar! Día 53 (09/03) Parece que el stretch se frena un poco... 💦Nutrients by Gen1:11 - www.genoneeleven.com 🌱Substrate PRO-MIX HP BACILLUS + MYCORRHIZAE - www.pthorticulture.com/en/products/pro-mix-hp-biostimulant-plus-mycorrhizae 🎚️Controlled by TrolMaster TCS-1 Tent-X System Main Controller - https://www.trolmaster.com/Products/Details/TCS-1
Likes
4
Share