


Likes
Comments
Share


@RunWithIt
Follow
She's a beast! Trucking along, just doing her thing.... I hit her with a molasses watering last night and she frosted up today! And now she gives off a super sweet, kind of tangy scent. Dont worry, I rub the branch calyxes, not the buds haha. I will be feeding her with the usual ratio of FF nutes(10ml Big Bloom, 5ml Grow Big + Tiger Bloom). Also up until this point, I've been giving her foliar spray with 5ml/1gal Calmag+. I will no longer be doing that to combat relatively high humidity I've had over the past week.


Likes
13
Share


@StoneyMelony
Follow
Week 10 day 64 The temperatures are still not so high as they were before but it is still 25 degrees celsius outside. ( 77 Fh). So temperatures inside are better manageable. I started again with the feed with the auto Zkittelz.
Video Music: Activation
URL: https://icons8.com/music/

Likes
12
Share


@cookingwithninja
Follow
day 14 added 1/2tbsp magnesium sulfate in 5gal water along with regular flower water amendments. 1gal of water per day average, bridal and thunder can take more water. Ph 6.8 today
day 15 I will defoliate in a few days :) day 15 video, you see some stem action
day 16 video
day 17 I added (4x20w daisy-chained)80w of poop purple ancient leds Keep adding soluble PK, organic booster etc. I see the stacks relax on defoliation for a few days, maybe tomorrow morning (skip day21) I feel like I will be able to chop week 6-7 as my last grow, push hard fast-continue everything is great, soon bridal and thunder will require 1gal water per day. I would like to see even more mass. I'm extremely happy, starting to see frost
day18. BIG UPDATE many short vids of final defoliation(ahead of "day 21"). Wild amendments appeared! Any recommendations for a lawnmower? Bridalparty stretched over an inch overnight, led touch diode burn on 1 spot. Raised lights slightly, Added new amendments into water. Bridal wants to drink more than 1gal per day, So I will be using almost 5gal-ish water per day not denying the plant needs-watering. I am very happy! defoliation took about 4h today.

Likes
4
Share


@Ageddd
Follow
ULH2: Still growing buds
AH1: Strated branching ^^ Bent the plant a little
AH2: Transplant to 25l Tex Pot with Canna Terra Pro

Likes
10
Share


@Ktims420
Follow
One is really budding faster than the rest but all the girls are doing well. Next to no training on these girls due to limited space but they all are filling in nicely. Very happy with the west coast ✌️🏻💚
Likes
Comments
Share
@Pfalzgrown
Follow
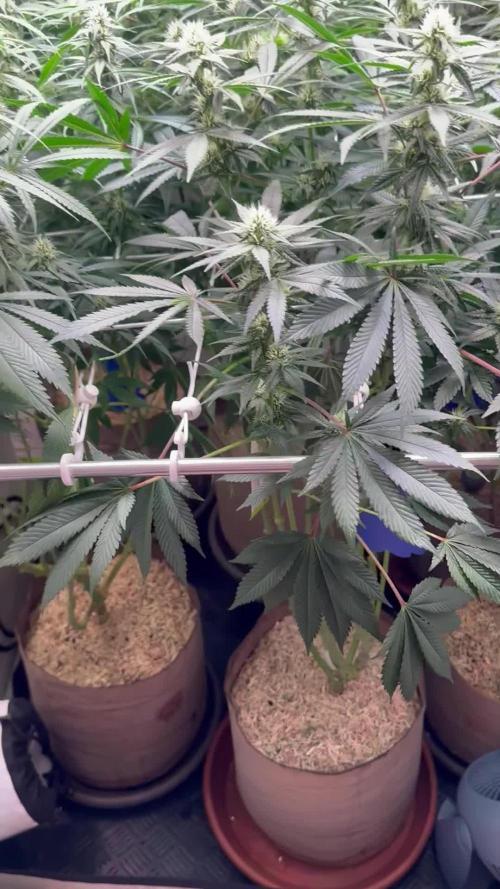
Links = Serious Happiness
Mitte = Strawberry AK
Rechts = RS11
1x pro Woche = 1ml/l Melasse, 0,5g Bittersalz pro 10l Wasser und Green Bull nach Anleitung
Jetzt wird zusätzlich angefangen ein bisschen mineralisch zu boosten


Likes
29
Share


@GreenHouseLab
Follow
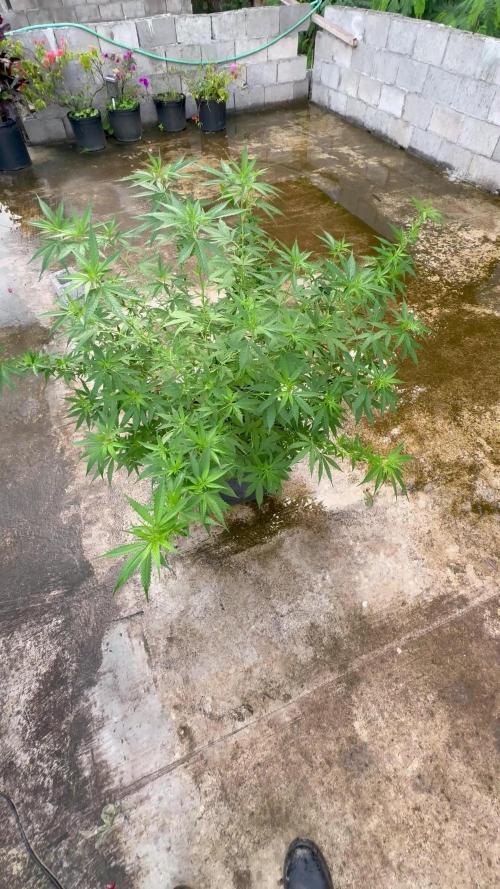
It’ll take me 30 min to trim this whole plant just the way I like it. Most likely be the first one to come down also need to get her ready.


Likes
6
Share


@Roberts
Follow
Grape Octane Auto is doing okay. I did up the feed mix today. She was a little on the lighter side in color. Plus possibly starting to show some deficiency signs. So that should be solved. I will likely be training her next update. Thank you ILGM, and Medic Grow. 🤜🏻🤛🏻🌱🌱🌱
Thank you grow diaries community for the 👇likes👇, follows, comments, and subscriptions on my YouTube channel👇.
❄️🌱🍻 Happy Growing 🌱🌱🌱
https://youtube.com/channel/UCAhN7yRzWLpcaRHhMIQ7X4g.


Likes
48
Share


@Focus420
Follow
10 Týden začíná,
Autoflower
blackberry gum auto
Sleep auto
Auto brooklyn sunrise
Bcn critical xxl
Automatům chybí 2 týdny podle kalendáře.
Dnes defoliace listů
Nechám je ještě o týden déle.
Naposled hnojení a dojedu to jen vodou s ph 5,8 a ec co nejmenším.
Feminizované
Focus 2×
Franco lemon cheese
Feminizované začínají 5 týden květu. Chybí ještě jednou tolik.
defoliace listů a Lst
Děkuji všem za komentáře a za like


Likes
9
Share


@Lifesgarden420
Follow
Another beautiful lady chopped and drying with that whole plant hang really looking forward to these but they are so Frosty and so dense thank you for these amazing genetic and this amazing contest you guys really know how to bring the world together thank you again 💚👑👊🏼😎💨🏼

Processing
Likes
65
Share


@Wicked_Stix
Follow
She is the slowest to flower and not stretching much but looking good. I am still pulling a few leaves off her every day because she wants to be bushy. I gave each plant a 10 gallon flush and fresh nutrients. Started them on liquid koolbloom.
Nutrients per gallon
.75 tsp maxibloom
.2 tsp liquid koolbloom
.5 tsp calimagic
.25 tsp armor si
.1 tsp 90/10 humic/fulvic acid

Likes
22
Share


@J_diaz420
Follow
Esta semana tome la decisión de cortar una planta anticipadamente, obviamente la más avanzada y madura de todas (la de las fotos con flash), para poder llenar la despensa, obviamente se guardó el peso para añadirlo al peso final. Se quitó la malla y se hizo defoliación para terminar el engorde, quedando solo 3 plantas al menos 1 semana o dos a que terminen de dar lo que tienen que engordar, ya veremos 👍

Likes
6
Share


@CalGonJim
Follow
1/19 1am MONDAY...TOO STONED TO TYPE..WHAT THE HELL IS THIS THEN..HEY SHUT UP....WAIT...IS THAT ME?😂
1/19 5 AM.🚨 I GOT THE HOLY TRIANGLE OF WEED THE WHOLE FUUCK'N TRAILER PARK IS HERE!!!!! Finally got black tea Tangie in the ground so Julian bubbles and Ricky are all growing with Montel and ice t.
1/20 1:20PM VEGING PERFECT AT 30 WATTS!!!
1/21 10:11 AM. The whole fucking park is here. Julian sprouted!!! Bubbles and Ricky are doing great. I’m gonna top them and then I’m gonna start them over from clones so they grow roughly the same time as Julian and I’ll keep the Ricky and the bubbles others as mother plants and I’ll just keep them going.
1/21 10:15 AM vegging 12 inches 30 W Samsung LED Mars Hydro light perfect
121 1:10 PM I moved black tea Tangie into the germination station. The 2 gallon fits in here just fine. This will be fine for germination.. She’s sprouted only after about 40 hours so she’s really strong.
1/21, 2:54 PM. I made a my own Star Wars movie. Special effects are incredible. It’s very removing made my own Obi-Wan.A CalGonJim Production 🎥🍿
1/21 11:56PM Stoned Genie bong arrived today. my 2nd from them. Nice, this one has an ice catcher. got here in 2 days. 👍
1/23 4:40AM Samsung LED's on AC Infinity humidity domes are too powerful for the dome BUT these things could power an entire grow in a smaller tent..... more fun designing things
1/23 5:51AM I got a video game recruiting idea for ice, Its called Duck Hunt.....goddamn auto correct, but you get the idea😈


Likes
42
Share


@Master_weeda
Follow
Bonjour à tous les padawans et les maîtres jedis
Cette plante est vraiment exceptionnelle! Elle représente la force et j'en suis fier 😍
La semaine 4 est déjà la ! Ma plante est saine le LST ce passe relativement bien je l'ajuste tout les jour je le combine avec la technique du pincage d'Apex cela me permettra d'avoir une canopé plus homogène donc une meilleure pénétration lumineuse et par conséquent un meilleur rendement.
Le pinçage est une pratique courante en horticulture.
Beaucoup de cultivateurs l'utilisent pour améliorer le rendement de leurs plantations cannabiques ou autres.
Il est souvent question de 'taille' des bourgeons apicaux.
Cette taille se pratique également mais il n'est plus alors, à proprement parler, question de pinçage.
A l'instar d'une taille, le pinçage va permettre de stimuler le développement des ramifications tout en préservant les sommités en vue de la floraison.
Il est très utile pour uniformiser une canopée.
Pour réaliser le pinçage, il vous suffit de presser 'fermement' la tige [entre le pouce et l'index] aux environs de l'apex jusqu'à sentir un léger 'crAck'.
Cela aura pour résultat d'endommager les vaisseaux impliqués dans la circulation de la sève [situés dans le pourtour de la tige], la tige conserve toutefois une certaine rigidité.
Pour obtenir le même résultat, il est également possible de vriller légèrement la tige sur elle-même.
L'interruption du circuit d'alimentation entre le ou les apex et le reste du plant va provoquer un déséquilibre hormonal qui aura pour conséquence le développement des ramifications antérieures au point de pinçage.
Jour 25 j'arrose mon pot normalement avec un quart de son volume en eau toujours avec un PH de 6.3 à cette eau j'ajoute 0.7 gramme de greenhouse feeding enhancer pour favoriser son développement racinaire.
Par la suite je n'aurai plus qu'à ajuster mon LST jusqu'au stretch et surveiller mon arrosage, Je pincerai mes apex suivant la pousse de la plante pour uniformiser la canopé.
Petit rappel de ce que est le LST et comment le pratiquer le plus efficacement possible:
Quand commencer à appliquer la technique LST
De nombreux cultivateurs commencent la manipulation dés que les plantes possèdent entre 3 et 6 nœuds ou une paire de feuilles. Durant cette première étape de la croissance, le tronc encore flexible est pliable sans risque qu’il ne se casse, même si au fur et à mesure du développement de la plante il sera de plus en plus difficile de le plier. Nous pouvons continuer à guider la croissance des branches durant toute la culture, même durant la floraison, ce qui pour cette étape représente un grand avantage face à la taille, qui n’est pas du tout recommandé une fois que la formation des têtes commence, cela stressera en effet la plante, ce qui aura pour effet de retarder la récolte.
Comment appliquer la technique de guidage LST
Si nous sommes prudents, la flexibilité naturelle des fibres du cannabis permet de plier leur tronc et branches avec une relative facilitée, même durant la floraison des plantes.
En utilisant une corde fine, nous pouvons accrocher la pointe de la plante à la base du pot par exemple ou à un tuteur que nous aurons planté dans le substrat. Nous plierons le tronc avec précaution et nous le fixerons avec la corde, à partir de là, nous pouvons augmenter progressivement la tension de la corde, chaque jour un peu plus, jusqu’à obtenir la position souhaitée. Soyez attentif à la réaction de la plante, essayez de ne pas appliquer trop de pression sur la corde et rappelez-vous que la flexibilité des branches peut varier d’une plante à l’autre.
Pour obtenir de meilleurs résultats, il suffit de suivre quelques règles simples. Pour commencer, nous devons choisir une corde fine mais pas trop pour ne pas blesser les troncs au fur et à mesure qu’ils grandissent et qu’ils deviennent plus gros.
Nous pouvons utiliser des crochets en plastique souple ou de n’importe quelle autre matière flexible pour éviter d’endommager les plantes. Spécialement en intérieur, utiliser des cordons en plastique de couleur (voir les diaries de @Silky) est très pratique pour voir facilement les accroches et faciliter le travail au milieu du réseau formés par les cordes, les tuteurs, les mailles ou les supports que nous aurons dans la culture. Bien entendu, en culture extérieure et surtout en guerilla nous ferons juste le contraire et nous utiliserons des matériaux de couleur qui n’attirent pas l’attention pour que notre jardin reste discret.
Pour stresser les plantes au minimum, la mieux est de réaliser ces manipulations le soir ou juste après que les lampes en intérieur s’éteignent, ce qui leur permettra de se remettre durant la nuit. Normalement, le jour suivant nous pourrons observer comme les pointes des branches que nous avons pliées se dressent de nouveau vers le haut à la recherche d’une source de lumière.
Je combine un pincage d'Apex (explications plus haut) au LST cela me permettra d'avoir une canopé plus homogène donc une meilleure pénétration lumineuse et par conséquent un meilleur rendement.
Que la force soit avec vous 💪
Likes
2
Share

@BennyBud2210
Follow
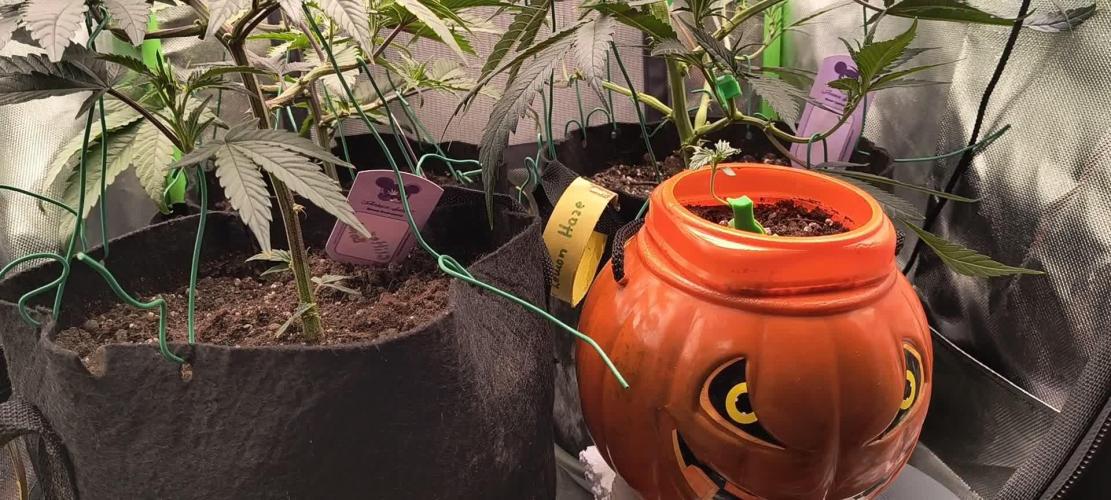
Letzte Woche in der Veggi...
Ab nächste Woche Umstellung auf 12/12🌑🌞
Die Glitterbomb hat sich mittlerweile wieder gefangen und schiebt gut nach🍀


Likes
9
Share


@Siriuz
Follow
Yo, get ready cuz I aint got time for the
b!Tches - Sing with me go go go
High as f
Whats up my friends how is it going?
Im just happy I did some crazy stuff on this gorilla girl after having the accident with the main trunk thank God it healed and created other colas but since she was so bushy I went and defoliate her some more, she got bushy again but left her like that didnt fck with her no more until I had to for specific REASONS but before that I also went and literally stab two of her branches, you will see duct tape covering those, reason I did that was to force her to produce more flower thru those branches believing that HEALING redirects vitamins from living soil when feed in a schedule with the right nutes, she gets healed real fast plus she got real bud on those two branches that were stabbed.
IT was literally something to force her produce more bud and yes indeed it worked those bud suites right now are fully loades on tips are very dense thc yellowish and then white hairs and the main trunk has white hairs good size fattening up and yielding some more but still not so many yellow dark amber hairs like in those branches that were stabbed lol
I called that SiriuzShot lol
Hey guys whats up its just about getting creative, look at how green my leaves are and the nice nice bud is coming up
We at mid bloom right now brothers just switched schedule to 18/6 Flowering girls need resting time added fan for extra air flow and hopefully adds density to buds???
Yo give your tips suggestion anything related organically home made whats good lemme know so I can keep fattening up this ladies very well
Hey by the way added some molasses and banana tea with some other tea and sugary stuff they taking it well, no nute burnt no problems at all girls liked it x 100000
Good stuff organically
Lemme know if anything alright
Stay tuned for more
Check me out @cannagrowersiriuz
Take it easy son have fun
Happy growing
Likes
11
Share


@Paflucy
Follow
Hello everybody :)
End of the eighth week of flowering.
Everything has calmed down and now the girls are just gaining weight :)
The BAC Stimulator + Terpinator combination does the job! Buds are superb covered with resin, very oily and sticky - mniam :)


