


Likes
Comments
Share

@CampaCavallo
Follow
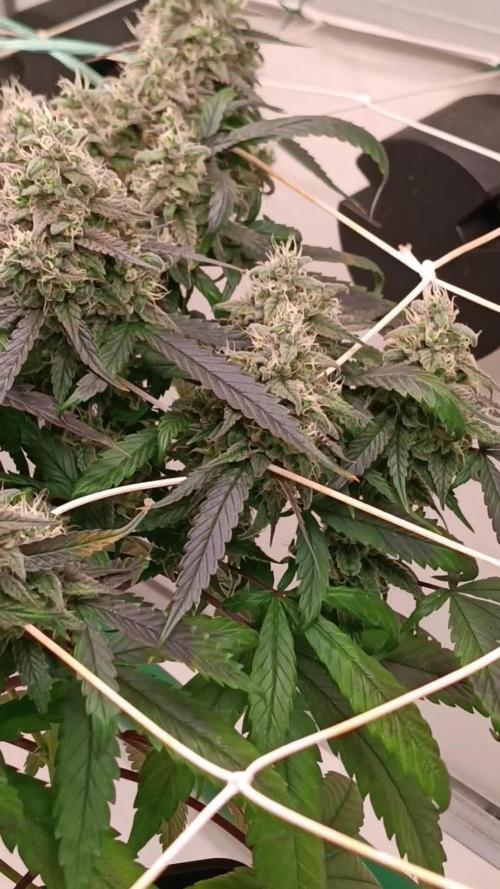
8ª Settimana di Fioritura 💐💐💐💐💐💐💐💐
Buongiorno amici 💚! Guardate com'è diventata bella la nostra Mimosa Shot 🌼🎇


Likes
22
Share


@Appoldro420
Follow
All going well now, just lowered my setup by 35cm to gain more space for the ladies... also now my reservoir is below the cabin instead of inside, so much cooler water now (in fact I had to pace a heater to avoid temperature below 18˚C)

Likes
5
Share


@Pokerdud
Follow
Den Bericht werde ich erst später fertig stellen. Entweder heute noch oder erst morgen.
Die Buds sind noch im curing und haben 12-16 Tage drying hinter sich.


Likes
2
Share


@brown_tattooz
Follow
Plants entering 3 week, an have made good healthy progress I have been lst a did topped once plants are short a bushy with even canopy. Have not had any visible deficiencies. I’m learning as I go any tips would be greatly appreciated thank you🙏
Likes
52
Share


@Santica_Garden
Follow
Just another update for the King's Juice by Green House Seeds, I have uploaded a video for you guys which gives you guys a better look and how I'm progressing and how I'm training the ladies.
Any questions guys just ask.
Happy Growing 👍🏾🌱💚😎

Likes
28
Share


@UnitedStrainsGermany
Follow
🌱✂️ Eternity Cup 2025 – Runtz Autoflower Woche 13 – Die Queen ist gefallen! 🚀👑🔥
YESSS! Woche 13 und jetzt ist es offiziell:
Runtz #3 – unsere stärkste, krankeste, brutalste Lady – wurde heute geerntet!
Und Leute... das war kein normaler Erntetag – das war ein Statement.
Sie hat ALLES zerrissen.
Während #1 und #2 schon safe im Trockennetz chillen, hat #3 nochmal richtig gezeigt, wer hier das letzte Wort hat.
Sie hat neue Buds rausgedrückt wie ’ne Maschine, war komplett zugekleistert mit Harz – Frostlevel OVERLOAD.
Der Duft war wie ’n Uppercut aus dem Süßwarenladen direkt gefolgt von ner Gasladung – Terpene auf Weltklasse-Niveau. Jeder Bud hat geschrien: "Ich bin Medizin UND Magie!"
Optik, Potenz, Aroma – alles einfach next level.
Sie hat sich den Titel “Final Boss” sowas von verdient – und ja, sie wird die Bombe im Glas. No cap.
Jetzt hängen alle drei in den dryfem bags die netterweise von Garten Eden gesponsert wurden– #1, #2 und unsere Legende #3 – ready fürs Trocknen. Und wir schauen drauf mit Stolz und dicken Sticky-Fingern.
Das hier war nicht einfach nur ein Grow – das war Leidenschaft, Arbeit, Herzblut.
Und deshalb:
Wenn’s irgendwie klappt – wir würden uns MEGA freuen, wenn eins der Bilder in den Top 10 landet.
Man hat alles reingesteckt in diesen Grow – und es wär einfach ein fettes Ding, Teil davon zu sein.
Big Shoutout an die Community & an alle Organisatoren – ihr macht das Ding richtig besonders. Danke für die Plattform und die Liebe fürs Detail!
#EternityCup2025 #RuntzAuto #Woche13 #QueenErnte #Top10Vibes #DankeAnAlle #FinalBossIsDown #ZeltLiebe #GrowMitHerz #TerpeneOverload #RuntzRoyalty 🌿✂️👑💨🔥📸

Likes
88
Share


@DogDoctorOfficial
Follow
🌾 Harvest Day — The Grand Finale of the Eternity Grow Cup 🌾
Days 72–73 | Trimmed on May 25 | Posted May 27
What a journey this has been — and what a finish. These five incredible Runtz phenos have now completed their cycle, and today, we celebrate the final stage of their flowering life: the Harvest.
We sent the girls into darkness on Day 70, allowing them a full 48+ hours of rest and reset. The dark period was just a bit longer, truth be told, because time… it flows as it must. This extended dark time helps increase resin production, allowing the trichomes to mature just that final bit more.
On Days 72 and 73, we harvested them with care and reverence.
Each plant was hung upside down, whole, in a perfectly controlled 60% humidity environment for 13 full days. Before hanging, we gently removed only the fan leaves, leaving all trichome-rich sugar leaves in place — a natural armor for the delicate resin glands during drying. Why do we do this? Because those sugar leaves help protect the essential oils and terpenes, preserving potency, flavor, and aroma for the smoothest experience later on.
🌿 The Dry Room & The Trichome Guardians
Throughout the drying, we used a moisture meter to monitor the moisture content in the stems. Once it dropped to around 12–13%, we knew it was time. This tool is a simple but game-changing ally in ensuring a perfect dry — not too fast, not too slow.
We then trimmed everything by hand over a 6.5-hour focused session. Armed with trim bins and good energy, we collected an abundance of glistening trichome heads in the process — a golden bonus from these resin-packed beauties. The leaves themselves told a story: deep purples, near-black shades, autumn fades and metallic tones — just stunning.
Each girl was trimmed in order:
#5 → #4 → #3 → #2 → #1,
revealing dense, chunky buds all the way from top to bottom. Not a single pop-corn bud among them — only rock-solid nugs, heavyweight champions in every sense.
📦 Cure Begins – Grove Bags & Glass Jars
Once trimmed, the buds were tucked carefully into Grove Bags and glass jars, each stabilized at around 61% RH. The Grove Bags handle the microclimate beautifully, keeping humidity between 58–61%, perfect for preserving all that hard-earned quality.
We’re now opening the jars daily, monitoring aroma and feel. This part of the process — the cure — is where the soul of the flower truly comes to life.
☀️ UV, Reds & The Perfect Run
Part of what made this run so special was the precision in light spectrum. 40% whites, full reds, UV and IR, and the girls responded like royalty. The UV pushed trichome development to the max. The deep reds gave us thickness, color, and weight. All of it under ThinkGrow Model Ones powered through the Trolmaster ecosystem — everything syncing in harmony.
This run was stable, lush, expressive — a grower’s dream. To my eyes, this was a perfect run.
⚖️ Final Yield: 1,302 Grams (1.3 kg)
In a 4x4 tent — that’s just 1.2m x 1.2m for metric friends — we pulled in 1,302 grams of flower, not even counting the buds that were taken for filming, photos, or “quality control testing” along the way. 😉
Dense. Loud. Sticky. Resinous.
🌿 The Hidden Half: A Tribute to the Roots
In every grow, there’s a part we don’t always see — a part that lives underground, quietly holding everything together. The roots. And this time, I wanted to honor them too.
When we unpotted the plants after harvest, we were met with massive, dense root systems, completely filling the Autopot trays. These roots were vibrant, white and healthy, looking like noodles in a thick herbal soup — a true sign of vitality. The Autopots system, combined with the Aptus Holland Clean Program and Plagron Green Sensation, made sure they had the perfect environment to expand, absorb, and thrive. The PRO-MIX soil was the perfect foundation — light, fluffy, with excellent aeration. It all worked in harmony.
After unpotting, I carefully washed every root system, removing all soil to prepare them for the next chapter of their story. Now, they’re hanging and drying — and will be left to cure for at least one month, possibly more, in a dry, dark, and well-ventilated space.
But why keep the roots?
Because cannabis roots hold ancient value — both medicinal and ritualistic. Though they don’t contain cannabinoids like THC or CBD, they are rich in alkaloids, triterpenoids, sterols, and other therapeutic compounds that can be anti-inflammatory, analgesic, antifungal, and calming.
Medicinal Benefits of Cannabis Roots:
• Friedelin – known for liver protection and anti-inflammatory effects
• Pentacyclic triterpenoids – believed to support immune and anti-tumor functions
• Alkaloids – some studies suggest pain-relief and muscle-soothing properties
• High levels of fiber and tannins – excellent for digestive and skin applications
🍵 Root Medicine — Ways to Use Dried Roots:
Once fully dried (they should snap like twigs, not bend), they can be gently crushed, powdered, or infused:
🌿 Cannabis Root Tea
Soothing & Detoxifying
• 1 tablespoon of dried, ground roots
• 3 cups of filtered water
• Simmer gently (do not boil) for 20–30 minutes
• Add a bit of ginger or lemon for taste
• Sip warm, especially good for menstrual discomfort, inflammation, and general relaxation
🍲 Healing Root Soup Base
Brothy & Nourishing
• Add a handful of dried roots into a veggie broth or bone broth
• Simmer for 2+ hours
• Strain before serving
• This adds a subtle earthy tone and allows the healing properties to infuse your meal
Topical Root Cream or Balm
Great for sore muscles or irritated skin
• Infuse roots in olive oil or coconut oil (low heat, 2–3 hours)
• Strain and mix with beeswax to form a balm
• Add essential oils like lavender or eucalyptus
• Apply to temples, joints, or sore areas
🛁 Root Soak Bath
Perfect for grounding and full-body relief
• Bundle dried roots in muslin or cheesecloth
• Steep in hot bathwater for 15 minutes before entering
• Let the soak draw out toxins and ease tension
⸻
The roots are more than just the anchor of the plant. They are its memory, its foundation, its quiet miracle. By using them, we honor the entire lifecycle — nothing is wasted, and everything has a purpose.
This part of the process is new for many growers, and I truly encourage anyone reading this to try saving and reusing the roots. Dry them, process them gently, and let them offer you one final gift.
Much love to Aptus Holland, Plagron, Autopots, and PRO-MIX — this wouldn’t have been possible without their harmony working underground while the beauty bloomed above.
🌱 The Gift That Keeps Giving: Reusing the Soil
As we say goodbye to one incredible season, we begin quietly preparing for the next. But not everything gets thrown away. In this garden, nothing is wasted. Just like the roots, the soil gets another life.
After each harvest, I carefully remove the remaining roots and break up the soil. I inspect it, rejuvenate it with compost and beneficial microbes when needed, and most importantly, I repurpose it — giving it a second life in my outdoor veggie garden.
Why do I do it?
Because this soil has already done something extraordinary. It has supported life, held moisture, breathed air, balanced nutrients, and fed plants that became medicine. It’s not just dirt — it’s a living ecosystem. And to throw it away would be to ignore its potential.
In my veggie garden, this recycled soil now nurtures cucumbers, tomatoes, courgettes, and so many other little miracles waiting to unfold. It’s a beautiful way of continuing the cycle, taking all the energy and intention that was once used to grow cannabis and transferring it into growing food. 🌞🍅🥒
🌾 The Benefits of Reusing Soil:
• Sustainability — less waste, less environmental impact
• Cost-effective — no need to constantly buy fresh medium
• Soil memory — rich in organic material, microbial life, and structure
• Nutrient potential — amended soil still holds value for many plants
• A deeper connection — a way to honor the entire cycle of growth
When we reuse our soil, we’re not just being resourceful — we’re believing in tomorrow. We’re trusting that what we’ve built can be rebuilt. That what has been used can become useful again. That from what seems like an ending, something new can always emerge.
And maybe that’s the most powerful message of all in this journey:
Planting is believing in tomorrow. 🌍🌱
Every seed in the ground is a little act of faith.
So as this season comes to a close, the first tomatoes have been planted. The cucumbers are reaching for the sun. The courgettes are settling in. And the same soil that once gave us dense, resinous flowers is now feeding the vegetables that will grace the table.
From harvest to hope — the cycle continues. And it’s beautiful.
🎉 The Final Touches
Fun fact:
• Trimmed on May 25
• Photo shoot on May 26
• This report: May 27
• Dry Bud Exclusive Photo Set: Coming soon
Stay tuned — the next upload will be something special, just in time before the Eternity Grow Cup closes on May 31st.
⸻
💚 Thank You
To Zamnesia — your genetics were nothing short of extraordinary.
To GrowDiaries, for hosting such a powerful space for community.
To everyone following this journey, your support, love, and kind words fuel this project and keep the spirit alive.
Let’s keep pushing boundaries, together.
With roots deep in the earth and eyes on the stars — the next chapter begins soon.
Much Growers love always,
🌱 Dog Doctor Official 🌱
Genetics - Runtz https://www.zamnesia.com/6000-zamnesia-seeds-runtz-feminized.html
Nutrients - Plagron https://plagron.com/en/hobby
- Aptus Holland https://aptus-holland.com/
Controls - Trol Master https://www.trolmaster.eu/
LED - https://www.futureofgrow.com/en
LED - https://www.thinkgrowled.com
Soil - https://www.promixgardening.com/en
Germination - Cannakan https://cannakan.com/?srsltid=AfmBOopXr-inLXajXu3QFgKXCXXos4F1oEvScjMKIB5MR5dk8-GJ-F49
DOGDOCTOR 15% off
Smoking Papers - https://ziggioriginal.com/
Terpene saver - https://grovebags.com/
As always thank you all for stopping by, for the love and for it all , this journey of mine wold just not be the same without you guys, the love and support is very much appreciloved and i fell honored with you all in my life
With true love comes happiness Always believe in your self and always do things expecting nothing and with an open heart , be a giver and the universe will give back to you in ways you could not even imagine so
As always, this is shared for educational purposes, aiming to spread understanding and appreciation for this plant. The journey with nature is one of discovery, creativity, and respect. Let’s celebrate it responsibly and continue to learn and grow together!
Growers Love To you All 💚
#EternityGrowCup #RuntzHunt #GrowersLove #CannabisCommunity #AptusHolland #ProMixSoil #TrolMaster #Zamnesia #Plagron #ZiggiPapers #Grovebags
Likes
24
Share


@TerpTurtle
Follow
Planning on the harvest!
Trichomes Mostly milky seeing a little amber maybe around 5%
Pictures taken with iPhone SE.. looking into some new cameras like the Nikon COOLPIX p1000 or Sony A6700


Likes
23
Share

@CannaArchive
Follow
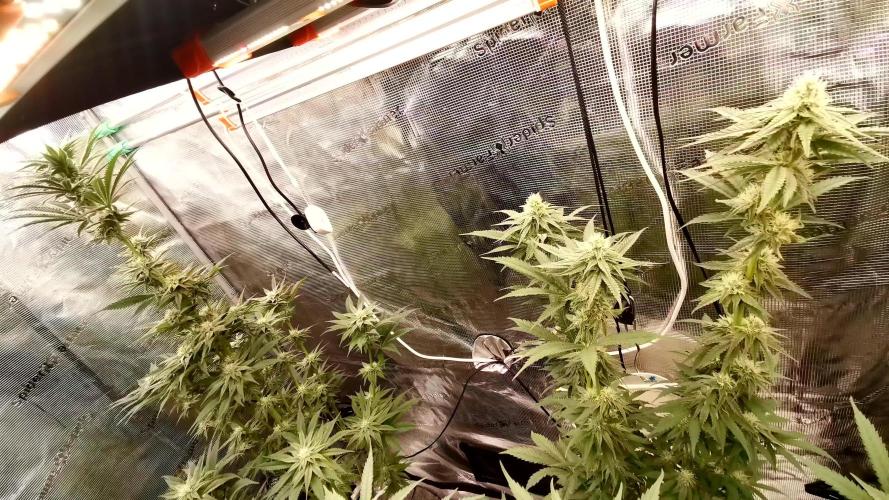
This week marked the full transition into active bud development 🌸
The plant has completely finished stretching and is now focusing its energy on building buds and increasing resin production.
• Final height stabilized around ~100 cm
• Stretch fully completed
• Energy directed into bud growth and trichome production
Bud sites are now clearly developing across the canopy, though they are still in the early stages of stacking. Trichome production is steadily increasing, with a light frosty layer already visible on the sugar leaves ✨
Canopy management was adjusted this week. After a light defoliation in the previous week, additional leaves were removed and the plant was lollipopped to clean up the lower growth ✂️
Toward the end of the week, branches were gently spread apart using wires to improve light penetration. This significantly improved light distribution:
• Each main branch now receives ~800+ PPFD ☀️
• Reduced shading compared to previous weeks
Light intensity remains high and well tolerated, with light praying still visible, indicating the plant is comfortable under the current setup.
Water demand remains high:
• ~4L every 2 days based on pot weight 💧
Feeding this week:
• 1x Orgatrex
• 1x Greenhouse Bio Enhancer
• Otherwise water + BioBizz CalMag
Environment:
• ~24,8°C temperature
• 47–50% RH 🌡️
Aroma has developed noticeably this week. The plant now produces a very sweet, jam-like scent, something unique and very pleasant, standing out compared to previous runs 🍓
Overall this week marks the beginning of real bud formation, with increasing resin production, improved canopy structure, and a very promising aroma profile 🍩🔥

Likes
13
Share


@cookingwithninja
Follow
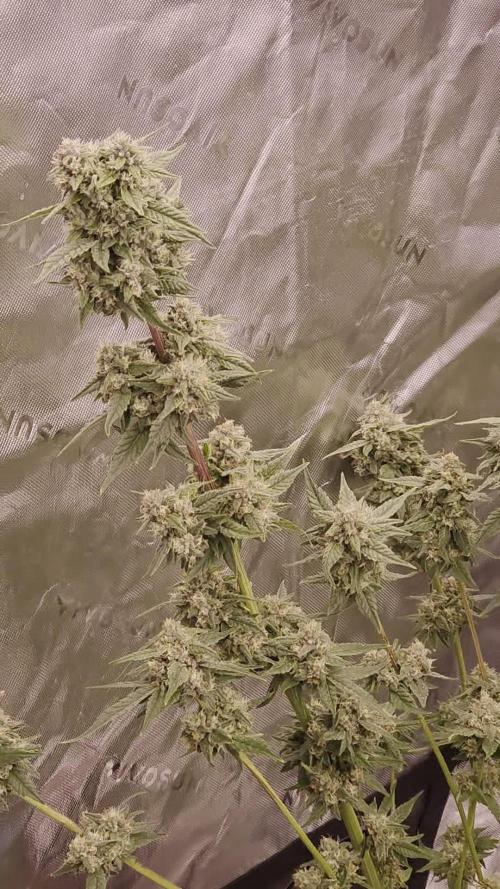
best cannabis I ever grew and smoked. Others agree. This is a cup winner I would win with no competition. 3 months harvested, 90% consumed. Will run more genetics and future cross, backcross. Feels like energy drinks, positive, 100% youre high and lit, extreme ripped. Smell is slight citrus, this is very sweet tasting and smelling because of my methods of growing. Oozing sticky like an industrial adhesive. Daytime smoke, ripped no couchlock. For heavy daily smoker this is above your level of comprehension, good luck finishing 0.5g session. 10/10 all categories.
4 months after harvest video macro, this is what 40% looks like


Likes
2
Share

@xipo86
Follow
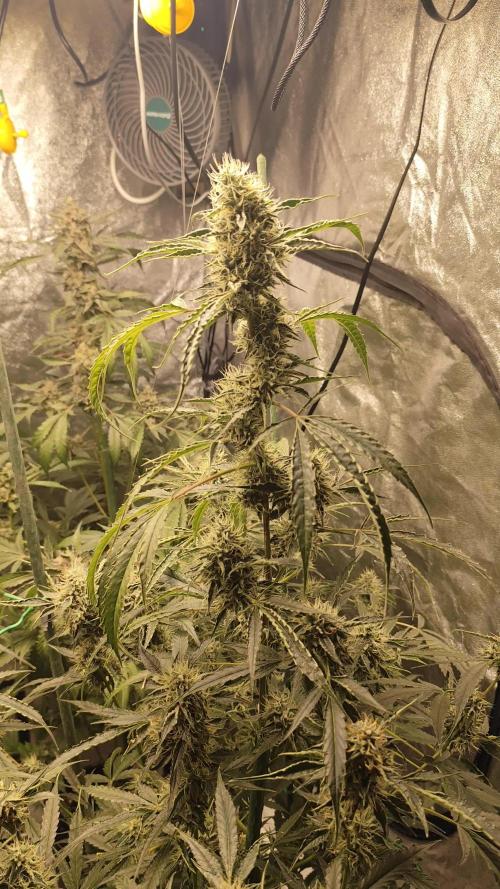
Day 63
somebody call the hair dresser plz... some plants have very long hairs.... xD
Smell getting strong on the tent.. had to get a new toy ... i had a 4 inch filter and wasan't enough... i got this 6 inch 2 in 1... wich is the filter mounted with the fan... and can notice straight away the smell only comes when opening the tent..
flowers developing nicely... Rainbow Sundae 11 showing nice pinky colors on buds... and Bear Force One very long hairs.. wich i hope translates to massive buds...





Likes
25
Share


@PrairieFrostGrow
Follow
******** Week 10 - Feb 10 to 16/20 (Days 64 - 70 from seed popping out)
It’s flush week so not much to update really. This week you anticipate the outcome with great hopes and also think about missed opportunities......no different here 😂 😂 😂
Last feed given last week. First good flush and finishing agent used this week. Gave her Flawless Finish in the morning and 8 hours later flushed her with 8L of RO water. Given she has been very green and tips were burnt a fair bit, I used Flawless Finish to flush the medium. The medium is pretty good with going into the week in mid 300’s ppm. She is taking the end well😀 Her stems are really pulling inward. Really wish I had a wider pot to have been able to pull out further from the centre.....widen her up more.
She has started to show her purple colours this week as well. She is fading and looking more beautiful everyday! Will be pushing this girl and don’t anticipate chopping her down before next weekend.....day 75 to 77 idea.......see what the week brings. She has beautiful buds but they need more squishing and I want to ensure she can feed on herself as much as possible. I personally prefer the smoke from a plant flushed for two weeks, so that is the goal......only concern is what will happen to tricombs over the next four days or so????
She squished out bud very well over the weekend and has swelled quite a bit. She is getting fat and happy.......putting on the weight and frost this week girl!! Dropped the night temps to 60 degrees and the humidity to roughly 40% at night. Stripped more of her leaves and down to just bud, haha. Some are still left where I don’t want to remove the leaves for fear of bruising the bud trying to get it off. 😧
Mephisto.....I have seen in a number of the other diaries where the frost seems thick on the fan leaves and this strain is no different! There will be very few leaves that won’t make it into the trim bin from this girl👌😀 For me.....its not that I haven’t seen this frost level but rather, this an auto only 10 weeks from popping her head out of the soil!!!! Even at 8 and 9 weeks it catches your eye as if you see something as growing wrong or an issue.....then you look closer and go DAMN😂!!!!!!
Senescence has set in and I have not seen that on many other Mephisto diaries for Skywalker and it is awesome!! Several more days to go for her to show her beauty....exciting😜 If she can keep swelling she will be a great producer!! Keep her cold and keep the density improving and she could be impressive.....for this breeders strain a good yield😀 Lets not put the cart before the horse here though and will focus on tricombs for now.
Little more detail......to come
Feb 10/20 - Day 64
- 2L with Flawless finish given in morning @ 2.0ml/L. 125ppm and 6.1pH
- 8L water flush in evening broken into two parts:
- 6L plain water, 5.4pH. Then 2L with LW8 & Rezin 100ppm 5.4pH
- Runoff 285ppm 6.1pH
- okay we are set now and like the numbers from the runoff. She should have lots in her leaves to keep her going.......lets flush Baby!!!👌
Feb 11/20 - Day 65
- nothing today.
- more bud swelling noticed and she is squishing out😀
Feb 12/20 - Day 66
- 2L water with Liquid Weight and Rezin @ 2ml = 79ppm and 5.95pH
- Lower bud sites swelling more visible as well.
Feb 13/20 - Day 67
- 2L water with Liquid Weight and Rezin @ 2ml = 80ppm and 6.15pH
- upper sites are firming up, lowers still have firming up to do yet.
Feb 14/20 - Day 68
- Nothing today
Feb 15/20 - Day 69
- 3L water with Liquid Weight and Rezin @ 2ml = 100ppm and 6.1pH
- Buds are starting to appear more white now. Frost building and turning cloudy.
- Leaves are lightening and she is eating the nutrients within her.
Feb 16/20 - Day 70
- 3L water with Liquid Weight and Rezin @ 1.5ml = 90ppm and 6.0pH
- Purple really starting to come out on her tops now.
- lower temps further in the tent to promote bud density and ripening.
Have a great week all and may your gardens be full of colour and shine!!🙏
Likes
9
Share


@SkunkyDog420
Follow
Hallo zusammen 🤙.
Sie wächst sehr schön und macht keine Probleme.
Rabattcode für den BIOTABS-Webshop https://biotabs.nl/en/shop/ GDBT420, damit erhalten Sie 15 Prozent

Likes
8
Share

@Rangaku
Follow
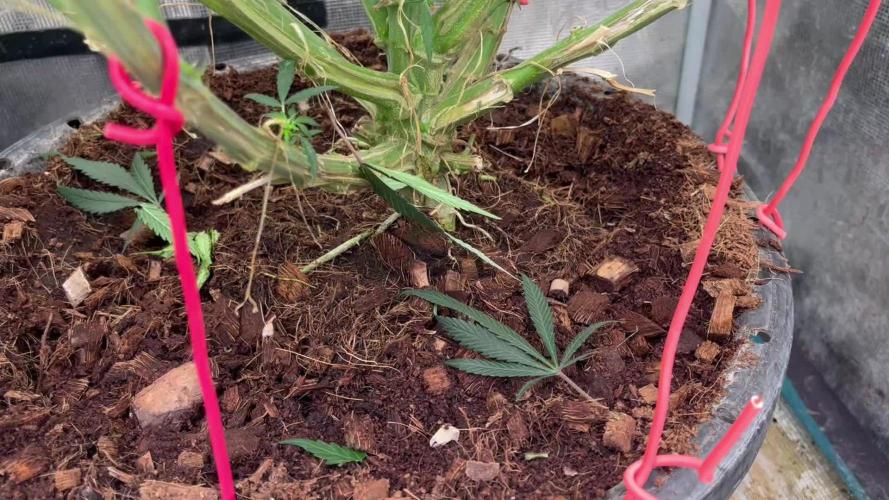
Future is coming on fast , filling out nice. She’s real pungent this one got that high THC look about her

Likes
41
Share


@FatnastyzBudz
Follow
1-2
Day 58 from seed and start of week 9.
She is on a chill day.
1-4
Cal/mag and drops. She will start flushing next water.