
Likes
16
Share


@PigBearMan
Follow
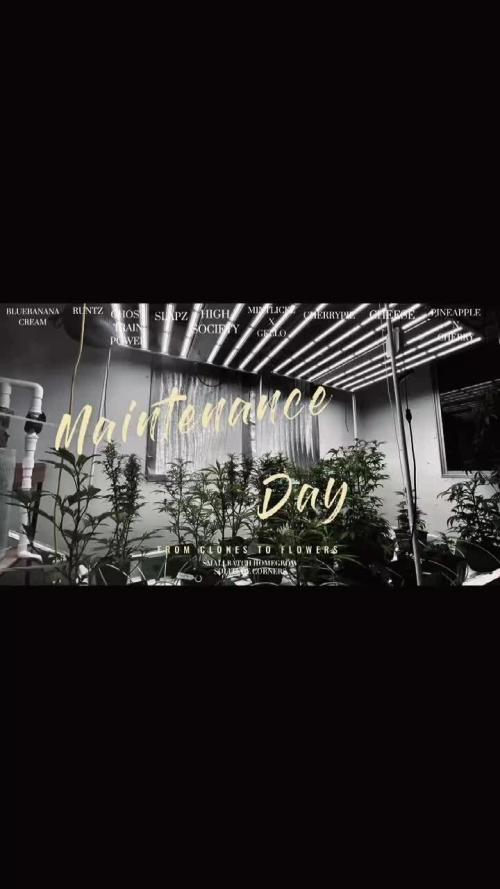
Hello.
All photos from flower day 6.
On flower day 3 I switched the Sanlights up to 80%.
On flower day 6 I sprayed the plants with Spruzit, to prevent any kind of insects.
As you can see everything is okay besides that algae but nothing too bad so far. All under control.
See you next week. ✌️

Likes
29
Share


@Edenganj
Follow
I fed them again today. They haven’t been properly fed, this will be their first full feed. Hopefully they react well. Had some trouble with figuring out the nutes concentrations. Thanks to everyone who’s aided me with this grow. Big up to y’all.


Likes
18
Share


@ApothecAries
Follow
Thank you everyone for following along ! This is it for this fine lady but I got some more beans to experiment with. See you guys another time ! It may be awhile before I get situated! I will be around though!
If you can show some support for a little project me and a friend came up with for each grow !!
https://www.youtube.com/watch?v=lhQWMl7kjLg&lc=UgwRIkWLHVSlsOJWXlx4AaABAg&ab

Likes
43
Share


@Johnny2Fire4U
Follow
Fed nutes and hit em with some microbial as well. Watering every other day. Gave the lower fan leaves a trim on a few of them just to see how it effects the top. All in all a good week.


Likes
Comments
Share

@SolitudeCorners
Follow
🌿Week 4: Defoliation & SCROG Setup
Week 4 was all about structure and airflow.
The canopy was getting bushy fast, with a ton of inner growth, so we went in for a solid defoliation session across the board. Lower fans, overlapping leaves, and shaded internodes were cleaned up to let light penetrate deeper into the canopy and reduce potential humidity traps.
Right after that, we finally dropped the SCROG net, stretched out gently across the canopy to guide the branches horizontally and prep for flower stacking. Some of these phenos are already reaching for the sky, so the timing felt just right.
Captured a full-time-lapse clip of the defoliation + netting process. It’s super satisfying watching the chaos turn into clean lines. Nature meets intention.
Feed Bloom since 20/6
22/6 Defoliation
🌱 Plant Response:
After defol, they bounced back fast. Tops are perky, leaves are praying, and stretch is continuing in a controlled way. The structure’s more open now — better airflow, better light distribution, better everything.


Likes
24
Share


@1_Plant_Wonder
Follow
End of week 6, Beginning week 3 of flower for the OG Kush auto🍓🌱
Plant filled up the 60x60 cm tent entirely, and keep on stretching!
And to think i was worried at the beginning that this plant won't get big 🤦🏽😅.
I noticed some leaf curling/burning a bit, and some bleaching of 2 small leafs (not so sure about the bleaching), so i lowered the intensity of the cree cobs led to total 220W.
This happened to me in my last grow (zkittles auto) as well.
I guess the cobs can get too powerful for a small tent like that.
I'll definitely keep an eye on that issue.
Other then that all goes smoothly;)
- I do some light defoliation to the plant every day,
- in the next few days I'll do the big cleaning - lollipoping 🍭 and full defoliation.
P.s - sorry about the bad lighting in this week's photos, I'll fix that next week✌️🏽

Likes
Comments
Share

@Brandenbluete
Follow
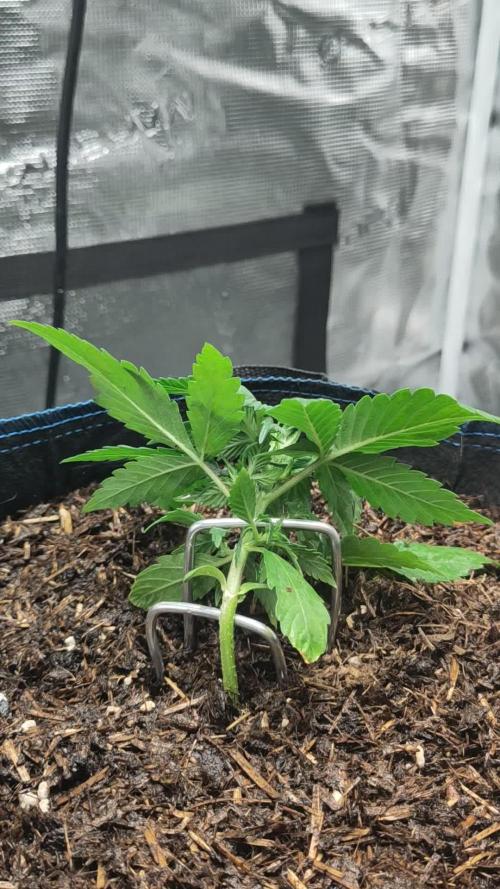
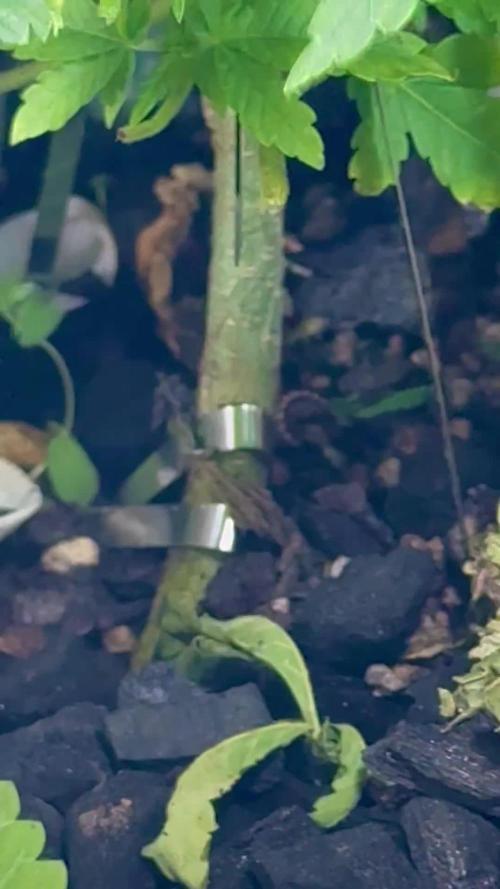
English below
Nachdem die Pflanze jetzt das erste Mal reguläre durch den Autopot bewässert wurde werde ich in den kommenden Tagen die automatische Bewässerung aktivieren. Ansonsten wird auch in diesem Run Experimentiert und die Pflanze wurde jetzt knapp über der Erde umgelegt. Mal schauen wie ich und die Pflanze damit klar kommen möglichst flach über der Erde gehalten zu werden. Ich hoffe so am Ende mehr in die Breite zu kommen und idealerweise eine 80*40 Hälfte des Zelts zu nutzen.
-------
Now that the plant has been watered through the Autopot for the first time, I’ll be activating the automatic watering system in the next few days.
As with every run, I’m experimenting a bit — this time, I’ve bent the plant just above the soil line. We’ll see how both the plant and I manage to keep her growing as low and flat as possible. My goal is to get her to spread out wider and ideally make full use of one 80x40 section of the tent.

Likes
6
Share

@Simba732
Follow
Ms purple is doing very well 💪🏾
This week new branche kept popping out so I hat to go for some LST to level up everything nicely.
Once that was done I defoliated to let the light be even throughout.
So far so good she’s building up like a champ.
Happy growing to you all.
Take care


Likes
2
Share


@CanarianGrow92
Follow
Another week of veg for our Fast Version A from super sativa seeds club.
At the beginning of the week we gave some bactrex and orgatrex from biotabs.
The plant is evolving good! Nice and green
Likes
58
Share


@Mrs_Larimar
Follow
Saturday, Feb. 20th.
San fernando Valley Girls were transplanted, and moved into
Bigger Tent, and under the Marshydro SP-3000
They are showing loooong Leaves, They are growing Vigor
and they seem to behappy in their new Envoirement
I did alittle defoiliation-means i cut the Bottom shoots
Lights are running on 50 Percent
If you want to buy the tent or the Lights, here are the Links:
Light: http://bit.ly/marshydro-sp3000
Tent: http://bit.ly/marshydro-120x60tent

Likes
10
Share


@JeyGanesha
Follow
Panty punch,.sono curioso di assaggiare questa pianta della stokers seeds... dev'essere forte sé viene come dicono,più del 30% di THC...LA VOGLIO 😂😜💪

Likes
9
Share


@pascal_dop
Follow
Als ich dachte, ich hätte noch Zeit, hab ich mich komplett verschätzt und damit warscheinlich auch den ersten richtigen Growfehler gemacht. Die Pflanze ist viel zu hoch gewachsen ... was meint Ihr? Was kann ich das nächste mal anders machen? 😞

Likes
12
Share


@DaisyNabis
Follow
desarrollo optimo de mi Euphoria CBD, una cepa que sedesarrolla muy rapidamente ya secomeienza a desarrollar la resinaen sus hojas, realmente me enamora
Likes
11
Share


@GREENPHOENIX6262
Follow
*Week 6 of flowering 10/01*
Critical +2.0 - Apple Fritter
Both plants are nearing harvest and have maxed out at a height of 48 inches.
Buds have developed heavy trichomes and are giving off a bright and vibrant smell.
85% of both plants have grown in their orange hairs and have a bright green and orange tint,
Today will be the last nutrient feed, I will be using the "Lotus Carboflush" starting tomorrow (10/02) to remove the salt build up until harvest which will be next week (10/09)
* 10/8 - Cut down*
Both are heavy on top - Covered in trichomes - smells deep (Citrus)
Dry trimming in two weeks - aiming for 14 day cure.
*Day 2 Dry Hang Video uploaded 10/09*
*10/15 - Harvest should be completed by the end of this week - 10/20*


Likes
44
Share


@Jays_Not_Here_Man
Follow
The girls had a big week! Started off with transplanting to their 2 gallon pots early in the week. They showed no stress, or signs of slowing down. With the extra room to spread, the girls were clearly loving their transplant home.
Temps were steady around 82 degrees, and RH was kept to a reasonable 60% while they were recovering. I also started with a larger nutrient feed, and will be rotating between regular feed, light feed and then plain water now that they can handle more.


Likes
65
Share


@MadeInGermany
Follow
Flowering day 68
since time change
to 12 / 12 h
and still very far away from the harvest 😂.
Hey guys :-) .
As usual, it still takes a long time until the harvest.
She has stopped growing and I am happy that I managed to keep a Dr Grinspoon small with LST and topping ☺️.
She is developing super nicely and smells exactly like a Dr grinspoon should smell 😍.
This week was poured 3 times with 1 l each (nutrients see table above)
Otherwise the lady was checked every day and everything was cleaned.
Have fun and stay healthy 💚🙏🏻
👇🏼👇🏼👇🏼👇🏼👇🏼👇🏼👇🏼👇🏼👇🏼👇🏼👇🏼👇🏼
You can buy this Nutrients at :
https://greenbuzzliquids.com/en/shop/
With the discount code: Made_in_Germany you get a discount of 15% on all products from an order value of 100 euros.
👇🏼👇🏼👇🏼👇🏼👇🏼👇🏼👇🏼👇🏼👇🏼👇🏼👇🏼👇🏼
You can buy this strain at :
https://www.barneysfarm.com/dr-grinspoon-5
Water 💧 💧💧
Osmosis water mixed with normal water (24 hours stale that the chlorine evaporates) to 0.2 EC. Add Cal / Mag to 0.4 Ec Ph with Organic Ph - to 5.8 - 6.5
MadeInGermany