
Likes
Comments
Share

@madlangs
Follow
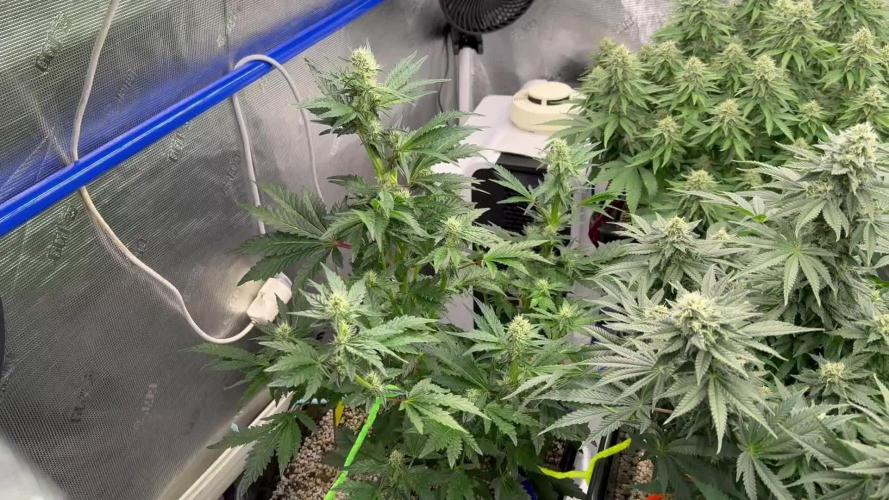
All going well. No problems
I 22.11.25
WW 56cm and 36cm
Pineapple 38
Afgooey 61
n lights 70cm & 80cm
Sleepy Joe 70cm
Papaya zoap 70cm
Pure glitter 49cm


Likes
1
Share


@RezaM
Follow
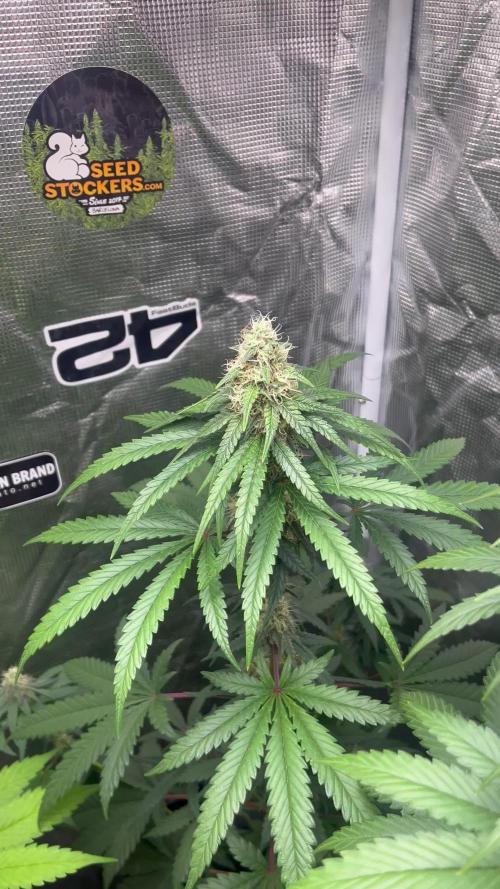
This week, I gave my plants more fertilizer to test if they show any signs of burning. Now, I'm stressed out! I think I should give myself some seaweed to relieve the stress 😂
The girls show signs of calcium deficiency. I sprayed a small amount of calcium and magnesium on them to help them recover faster. I’m not sure why the new leaves are very pale. Could they be lacking iron? I think the high soil moisture might be causing issues with iron absorption, but I’m not completely sure. I’ll wait and see what happens this week. Considering that I use regular water, I expected them not to have a calcium deficiency.

Likes
2
Share

@eldruida_lamota
Follow
Vamos familia, actualizamos la quinta semana de floración de estas Runtr de MSNL.
La temperatura que estuvo entre los 24-26 grados y humedad dentro de los rangos correctos.
En cuanto a las plantas las veo verde sano, estiraron bien y ensancharon bastante también.
Se nota que los nutrientes de la marca Agrobeta, añadí Thor y Mega Pk, hacen sus funciones.
Las flores empezaron a engordar y a llenarse de tricomas, por el momento todo correcto, os dejé también alguna novedad y un cambio en la sala, agradecer al equipo de Mars hydro por el nuevo TSW2000. (los últimos 5 años cultive solo con los leds de esta marca).
- os dejo por aquí un CÓDIGO: Eldruida
Descuento para la tienda de MARS HYDRO.
https://www.mars-hydro.com
Hasta aquí todo, Buenos humos 💨💨💨

Likes
5
Share


@Enemy61390
Follow
They smell great. Not a hard grow, but not stabilized genetics. 4 different phenos all with differing flowering times. Make it tough when you use your grow tent as a dry tent to contain smell. Had to buy another tent just to dry the ones that were finished instead of risking them herming. 5.8 oz dried and trimmed bud. Didn't weigh larf/trimmings but will be dry sifting it for the press.
Likes
2
Share

@MrLahey
Follow
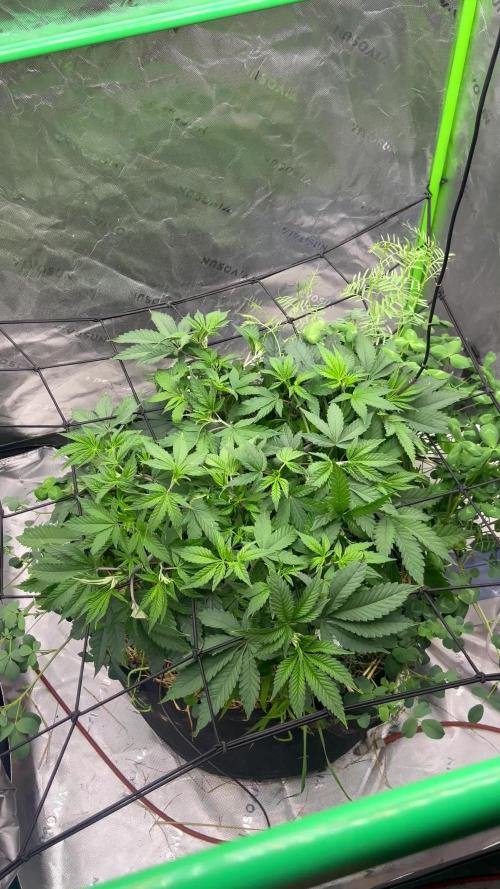
Flipped her to 12/12 lighting a couple days ago. Gonna continue to tuck her for the next week or so and then let her grow upwards. Looking forward to a good flower phase!


Likes
2
Share


@Organic473
Follow
Hopefully they are all females...I love the progress I am seeing with them thus far. I started feeding them some fish fertiliser which they respond to very well.
Likes
13
Share


@WeedM8
Follow
Hello m8 welcome to this journey with me in this diary will have very interesting strains hope u find something useful
PersianGirl
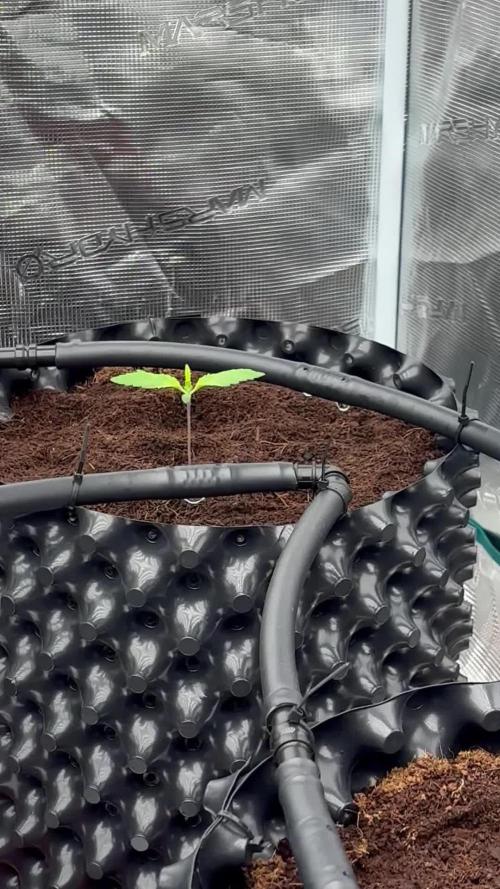
- [ ] 1st week Veg: germinated in substrate lighting very close so it jets medium high humidity after the 3rd day they started sprouting
- [ ] 2nd week Veg: this week my ventilator broke down and as the temperature stayed very warm nothing developed much
- [ ] 3rd week Veg:fortunately this week i had fixed the ventilation and the temperature has go down a bit allowing the little plants to develop and reinforce
- [ ] 4th week:very good developments in this week I already started feeding a bit two times but i didn’t have to…once was enough
- [ ] 5th week Veg:this week they were very strong green i only had to water them good and keep the ventilators going no stop .They have good hight already ,but as i have to strains together. I want to transplant them when the hight of the other one have stretched… I’m thinking to transplant next week if not the next one
- [ ] 6th week Veg: this week it went great fortunatly i dont have pests that eat my buds i’ve givven a fed once the substrate is very rich already the plants streached very well i will transplant today so be ready m8 i cant wait to show you the progress
- [ ] 1st week Fl:they started stretching and looking very healthy just transplanted
- [ ] 2nd week Fl this week I’ve been away i had a friend taking care of them they stretching very well i hope that she starts putting energy into the flo
- [ ] 3rd week Fl:they are streaching very well ..getting the light very well
- [ ] 4th week Fl:there we aree guys the good stage is heree good high hope dosent effect de prod
- [ ] 5th week Fl:pumping very good this week a lot of changes started already being fros
- [ ] 6th week Fl:
- [ ] 7th week Fl

Likes
80
Share


@Mrs_Larimar
Follow
May 1st.
breeders Information says, 10-12 Weeks of Flower
iam very courious, how they go on
Atm the 2 Phenos developing a lot of Flowermass
The shorter/ denser Pheno has fistsized Buds, starting to get denser
The other Pheno is still stacling up, and then budding around, very funny
They smell fantastic,,,
very courious how this Legend ary Strain goes on
Stay tuneD!!!

Likes
2
Share


@outdoor_grow_420
Follow
I really like create this budzai auto plant. Don't grow as I expect. But a really beautiful plant. And create two nice buds.
The smoke is amazing.


Likes
4
Share


@jojopfoh
Follow
The fade has begun as this strain is 60-70 days. The buds are vey dense, frosty and sticky. many ot he leaves have now faded and some havr fallen off. It has a very sweet smell

Likes
18
Share


@Cannaguy
Follow
Topped all 4 plants once they developed 4 nodes, will be training branches out this time to open up the middles of plants
Likes
7
Share


@KSMITH7272
Follow
Not sure how I’m doing but they look to par…. Advice is welcome. Stems are starting to purple a bit. ????
Not I see o have a pest problem. Mites or thrips.
Going to get it as dry as possible.
Plant seems to be doing fine
Likes
7
Share


@SnoopyShaggy
Follow
She is stretching very slow, buds formation are dense+trichomes all over the insides and all over sugar leaves.
Likes
12
Share


@valiotoro
Follow
Hello everyone week 2 has passed for this LSD-25 auto by Fast Buds 😎
this plant is doing very well growing at fast pace and with a beautiful green colour on the leaves.
Topping & LST for my girl 😎
wish you all happy growing!
Likes
Comments
Share


@HiddenMessage
Follow
been growing pretty well recently. gave last 2 waterings with no nutrients as I felt they were beginning stage of nutrient lock. think switch to flower will happen on new years. planning out how im gonna start adding nutrients back. prob 1 more flush with water than start with flower nutrient etc.. also added worm castings 2 or 3 days ago. excited for high yield and strong qual
added some more lst and will give her an extra week or so before flower. the other will switch to flower. she's alone with some babies from another grow for now
Defoliation on some areas to allow more light and air for a few days before switch to flower.

Likes
12
Share


@OGbros
Follow
I hung all the branches upside down in the closet. Thanks to the help of an air conditioner I keep the temperature at 23C and the humidity at 50%. When after a bending the branches will break (prematurely bend) then the drying will be complete and the tanning phase will begin. Initially I had problems with Ca and Mg deficiency, in fact the plant has grown less than the other, but I am still satisfied with the result. I usually don't weight buds when they are wet because it's just a waste of time. When they are dry I will update the diary with the precise weight.
PS the same day I harvested my country rejected the decriminalization of cultivation of weed (referendum of popular origin). I want to say to my politicians: You will never stop me from doing what I love most. that said, see you soon for the upcoming updates😈
