Likes
Comments
Share

@pHilosophy420
Follow
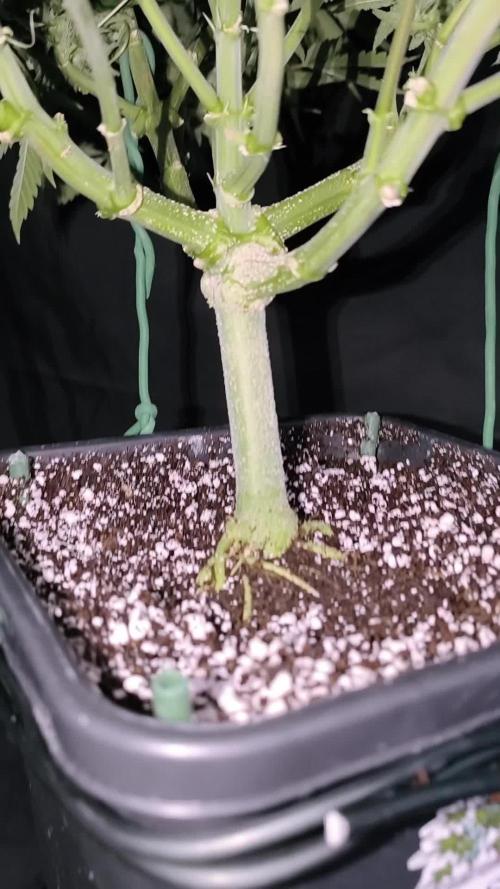
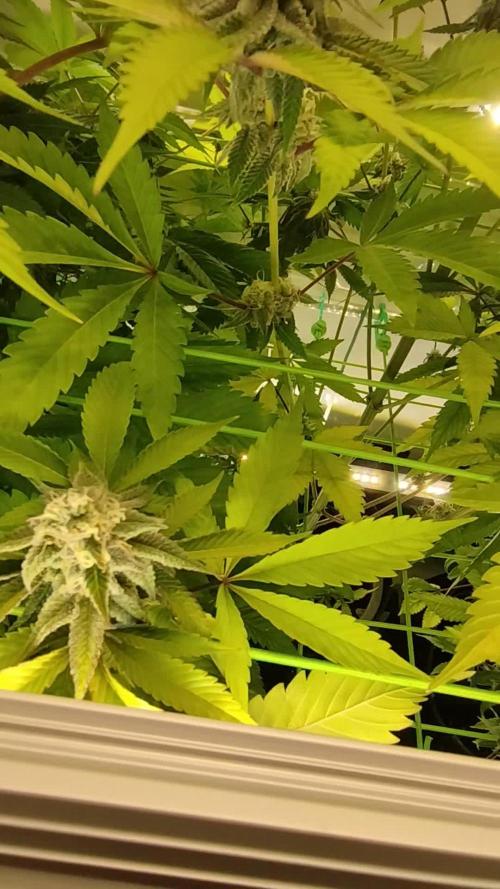
Day 91 - The buds are frosty and getting more denser every week.

Likes
9
Share


@MG2009
Follow
04/28/2020
Week #8 of flowering begins will post more pics latter.
04/29/2020
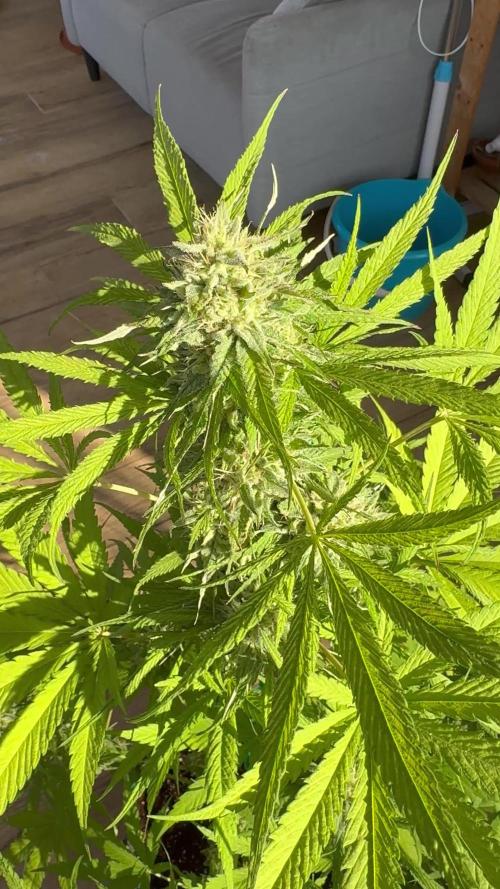
Did some leaf removal had some powdery mildew on some leaves took infected leaves off, plus some for good measure. Drying out every day or two today she took one liter before run off. You can see in the video the colors? And sparkling buds?
04/30/2020
Day 50
I decided to take the top buds in pics , 47 grams wet.
It is a 9-12 week strain but I think she need a week or two? But we will see.

Likes
11
Share

@NidoR420
Follow
Doing amazing :))) missing a lot of picture lately, overwhelmed with work
Likes
2
Share


@YAMA47
Follow
Dia 67 desde germinacio.aqui muestro las 2 mas avanzadas.comparando cultivos de bsf Arg. Con Bsf España. LLEGO A LA.CONCLUSION QUE A NOS NOS TRATAN DE SUDACAS Y NOS MANDAN SEMAS DE CALIDAD MEDIA.PROX CULTIVOS CAMBIO E BANCO¡

Likes
2
Share


@mrhomegrown10
Follow
Put plant into tent a few days after it sprouted. Is now being fed by aeroponic system.

Likes
13
Share


@Dunk_Junk
Follow
So she 'only' grew 3cm this week.
That's not bad considering what she looked like a week ago!! 😭
She's pushed out a lot of new green growth this week. I hope she's also building a strong root system below ground. 💪
Likes
3
Share


@Ninjabuds
Follow
My Northern Lights #10 plant is an absolute beast! It's the biggest one in the tent, and it's branching out like crazy. The stems are thick and strong, and it just looks super healthy overall. You can definitely see the classic Northern Lights genetics in its growth pattern – it's a vigorous and sturdy strain. I'm excited to see how big this one gets!
The weather has been absolutely gorgeous this past week! We've been hitting that sweet spot of 70 degrees during the day, perfect for getting outside and soaking up some sun. Then, it cools down to a comfy 50 degrees at night, which is ideal for sleeping with the windows open. I've been loving all the fresh air!
I finally got around to building that little wooden planter for my windowsill. It was a fun project, and now my regular plants have a nice new home. It really brightens up the room, and I'm thinking of adding some herbs to it soon. Maybe I'll even try growing some basil!

Likes
3
Share

@AestheticGenetix
Follow
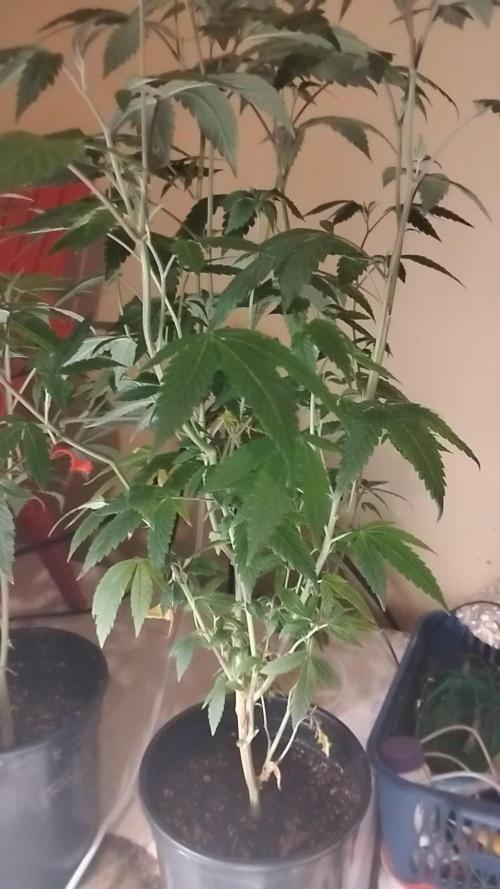
Oh man I'm excited about this one now. I think I may try and fill this tent out with this just this one plant.
Earth box and manual scrog on this Gelato. After getting her in there and realizing how easy she is to bend over and how easy it will be to get a monster plant with this set up, I'm super stoked. This will probably end up being a super long veg time but that's okay.
This is exciting for me. Something different.
Likes
13
Share


@Mrgreengrinch
Follow
One or two more day will start flushing 2 of the girls other two need Anthor week or so at least


Likes
70
Share


@Insaniac_0
Follow
All feeds with nutes use either a whole ratio or combination of "Veg Mix" and "Bloom Mix"concentrates DILUTED in water until a total ppm of add in is reached using a (Total Dissolved Solids)TDS Meter measured in PPM (parts per million). The "Veg Mix" concentrate will eventually be added in smaller ratios and "Bloom Mix" concentrate what will eventually replace the "Veg Mix" concentrate entirely with the ppm and ratios listed when I feed. Veg mix recipe is on week 3. Bloom Mix recipe is on week 5.
Day 56
Took some glamor pics with black background - not really for vanity (although there's a little) but for contrast. I see more of the lockout issue better in the pics this way. - on that note, the ph seems to be working as it's been two days since defoliation and knitting needle ph correction, and the progression is way slower than it was on the last leaves at 3rd day of identifying.
So with that, room VPD of 1.07kpa seems stable enough with temps about 76F/65%RH/33%ILV
I released the binds today to let her grow without them until they crowd each other too much and I need to restrain - so in a couple of days at max.
Day 62
Transfer day. Although at first I didnt think I would be able to until Saturday, I got pots and plant saucers today, so I ended up going ahead and doing it.
Started by calibrating/testing both meters. Double checked the soil mix from yesterday as the last time I used wood ash the ph rose the day after... however this time it was fully mixed to I wanted to know if there would be a higher ph - it was the same as yesterady - 5 reading avg of about 6.35 - the slurry of 1:1 soil and 7.7 ph water was tested at 6.3 also.
Made about .75 gallon of 75/25 veg/bloom juice water at 500ppm feed water. Tried to ph read the soil in the pot and seen it go from 6.6 down to 6.35 (took video) in the dry soil, so I decided to use the 6.35 new soil reading and ph balanced the feed to that.
Used the needles since it was 7 days since the last feed and I am using such a small amount. Poured over needles in 8 places and pulled each out to let water down. the vacuum pulls the water down when I lift the needles.
Then I mixed 5tsp of Dynomyco to the 5 gallons of new soil and mixed really good. I placed a layer of perlite on the bottom of the 10 gallon pot and then layered in some soil.
Then with the help of my wife we pulled the plant out of the pot and placed it in the 10 gallon. I place back in the tent and added about a quart of plain de-chlorinated water evenly over the new and older soil to help bind them.
I reduced lights by 100ppfd to have about 505 and 500 at center colas and 430 lowest on outer ring with most at 450 and 470 highest. Soil to light is 35 inches and the plant is about 14 inches so about 21 inches from leaves to lights.
I left the ring off today and will rebind as needed tomorrow after she rests. Today the leaves look wilted and limp.
Also reduced humidity to 60% so 58 to 65% should be the range and the temps are 73F with the lights lower.
PPFD was higher with the new growth - unbound and tucked in for better cola/light position, it reads 570 to 580 on outer colas and 590 at both center branches
Day 57
Getting 1 more day out of free range growth before I tie her back against a ring. So in that time I decided to take a few vanity pics.
Overall the ph block seems to have slowed or stopped and she's back to growing again. Will be thinking about flip at the end of this week or so.
VPD same stats 76F/65%RH/33%ILV - ppfd right at max so I'll likely tie her off tomorrow. 605 600 in center and 580 to 590 at the outer ring.
Day 58
VPD stats mostly steady again today - 76F/65%RH/33%ILV - ppfd was checked after LST, measured 600 at each center cola and the outer ring measured between 550 and 590 most at 580
So as I said, I did LST today to bind her more out while the 4 center 4 colas fill the middle. I had to bind to the pot base instead of the ring as the colas are still a little short to reach for binds at the ring just yet. There's a lot of space to fill and a few (about half) of the out colas are sideways for now.
Had a break at the center cola when I tried to pull it back for bind. I knew to hold the branch at the node but forgot to do it here and heard a "snap" ... taped the crack and moved on - will monitor obviously
Day 59
Did more light LST to ensure the branches are growing where I want. PPFD was mostly the same as yesterday only now there are more colas around 560 than 580 on the outer ring with the center colas at 610 and 590 (front cola was tied down to spread more away from the ring and fill center better.
vpd same as past week or so 76F/65%RH/33%ILV
Last feed was on day 54 and the soil still seems damp so I will check again tomorrow for the next day. (Day 61)
The broken branch doesnt seem to have affected either side of the split as both sides seem to have grown a little with little to no wilt or drooping leaves. Im hoping it heals okay and doesnt delay flip to recover more; still monitoring.
Day 60
Did some light LST today by releasing the lower binds to the pot and attached as couple to the outer ring now. So far I only have to bind a few as most are already holding where i want them to.
Took the tape off the split and seen I didnt seel the gap closed when I taped it so now Im considering a drop of super glue to bind the branch back in hopes it grows onto the other side again. If not at least it would be more secure than it is now. And since it's a main split for 4 colas, I dont want too restrict it by binding at the split and potentially cutting off the nutrient pathways.
ppfd after LST was 610 and 600 after more LST and the outer ring is still ranging 550 to 580 with more at 560 now.
VPD same as I havent messing with any of the variables. 76F/65%RH/33%ILV
Soil is a bit dry and it's been 5 days since the last feed flush, so I have about 3 gallons of tap burning of chlorine now for a feed tomorrow morning.
Might still update again later if I find superglue...
found some superglue - tried to take pictures but I cant hold, squeeze the applicator, and film with just two hands. So the idea gets through, I did both sides.
On a side note I discovered a root popping out of the soil from the top. Covered it up but wasn't sure if I should be concerned.
Day 61
VPD same as it's been for most of the last week - 74F/65%RH/33%ILV
PPFD was recorded after I turn the plant a quarter turn for the smaller colas struggling to get over he ring's edge to have more light. Most colas at 580 with a couple at 600 and a couple more at 550 - center colas are hitting 615 and 620, but I have plancs to reduce in the next couple of days now
On that note, the root growing out of the top tells me that she's hungry and needs more root space, even if that means growing through the top of the soil. So I plan to transplant to a 10 gallon and flip after the recovery. After reviewing more of NugBucket's journal I realized this is why he moves them when growing 16 colas.
New pots should be here Friday so I should be able do it on Saturday.
So I prepped soil (using more Happy frog with mycorrhizal fungi already growing in it for a few weeks) with de-chlorinated tap water
Started by ph testing the soil and the water (4 readings on soil at 5.03 avg) - added about 1/2 cup total of wood ash to bring up the ph , mixed and tested again - added water at (about 7.7 ph) and tested again... last 5 readings in soil was 6.24,6.3,6.35,6.37,6.38 avg of 6.328 - covered and let rest until needed.
Since I plan to transplant in a few days I felt it would be best to 'lightly' feed tomorrow, again on transplant day, and again 2 to 3 days later.
Since my wife was taking pics at this time, I could only find this one to show the roots growing into the perlite then we planted it in the bigger pot.
--------
(Day 62 root base picture from above)
I have a hypothesis that says these are so short because I intentionally tried not to move the plant without the base stand to keep it from grinding these up and allowed them to grow in the last 2 weeks. This is that test picture/results.
I like the idea of better/more drainage, but thinking I am doing more harm each time I hear those gravel pieces crunch as it cuts those and forces the plant to look somewhere else for root space. Notice how the small root lines have no finer pieces or laterals grow out from these - I believe that is because they are so new in growth and that the perlite chewed up the smaller laterals even with little to no movement over the last two weeks
I would like to see a root ball experiment that exposed the roots throughout the grow but for now I can see these roots do grow into the base perlite and need to be handled carefully if you want them to grow more freely or with a standard pot size. As you can see Im not root bound but my plant thinks it is and is growing roots out the top.

Likes
6
Share

@JVKdopegrow
Follow
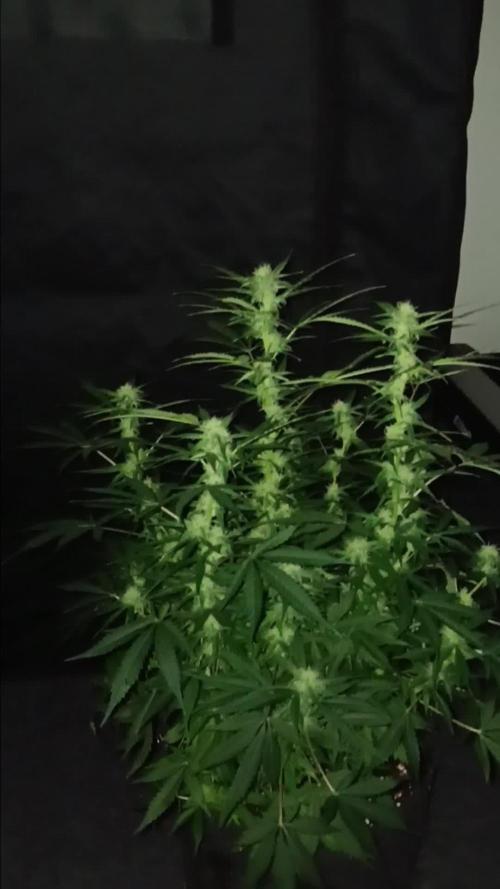
I have become a voyeur of this plant. She is on her own despite my various attempts to cut, trim, and bend. Likely in her final stretch as the bud growth is now on every branch. I really enjoy just looking at her.
Likes
62
Share


@Wicked_Stix
Follow
The gutter hoe grow show powered by the viparspectra XS2000 is still in action. The plants are showing that they aren't completely happy with the limited root space they have but they are growing some buds. Crescendo is definitely the most trich coated of the bunch. The big detroit energy is producing some big fat buds. Lowered the temp to 72. Other than that the juice will keep pumping and the lights will keep beaming.

Likes
64
Share


@DogDoctorOfficial
Follow
Super easy growing, almost no maintenance, she just needs love and attention, and she will shine for you

Likes
14
Share


@JamieKnolliver
Follow
Grüßt euch Freunde!
Wir sind nun am Ende der 4. Woche.
Einige Blätter verfärben sich Lila.
Habe in dieser Woche nicht viel getan, außer Wasser und Dünger zu geben.
Die PPOG entwickelt in der 4 Woche wirklich heftig Resin.
Sie sieht wirklich frosty aus, gefällt mir !☺️
Mir ist nun aufgefallen, dass die unteren Blätter alle die Spitzen nach unten neigen.
Man nennt das auch ‚Adlerkrallen‘ und ist auf einen Stickstoff Überschuss zurückzuführen.
Habe durch die Verfärbung der Blätter auf einen Mangel geschlossen, war vielleicht nicht die beste Idee mehr Bio Grow zuzuführen😂
Werde im laufe der 5 Woche keinen Bio Grow mehr verwenden und beobachten wie sich das entwickelt.
Euch allen eine gute Woche !💚


Likes
19
Share


@EmeraldLakeCannabis
Follow
yeh, forgot to add the new week the other day. Oh well. Didn't miss much of anything.
Timelapse for the last week starts us off here, as usual will update as the week goes on if anything notable happens.
-3/14/2021 - Been slacking off on progress updates and pictures. However, progress has been damn good. Recovery from topping is over and the plants have adjusted to the new pot sizes.
Likes
18
Share


@Bread_n_Buds
Follow
Now we've reached day 25.
We are in the transition phase, pre-flowering if you want, when the seedlings reveal their sex by showing the white fluff or the boyish balls. Here and in all F1 Hybrids you can be SURE, SURE as death that you will never see any balls.
If you have underestimated this aspect of the F1 Hybrid, go back and think about how many times you found the balls on the paint, full of pollen that fertilized your ladies.
Do you like having young ladies impregnate you? Absolutely not for me and this is a very valid reason why you can choose the F1 Hybrid. Really guys the seeds suck and the genetics of the various breeders if they don't do a job like this it means that they are super hybrid poles with genetic traces scattered here and there. Inglourious bastards.
Here we don't want to be Aryan but to cultivate healthy plants with safe results.
Our Watermalon Candy F1 per mea culpa mea culèa mea grandissima culpa shows some signs of overfeeding, the famous yellow tips of the leaves. Let's be clear, this is minor and is due to the fact that these genetics are so good that they need very little or no fertilizer in the vegetative phase. Then if you already have fertilized soil, forget about growing guys, another pro!
I gave the recommended doses even a little less to tell the truth of both Aptus and Plagron and the plants more or less all have these small signs of over. LITTLE guys, wait until the end to save if you feel like it, or at least I recommend it.
To fix this little thing we go to flush with pH 6.2 and only give Aptus Regulator which should rebalance the plant and soil before delicately moving on to fertilizers for flowering.
Site Description
ZAMNESIA SEEDS - WATERMELON CANDY F1 HYBRID AUTOMATIC: BUDS BURSTING WITH FLAVOR
If you've been looking for a flavorful strain with superb genetics that's effortless to cultivate, the hunt is over. Thanks to reliable F1 hybrid genetics, Watermelon Candy F1 Automatic showcases the highest degree of productivity and efficiency. This strain takes everything you know and love about the original, and packages it in a plant with even greater potential.
GROWING WATERMELON CANDY F1 HYBRID AUTOMATIC
Derived from Watermelon, Candy Kush, and ruderalis, Watermelon Candy F1 Automatic is a finely tuned medley of genetics. This cultivar is fast to flourish and reliable to grow, no matter where you choose to grow. Taking just 9–10 weeks from germination to harvest, she provides a uniform growing experience culminating in a huge haul of buds for her size.
Reaching heights of 65–80cm, Watermelon Candy F1 Automatic stays pretty grounded, making her perfect for smaller growing areas where space is a commodity. It also means you can fit more plants in if you have the room! Once ready to yield, growers will see a return of 400–450g/m² indoors and up to 100g/plant outdoors. Moreover, Watermelon Candy F1 Automatic is highly resistant to pests and disease, making it an ideal strain for newcomers and fans of low-maintenance cultivation.
AROMAS, FLAVORS, AND EFFECTS OF WATERMELON CANDY F1 HYBRID AUTOMATIC
If we haven't already sold you on the power of F1 hybrid genetics, the proof is in the pudding. Watermelon Candy F1 Automatic is teaming with terpenes and cannabinoids, making for a lively high coupled with huge flavors. Just one hit is all it takes to sample rich fruitiness mixed with sweet candies and a slight earthiness to back it up. And with an average THC content of 23%, the effects are euphoric at the start but settle into deep relaxation soon after. Whether you're chilling alone or with friends, Watermelon Candy F1 Automatic will see you right.
As for fertilizers, I'm doing a small comparison experiment to finish off the fertilizers I had at home, it's not 100% indicative, it's only on two specimens but given the stable genetics I decided to try to compare the results of Plagron Vs Aptus , both excellent brands which they will certainly produce beautiful plants which are already of excellent stable genetics. In the next few weeks the comparison will be more evident now the seedlings are still very small and just potted.
So seeds of all brands, in addition to these great F1 Hybrids and the entire Zamnesia line, fertilizers and everything related to the world of cannabis, you should buy them from the best online store in the sector
www.zamnesia.io

Likes
10
Share


@Flavors
Follow
🌸 Sticky Broccoli – Grow Diary 🌸
Week 13 | Flip Week | Coco + Perlite
This week marks the transition into flower 🌺
Light cycle will be flipped to begin the flowering phase ⏳
Canopy is fully established and evenly spread through the SCROG 🌐
Plant structure is wide, flat, and optimized for light distribution 🌿
Final veg training and defoliation are complete ✂️🍃
Bud sites are exposed across the entire canopy.
Clones have been taken from selected healthy branches 🌱
Mother plant remains vigorous with strong stem structure 💪
Environment adjusted for flower transition with continued airflow 🌬️
Watering remains steady with slight runoff 💧
Expecting stretch phase to begin soon as flowering hormones activate 🚀
Focus now shifts from structure building to bud development 🌸🔥
Likes
1
Share


@Lvnsource
Follow
Feed Log:
#1 D:84 - 6.0L - Si,[3.6ml],AlgoHumus [0ml],HakaB[4g],HakaR[1.1g]Ca/Mg,[0.3g/L & 0.2g/L],INPUT: [pH 7.2],[1.002 EC], OUTPUT: 1.7L , [1.884], pH [6.4] Previous irrigation: D:82
#2 D:84 - 6.0L - Si,[3.6ml],AlgoHumus [0ml],HakaB[4g],HakaR[1.1g]Ca/Mg,[0.3g/L & 0.2g/L],INPUT: [pH 7.2],[1.002 EC], OUTPUT: 4L, [1.894], pH [7.3] Previous irrigation: D:82
Both plants are currently drinking 6L every 2 days give or take on the weather conditions ☀️
Haven’t needed to implement any IPM as of recently; haven’t noticed any thrip damage etc :)
Still monitoring though just in case! 🌱


Likes
4
Share

@Jabbamo
Follow
_______________________________________________________
Mi. 25.3.
- 3,05 Liter pro Pflanze gegossen (ca. 50ml Drain)
1,2 ml / Liter "Calmag"
1,5 ml / Liter "Bio Grow"
4,0 ml / Liter "Bio Bloom"
4,0 ml / Liter "Top Max"
Ph 6,2 / 790 ppm
_______________________________________________________