Likes
Comments
Share

@Kominest
Follow
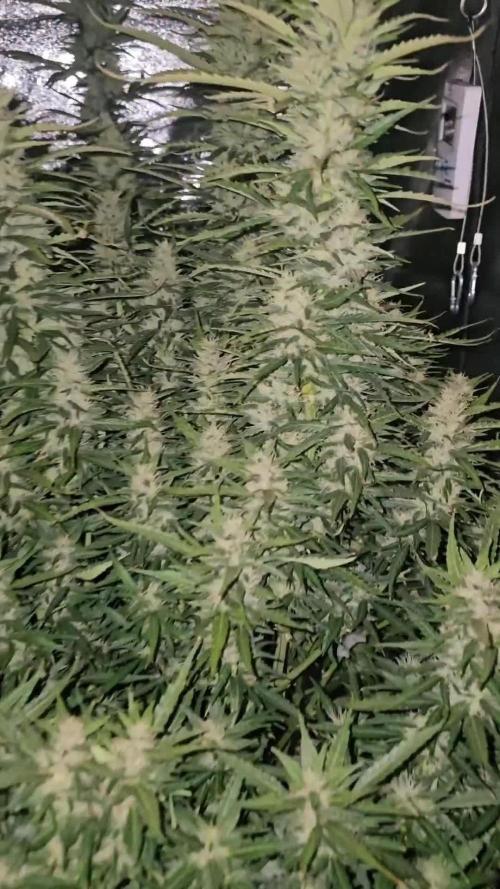
Dli around 45
She’s stretching hard and starts to purple slowly . Will follow up with more later

Likes
21
Share


@3lementa1
Follow
Had to cut. Open house through my apartment for 4 hours/day every day basically until it sells. I'm keeping them hanging in the window until the tours come through, then they go in a paper bag in a bin under my bed and I burn incense. It went ok today. I just used a microscope and they're both pretty early. This one has mostly cloudy trichomes with some clear and very few amber. The White Widow has a lot of white hairs that aren't even through growing, and the trichomes aren't really there as much either. Certainly not glowing white with resin. It's a shame I had to cut early but I think it will still be some good smoke as long as I can keep if from going mouldy.
Likes
35
Share


@Pietcandwcbucket
Follow
2x Plants with liqui cannabiz doing very - ghe tri 2x coming along (adjusted their nutes) lets hope for the ge best..ill be doing some fimming through out he week.. Hopefully side branches eill catchup during stretch period.. Looks like 2 showing signs of flowering.. Hectic week ahead @ work - will try my best not 2 f&#k things up..sofar so good.. Had some issues with LC buckets - looks like ektra NSol solving the issue.. Lets see changing all nutes 2morrow


Likes
25
Share


@Grower_Of_Persia
Follow
my dry and cure style is this:
4 days of hanging upside down to get water activity lower to around 0.6 in 50% humidity and 26 C temp (i know its a little high but we are in a hot summer right now and i cant get it lower even with air conditioner) and then after 4 days of drying i remove leaves and stalks, trim buds and move them to jar for the rest of their life :D . and in the first 4 days of curing i open the jar door and let hem get some fresh air in the jar for about 5 minutes and close the jar door again, after 4 days of curing like that buds are smokable but they will get better as they getting cured about 1 month.
buds are one of the hardest as fucking rocks type of buds! very dense , compact , sticky , smelly , amazing at every aspect
growing stage was 60 days and flowering stage was 70 days total (harvested tops at day 63th)
the total weight of dry buds was : top buds 174 G + lower buds 55 G = 229 G
my overview of strain with details:
the seeds:
unfortunately i only got 1 seed cracked out of 5 so i will not know how much this genetic can get different but at least i got the chance to grow once of this wonderful strain
the plant :
in every stage you can ensure that you are dealing with a high level plant ,
she will get big so you have to control her height LST and SCROG highly recommended , will grow very well with tick stalks and big fan leaves , has good resistance for stress and will respond very well to stress trainings , she really has gorilla power in herself ,
fresh buds on plant :
buds are very compact and dense even from start , fresh blossoms smells like pineapple and mango , 2 different shades of sweet smells like you hold 2 junks of pineapple and mango in your hand and you smell them together, she is a trichome and resin factory , very very sticky , very oily , strong smell
dried buds:
very compact and dense , hard as rocks , has dark colors with purple hues inside it , it smells sweet
smoke :
very smooth and sweet like lollipop , pineapple , mango like , after 2 minutes it'll kick in and you'll get higher and higher with every breath , has a strange and especial high mind high mostly

Likes
58
Share


@AsNoriu
Follow
Night 87 since seed touched soil. In total darkness, after work i came to check huge rain damage - found bud rot. #1 goes down.
Day 94. Last two girls are down, this summer adventure is over !
If early spring, in theory you can have two auto harvests easy, even in UK ...
Happy Growing !!!
Likes
2
Share

@Black_Widow
Follow
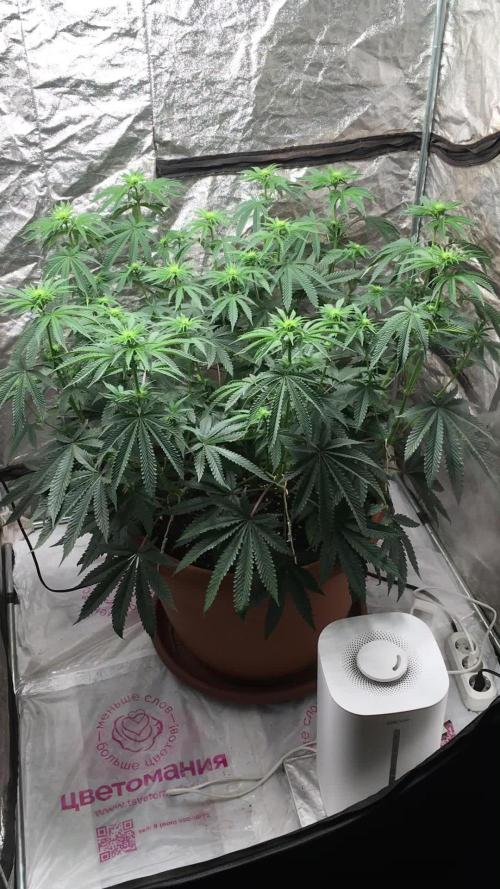
Привет садоводы и огородники !!!
Растение чувствует себя хорошо
оно зачвело и вытянулось до 60 сантиметров
цвет листьев отличный
Likes
7
Share


@Nikkov
Follow
well, another week goes by and it's growing not like I expected hehehe but that's ok, living and learning, and for now I'll just wait for this cycle to end to start a new one and post it here and I'll tell you right away that I ordered a kit advanced nutrients starter and will test it on the new cycle. =D
Likes
62
Share


@DudeGrowsWeed
Follow
January 24, 2019
The girls are doing WELL. My autos (Blackberry and NYC Diesel) are mid-flush now and will be chopped down this weekend. The Blackberry is a beautiful purple and the NYC Diesel is dense and chunky - both smell amazing!!!
My photos are chugging right along also. The DinaFem Critical+ is definitely in the lead as far as bud development at this stage, with Seedsman Cream & Cheese CBD in a close second, followed by DinaMed CBD+ and the Cherry Hemp plants.
This week I fed/watered 3 times (basically once every other day). The first time I fed with Recharge, Mammoth P and Big Bloom. The second time, I fed with Mr B’s Green Trees Bloom and Cal Mag. The third time was water only.
***January 26, 2019 update***
Cut down the FastBuds Blackberry and Barneys Farm NYC Diesel today and added a pic of the hanging branches.
The NYC Diesel buds are much more dense than the Blackberry. The Blackberry buds are pretty loose and airy. I'm curious to see what they look like after drying for a week. Stay tuned..


Likes
2
Share


Likes
1
Share

@timbarin
Follow
3/August
She was a late starter and in the tent with her bigger sister. I would prefer to have her in veg for two more weeks but her sister is ready so I'll flower her also.
She got trimmed today.
Likes
8
Share


@FireAntTheGrower
Follow
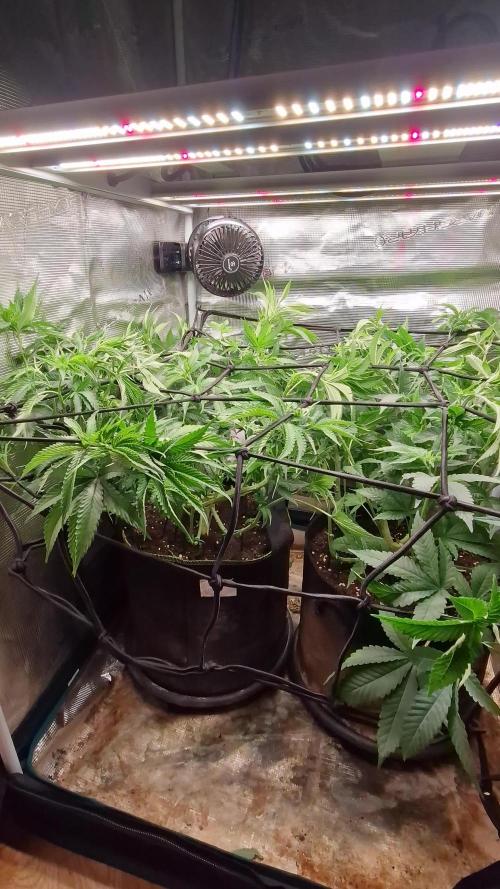
I thought I wasn’t going to use the net trellis but it is a must and it help me eliminate everything below. Some may say I cut off a lot of yield but I’m okay leaving out the pop corn buds and just keep the top colas or those that praying to the light


Likes
1
Share


@CheeRz
Follow
It's vegi week 4, and the two lemon ladies are doing splendidly. If they continue to grow like this, they should be ready to switch to the flowering stage by the end of week five.

Likes
22
Share


@NSCanna
Follow
Not much for feeding this week, accept for the Rezin and some blood meal since she's not as dark green as I would like. Nodes are looking okay so I'm leaving it at current light distance to keep them closer together.
Did a large trim and another spray for thrips. Microbe populations are also looking good.
Added supplemental CO2


Likes
5
Share


@ricoo
Follow
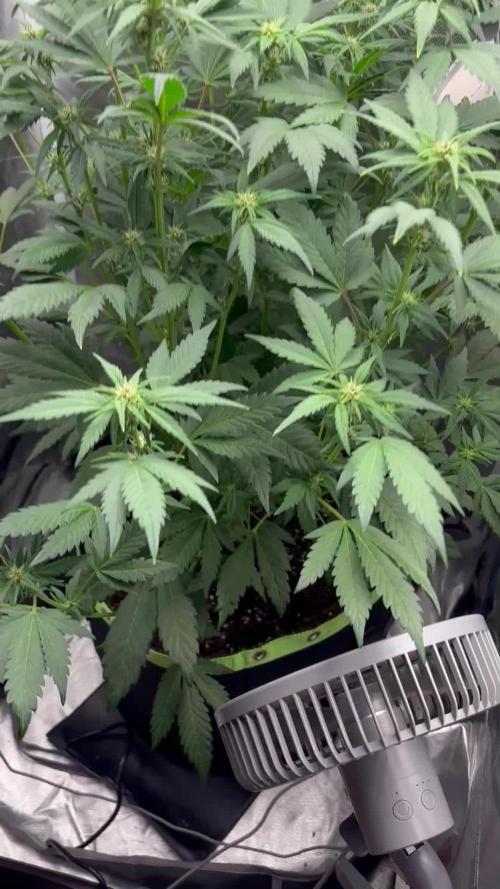
They are growing nicely, i forgot to upload for some time and now they are finally fully flowering, i pretty much fertilze them with everything.
Likes
42
Share


@GanjaReaper
Follow
In this week i decided to only give them another startbooster which contains some rootstimulator. Some days after feeding with startbooster, i gave them some water.
There are still so many kinds of nutrients in the soil.
The plants look a little light green, i have been checking my run-off water and it should be fine( still higher EC then i used to have but i have already explained why it is that way).
I'm not overwatering so it's not a (N)itrogen problem which can most of the time results into light green leaves.
( when there is no nitrogen in the soil the roots will not or barely take any water(nutrients)
I had the same thing with other sativas in the past, behind the window before and in later stages it got solved. I still have to remind myself that it is a fun-outside-grow so i should'nt complain about
low humidity(40-45) which should be 85%, temperature 20-21 degrees which should be 26-27, being behind a glas window instead of better exposure to the sunlight or lamps, not having fans on it to get
better firm stems or closer lightsource so they don't stretch that much.
For now i start getting them used to the sunlight by carefully putting them in shade places or with a few hours sunlight. It went well but except for the bigger pot plant,
you can see on the highest leaf that it got a little bit curly but still not a big issue.
I might buy some Canna Cure this week. Canna cure is good against insects, molts and such. It also holds some nutrients. Very usefull for outside growing.
Since i don't want to overwater or overfeed my plants because i want them to root alot, this might be a solution to give them some extra nutrients, it also makes the leaves more green.
When the plants are getting bigger and more thick i want to start doing LTS, i order to do so i just have a little bit time left to bully them a bit with keeping them dry for rooting.
I don't want to do that while doing LTS.
Don't mind the temperature meter, its not 32 degrees outside. It was still inside behind the window between the curtains. It hotter there. ( might also be the reason for some stretch in the plants)