


Likes
Comments
Share

@Chucky324
Follow
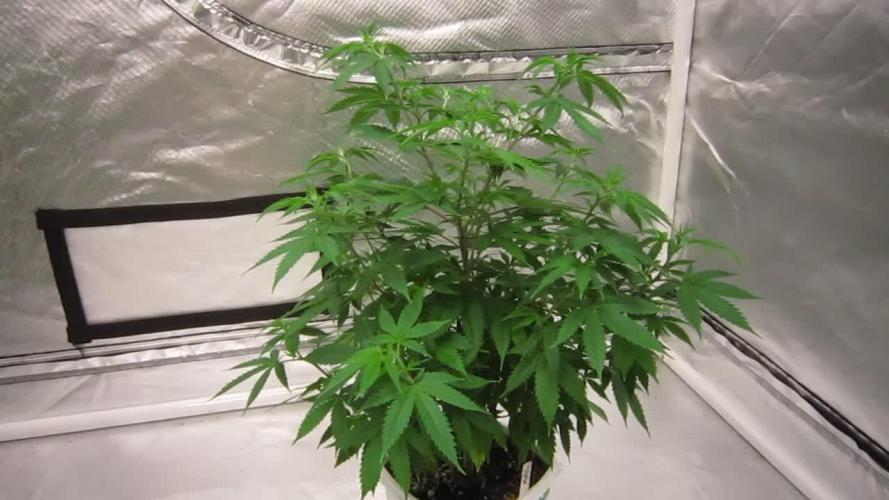
Hello. This is the end of week 8 and the beginning of week 9 of veg.
This plant is doing good. Growing well after sitting so long, 8 weeks, with only it first leaves out.
This plant is really 16 weeks old. See week one for pics and story.
Hope it's strong... I like strong... I like it's shape...
OK. Keep growing Straight.
Chuck.
Likes
Comments
Share

@Yiyis_Grow
Follow
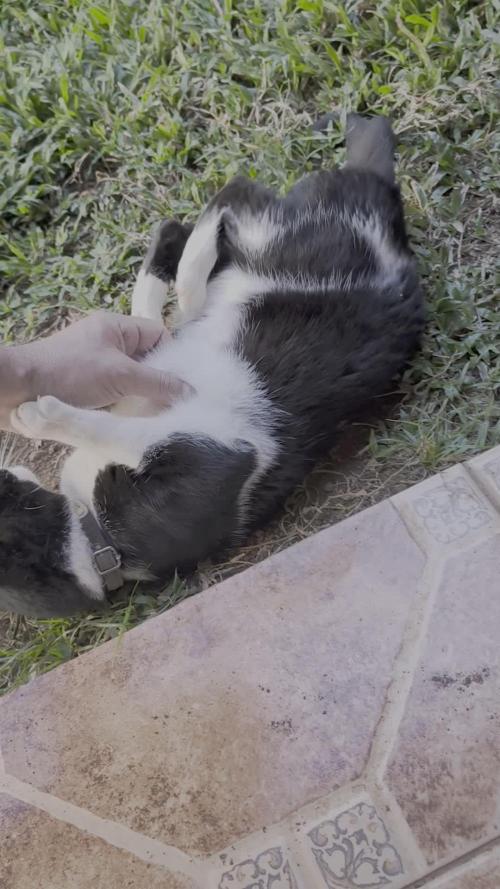
7 horas de sol, Floranova Grow y Armour Si de GH, agua de grifo. Le sentó bien el corte ápical.
Le podé el piso inferior, tal vez hice apical tarde. Apliqué LST.

Likes
9
Share

@DarbGrowDiaries
Follow
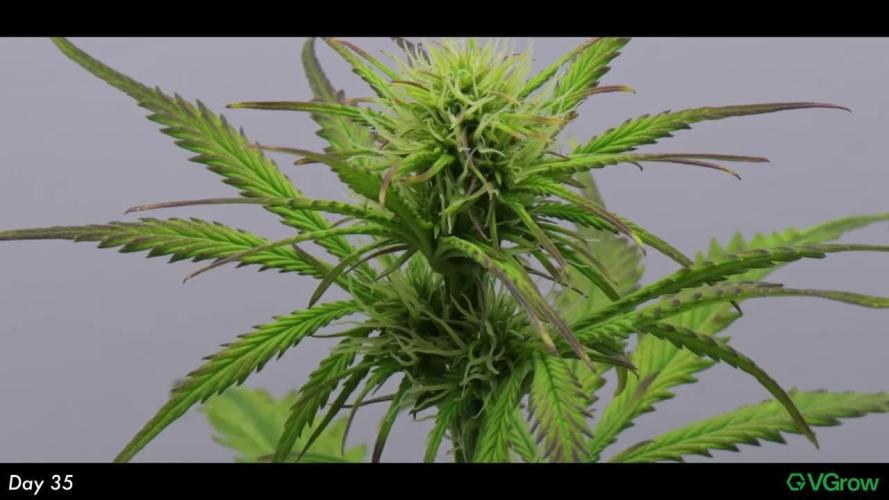
Could probably still go for another week, but as it was loosing so many leafs it was better for me to cut it early.
Buds are very dense so very interested to know the final weight

Likes
4
Share


@DmbTexasRanger
Follow
Exotic pheno of elephant trunk. Mostly sunset sherbert. Will highlight the Gary Payton leaning phenols in harvest


Likes
92
Share


@DogDoctorOfficial
Follow
Week 13: Week 5 Flower—A Garden in Full Bloom 🌸✨
Hey, Grow Fam! 💚 We’re deep into Week 13, and this room is nothing short of mesmerizing. Each plant is unique, showcasing its trichome-coated beauty, with white hairs dancing in their distinct patterns. It’s the culmination of patience, hard work, and overcoming challenges. The two-layered canopy—thanks to some ambitious young ones—is a testament to adaptability and dedication. 🌱🌟
Feeding Update: Aptus Holland Breakout Powder
This week, we introduced Aptus Holland Breakout Powder into the feeding mix at 0.5g/L, alongside the nutrients already in use. This powerhouse additive is designed to promote robust flower development, enhancing both density and resin production. Breakout Powder brings that extra “oomph” to the table, helping the girls truly break out into their full flowering potential. 🌺💪
Combined with our existing recipe, the results are already starting to show. Buds are swelling, trichomes are shimmering, and the room smells heavenly. If you’ve ever wondered what a well-rounded feeding schedule can do, this week’s results are the answer!
TrolMaster Magic: Monitoring & Stability
I’ve included a few TrolMaster app prints to share my love for this system. It’s not just about controlling the environment; it’s about mastering it. The app provides real-time data, historical records, and an unmatched level of convenience. Whether I’m sipping coffee or working in the garden, the system keeps me in sync with my grow.
This week, I’m particularly thrilled about how stable the pH levels have become since transitioning to full mineral-based nutrients. Unlike the organic-mineral combo, which required frequent adjustments, the current setup is practically self-sufficient. This stability means happier roots, more consistent nutrient uptake, and ultimately, better plants. The data speaks for itself—check out the comparison print!
Comfort & Style: My Aptus Holland Pants
Oh, and can we talk about how comfortable my Aptus Holland pants are? These have become my go-to garden gear. Stylish, functional, and perfect for spending long hours among the plants. Let’s just say, my plants aren’t the only ones dressed to impress! 😂👖
Shoutouts & Gratitude
As always, a huge thank you to the amazing people and brands that make this journey possible:
• TrolMaster for the tech that keeps me connected to my grow.
• Aptus Holland for the nutrients that take my plants to the next level.
• Pro Mix for the growing medium that supports this foundation.
• Cannakan for ensuring my seeds get the perfect start.
• And of course, the seed banks for these incredible genetics.
A special shoutout to the community—followers, friends, supporters, and even the haters. You all bring energy to this space, and it’s all apprecialoved! Let’s keep growing stronger together. 💚
#TrolMaster #AptusHolland #GrowLife #CannabisCommunity #FlowerWeek4 #NeverGiveUp #GrowWithLove #IndoorHorticulture #Defoliation #PPFD #ControlledEnvironment #SCROGNet #DogDoctorOfficial
Discount Codes so you can save big on your next check out 💚💚💚
Kannabia - DOGDOCTOR 30% off
SeedsmanSeeds - DOGDOCTOR 10% off
CannaKan- DOGDOCTOR 15% off
terpyz.eu - DOCTOR 15% off
The Neutralizer - PORKIT5-DOG 15% off
Fast Buds - DOGDOCT 15% off
As always thank you all for stopping by, for the love and for it all , this journey of mine wold just not be the same without you guys, the love and support is very much appreciated and i fell honored and so joyful with you all in my life 🙏
With true love comes happiness 💚🙏 Always believe in your self and always do things expecting nothing and with an open heart , be a giver and the universe will give back to you in ways you could not even imagine so 💚
Friendly reminder all you see here is pure research and for educational purposes only
Growers Love to you all 💚💚💚


Likes
38
Share

@DE_BW
Follow
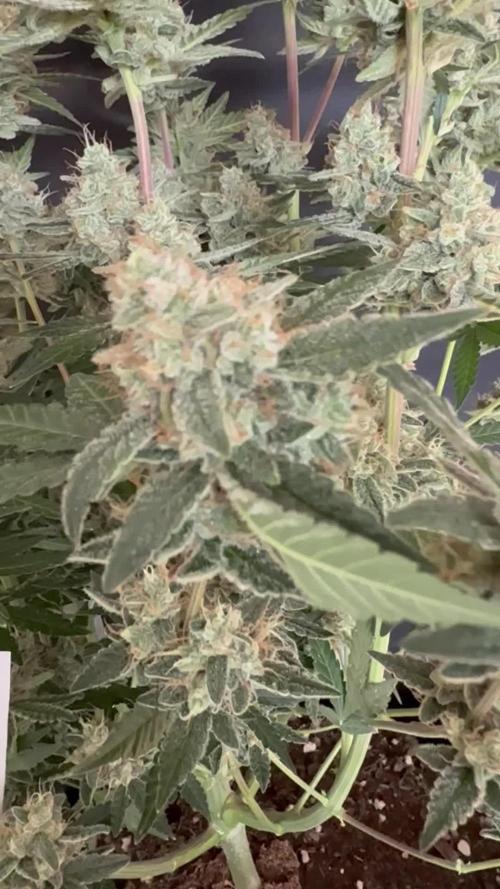
The flush was successful, and the plant has finished beautifully. The buds have swollen considerably during the final days and are extremely frosty, dense and well developed. She will be harvested today.
Overall, this has been a very successful grow. Despite the heat and the persistent pest pressure, the plant remained healthy, produced an impressive amount of resin and developed a large number of solid, well-stacked flowers.
Likes
79
Share


@SlowpokeFuegobud
Follow
🍬 🍓 🍧🍭 🍋 🍹
Hello and welcome to week 3, dearest growmies!! 😘
Sherbet Schwarzenegger is one of the strongest girls in the class!! 💪
Foliar sprayed with Nutrispray on day 20. 💦
Watered on day 17 and after potting. 💧
Thanks APTUS Holland for supplying me with the nutes for this grow! 🙏 ❤️ I cannot wait to try them!! 🌱 🌞
Thanks @Sweet_Seeds for the beautiful genetics!! You guys rock!! 😘
___________________________________________________________________________________________
Strawberry Cola Sherbet F1 Fast Version®️
This is an ultra-fast flowering, photoperiod-dependent, feminized strain with red flowers. It is also a first filial generation (F1) cross between a photoperiod-dependent elite clone of the famous Californian Sunset Sherbet and the autoflowering strain Strawberry Cola Auto.
Strawberry Cola Sherbet F1 Fast Version®️ (SWS106) is an indica/sativa polyhybrid, although it is predominantly indica. The plants have large, dense buds covered with lots of highly aromatic resin.
This strain has a very pleasant, potent, and complex aroma, with shades of red fruits and cola, earthy and woody hints, and fresh, citrus undertones.
It has a happy, relaxing effect that stimulates reflective introspection, concentration, and insight.
Data Sheet Strawberry Cola Sherbet F1 Fast Version®️
Variety: SWS106
Indica: 80%
Sativa: 20%
THC: 18-22%
CBD: 0,1%
Indoor Yield: 450-600 g/m²
Outdoor Yield: 400-650 g/plant
Indoor Blooming: 7 weeks
Purple Flower: approximately 75% of the specimens
Effects: Stimulating, Happiness, Relaxing
Taste: Earthy, Citrus, Cool
https://sweetseeds.es/en/f1-fast-version-seeds/3237-strawberry-cola-sherbet-f1-fast-version.html
____________________________________________________________________________________________
Setup:
140x70x200 cm Spiderfarmer tent
2x Monkey 16W fans (not oscillating)
1x Secret Jardin 30W
1x box fan 50W oscillating (on lowest level)
LED
Full Spectrum 320W AGLEX AGL-320W-MA
5,6 kg
foldable, dimmable
864 pieces Samsung LH301H
864umol/s
2,7umol/J
full spectrum white + RED 660nm + IR 740nm
wavelength range 380-780nm
covering 3x4ft
APTUS Holland - https://aptus-holland.com 💚
Green Buzz Nutrients https://greenbuzzliquids.com/ 💚
❗ Use code GD42025 for generous 25% discount (for orders of minimum 75€)
Biobizz Lightmix + coco + wormcastings + perlite
Carbon Active Granulate Filter 125/360 cm³/h
PrimaKlima exhaust EC 125-400/240 cm³/h
Likes
44
Share


@Aedaone
Follow
The temperatures, humidity, height, and watering volume(if measured) in grow conditions are all averaged for the week. The pH is soil pH. Any watering done by me is well water which is 7.6 pH and 50° F. Coop Poop, Feather Meal, and Soluble Kelp are ml/gallon of soil top dressed. Everything else listed in nutrients is ml/gallon of water fed to plants without checking the solution Ph.
Day 1 we had a high temperature of 73°. It was sunny, cool, and a dry 35% humidity. The girls are super happy. I watered about 5 gallons today.
Day 2 we had a high temperature of 74°F. I watered about 5 gallons of well water. The nights are super cool and the pm is coming back. I'll have more Growers Ally fungicide arriving tomorrow. I'll hit these with the double treatment to clean them up.
Day 4 we had a high temperature of 84°F with sunny skies. The humidity is tipping back up but still below 80%. I didn't get photos for day 3. The girls are doing great. I treated with biofungicide today. They're feeding off the nutes in the pot. They run a little low on nitrogen overnight. When I water in the morning the feather meal on the top soil breaks down and they darken up.
Day 5 we had a high temperature of 87°F with partly cloudy skies. I watered about 5 gallons.
Day 6 we had a high temperature of 80°F. Skies were cloudy and we have a hurricane now tropical depression about to hit. I watered about 5 gallons. No rain yet.
Day 7 we had a high temperature of 72°F. Skies were overcast and there was a drizzling mist all day. Humidity was 110% for at least 24 hours. The girls seemed to be fine. There's more rain in the forecast and I'm hoping we miss it.
Likes
12
Share


@Hawkbo
Follow
This is what's left in the tent, the gelato is comin down tonight and maybe the 2 smaller lemon aks maybe tmm. The cream cookies and other lemon AK will come down soon too and then I can get some pics. The pineapple and blue dream get 1 more flush
Likes
3
Share

@Lvnsource
Follow
[Feed Log]
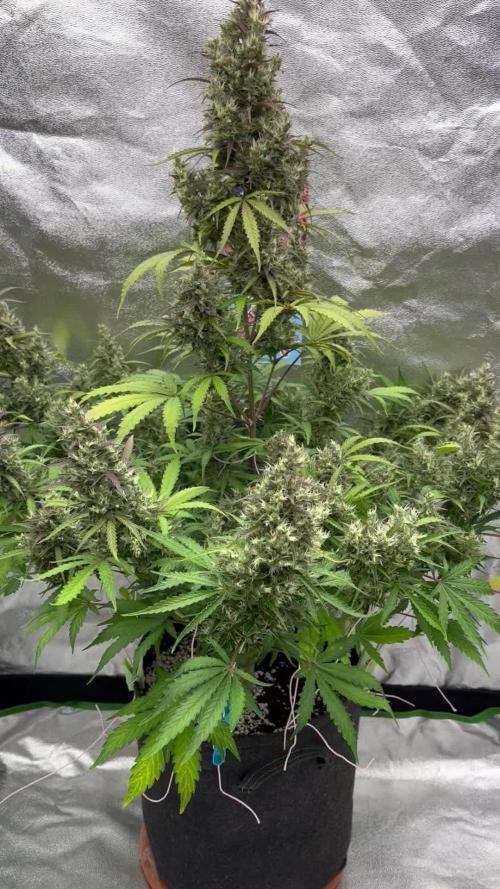
D: 79 - 10L - [ph 6.1] SI[0ml] ,Vega[5ml] , Flores[26ml],Ca/Mg[2.1g & 0.6g ] INPUT; [1.022 EC] OUTPUT; 4L ,6.2 pH , 2.1 EC Previous irrigation: D:75
Still in progress 👍 EC ended up coming down, it’s now at a more appropriate level
Auto #2 - was chopped on day 78
Likes
17
Share


@JonnyKush
Follow
day 73
I was not ready for all this! 🤣🤣 they literally exploded, even though the buds of El Patron are much thinner than the purple queen I have in my tent, I had to tie them up so that the weight of the flowers didn't break the branches. I have to say that 6 photoperiods are too many for my 1m x 1m x 2m tent. in addition to this I have noticed that they are very hungry. like me and give me some advice. thanks for stopping by, have a nice day and happy cultivation 💚🌳💚🌳💚🌳
Likes
14
Share


@GrowWithTheFlow710
Follow
Back to plain water, seeing some foxtailing and I love it. Dense dense nugs are no good for making hash I hear. My s/o and I are super excited to get her harvested and squished but am waiting for the 20% amber to chop.
Thanks for the feedback on harvest time indicators.
PLEASE COMMENT your go-to method/indicators for harvest time! Would love to see if everyone solely depends on trichombes or other methods such as pistils or leaves.
*I am growing 4 plants here, but only tracking one.

Likes
2
Share


Likes
2
Share


@Jofflepov
Follow
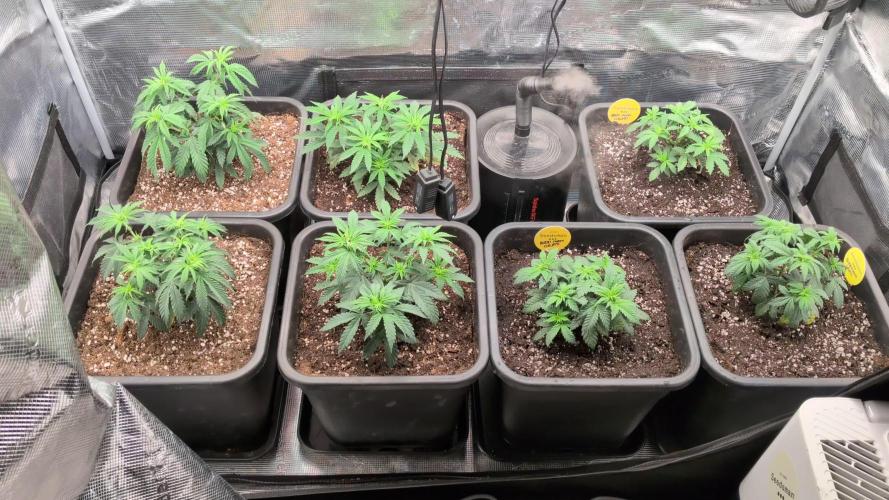
Finally some strong summer days. Plants are swelling. All good. Still a big difference. Biggest plant seems weeks ahead.


Likes
30
Share

@GrowX420
Follow
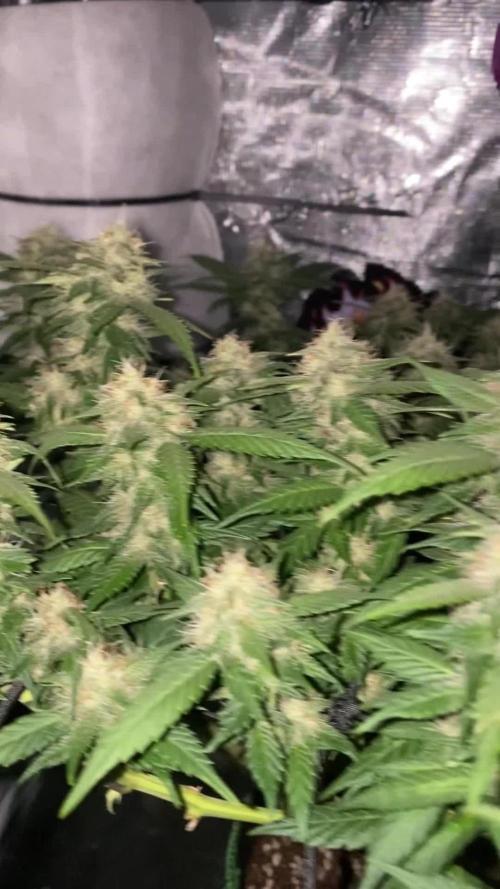
Aktuell lasse ich die Purple Lemonade FastFlower von FastBuds vollständig in Ruhe, ich lasse sie immer mal wieder ein wenig austrocknen und entferne alte oder kaputte Blätter💚
Entlauben bin ich mir nicht sicher, was würdet ihr dazu sagen, ein paar Blätter abschneiden oder lieber nicht?
Ansonsten läuft alles reibungslos, sie riecht ziemlich streng und entwickelt super harzige Buds 🤤
Happy Growing 💚
Infos:
Gießwasser: 1,5L in 24 Stunden
PH-Wert: 6.3
Nährstoffe/Dünger:
S&R Organics 5in1 7ml/1L
Vegan Phosphor Boost 6g
Luftfeuchtigkeit: 40-45%
Temperatur im Zelt: 24-28Grad
Lichtdauer: 12 Stunden
PPFD: 954-1015
EQUIPMENT:
Licht🌞: Marshydro TSW2000 300watt ✅️
Rohrventilator💨: S&P TD 350 silent.✅️
Aktivkohlefilter💢: Can-lite 300
Zelt⛺️: Marshydro 80x80x160 ✅
Luftbefeuchter: Spider Farmer 6L. ✅️
Wenn ihr coole Genetiken kaufen wollt, schaut mal bei FastBuds vorbei🏆
Da findet ihr sicher was ihr braucht
Und wenn ihr parallel noch meine Arbeit unterstützen möchtet und gleichzeitig Geld sparen wollt
Benutzt meinen Promocode OUTSIDE für 15% off auf euren gesamten Warenkorb
HAPPY GROWING💚
RabattCodes:
FASTBUDS 15% off with OUTSIDE
GANJAFARMER 15% off with GROW_OUTSIDE
Likes
14
Share


@portcityplug
Follow
Manage to get the monster transplanted into the new tent couple of branches broke unfortunately It is taking up almost the entire five-by-five I don't know if it will be over 3 pounds but I sure am hoping My last girl I managed to get 1.3 pounds out of the 4 by 3 tent This one is double the size with a bit more light so hopefully we can get there Nugs already barely fit in my hand halfway done flower 😇😁🤩 day
Ok 94 My top nugs are Anywhere from the size of a can of pop up to a 2L
Day 97 of grow I've decided from now on I'm going to be Putting the day and as how long it's been flowering
Day 35 of flower added dense by green planet with ph water at 600ppm and 6.4ph first time let see if it will dense 😃
Likes
5
Share


@M3_Growing
Follow
A little confusing but i put my other to pineapple and the Hulkberry in this tent and send it into flower 2 days ago (14.3.2023)
I believe the plants might have a nitrogen deficency but we are on it. All in all lookin good
Now we have 2x TSL 2000 (300W) = 600W/120cm*90cm
Plants:
2x Big Hulkberry (one topped early, one topped late)
2x Critical Kush (second largest plants)
2x SuperSilverHaze ( pretty small both plants)
2x Pineapple Kush (Had it rough)
1x Pinapple Kush (very small plant, 2l fabric pot..)

Likes
73
Share


@Rando1314
Follow
Flushed HARDCORE this week!! Ladies are not looking well nor do they seem like they’re reacting to the flush well either!! Almost seems like they’re locked out but also having deficiencies! I could use some advice on this. 3/5 of the taller plants have yellowed out and the other 2 look great!! Pretty much all the same watering and neuts. I think the issue was that I’m using fabric pots and not allowing enough penetration to the bottom and it created a salt pocket. Correct me if I’m wrong
Updated a few more pics of the deficiency/lockout issues all the help is appreciated thanks to everyone whose chiming in and helping!! Y’all the real deal!!

Likes
6
Share


@XanHalen
Follow
Nov 29:
They seem to be accelerating in veg growth but I see a small portion of the leaf on the smaller plant either grew in mutated or somthing cut it, I haven’t seen a single bug in the box so I don’t think it’s that but you never know, and the bigger plant has some issues near the base of its stem, I noticed it before I did the LST and now I’m wondering if I should have addressed that issue before starting the LST. Let me know what you guys think!
Dec 2:
Walked into the room and noticed a faint smell, wasn’t any smell last night when I started the LST on the slower girl. Further inspection showed some white pistols on the bigger girl, I believe she is the culprit for the smell as the other seems about a week behind. They are both now LST‘d and leaf tucked. Enjoy the pics and vid’s!
Dec 6:
I have tied down some of the longer chutes on the bigger plant (will see in week 5 update) to create more airflow and light penetration as I didn’t even realize how bushy the stem and node sections had gotten. I have also cut the chutes coming off the first true leaf. I don’t think I will make any cuts to the smaller one as it’s already a slower growing pheno. Going on a trip starting the end of week secede to late week 8, so I have a automatic feeder coming from Amazon, and I will continue using it through flower to reduce open tent time.
