Likes
Comments
Share

@GREENPHOENIX6262
Follow
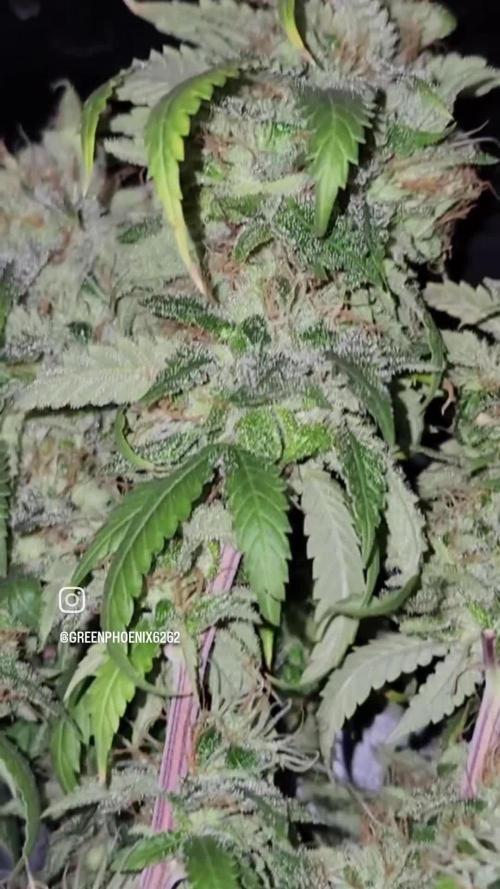
06/13 - Preparation's for cut down have begun - Currently in hour 26 in the 48 hour blackout cycle before cutting down - Gave them a lite defol trim to remove larger leaves - The plan is to run 60/60 for about 7 to 10 days or when branch's have snap without folding - They will dry in the 2x2 with a Exhale C02 bag a fan and exhaust to control temp and humidity - If everything goes as plans they will be clipped from the stem, trimmed and placed in cure bags in about 10 days.
06/14 - Chopped all 8 today - They are hanging in the 2x2 - Working on getting the temps lower then 75 degrees (F) but I can maintain a steady percentage with humidity of 65-69% consistently without a humidify - This harvest is the a yield harvest - My goal for this harvest was to work on my cloning program, Veg cycle and final product technique (Drying, trimming, curing etc) - I am hoping I can replicate the same results that I did with the mother in harvest and completely negating the hay smell after drying - Thus far all is proceeding accordingly. 😎😎😎😎😎

Likes
22
Share


@donovanliam
Follow
Changed the feeding only using two now. With more florabloom. Not much to update about growth its looking nice. Smells of cat piss but if you get super close there is some lemon

Likes
6
Share


@Magical_Surgeon
Follow
After you found some good sector and clone it you let the mycelium grow and fill almost all the petri dish like I did last week.
So now you're ready to move forward.
Making grain spawn!🍄🍄
For grain you can use Organic Rye Berries, but you can also get away with wheat berries, or brown rice or even corn kernels(which I used myself) !
And you'll need some mason jars or honestly I used some jars that I had home just clean them very well and sterilise before using
Making a grain spawn can be broken down into 6 easy steps.
🍄Hydrate Grain By Soaking
🍄Make Specialized Lids
🍄Simmer, Drain and Dry The Grain
🍄Sterilize
🍄Put your agar in the jar
🍄Colonize
🍄Soak the grain by placing it in a bucket, covering in water, and leaving it for 12 -24 hours. Easy.
🍄Drill 1 hole on top of the lid. Right in the center and cover with a small dab of high temperature silicone sealant, and leave it overnight to dry. And your jars are done. There other diff types for different methods like liquid culture etc. But I'm just going roughly through what Ive done.
🍄The next step is to simmer the grains on the stove. This will thoroughly hydrate the grains, and will soften them to make them easier for the mushroom mycelium to consume.
Cook soaked grain on the stove for about 15 minutes. You don’t want to cook it too long, because eventually all the grain will crack and you’ll get some mushy grain spawn. We don't want that. 🧐After the grains have simmered on a low boil, you’ll need to drain them off. What I did is I drop them in the sink with the drain cover on. The grains will drain over an hour or so, after which you can go ahead and fill your jars.
🍄Once your jars are filled, they need to be sterilised.This kills off all the other nasty contaminants in the grain cover the lids in tinfoil (to prevent water dripping into the lid) and then just pressure sterilise them for about 90 minutes at 15 psi.
🍄After that let them cool down. Get your SAB, wipe down the walls with some alcohol wipes and place the jars inside. And wait untill they will be warm to the touch... not hot and painful 😤patience is key. Bring in your plates that had been stored by you in a dark place. And what u have to do is sterilise your scalpel and just accurately and efficiently decide your mycelium into about 10 pieces and quickly place them in your jar. And complete for every jar u make. You have to be very quick. The more you keep you're jar and your agar plates lids open the more cans they will get contaminated. There certain technics you can see online..
🍄Ones you're done close all your jars lids tight and Jake your jar so the mycelium pieces will mix around the jar and place them in the dark place to colonize. And just keep waiting... 😅 Untill the mycelium will conquer your grain. Keep your eyes on the jars, any weird smells or colour during the waiting time.. because that would mean you got a contamination going on. Oh yeah and when about 55% of your jar is filled with mycilium shake the sh*t out of it so it will break the mycilium inside and make spread more faster.
Likes
6
Share


@Naujas
Follow
she's amazing !!! the girl drinks a lot, 4.5 liters every 3 days:) she grows very fast and looks healthy and happy:).


Likes
5
Share


@Topshelf_only
Follow
Colder wet week humidity over 80% so set up dehumidifier back down to low 60% range. Pk top working brown spots stopped and gaining lots of weight. Though I would be getting ready to flush from here but I thinks it still could go 2 more feeds before looking to start flush at the end of next week.

Likes
21
Share

@Borberad
Follow
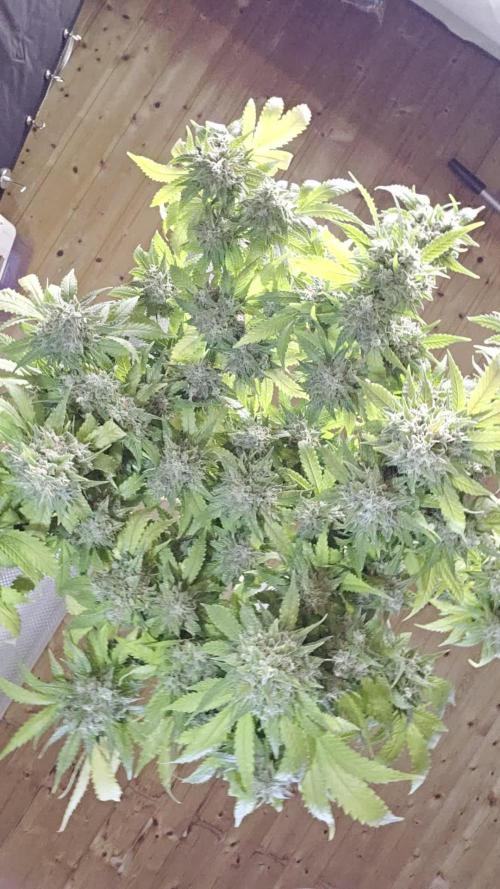
Die letzte Woche lief ohne Störung und Probleme, wahrscheinlich hätte man noch 5 bis 10 Tage warten können für 20% Bernstein, aber das ist eh nicht unser Ziel. Jedoch sind 74 Blüte Tage für ein Fast Flower schon ordentlich. Es sei aber bemerkt das auch die Frühe Ernte schon gut schmeckt, jedoch ist die Buddichte der frühen Ernte nicht mit dem Aktuellen Zustand vergleichbar. Also warten lohnt sich, wie immer! Gesamt Gewicht Nass 750g ungetrimmt mit Stängel ohne Stamm.

Likes
10
Share


@ZzTooRightOGzZ
Follow
She's slowly getting better 😁
I flushed her at the start of the week because of a nutrient lockout.

Likes
10
Share


@Cannabot
Follow
Transplants been done into final containers(20l)and started LST.They doing really well,they've started sexing so I reckon from next week I'd say week 1 flower.Havent fully saturated the medium as yet with fertigation ,want that stem thicker before I do that. Weathers been decent but the wind has been strong on 1 or 2 days.
Likes
Comments
Share

@hassehujasse
Follow
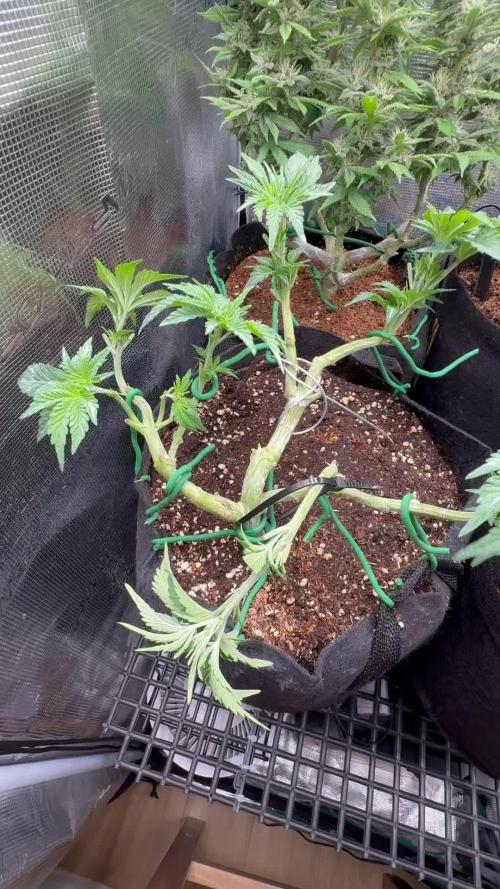
Working Hard. One by One. All the way UpFinal destination transplantation to 19 l pot using great white and bat guano. en 7-10 day light sheduale will be changedAnother week with best condicions and elevated Co2

Likes
11
Share

@RBG
Follow
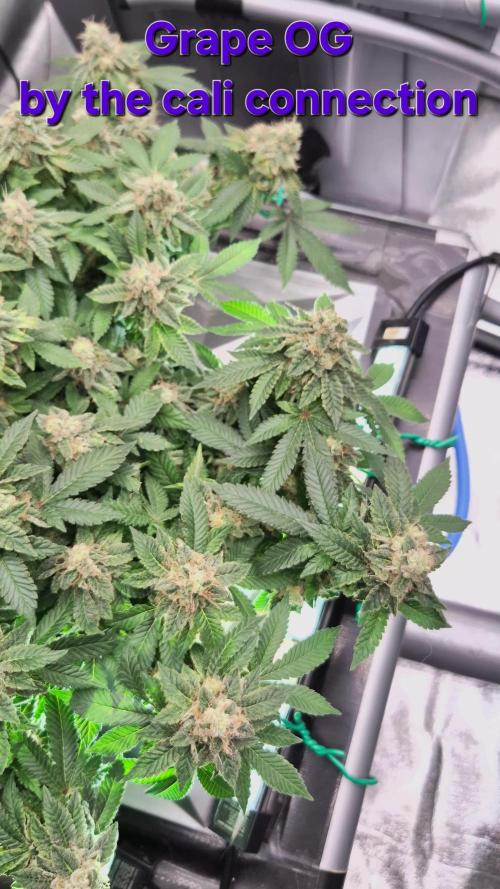
🌿 Grape OG by The Cali Connection 🌿
Week 14
Flower week 8
Flower-day 1
3/12/25
( pisitils showed 25th of October) im timing from pisitils showed but diary runs from 12/12 light flip
No nutrients change today, I'm thinking about 2 weeks or so of feeding, maybe 2 more horti rawk doses before switching out to new millennium winter frost then onto flush with plain water/ph
9/12/25
Dumped nutrients, winterfrost 500ml ( 10ml a gallon) will use for 7 days then flush for 10 or so
Not sure, not sure. Maybe even give LA and Grape an extra week to get Bellini over the end instead of pulling a little early or pulling her as shes finishing up.
Next horti rawk dose probably saturday (48hr run ) then dump then new nutrients.
This is currently week7 day 1 flower from 6/12/25 ( pisitils first shown )
8/12/25
Will be dumping nutrients tomorrow, using winter frost then onto flush


Likes
20
Share


@Dunk_Junk
Follow
4cm vertical growth this week. Next couple of weeks we will see if she likes her soil or not....
Likes
2
Share


@GodZilla_Owner
Follow
Week 3 – Day 22
🔄 Looking back:
This week was full of activity!
Both Mimosa Evo plants were topped and light LST was started 🌿
They also moved into their final 15L fabric pots, watered in with 2.5L each 💧
💪 Mimosa Evo #3 is doing great – no issues at all. She's strong, healthy, and responding well to training!
🔧 To reduce overall stress (some strains reacted to EC 0.8–0.9), I lowered the DLI to 27. Mimosa Evo handled everything just fine, but I wanted to play it safe.
📅 Looking ahead to Week 4:
🔹 Increase watering to 4–5L, depending on how thirsty they get
🔹 I checked the root zone through the fabric pot – things look very promising 👀
🔹 LST will continue, and I might remove a few big fan leaves if needed ✂️🌿


Likes
11
Share


@KurtThePlantGuru
Follow
Finally chopped down and harvested. My best plant yet and that was all thanks to homegrown genetics for these killer genetics. If you haven't tried this guy yet, I absolutely beg you to. You will not be disappointed
The Terps are straight Dank Ripe Black Cherry, that Superboof orange rind/hashy funkiness, and sum really nice earthy hash notes from the Pure Michigan. All comes together and almost reminds me of a really deep earthy cherry pie with a very slight Superboof orange influence. Very black cherry/Cherry Candy heavy. But not traditional "candy" you see now days.
All around 10/10, I will be running Apple Junky and Garlic Applez next!

Likes
3
Share


@Luv2Grow
Follow
This girl took very well to LST and defoliating. Didn’t notice any sort of stunting from the defoliating, she chugged on as if nothing happened to her.
Likes
12
Share


@Magic_frequency
Follow
Hi! It came to the point that I am running out of buds. Literally. i gotta come clean and admit that I couldn’t let her mature for one more week 😪. But you my situation right? One thing I am sure is that this is quality smoke 💯❤️💪
Ps
Orion
Likes
12
Share


@Skunkiest_bender39
Follow
Eine Knolle der shaman hatte budfäule musste entfernt werden. Hab dann viel entlaubt. Habe Betonplatten organisiert kann jetzt Gewächshaus aufbauen hoffe steht bis nächste Woche. Hoffe Wetter wird besser/trockener + windiger 🐝


Likes
4
Share

@SWITCH420
Follow
Hi folks,
I'm coming here to start the process of ending this grow journal. I harvested about three months ago and the weed is definitely cured. Photos are about to come — I'm doing a real studio photo shoot for those buds, they deserve it!
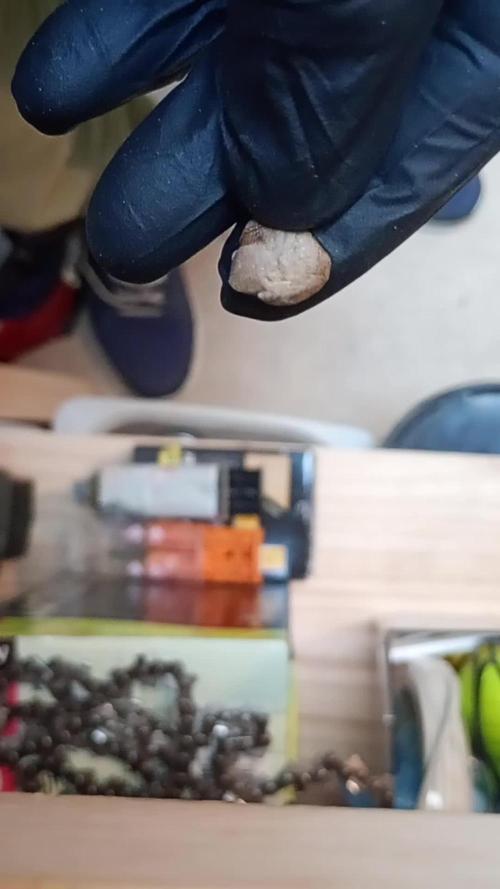
While waiting for the shots, I made some pretty damn dank hash temple balls using the iced water extraction method (solvent-free) with my little washing machine. It's a mix of the 8 strains I grew here — never ideal to mix different kinds of resin... but man, this is some serious dedicated work, so I'm making myself happy with that 14g shiny temple ball in the end 😉
Here are a few details about my process for you guys (and don't forget — you can do it with fresh material! Fresh frozen is always tastier. Also, the drying process is much more efficient and faster with a freeze dryer, but... you need the budget for that. I don't, so I go with the air drying method — check it out below):
1. Get your dry trim, then cure it properly for at least a month (I did 3 months). Smell it — mmh, sweet, dried to perfection. ✅
2. Freeze it, delicately wrapped in a freezer bag.
3. Let a large amount of tap water sit for at least 24h to remove chemicals like chlorine, then use it to make plenty of ice cubes — don't be shy, especially if you're not working in a cool environment.
4. Prep your washing machine: add trim between two layers of ice, fill up with clean water (as much as you can, large vortex is better than a smaller one), then make it seat for 30 min (45 min for thicker buds) the time that the dried green material gets wet again.
5. Prep your filtering tools: catch bag, different mesh bags, spoon, etc.
6. Wash as many times as you can before green contaminants appear, as these lower the quality of your hash — don't hesitate to go up to 8 to 12 washes if the resin still looks clean! Important: each wash has its own specific duration, and they get progressively longer as you advance through the process. Frenchy Cannoli (a true hash legend) provides a detailed timetable for this — from as little as 30 seconds to 1 minute for the first wash, all the way up to around 25 minutes by wash 8. Make sure to follow that schedule rather than using the same duration for every run or running it too long the first wash !! It could breaks to quickly your precious material before you collect all the trich's and the quality would be lower in the end.
7. Collect the wet resin in the mesh bags with a frozen metal spoon, make patties with the resin, and let them sit over some towels in order to drain as much water as possible (place a tissue made for hash collecting over the towel).
8. When the patties are a little dry to the touch, wrap them as they are in the tissue and place them in the freezer for 48h or more.
9. With an iron strainer, microplane your patties over the biggest flat surface you can get! It's important that your micro pieces of hash dry widely and don't get too compacted. Any failure in the air drying process will nucleate rot, ruining your hash in the end and making it a poor product — eventually something to throw away. Sad when you think about all the phases of the process to get to this point!
10. So, in order to air dry properly, you must — it's not optional — lower the RH of your dry room to 35% or slightly below, never above and let it dry as long as needed until the material feels like dry sand. For myself, I found 10 to 15 days is ideal. The room must be very lightly ventilated (not directly on your resin!) and in complete darkness — the goal is to preserve all those delicious terpenes! Ideally, temps around 60°F or 16°C
11. Now that it's dry, collect your resin with a large thin spatula! Make a little mound between two layers of PaperHash, boil some water, and fill up a wine bottle with it!
⚠️ From this point on, to avoid exposing your carefully dried resin to a more humid environment — which could ruin all your hard work — everything must happen in the same drying room. Keep working at 35% RH until your temple ball is tightly and airtight wrapped in PaperHash. (And don't forget to drink water — it's dry in there! 💧)
12. Start to slowly press your resin. Magical moment. Finally....
13. Press 3 times for 10 to 15 minutes in order to really decarb your hash — because that's what it's all about! Between each press, try as best you can to shape a patty... until the final press, when you'll be able to form that magical shiny temple ball (it only shines with gloves on, guys 😄)
14. You are now allowed to try it — for quality control purposes only, of course!
15. Because you want to age your hash for the sweetest 5-star smoking experience: wrap your temple ball in a large piece of PaperHash — if you can get that brand it's ideal, or another kind (check https://thepressclub.co) as long as it's organic!
16. Place the wrapped temple ball in a glass jar and store it in a dark, cool place.
17. Wait a minimum of 3 months before opening it.
18. Open, smell, touch — you'll be amazed. Roll it up with some weed or tobacco or both (I do both) / Or get a Hooka... you are smoking some true primo aged hash made by yourself! Taste the difference and realize all the path from choosing the seeds online until this first amazing puff ... 🙏
I want to credit my inspiration for making this kind of hash to the great Frenchy Cannoli, who has shared all his knowledge through amazingly rich tutorial content that you can find online with a bit of searching. 😉 Peace Frenchy 🕊️☮️