


Likes
Comments
Share

@leithsffs
Follow
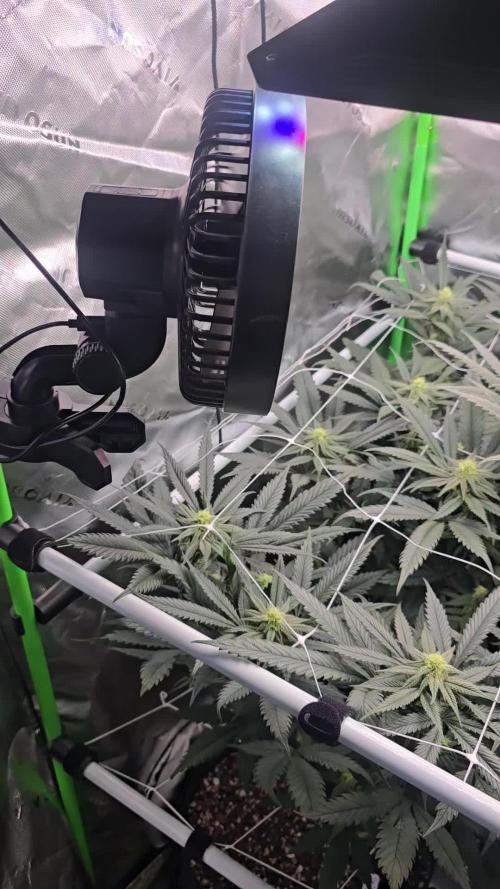
The girls were moved into the the tent yesterday. It didn't bother them one bit. I had to wait while i fixed a minor nutrient problem. One is taller than the other. So, it got scrogged outward and is filling about 60% of the tent. The other will have to make do with what I give it. The branches, as always, will be intertwined in the middle.
I added a video of the other tent if anyone saw last year's diaries where i was showcasing grows in it, too. There are five clones in there. Two Galactic Warheads and three Zangria. They were vegged for four weeks after a one week transition period. I figured it was long enough and I got lucky and timed it about as close as I could hope for. They were thin, malnutrition and not pretty to start with. That's why I'm feeling good about growing my first outside purchased clones.
Good luck and have fun Everyone!

Processing
Likes
13
Share


@kevgrow
Follow
Week 2 - First Time Grower - Mystery Strain
Hey guys, Just hit week two here is an update of what’s been going on with my growing process.
Plant#1 is 3 inches, looking healthy, its beginning to take up a little more water
Sunday June 28 i saw a big growth in the plant.
Things I learned this week,
- I am beginning to notice when plants are ready for Lights off
- learned how to test soil
Likes
14
Share


@Greenmartini
Follow
Canopy is good!!! Some problem whit leaf…. Tomorrow a make a lil defoliation. I notice probably some problem whit space between light and top of plant… :)))

Likes
13
Share


@420cannabiscouple
Follow
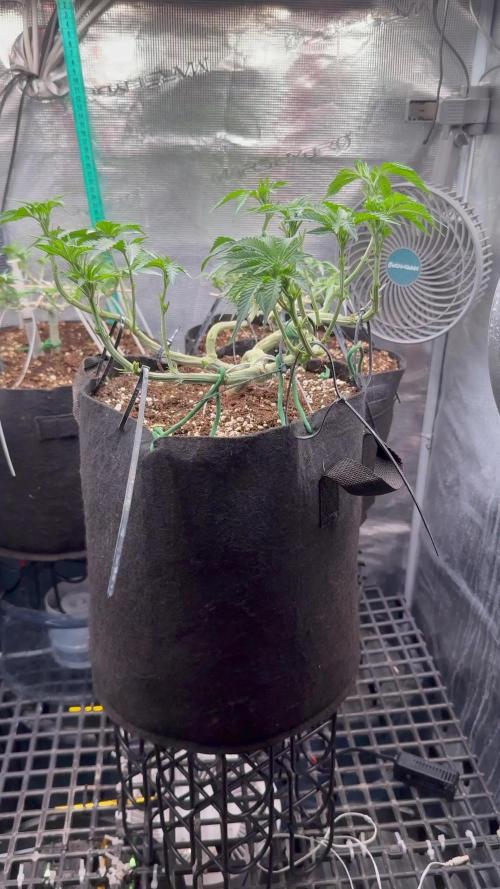
All are cruising along now. Three are vegging in 3.9 pots, one (Euphoria) is flowering ON the autopot system and one (or two?) Divine Indica is still in the 1 gallon for now.



Processing
Likes
26
Share


@rhodes68
Follow
8/17 Week 5 Flipping
Lights set to 11-13 for the first few days then 12-12
Nuets will transition accordingly
Took 2 cuttings from her for clones
Reducing feeds to once a day during the switch
Intro Cocotek Bloom a/b at 5ml/gal each
Reduce Grow to 10ml/g each
Next feed half and half
8/19
Switching to 12-12 from 11-13 think its done its work changes are afoot
8/20
Colas forming quickly may have to flip the week to Flower, lets hope so 😉
They getting a dose of Kangaroots 5ml/g and Fish Shit 2ml/g at intervals during transition purely as plants seem to need.
Pics tonight
8/21
Not there entirely yet but wont be long at all
Vertical growth has picked up strongly, 2" in 3 days, though I really wont call it stretch yet
Continued light defoliation keeping center clear
Nuets as is for now

Processing
Likes
2
Share


@BigHorn
Follow
This week had some growth but it has definitely slowed but the smell has gotten more potent. At the end of this week I will be harvesting this beauty. I will post weight and pics when I do. I will be flushing the plant the night before than harvesting the flower.
Processing
Likes
4
Share


@Grownewgenetics
Follow
we begging week 5 and the flowers are getting bigger and bigger These Strain is the fastest on these test , and the dark colors are begging to take over the plant .
the second one is a weel younger but also getting fast really frosty

Likes
7
Share


@RizlaZA
Follow
Incredible strain this, grew hassle free from the start. Keep her healthy and give her what she needs and it will produce some dense, trich covered goodness.
The smoke is Incredible but has a massive kick so be warned. Estimate these girls will be 25%
THC.

Likes
41
Share


@TheBulldozerSicily
Follow
Venerdì 20 luglio Aggiungo 50 lt acqua e il doppio dei nutrienti, vediamo che succede. Ho dato anche una bella deformazione e pulizia rami inferiori
Martedì 23 luglio
Inizio controllo ec 3999 ph7
Cambio soluzione parto da 75 lt acqua osmosi inversa + 5lt acqua rubinetto ottenendo ec 473 ph 8.4
Aggiungo tutti I nutrienti ottenendo ec 1489 ph 6.5


Likes
86
Share


@AsNoriu
Follow
Day 85. Girls are happy , but small ;))) development for such time is like two weeks minimum behind. Loads of leaves shadowing buds, will do new defoliation session next week.
Checked light spread and intensity with mobile and simple lux meter app. Results are weak, but better than cheap red/blue generation. Still get like 25k max feet away.
I will grow those strains in main tent , really want to see why are they so slow in development...
But smell after touch ... Now Kush is my fav ;)))
Girls on water-feed-water-feed schedule.
Bio Grow is out. Next week Cal Mag out.
Day 88. Lucky day for screw ups ?!?!?!?? ;)))
Made first time defoliation when in last round you take all shadowing leaves away, hopefully it won't stress them much ..
Usually i was leaving top two fan leaves, now everything shading something and has stem to cut - is out !!! :)))
Happy Growing !

Processing
Likes
7
Share


@Dunk_Junk
Follow
Wow very good growth on her this week, doing VERY well in her tiny 1L airpot!
She has a really thick stem already.
I am worried she's not an autoflower though...
Let's leave her for a few more weeks and see if she enters flowering.
Likes
167
Share


@DeepWaterGrower
Follow
🗓️ 6° WEEK FLO // DAY 36-42 (from switch) // DAY 113-119 (from dry seed)
⚡- Light: 30 cm / 250 watt;
⌛- Schedule: 12/12;
🌡️- 22° C - 65% RH average;
📑- PH 5.9 - EC 2.3. PH is dropping on the #2. I'll change the DWCs next week, meanwhile I'm trying to keep the PH in the right range;
💧- 7° DWC change;
🍔- Flowering blend: tap water EC 0.4 + Silic 0.5 ml/l + CalMag 1 ml/l + Hydro A-B 1.8 ml/l + Oligo Spectrum 2 ml/l + Green Sensation 1 ml/l;
🌱- Things are moving forward, both are gaining weight.
🆕- Last week I got the TrolMaster TCS-1 (@TrolMaster_Europe) and I started to track my grow box data. I will add these info once I harvest!


Likes
72
Share


@Green_Mountains
Follow
Another good week!! I need to LST and defoliate... probably going to do that tomorrow.
I fed them this week as well as watered. I will add the flowering nutrients going forward!!
Otherwise, I hope this grow continues to go well!!
Cheers!!

Processing
Likes
37
Share


@Chunkmasta1
Follow
The stretch has started. We are on day 7 since I flipped to 12 12 light schedule. 12/28/2017 was the day we started the lights on 12 hours. I did let her sit in 24 hours of darkness which she seemed to do fine in. I have had to top off the resovouir twice she is a thirsty girl. No stress signs from the increase in nutrients. I will be lowering the amount given after a few day flush in the next week. I only increase for the transition this was something I was shown a few years back by another grower and has not let me down. I will stick to the flora trio by GH. I do not add anything else like bud fatteners as some people call them. I am a firm believer they are not needed. This is just my opinion on the matter.

Likes
10
Share


@RFarm21
Follow
Semana 23 junho - 29 Junho
Dia 23 - alimentada
Dia 25 - alimentada:
Calmag 1ml; bio bloom 2,25ml; topmax 1.5ml; bio heaven 2ml; alg a mic 2ml; bio grow 1ml
Dia 29 - alimentada
Dia 27 - alimentada
Likes
45
Share


@spirttomb
Follow
Supercropped one tall branch of the Red Mandarine #2.
Hope it doesn't hurt the yields. Plants have been recovering and are mostly green now. There's some serious stretch going on in this tent! Flowering is happening really quick especially with the Mandarines. I moved the lights after I discovered a lux meter app. I had as low as 10,000 in some places, so not only are the lights closer to the canopy but I angled them to get more light down to the shorter plants. Just reset the clone fridge and they were all looking healthy except two which I didn't put enough water in.
Likes
23
Share

@1juan420
Follow
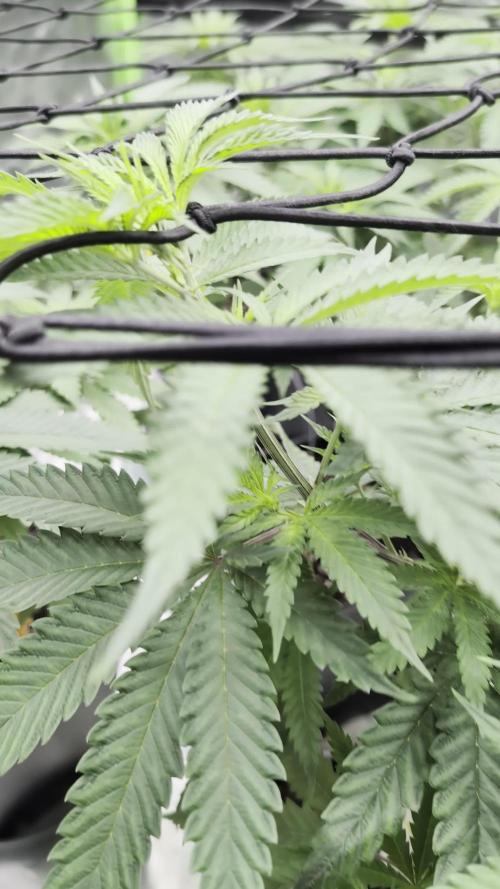
veg day 49 - 07/24 🌱bloom day 0
I switched the cycle today, so she only gets 15 hour daylight followed by her first 12 hour night
Hortitec Titan 720W is on 25% with 60cm distance

Likes
29
Share


@KingSalomonsWeed
Follow
No problems. 👋Good
I like her style. In maybe 1-2 weeks she becomes another place in my tent. If its free. Yes a big big tent....
0,36 m².
OK not so big, but hey, its still illegal in my land.
And with such a small tent l=small yield im not in the heavy criminal scene.
But sry law.
Since the first time I smelled weed, not smoked, I knew. THIS IS IT!
24.09. 😛 💪 Nice girl.
