


Likes
Comments
Share

@Meshugga
Follow
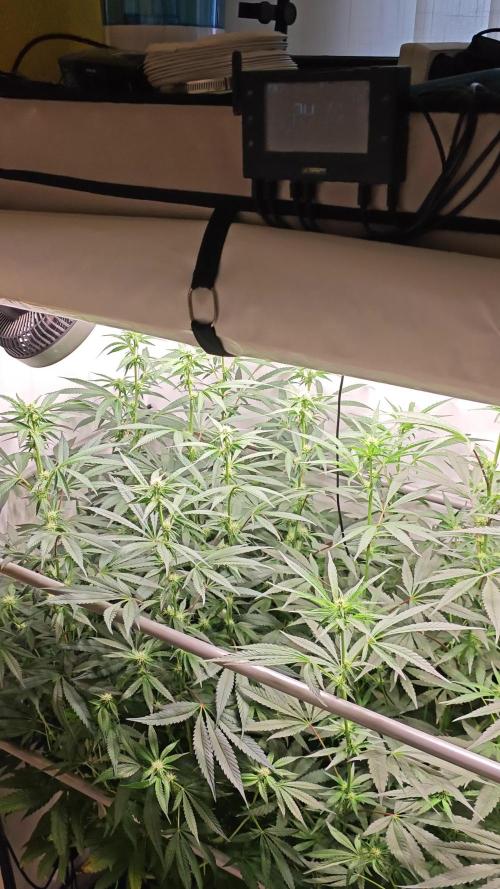
Tady teď ještě není co řešit... až příští týden defoliace celého spodku. Konečně se ochladilo a teplo vystřídala vlhkost ale v poho. Foukám zlehka Dynamic Wind režimem max na 5. Zalévám obden cca 6l zálivky do každé aby byl výtok a nehromadili se minerály ale po 48h mají vždy sucho...

Likes
6
Share

@MO_PureLeaf
Follow
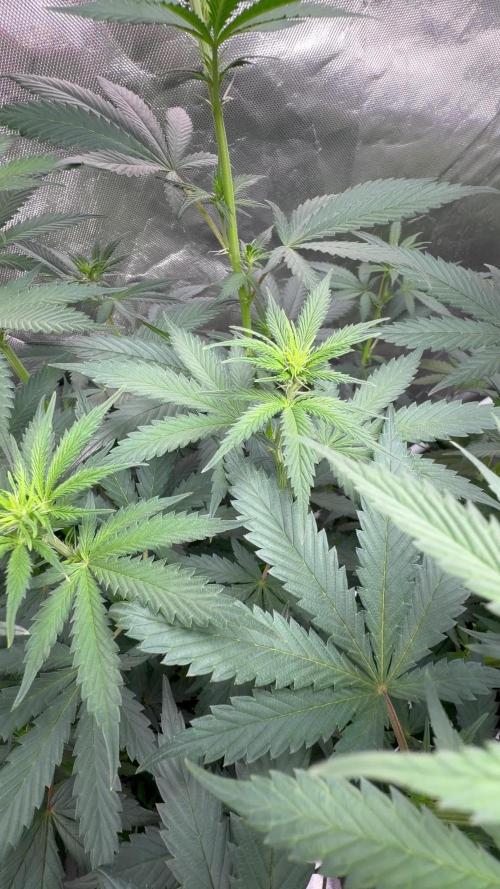
Ich würde mal sagen jetzt geht die spannende Phase los :) ich freu mich schon auf die buds! Bis dahin 🏻
Edit: am 14.5 haben wir bisschen mal etwas blattwerk weggenommen :) die Pflanze zeigt heute auch schon (glauben wir) Blüten Ansätze :)


Likes
422
Share


@Crashoverite
Follow
Hi all 😁
Hope everyone keeping well and having a wonderful week!
Thank you all for such amazing support on this bananas journey 💚💚💚
Will be updating this week journal daily so please remember to revisit to see full week content.
So far this grow it's going great. Girls are stretching by hour. Great health, nice green colours, more and more squares taken on the netting, flowering nicely progressing, I'm very happy 😁
Planning to apply more selective defoliation, especially to Xena. No changes to nutes except few extra drops of calmag just in case and will try to fill the net entirely.
Week 7
Nov 27- Dec 3
Nov 27
Selective defoliation applied on Xena. 8-10 mainly small fan leaves. She is still a bit shy to open as much as her sister. No rush my girl. You still doing great!
Nov 28
First watering for this week.
7ltr beetwen them both with 4h spread. Runoffs. Xena 300ml PH 6.1 Athena 250ml PH 6.4 😁. So far the largest amount of my magic mixture consumed by my 🍌💜👊 girls. Well done👏
Nov 29-30
Leaves tucking and joyful observation🤓
Dec 1
Selective defoliation and first stage of lolipopping on both girls. Decided to go a bit heavier as tomorrow heading for trip and wont see my girls until Tuesday! They will be all alone without any supervision so hopefully they will behave and I will be nicely surprised of their development on my return. Watered with 2tr mixture and sprayed with water and fish mix solution right after defoliation. Planning to feed them tomorrow as much possible 6-7ltr before heading off to our voyage to Amsterdam 😎 do anyone know ls if any of coffeeshops have Fastbuds strains available? Would love to try 🍌💜👊🤤😋
Dec 2
Girls watered as above and both PH 6.4 on runoffs.
Dec 3
Girls are unsupervised until December 5th.
Thank you all for such amazing support on this journey 😊 love you all!!, 💚💚💚
Stay tuned for upcoming week update right after my return.
Peace and love brothers and sisters ✌️💚
Likes
33
Share


@DrDuhboto
Follow
Plants are all doing well and growing fast.
The lights are still a bit strong for these guys so I moved them lights up a bit.
Fed with fairly strong veg mix, thena supplement and water only feed once they had dried, and then a strongv eg feed again at the end of the week.
The plants are burning through Nitrogen very fast.
The canopy is almost completely filled in. Once every hole has a node or two I will begin the flip into preflower.
I defoliated heavily to increase the amount of light getting to the center nodes. By two days later the plants had bushed out quite a bit.
I think one more week before Flip should suffice.
The Maui clone has quite a bit more nodes than the seeds. But the seed plants have much sturdier and healthier looking structures.
I am excited to see if any other phenos express themselves. The Maui clone has been a great version in previous grows,


Likes
5
Share


@Ninjabuds
Follow
My Skunk Apple plant's a little behind the others. I think it started flowering a couple weeks later. It's a smaller plant, but it's finally starting to fill out. I'm guessing I've got maybe two weeks left before it's ready to chop.
The past week has been awesome for drying my plants. The weather's been perfect – nice and dry, with just enough breeze to keep things moving. I finally got around to chopping down those two big plants I've been meaning to trim. They're almost ready, just need a little more time to dry out completely. I can't wait to see how they turned out.


Processing
Likes
20
Share


@French__flair
Follow
Dernière semaine de croissance.
Changement de solution fait le dimanche 22/11 car le ph commençait à descendre en dessous de 6.2 et cela faisait 1 semaine que j'avais fais le précèdent changement.
Le PH lors du changement était de 6,8. Il est monté jusqu'à 7.5 mais je laisse le filtre faire son oeuvre. Il est actuellement à 7.1 et continue de descendre naturellement.
carence en fer. Ajout d'une dose supplémentaire de Sensi CalMg
Edit au 25 :
Malheureusement ce que je sentais venir est arrivé, saturation en N.
Le Ph et l'EC continuaient de baisser tous les deux. Les parties basses des plantes étant sombre et ayant une carence en fer sur la partie haute (puisque élément mobile), j'en ai déduit que c'était une carence en fer induite par une surfertilisation en N. J'étais à un EC de 1, je suis revenu à 0,8 le mardi 25 au soir. La bioponie est très capricieuse au niveau de l'azote. Le mercredi 26 le ph remonte ce qui signifie qu'on a stopé le processus de dégradation du N. Je devrais changer la solution mais je dois passer bientôt en flo donc j'ai enlevé de l'eau et rajouter, histoire de tenir jusqu'au prochain changement de solution qui est prévu samedi sauf si la situation dégénere de nouveau avec le PH.
Last week of growth.
Change of solution made on sunday 22/11 because the ph was starting to drop below 6.2 and it's been 1 week since I made the previous change.
The PH at the time of the change was 6.8. It went up to 7.5 but I let the filter do its job. It is currently at 7.1 and continues to drop naturally.
iron deficiency. Addition of an extra dose of Sensi CalMg
Last update :
Unfortunately what I felt was coming has happened, N saturation.
Ph and EC both continued to drop. As the lower parts of the plants were dark and iron deficient (on top because is mobil nutrient), I deduced that it was an iron deficiency induced by N overfertilization. I was at an EC of 1, I came back to 0.8 on Tuesday evening the 25th. Biopony is very capricious in terms of nitrogen. On Wednesday the 26th the ph goes up which means that we stopped the N degradation process. I should change the solution but I have to float soon so I removed some water and added more, to hold until the next change of solution which is planned for Saturday unless the situation degenerates again with the PH.
Ultima semana de crecimiento.
Cambio de solución hecho el domingo 22/11 porque el ph empezaba a bajar de 6.2 y ha pasado 1 semana desde que hice el cambio anterior.
El PH en el momento del cambio era de 6,8. Subió a 7.5 pero dejé que el filtro hiciera su trabajo. Actualmente está en 7.1 y sigue bajando naturalmente.
deficiencia de hierro. Adición de una dosis extra de Sensi CalMg
Ultima hora :
Desafortunadamente lo que sentí que venía, la saturación de N.
El pH y la EC continuaron bajando. Como las partes inferiores de las plantas eran oscuras y con deficiencia de hierro, deduje que se trataba de una deficiencia de hierro inducida por la sobrefertilización de N. Estaba en un EC de 1, volví a 0.8 el martes 25 por la noche. La bioponía es muy caprichosa en términos de nitrógeno. El miércoles 26 el PH sube, lo que significa que detuvimos el proceso de degradación del N. Debería cambiar la solución pero tengo que flotar pronto así que saqué un poco de agua y añadí más, para mantenerlo hasta el próximo cambio de solución que está previsto para el sábado a menos que la situación degenere de nuevo con el PH.

Processing
Likes
9
Share


@maxpain
Follow
In cure mode ..tried a bud couldn't wait ...I .can tell it will be good once properly cured..
Processing
Likes
4
Share


@Grownewgenetics
Follow
These is a project in the we try (test) tge products of our sponsors to see how good they genetics are, for example we have know 6 seeds banks on these round.
Sweetseeds with the dark devil auto have break the time record for seed on the ground , 20 hours , only these tine have the seeds from sweetseeds on the soil and they just jump out to 2 cm , simple amazing


Likes
233
Share


@StarLorr
Follow
Welcome to my Pablø Ęscøbar diary.
In this diary:
Seeds: sponsored by Ðivine Șeeds
Media: Promix HP
Nutrients: Advanced Nutrients, Diablo Nutrients, Gaia Green Power Bloom.
Light and Weather: Şun☀️and Mother Earth.🌎
___________________________
Wet Weight: 1237 grams
___________________________
Wet Trimming with my trimming bowl was a humongous time saver!!
______________________________
I discarded a branch that was on the left side facing north with some Bud rot.. no biggy i got plenty more😉
Past mornings with thick dew didn't helps.
______________________________
I wanna Thanks Ðivine Seeðs for the Opportunity to grow and smøke your Ðivine Plants👊🏼😉
______________________________
Thanks for stopping by, likes and comments are appreciated!👊🏻😎
Keep on growin!
Keep on tokin!!!
😙💨💨💨💨💨

Likes
1
Share

@Growfather1
Follow
Hello, everyone.
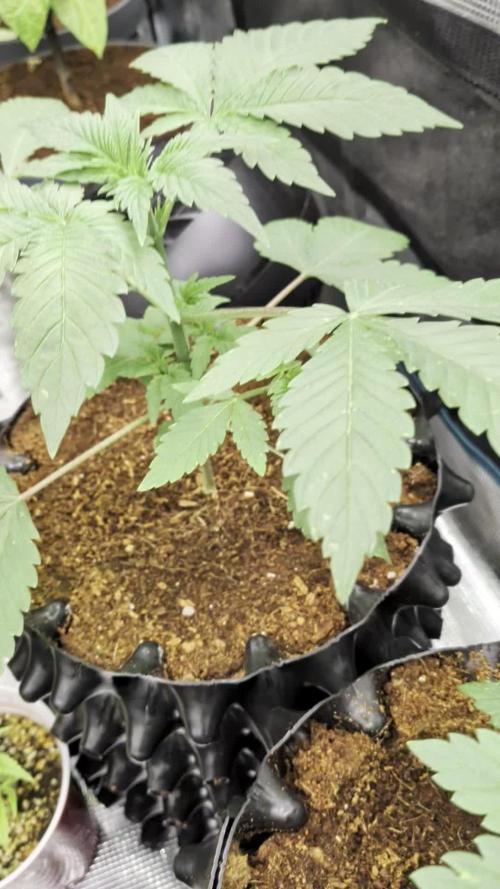
The Tangerine Dream from Zamnesia Seeds is absolutely thriving, with the plants looking healthy and green.
Everything is steady in the grow room, with temperatures checked between 19° and 24°, and humidity staying between 55% and 70%.
I'm feeding them on the lower side with 1 ml of Canna Coco A&B and 4 ml of Canna Rhizotonic per liter of water.
While doing a routine check, I noticed a few thrips, so I'll be treating the plants with neem oil, making sure to coat both sides of the leaves.
Thank you for stopping by and have yourself a nice day.
Best regards,
Growfather.

Likes
19
Share


@Tmasm
Follow
Saudações.
Menina está bem, está engordar bem. Galhos que segurava para baixo, agora tenho que segurar para cima devido a peso que botões estão ficar.
Bem começar reduzir nutrientes, começar semana 0 nutrientes nas 2 próximas regas, de seguida 1 raga de nutrientes que será sua última com nutrientes. Darei água, dai por diante até ao fim da sua vida.
Bem começo ver botões lindos 🤩, como normal começo ficar ansioso, já só quero que chegue ao fim.
Abraço até breve, não se esqueçam de ver novidades de Dutch Passion


Likes
57
Share


@HighDran
Follow
Es la más grande en rendimiento y apesta casi toda la casa y sale un poco den olor a la calle🙌🏻 Ya solo espero a que seque para actualizar
Likes
Comments
Share

@Chucky324
Follow
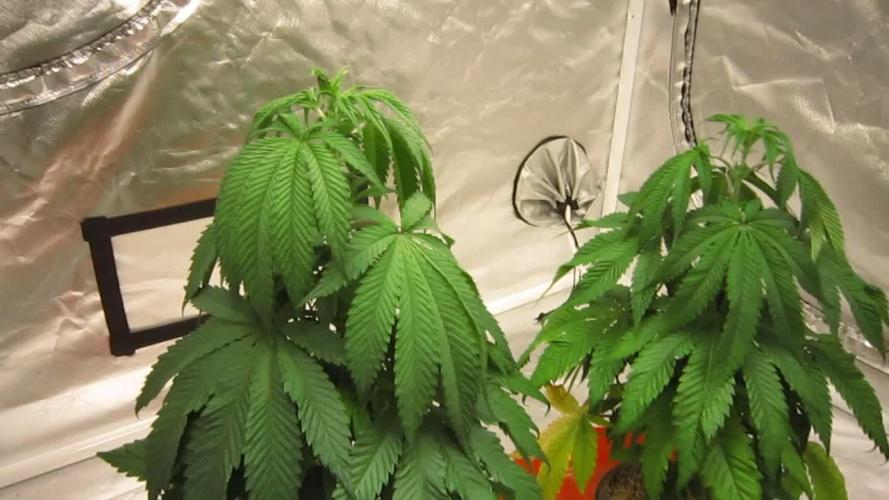
Hello. This is the end of week 5 and the beginning of week 6 of veg.
I meant to top these girls last week... but I've been a day behind all week.
I'll do it tomorrow.
They look a little wilty because I turned the light on to take the pics and they were sleeping.
OK. Have Fun.
Chuck.
Likes
9
Share

@Ninjabuds
Follow
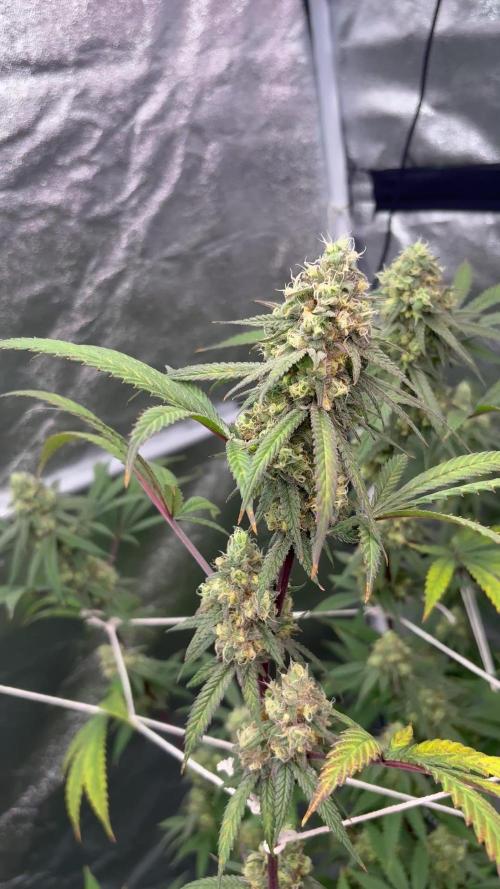
Huge plant with tons of strech and vigor it just keeps growing and growing. It has huge round nugs that are soild. It is gonna be a huge producer. This is definitely a strain to grow again buds smell great like gelato and gas