


Likes
Comments
Share

@xipo86
Follow
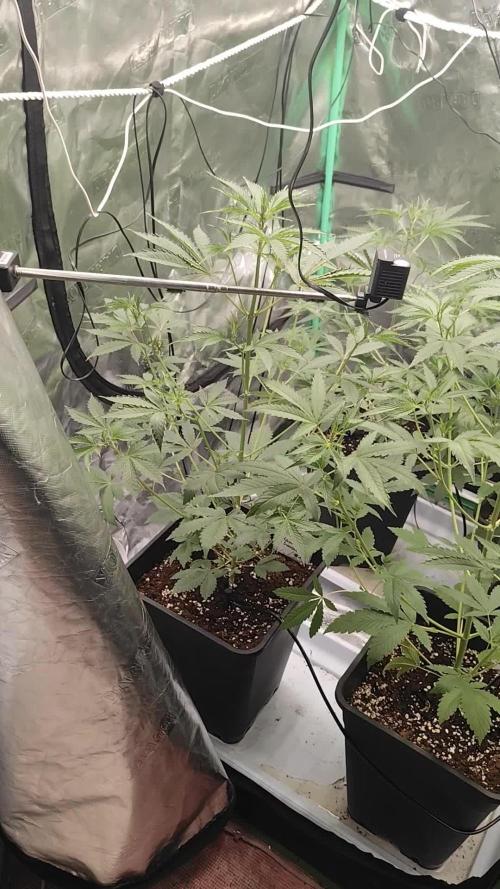
day 28
this week the has started strech for what i can see.. from now we can consider to be on bloom phase
i only gave them water with calmag and no much more... maybe this week i feed them with top auto but they look very healthy ATM but like the wáter intake is going Up.. solo. Will need some feeding.



Likes
9
Share


@wheedtobeus420
Follow
Amazing girl! Really happy with how she ended. She smells so sweet and fruity. She’s beautiful and heavenly. Fox tailed just enough to be pretty and not a nuisance.

Likes
8
Share

@HowtoBubatz
Follow
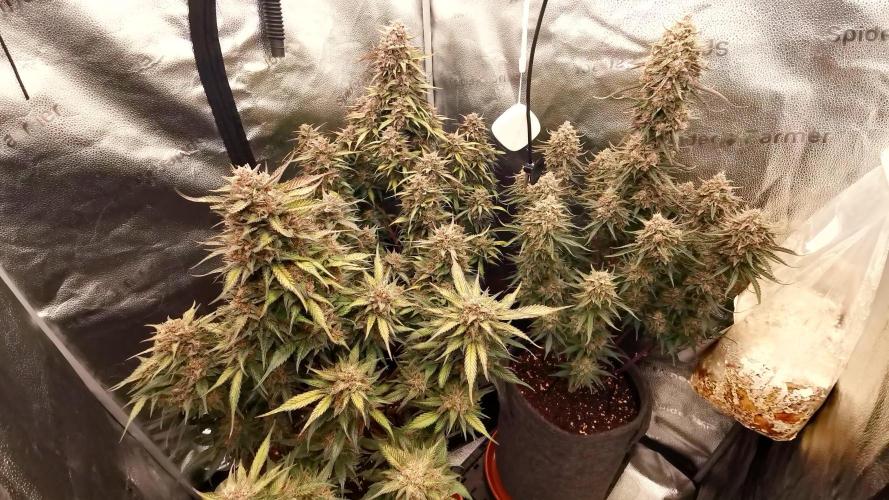
We’re deep in bloom now, and the buds are fattening up nicely on all three ladies!
The scent is getting stronger by the day and interestingly, while they all share a base note of red pepper, each plant has developed its own unique aroma twist.
Really curious to see how that translates after the cure. Overall, everything’s going smoothly, no issues to report. They’re happy, healthy, and stacking up beautifully. Let’s keep it rolling! 💪🌿
Likes
44
Share


@Ukfarmer420
Follow
Easy grow, nice pretty plant, kept it small and performed lst early on, nice dense hard buds, wish I had space to run them all. I will be running the rest of my seeds very soon.


Likes
56
Share


@MrGrow
Follow
05.09.2022
🌱 75 giorni dal seme
🌻 5 giorni fioritura
💧 1.5 l/48 h
ph 5.8
ec 1.35


Likes
19
Share


@Aqualung
Follow
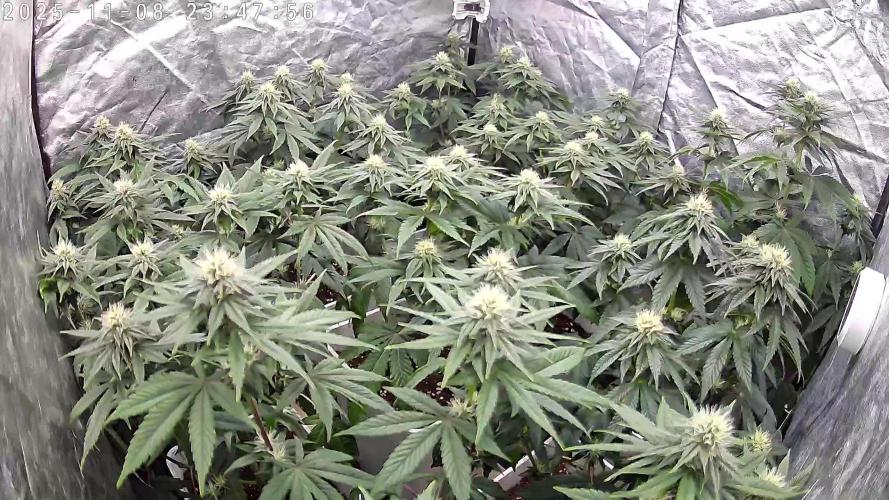
I really didn't expect these buds to explode like they did! This Sugar Black Roses looks soooo good and no deficiencies as far as i can tell! The Dyna-Gro and Jacks Classic Citrus mix is great! Got this nute schedule/mix from reading RM3 aka Riddleme's grows and guides/books on forums and his own forum which has his book posted.





Likes
16
Share


@Joehydro
Follow
3/10/2019. Start of week 8 and the Tangerine Dream is fattening up it’s buds and kicking out more frost every day. Even though the NYC Diesel is exactly the same age as the Tangerine Dream it looks about a week behind in flower but it’s also a far bigger plant and will definitely take longer to flower out. Final defoliation was done to both girls. I willl update through the week as always . Happy growing everyone ✌️!!!
3/15/2019.. The tangerine dream is really beefing up her buds this week. The room smells like sweet orange candy mixed with skunk fuel from the nyc diesel. For sure this tangerine dream is gonna be a very frosty pheno. The nyc diesel is finally starting to really grow out it’s bud sights so really not much to report on her. Overall everything is looks perfect with both girls. 👍
Likes
14
Share


@Snickelfritters
Follow
11/5 -- They now have 2 weeks of 12/12 under their belts and it's truly been a tale of 3 plants for the past week and a half.
GZ2- This one has the opportunity to meet its full potential. It has stretched to give me this beautiful canopy and very few signs of over feed or stress in it. Hopefully she stays this way.
Moby- look like it may have been developing some deficiencies. I fed it a few days ago and it seemed to respond well. Some leaves have gotten yellow but the plant is do thick and dense I'm not worried about a few falling off. All in all, it's been steady eddy for Moby Dick that I now believe is also a Barney's Farm Freebie(the seed is now listed where I buy mine from) I'm not going to change it but if you're keeping track, this is most likely a tent full of Barney's Farm.
Gz1- and now the music gets a little more serious. I really started recognizing problems with her right at flip. She has lost a lot of fan leaves due to yellowing,, dark stems and I can tell her branching has suffered because of it. Growth at the bottom looks weak and even wrinkled in some spots. She has burn spots and signs of deficiency galore. But also VERY dark fan leaves. I've just come to the conclusion that flushing was probably my best move.
She can still have a week of solid growing. If I can get it corrected now, this plant will still be respectable but the trend is disturbing and alarming to someone who knows how fast they can decline.
So in conclusion, things are getting a little hairy. Flowering always brings on a new set of challenges and I'm still learning every single time. Wish me luck this week, I'll need it.
11/6 Updated pic on old friend banana daddy that they shared the veg tent with.

Likes
80
Share


@Ganjagrandaddy
Follow
Hi all. Welcome to this run withbthe Viparspectra XS1500 which i was kindly sent to try by their helpful rep Valerie. As I have a fairly good space to use for my main grow , it seemed an ideal time to explore a few options while I wait for space to appear following upcoming harvests. The opportunity hit at a good time and has now driven the future play time. lol
The light is a full spectrum 150W( at the socket) , Dimmable and very well made unit. As summer is here now , my concerns of more heat being an issue have stopped me from adding my other light so the smaller 2ftx2ft area covered by the XS1500 is a good option , The heatsink is built into the case design with a finned top to dissipate the heat so no noisy fans. Switching it on to full power was a nice surprise as the footprint was way wider than I had expected and the actual coverage is even better for my Nursery to harvest plan....
I am growing autos perpetually at present and have been able to throughput the plants with just 2 lights and using the overlaps at the edges to bring seedlings along to veg/flowering, as harvesting is finishing. The timing had been working well but the plants were getting smaller towards the last runs . I gave it some thought and Rh % came to mind. With the perpetual runs not having a higher rh in their veg periods due to other plants needing a lower Rh% in flower , the vapour pressure deficit (vpd) was not within veg periods healthier range. This current run has exploded and filled my normal space very quickly which in turn means I cannot use the same principle as the last perpetual run of bringing the next ones along ready for the exchanges. The XS1500 takes care of this issue with it being perfect for an initial nursery light that is easily covering all the new seedlings but is also able to cover my experimental "5 plant 1 Pot" attempt. I have placed 5 of my own autob seeds from a previous seeding in a single 60 L pot and intend to strip them to their 4th nodes and only allow 2 mains per plant to develop and flower. Inam hoping to have 10 mains growing in it that will be under the xs1500 solely as the other plants outgrow the lights footprint and space they are in. They will go into the main grow space once able so i can really see how well this new light can flower with the 10 mains to fill the space. Until that point , I will diary as we go and see what we can achieve.
Likes
15
Share

@420DeepGrow
Follow
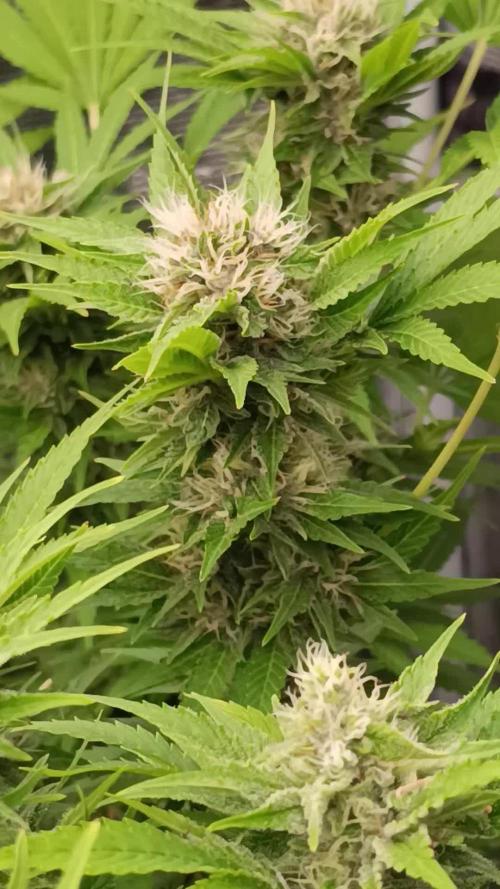
📆 Semana 7
El cultivo continúa en plena fase de engorde, con la canopia activa y las flores aumentando de tamaño a medida que los cálices siguen apilando.
Los cogollos ganan densidad y la capa de resina se vuelve cada vez más visible en flores y hojas cercanas. La planta mantiene su energía centrada en peso, compactación y producción de terpenos.
El cultivo se mantiene estable y sano, con aromas que se intensifican a medida que avanza la floración.
Seguimos creciendo fuerte 💪!

Likes
6
Share


@Santi_nf
Follow
Una semana más plantadas la menor parte el 28-12 y lo siguiente 18-01 , 1-2 lo último

Tutti Candy · Zmoothiez

Critical Widow · Pev Seeds

Sweet Skunk Fast Version® · Sweet Seeds
Skywalker OG Runtz XL Auto · Sweet Seeds

Cheese Berry · 00seeds

Hard Diesel · Gea Seeds

Scrambler Haze · Blimburn Seeds
AK · Gea Seeds
Cachalote · Gea Seeds
Gealato Kush · Gea Seeds
Gorilla Glue #4 · Gea Seeds
Somango · Gea Seeds
Likes
7
Share


Likes
3
Share

@IndigoMist8
Follow
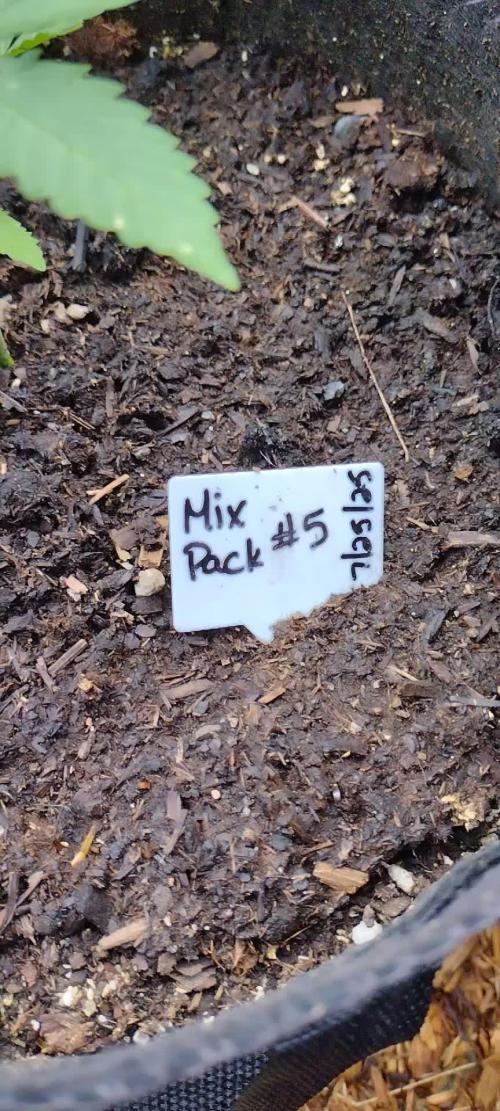
First feeding and topped with mushroom compost. She is starting to fill out.
Likes
12
Share


@Drtomb
Follow
Starting into week 4 and everything has really stretched and are now forming bud sites. Basically on autopilot now. Subscribe and follow to make sure you see all the action 👊
Likes
17
Share


@Appoldro420
Follow
This week in my grow room has been full of developments. First, I added additional lights because I couldn't get the relative humidity (RH) under control. I ordered a dehumidifier, but it will take a few weeks to arrive, so I had to find a temporary solution. I also emptied the reservoir and refilled it with fresh water and nutrients. I secured the net to ensure it stays in place under tension. In two days, I plan to switch the light schedule to 12/12, hoping the plants will stretch a bit during the switch to avoid having overly large buds that aren't evenly spread.
Seventeen hours later, I decided to keep the lights on a 16/8 schedule for a few more days. The plants are starting to show signs of something happening, so I want to see how they develop. I will keep you updated on the progress. Then, I received a message from my supplier that the dehumidifier would arrive today. Great news—time to spice things up!
On June 2nd, the dehumidifier arrived, and I managed to get my Vapor Pressure Deficit (VPD) to 1.17! This is fantastic news, and I'm very curious how this will affect water usage. The dehumidifier seems pretty powerful, with water literally dripping out of the hose, so I'm no longer worried about high humidity levels. It's a shame it doesn't have a range setting, but I couldn't expect more for the price. I'm considering ordering the Dimlux Auxbox to set a working range and separate day/night settings. Thankfully, the dehumidifier has an auto-restart function after a power loss.
On June 3rd, the night is over, and while my values are now more stable, I haven't noticed any significant differences in water absorption. What I do notice is that the pots seem much drier. The difference in leaf temperature compared to the room temperature has increased slightly, now about a 2˚C difference, indicating that evaporation has increased somewhat. Despite the dehumidifier cooling the air, the room temperature has risen. This is explainable since dry air heats up faster than humid air. The CO2 heater is also running significantly longer. So, although there are no immediately visible differences, there are indeed some changes.
Today is the last short night of 8 hours, and tomorrow will be the first night of 12 hours. I am contemplating doing a 10-hour night first and will decide later tonight. After closely reviewing the video footage, I noticed some divergent colors on the leaves. My pH is currently 6.4, which I had adjusted to compensate for the low pH last week—a foolish decision in coco, I know. I plan to make videos of each individual plant for my records to investigate further. The light is too intense to inspect them up close, so the videos will help me get a better look.


Likes
5
Share

@DaedalusGrow
Follow
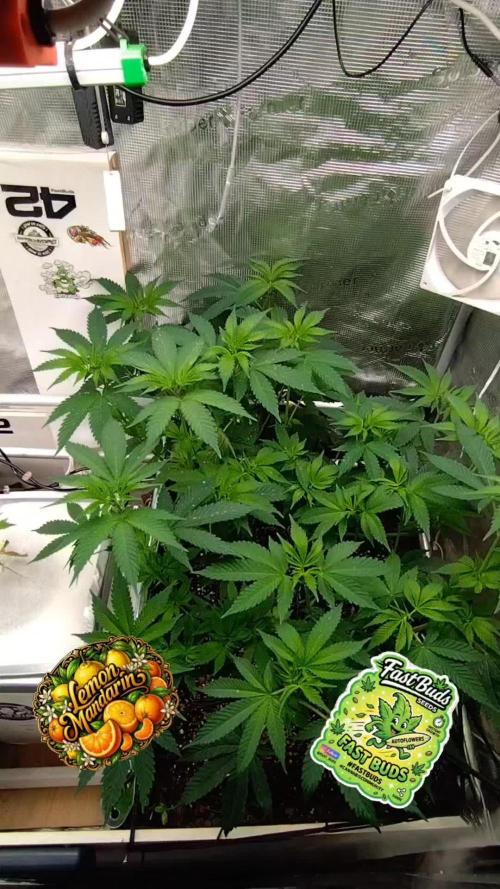
Diese Woche werde ich sie in die Blüte schicken 💚🍃hat sich gut entwickelt 👌 und schönen Triebe gebildet! 🍃Hab noch etwas Horn Späne und Urgesteinsmehl dazu gegeben.

