


Likes
Comments
Share


Likes
1
Share


@Drsensiii
Follow
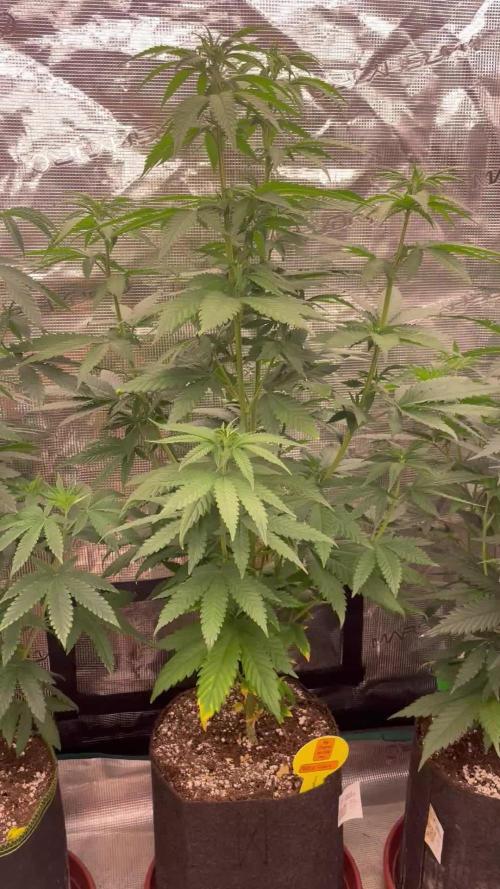
Outside has been extremely hot where I am so getting my temps to slightly drop as flower goes on is proving to be difficult.

Likes
Comments
Share


@greg050noob
Follow
I still have hope that they will all grow the weather/wind is making things difficult. The new Grow room is being framed out that will give me a more insulated space. nectar of the gods is on the right the leaf's look much bigger.

Likes
10
Share

@Chubbs
Follow
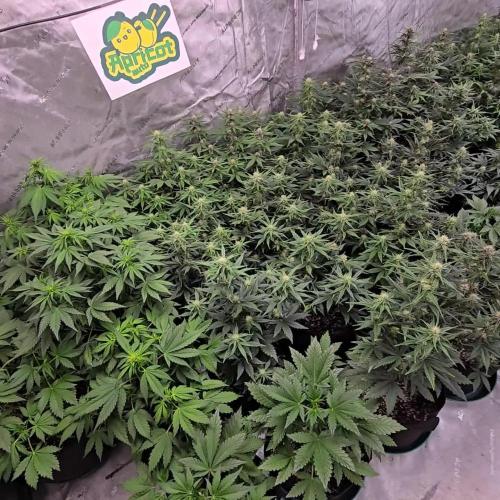
What up Grow Fam. Weekly update on these beauties. They've stopped the stretching part and now started focusing on flower sites. Seeing the flowers swell almost daily is wild to watch. I started to drop the night temps down to low 60's and around 70 with the lights on.
All in all Happy Growing

Processing
Likes
2
Share


@yourmom
Follow
Ladies are looking great smelling great the chocolope has put on some extra height and the bubblegum has put on some extra weight. The buds on the chocolope are spaced out pretty far hopefully the buds get bigger and fill in the space

Likes
5
Share


@GoodTimesOrganics
Follow
Nach einer zusätzlichen Blütewoche war es endlich soweit und Dutchberry hat seine volle Pracht entwickelt. Dem Ende hingegen zeigte Sie eine wunderschöne Herbstfarben und betörte mit ihrem tief berigen Aroma.
Viele dicke kompakte Buds, was die Ernte zwar langwierig aber jedoch einfach gestaltete.
Likes
2
Share

@Jardin33ro
Follow
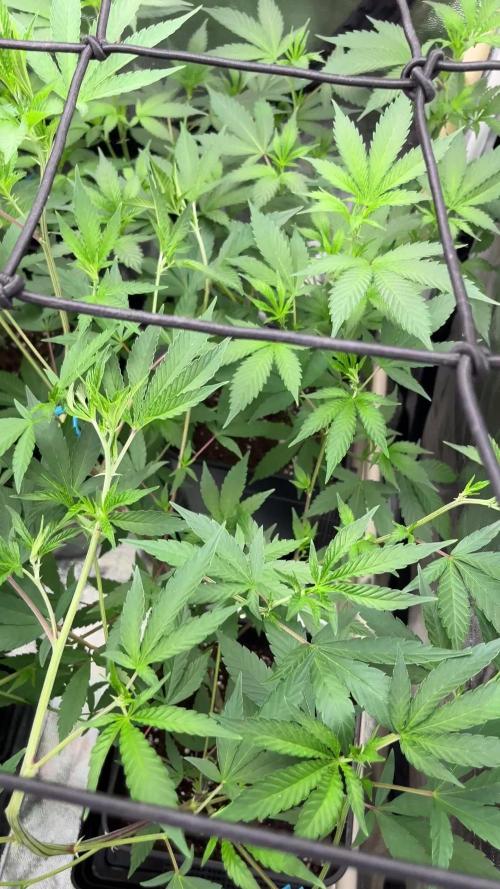
Buenas! Esta semana pasaron cosas, agregamos red scrog para luego inducir la flora. Ya pasamos 12/12 pero me gusta darle una semanita de pre-flora. Seguimos con IPW de athena de forma foliar para prevenir todo tipo de plagas y enfermedades, una vez x semana. Una de las que viene mas grande le hice un supercropping para bajar el canopy. Vienen como locasss. Ultimo riego con Sensi Grow y ahora pasamos a sensi Bloom. Saludos


Likes
24
Share


@Samsemilla
Follow
Die Blütewoche 6 startet und die Ladies bekommen Futter.
Das wird eventuell sogar die letzte Nährstoffzugabe vor der Ernte - mal schauen.
Ich habe auf 12ml/l je Pflanze erhöht. 🤞🏻
Die Blüten wachsen und werden immer harziger.
Ich habe noch ein paar Blätter entfernt um für bessere Zirkulation zu sorgen und mehr Licht an die unteren Triebe zu lassen.

Likes
27
Share

@TrickzCutz
Follow
Servus Moin!
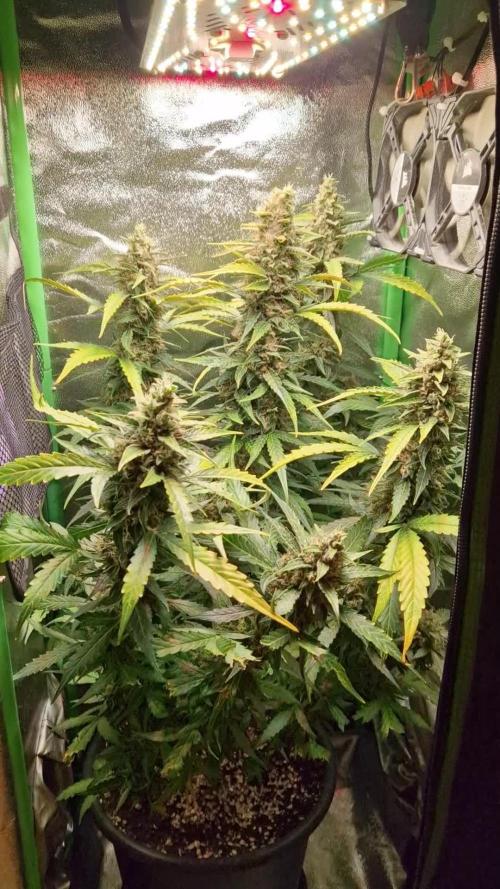
Die Deep Jealousy Auto macht jetzt nochmal viele helle Pistils. Da lass ich sie doch noch eine Woche leben.

Likes
5
Share


@BenChasinBigBudz
Follow
Well we are in week 7 and this girl is just now starting to fill in on her node sites. She is sucking the pH out of the water. I have been gradually lowering the ppm from around 1100... Right now the ppm is around 750 and the next top up I will be putting it down to 550.
She is a 10 weeker so we have probably another 4 weeks to go but I'm around for it.

Likes
18
Share


@ODNTrick
Follow
Cut the little Canuck on day 75 before dawn and placed in tub of clean water for 4 hours to remove debris. Then hung under a shady tree to dry excess water. Very dry breezy day. By evening I weigh it at 168 grams stem and all. Then hung upside down bag open to dry. It was beginning to wilt after 48 hours... hopefully long enough to break down some carbs. I’ll be checking every day an if rain threatens I’ll put in shed. Hope to trim and bag in shed after 7 days to finish drying.
Pyramid is ready to cut. It will get the same treatment. I know this is a little unorthodox and a bit risky getting the plant so wet before drying. I feel like it just gives the plant an extra day to use up any nutrients and break down those starches.


Likes
6
Share


@Magical_Surgeon
Follow
After you found some good sector and clone it you let the mycelium grow and fill almost all the petri dish like I did last week.
So now you're ready to move forward.
Making grain spawn!🍄🍄
For grain you can use Organic Rye Berries, but you can also get away with wheat berries, or brown rice or even corn kernels(which I used myself) !
And you'll need some mason jars or honestly I used some jars that I had home just clean them very well and sterilise before using
Making a grain spawn can be broken down into 6 easy steps.
🍄Hydrate Grain By Soaking
🍄Make Specialized Lids
🍄Simmer, Drain and Dry The Grain
🍄Sterilize
🍄Put your agar in the jar
🍄Colonize
🍄Soak the grain by placing it in a bucket, covering in water, and leaving it for 12 -24 hours. Easy.
🍄Drill 1 hole on top of the lid. Right in the center and cover with a small dab of high temperature silicone sealant, and leave it overnight to dry. And your jars are done. There other diff types for different methods like liquid culture etc. But I'm just going roughly through what Ive done.
🍄The next step is to simmer the grains on the stove. This will thoroughly hydrate the grains, and will soften them to make them easier for the mushroom mycelium to consume.
Cook soaked grain on the stove for about 15 minutes. You don’t want to cook it too long, because eventually all the grain will crack and you’ll get some mushy grain spawn. We don't want that. 🧐After the grains have simmered on a low boil, you’ll need to drain them off. What I did is I drop them in the sink with the drain cover on. The grains will drain over an hour or so, after which you can go ahead and fill your jars.
🍄Once your jars are filled, they need to be sterilised.This kills off all the other nasty contaminants in the grain cover the lids in tinfoil (to prevent water dripping into the lid) and then just pressure sterilise them for about 90 minutes at 15 psi.
🍄After that let them cool down. Get your SAB, wipe down the walls with some alcohol wipes and place the jars inside. And wait untill they will be warm to the touch... not hot and painful 😤patience is key. Bring in your plates that had been stored by you in a dark place. And what u have to do is sterilise your scalpel and just accurately and efficiently decide your mycelium into about 10 pieces and quickly place them in your jar. And complete for every jar u make. You have to be very quick. The more you keep you're jar and your agar plates lids open the more cans they will get contaminated. There certain technics you can see online..
🍄Ones you're done close all your jars lids tight and Jake your jar so the mycelium pieces will mix around the jar and place them in the dark place to colonize. And just keep waiting... 😅 Untill the mycelium will conquer your grain. Keep your eyes on the jars, any weird smells or colour during the waiting time.. because that would mean you got a contamination going on. Oh yeah and when about 55% of your jar is filled with mycilium shake the sh*t out of it so it will break the mycilium inside and make spread more faster.
Likes
12
Share


@Naidoo_B420
Follow
7 days since seeds came up from the soil..doing just fine I guess..need to upgrade my lights tho




Likes
Comments
Share

@PropogateThePlanet
Follow
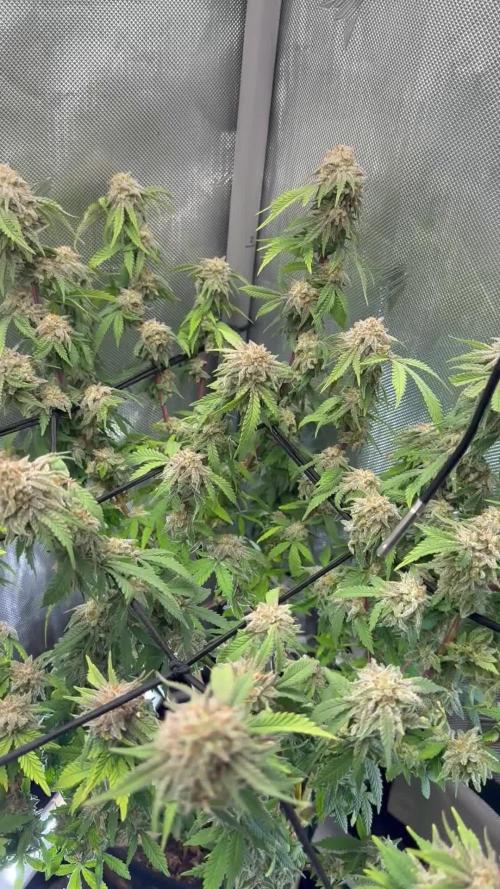
9-20 - decided I was gonna pull these before. I went to sleep last night. Glad I looked again. Light green growth due to swollen calyxes. Buds swelled up quite a bit in the last 24 to 48 hours. Inside the calyxes trichomes are clear to cloudy. Fan leaves have a lot of amber. I popped off a nug and cut it and it was still very undeveloped inside. I had a Buddy with a lot more experience tell me that I needed to pull these two weeks ago. Glad I resisted. It was only after the calyxes swelled up that I realize how early it really was.
Still very few Amber trichomes. Still drinking water too. gonna keep rolling with it. Definitely starting to fade a bit.

Likes
18
Share


@Mr_und_Ms_Lue_Roots
Follow
Willkommen
Wie bereits angekündigt wurden die beiden Damen umgetopft.
Auch Secret Source hat sich gut gemacht. Wir sind sehr stolz auf die Kämpferin 😇🍀💚
Ansonsten werden sie auch im moment durch die neue selbstangereicherte Erde nur mit angepassten Wasser was den PH Wert betrifft gegossen. Auch hier werden wir zeitnah noch etwas entlauben.
Die Nahrungseinstellung wird hier noch mal sehr interessant 😅
Na gut, haben sich alle samt lange genug ausgeruht. Auch wir grins 😬
So wir wünschen noch eine angenehme Woche wie auch viel Erfolg und falls, vielen Dank fürs vorbeischauen!
VG ✌️ 😎
Likes
19
Share


@Ferinky
Follow
En esta actualización se incluyen 2 semanas ya que por trabajo me fue imposible añadir la semana anterior.
El día 15 de Agosto recibió la segunda pulverización de Bacillus Thuringiensis para prevenir el ataque de las orugas.
Sigo alternando riego de agua un día con riego de Ascophillum Nodosum al día siguiente. He dejado de regar con Cannazym.


Likes
11
Share


@TechDCo
Follow
Week 1
27/01/2025
TF and MS
Feed HydroSol: Increased to 8ml/5L
28/01/2025
TF and MS
Light Increased: 313watts
DLi: 35
Rapid Growth has started again.
Feed Increased: HydroSol 10ml/5L
HP 12%: 1ml/5L
Uploaded today's pictures and yesterday's for comparison on how HydroSol is doing?
I topped MS. Hopefully by doing this now TF will catch up but that's not why I topped her. She's known for being bushy; so will be good to bring her up to her second level before branching. Giving the rate she is growing; we haven't to worry about stunting Growth.
H202 is also know to to cause mutations at high levels. I tried to start this diary with HP 12% from seed and it worked until micro-organisms in the air and water; what distillation has missed the "vocs" the cardon didn't catch. Caused them to later on because of free radicals and this is why high levels of HP can cause mutations and cancer when it steals atoms by ripping them apart. "Call the bomb swaddles" when mixed correctly or 'incorrectly 💣 lol
28th Today
Little VT of the 5L jerry can starter pots (DiY)
I think this process is allowing for optimization of Air/feed pks.
I'm at least 2-3weeks ahead from a normal grow because of this style growing.
I know, I know, I lost 3weeks from the first failed attempts. But it's okay 👍 I'm okay with that. Now I know and it's logged in the dairy for future reference I can quickly glance over before I start another one. Like hey 👋 "Time is valuable, read ya diaries" honestly, I don't have dementia i have human forgetfulness/error.
Its still in the experimentental phase.
Took tf out the propagator
31/01/2024
Nothing much to see
I've did everything for TF and still looking droopy. Exactly the same as MS.
I think she'll grow out of it!
01/02/2025
I know, I know what ya thinking, it looks like spider mites on MS only leaf but honestly I think its of the h202. I deffolled her only leaf. Sprayed it with h202 and no reactions happen. No mites.
The Future TF is looking much more lively.
Oh well. No speed-run this time round!
I shouldn't of took 4wks off from growing. Rhythmic nature of thing and getting in the swing off it. It's easy to do but I am always in two minds with everything I do. I can't help but cause "Self sabotage' every time I get to ahead of myself, by running my mouth 💯 blah blah blah; always beside myself.
Aye' they say "God is next to Cleanliness" if that's true it'll be impossible for me to be beside myself haha 😄
Its all fun and games 🎮 🙃
01/02/2025
Midday
Light Increased: 560watts (max) for this power supply. I disconnected the 1200watts one for each light is 600watts. It's currently half-power with 600watts max for two lights at 300watts each. Better than having mishaps with the full power supply 1200 being turned up accidently say in a not ventilated enough little tent. I'd rather pass on that anxiety 🙃
Plants: Under jerry cans with dli at 20.
This should by dinfintion let them gather themselves for 3days; while the sun is blazing outside the can. Even though I could lower the light. I think the high light intensity outside the cans the plants know.
Midday VT
MS looks likes shes a clone 😳 👀 but she ain't!
One day I will get these protocols right. But atm ; atlas, it's all in jest n fun!
MS defiantly looks like a clone but she's not; i have taken pictures since she hatched everyday
03/02/2025
Midday
Freaky Pablo and The future 2 germinated
Sprayed with weak solution of Hydroclonic Acid + h202 very mild.
Now the fun begins!
