


Likes
Comments
Share


@NugLife420
Follow
Well, this is the last week of flushing, then comes the chop. Timber! 🌲. Lol. I am super excited and happy with the results so far. I will update again when I harvest. 😃😎

Likes
7
Share


@Organic473
Follow
Experimenting with extended light source after sun down…solar powered lights. The goal is to prolong the veg and so far it’s working no signs of pre flowering.

Likes
16
Share


@MadeInGermany
Follow
Info:
Unfortunately, I had to find out that my account is used for fake pages in social media.
I am only active here on growdiaries.
I am not on facebook instagram twitter etc All accounts except this one are fake.
Hi everyone :-) .
It develops really strong and beautiful from week to week :-).
In the next 5-10 days I will put them in the flower chamber :-).
Until then, I will train you with topping for the last time today 👍.
Otherwise the tent was cleaned and everything checked 👍.
Have fun and stay healthy 🙏🏻
You can buy this Strain at
https://www.barneysfarm.com/blue-cheese-34
Type:
Blue Cheese
☝️🏼
Genetics:
Blueberry
X
Original Cheese
👍
Vega lamp:
2 x Todogrow Led
Quantum Board 100 W
💡
Bloom Lamp :
2 x Todogrow Led
Cxb 3590 COB 3500 K 205W
💡💡☝️🏼
Soil :
Bio Bizz Coco
☝️🏼
Fertilizer:
Green House Powder Feeding
☝️🏼🌱
Water:
Osmosis water mixed with normal water (24 hours stale that the chlorine evaporates) to 0.2 EC. Add Cal / Mag to 0.4 Ec Ph with Organic Ph - to 5.5 - 5.8

Likes
3
Share

@Bear_Grows_Green
Follow
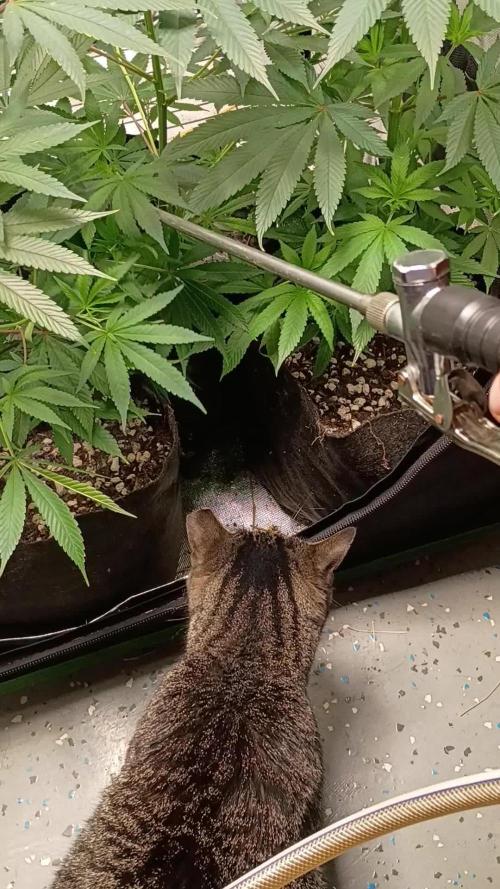
02/09 forgot to post at the beginning of new week which started 02/07. They got watered with goodies today look to be bouncing back well.
02/12 got pre cutting soil drench today turned light up to 300 ppfd looking good
02/13 gave my pre clone foliar spray this morning with light off. Will have to upload the recipe some time.
Likes
17
Share

@StonedSteve
Follow
It wasn't a full week
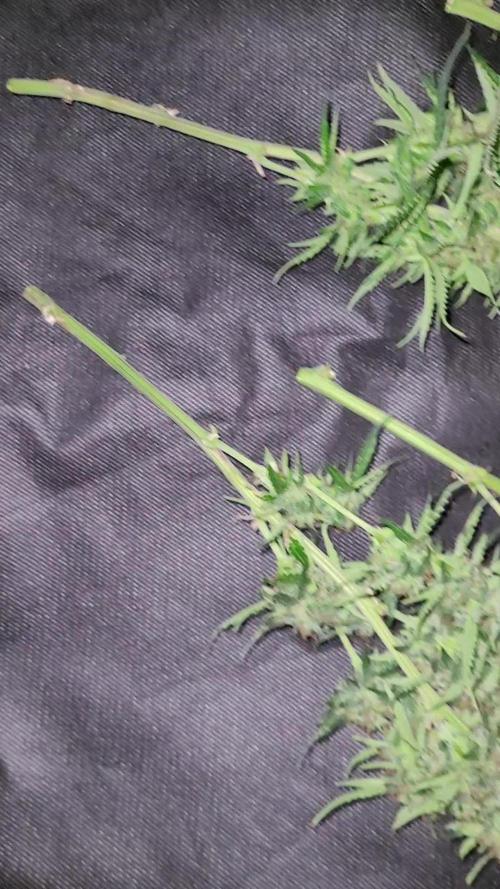
The harvest 26.3. (91day)
The last two waterings were only 4 liters of clean water.
Here are a few photos and videos from the harvest sorry about the quality, but I'm not Saudek.
This is my second grow, and I have to say it was a success. The plant has shown great potential.
I'll add more photos after the buds has dried.
Likes
4
Share

@M420_GROWS
Follow
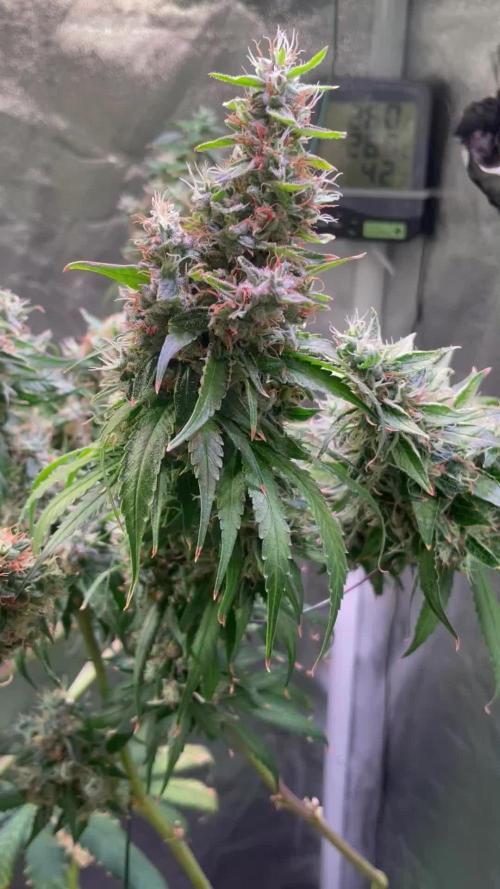
D3: ~15% dried stigma
Trichomes mostly milky maybe 1% amber
Last week harvest: ~25g tiny but nicely glazed buds, will not be considered for final results
I will keep her hydrated, looking for optimal harvest window


Likes
27
Share


@Basementganja
Follow
New Aeroponics "root rain" mist cloner! Holds 2 gallons of water. I added 8 Tsp of CloneX clone/seedling nutrient. PH was 6.0-6.5ish, good enough!
These clones inside got zapped pretty hard one day, because I forgot to plug in the water pump one time after playing with it hehehe... Some didn't make it, but most survived!
every other plant was watered with just de-chlorinated tap water, for re-hydration.
#4 has been selected as the winning pheno! The mother plant had her home upgraded to a 2gal pot.
The root ball was not so bound, due to her receiving a root-prune not too long ago, she was re-potted back into a solo cup.
I pruned the bottom of the root mass off with a light pinch, and potted her into her new 2gallon home!

Likes
10
Share

@DegenMJ
Follow
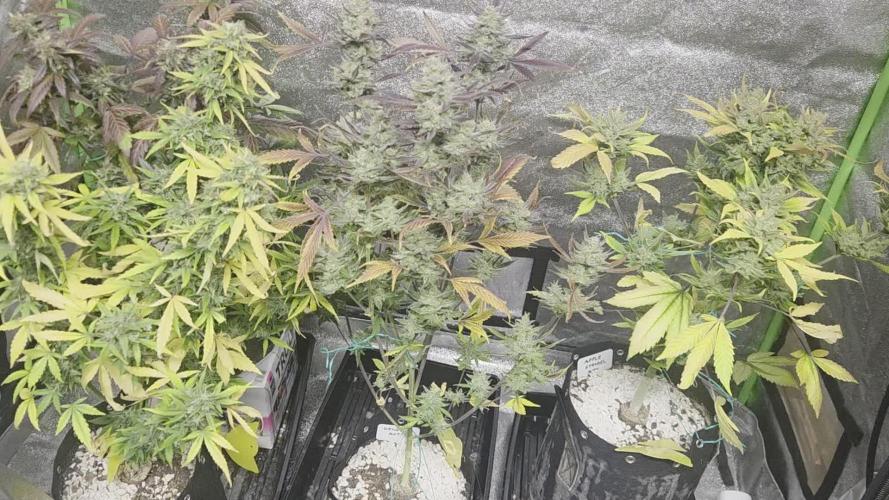
Last day of week 13. Continuing to remove fan leaves that have had all the life sucked out of them via senescence. Gelato and Apple Strudel probably have 90-95% milky/cloudy trichomes, and little or no amber on the actual buds (plenty on the sugar leaves) so they're probably ready to chop. I've just been too damn busy with other life stuff the past couple days. Hopefully will get a chance to chop them tomorrow! Uploaded another video for your viewing pleasure.


Likes
10
Share


@Zdenda
Follow
Před čtyřmi dny jsem sundal která jednu už byla.. trichomy už začaly mít i jantarovou kterou nechávám jen trochu..ani né třetinu.Světlo jsem dal na 75%..No a dneska jsem sklidil zbytek. Prorostlé a tvrdé. Lepkavá brokolice mi voní a vypadá to pěkně.. těším se na kouř. Pověsil a nechám schnout.. potom zvážím až suché a ostříhané.
Likes
4
Share


@Growyourownathome2x2
Follow
Thursday 16th march day 59 Harvested a couple days earlier then planned as my humidity was getting a bit high and worried about risking mold I decided to chop, have to get a good dehumidifier soon, everything looking lovely, nice and dense with very strong fruity potent smell definitely the best looking plants I have grown to date not the biggest buds but they look quality, chopped plants whole gonna do my best to keep the temp and rh% in the dry room as close 60/60 as I can to get a nice slow dry, 🍁😎 I only took the wet weight from 1 plant back left plant was 270g with large fan leaves removed

Likes
30
Share


@Charronsky
Follow
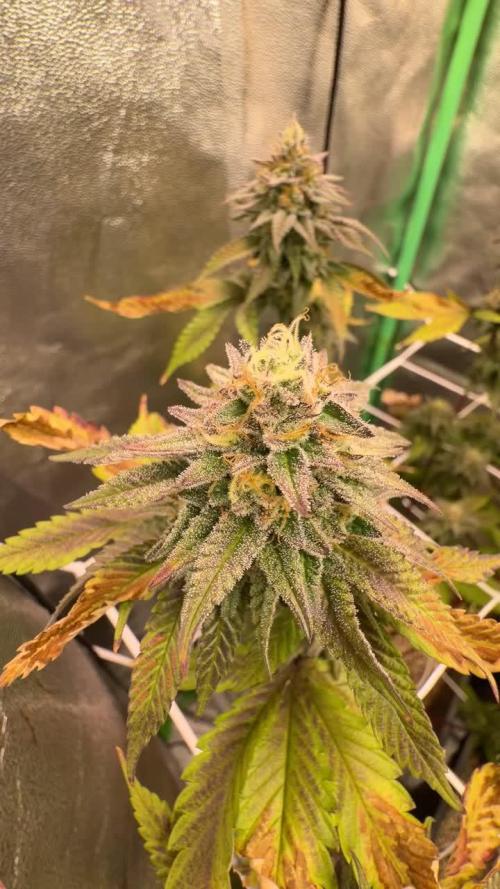
Put banana peels on the soil and cover with more soil, they are almost flowering 🍁🌺🌺


Likes
563
Share


@Ju_Bps
Follow
Hello my friends 👨🌾👩🌾,
Week was good, babies 👶 grow up nicely ☺️
I've found the origin of issue burning, it's from lamp.
Now lamp is more than last week and my others babies are burned too now.
This fu$%#ng thrips are back this week, condition was optimal for them, very dry, I've this week 45-50%...
I've make an insecticide treatment.
💦 I vaporise soil 1 or 2 times per day with water + rhiso @PH 6
This start week
Now, 200ml/plant each 2 days,
I'll start nutes next week.
Lamp @90%
Bisous 💋😘, and see you next week.
Thanks community for follow, likes, comments, always a pleasure 👩🌾👨🌾❤️🌲
Mars Hydro - TS 1000
https://www.mars-hydro.com/ts-1000-led-grow-light
Mars Hydro - FC3000
https://www.mars-hydro.com/fc-3000-samsung-lm301b-led-grow-light
Mars Hydro - SP3000
https://www.mars-hydro.com/sp-3000-samsung-lm301b-greenhouse-led-grow-light
The High Chameleon - Bisous Au THC 💋💋🌲🌲😘😘
https://www.thehighchameleon.com/shop/bisous-au-thc-83
Likes
16
Share


@CannaTrope
Follow
I was selected to test some of Fastbuds new genetics. Seeds germinated in 48hrs and 6 days later it broke ground and hasent slowed down.
This grow is in my 4x4ft grow space located in an uninsulated shed. Each plant has a dedicated 150-200w LED from Viparspectra or Mars. Winter Temps in my area spike to -15C or more in Jan and Feb, so this will be an interesting and challenging grow. The grow room is 20-30C above ambient temperature, so there is a little manual and auto manipulation of grow Temps. See my video
Lights 50-75%, 30 inches, 75-120w per plant
Soil temp: 21-25C
Light cycle: 5:1
Air temp: 18-27C


Likes
26
Share


@DisTentAint4Campin
Follow
Growing great in week 8 day 2 bloom fed her the last time going to do winter frost and straight water out the gate I started supplementing phosphorus and it fatned them buds up some these girls are heavy eaters

Likes
8
Share


@Dendegrow
Follow
👹 MonsterMarker – Week 7 | Flowering Start 🌸
This one is a real beast! 🚀 The roots are the most explosive of all my plants – absolutely insane growth underground 🌱. On top, she’s very stocky and strong, which makes me think there’s a lot of Indica genetics in her 🍃💪.
The smell is already super nice – deep, rich, and very promising 🌿💨. She feels like she’s building the foundation for some serious flowers.
Can’t wait to see how this monster evolves – follow along, it’s going to be fun 👹🔥.
---
👹 MonsterMarker – Woche 7 | Blütebeginn 🌸
Das hier ist echt ein Biest! 🚀 Die Wurzeln sind von allen Pflanzen am krassesten gewachsen – richtig verrücktes Wachstum unter der Erde 🌱. Oben ist sie dagegen sehr stämmig und kompakt, was stark nach einem hohen Indica-Anteil aussieht 🍃💪.
Der Geruch ist schon jetzt richtig gut – tief, reichhaltig und sehr vielversprechend 🌿💨. Man merkt, dass sie gerade die Basis für dicke Blüten aufbaut.
Bin gespannt, wie sich dieses Monster entwickelt – bleibt dran, das wird spannend 👹🔥.
Likes
1
Share

@KurtThePlantGuru
Follow
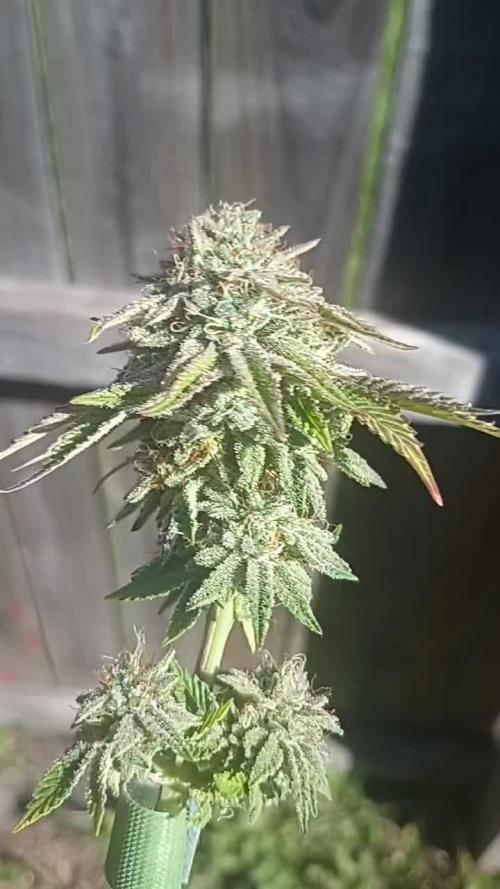
One of my best grows to date, super happy with how it came out... A Gorilla Glue heavy strain with a background notes of Oreoz. Deep Chocolate Diesel. I'm in love with it. Gonna make sum tasty tasty rosin.
Would be 10/10 if it didn't herm
Likes
11
Share


@BudBeezy
Follow
Welcome to week 14 of my grow diary. What can I say? The plant is growing like weed. It's getting bigger and bushier from week to week. I can't complain about the weather except that I have to water her so much every day😂
See you next week ✌️
Likes
11
Share


@Sauce_XL
Follow
1.20.2024: Time to gives this a go. 2.3x2.3 tent, XS1500 light, 2 gal fabric pots. Pots filled with FFOF(90%) & Perlite(10%.) Don't ask me why I chose 90/10. Nutrents are the FF Trio. Freebee seed from Humboldt Seed Co(Emerald Fire OG Auto.) Decided to germinate directly into the medium. Light is at 50% power at 2.5ft from the top of the pot(s). I'll have the light running 24hrs until it sprouts(fingers crossed it does.) I sprayed the top soil with pH 6.5 water when i stuck the seeds in then placed clear plastic cups over the seed location. My 4inch fan is on the way and it comes with a monitor for temp and humidity....no idea what current stats are. Just hope the damn thing spouts. Fingers crossed. More to come.
1.24.2024: We've sprouted!
1.25.2024: Took the lil domes off, opened 2/3 vents for some circulation. Been misting the top soil just to keep it moist with 6.5ph water. I also "bottom fed" 12oz of water just to keep things lubricated. On the fence about when to give the plants a proper watering. Might keep things going "as is" for the next two days. Inline fan and associated hygrometer comes tomorrow(1.26) so i'll finally have an idea on what the current stats are in the tent. Will make adjustments at that point in time. Light is 2.5 ft from soil at 50%.
1.26.2024: Inline fan came yesterday. Only set up the probe just to understand temp and humidity. With the light at 50%, 2 ft from the soil, all vents closed except one(1) port at the top, my current temp hovers around 79 and the RH is 50%. After setting up a humidifier, i'm now running 75 degrees, 64% RH and VPD .58. All within tolerance. I can already tell it will be a delicate dance managing heat, exhaust fan speed and humidity. Still haven't given the plant more than 2 cups of water and i'm only watering when the soil is dry. Tomorrow(1.27) marks 1 week since the seed was dropped. Plan is to lightly water the entire pot when dry for the next week or until growth really kicks in.
