


Likes
Comments
Share


@DanM1727
Follow
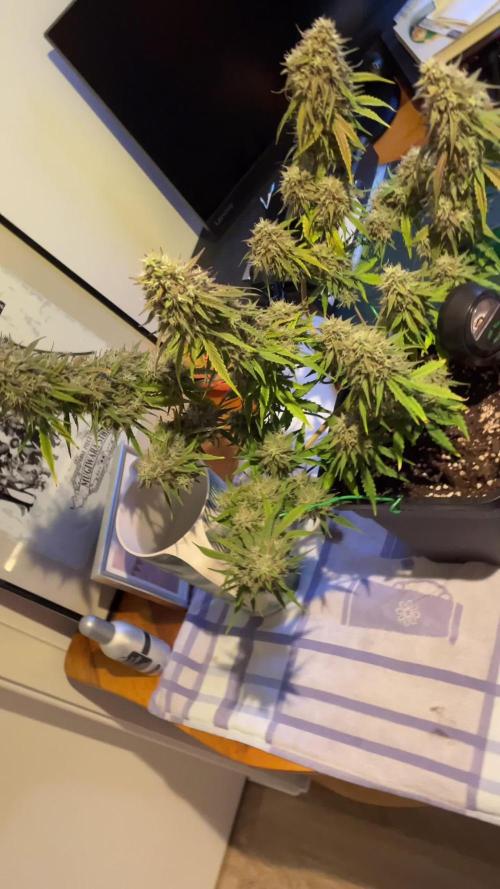
Apologies for shakiness of the video. First time using my new digital magnifier. Plant is coming along nicely.

Likes
5
Share


@I_Identify_As_A_Dan
Follow
Week 5 for Moby dick,
Wow really didn't expect this explosion of growth compared to last week, this plant really really push hard now.
Wasn't really on the cards to LST this girl but her lowers just started pushing so much i thought it would be a waste to not stretch her out bushy.
Also defoliated a few leaves that were blocking light from a few of the lower branches.
Am thinking of moving her outdoors very soon to care advantage of some outdoor sun.
We can also now say for sure she's in pre-flower throwing out so many white hairs. 😎
Very happy with how shes doing atm.

Likes
36
Share


@TaterheadJohnson
Follow
7/19: Started new nutrients today. Filled gallon jug with new nutes. Poured half of new nute mix in half gallon jug. Poured the entire half gallon jug into reservoir.
7/20: Bumped light intensity to 50%
7/21: Filled reservoir to the 2nd line today. Added a total of 1 gallon to res to get it to that line. Poured the rest of the mixed nutes for this week (half gallon) and then another half gallon of just plain water.
7/24: Bumped light intensity to 55%
7/25: Sadness today 😞.. While in the process of doing more LST today I accidentally snapped the main stem. I Panicked! Moved plant back in opposite direction to counteract the split. Will be monitoring very closely! 🙏🏾
***** For this Grow******
“Day Air Temperature” will be the max temp of tent for the week.
“Substrate Temperature” will be the average temp of tent for the week.
“Night Air Temperature” will be the lowest temp of the tent for the week.
Likes
27
Share


@Stealthman
Follow
The plant of course is much more smaller with the restricted root zone causing a bonsai effect. However, she performed really well under the circumstances with a relatively large yield all things considered. I usually smoke high CBD but was very impressed with this high. Let's see how it goes after spending more time under the influence.
Review...
Growing in the solo cup sized container proved to be much more challenging than a regular grow. The plant soon became stressed dealing with the tiny root zone making everything hyper sensitive. The first issue was showing as tip burn even though the ppm was kept in the 650-850 range. Then the leaves showed a general yellowing overall specially showing at the bottom fan leaves. At this point I was changing the nutrient solution every 2-3 days trying different nutrient brands and concentrations seemingly without much success. It was a nerve wracking period which ultimately lead me back to General Hydroponics with amendments. I did learn that the plant can weather the storm even with less than perfect vegetative leaves while she focuses all her energies into calyx production. It’s was upsetting to see less than stellar health but eventually all the leaves drop and the flowers power on seemingly without issue.
The cascading diamond structure developed as a result of a couple broken branches that occurred during the training process in an effort broaden the plant profile with wider lateral spacing. Although initially upset when the fractured branches that withered after being bandaged up and . After removal of said branches it was exciting to see the new possibilities. The cascade formation called for additional side lighting to maintain uniform bud size all the way down the front lower end of the plant. I was looking to create a stadium like effect.
The experience of operating the visual hydroponic unit called for a number of practical adjustments along the way. Although initially, very excited with the system concept as an integrated design with nutrient solution supply and gravity drain through the pump, with the air supply inside the pipe with the air bubbler acting as the drain/root filter... in hindsight, obviously, it would not work as the root mass became denser and denser. The first issue, as the path of least resistance, the air was forced back down the nutrient supply pipe. This prevented the pump from priming itself and subsequently no nutrient solution delivery was even possible. As a result, the original air stone was left in place to prevent the roots from entering the nutrient tank and a new bubbler stone simply added to the tank itself.
Although the original idea was for the air to be continuously pumping directly through the roots, the flood and drain would actually be just as good when drawing the fresh air in and out with each pump/drain of nutrient solution. The ON cycle was initially set to 10 seconds which eventually became 30 seconds as the roots mass grew denser. This proved to be too unreliable as the fill level was no longer consistent which required constant monitoring to be sure that there was no flooding over and above the container lid. It which case, a simple feeder tube to the top of the root zone was the best option. The ON cycle was set to 5 seconds with a 15 minute OFF interval. Overall the biggest concern was the timer itself, which had several bad reviews for malfunctions with growers losing their plants. However, I have no choice as this was one of the few timers that was capable of cycling down to the second but it all workout fine in that regard… no problem.
Was it a perfect grow?... no, definitely not. However, as a relative beginner, it was definitely a great learning experience. Mostly, I need to work on the nutrient blend and concentration. For more control, a backup tank with float valve delivery to maintain the water level for this particular system would be a good idea as well.


Likes
10
Share


@Cocogrow1234
Follow
Week 7 flower : I defoliated a little just to give bud sights more light .
Started flush on 6 1/2 weeks I’m just giving plain water and ph to about 6.0 . Watering everyday to about 20-30% run off and the ec of the run off is 1.0ec gonna be flushing everyday for next 1-2 weeks .

Likes
1
Share

@hinterhofgrower
Follow
.
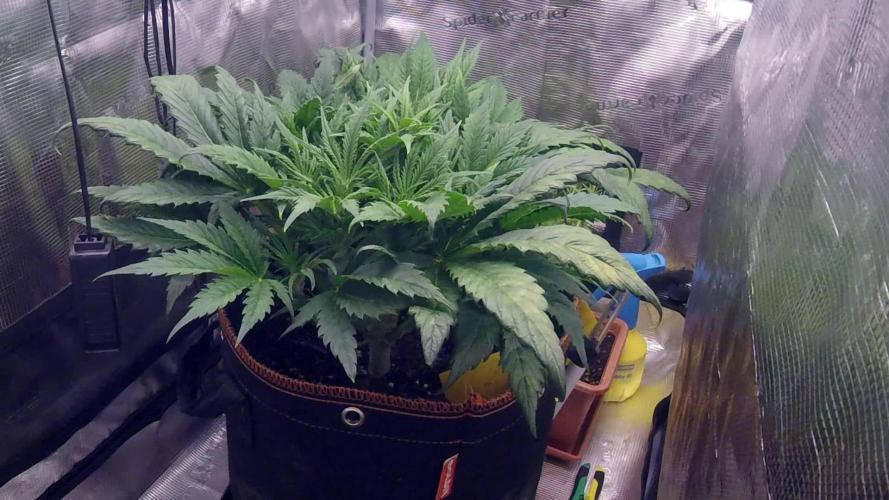
🌱 : Signs of Ca deficiency
💧 : 4l day 44. removed 1l runoff on day 45, 2l day 46
💡 : Dli: 45 mol/m²/d
🤔 : adjusting pH to 6,5 to force more Ca uptake, should have enough Ca / Mg available due to dolimte lime in the soil on day 46
Likes
13
Share


@IQuSX
Follow
Hi, topman!
Last week was very difficult in my live, but all behind of out and we completed
1. Defoliation - for cut off leaf option
2. Topping - cut got head of plants for doable-head option
3. Zigzag for lighting power of potential
4. In began of week Completed 25 concentration cleaning substitute .
Check in the future.
See you.

Likes
19
Share


@Teydoee
Follow
First week of Flower and the girls are doing well. Skipped week 8 because there wasn't much of a difference from week 7 besides small curling of a few leaves. Problem assessed and fixed so no worries.

Processing
Likes
25
Share


@herewegrow
Follow
Ordered a scale the other day so should have some more numbers tomorrow! Not going to sample anything until I get the scale, then I'll update with some more details.

Likes
5
Share


@Naujas
Follow
Day 70!!!! Girl, she looks amazing, this week I removed some leaves to give her a lot of energy for the flowers:) the girl drinks every 2 days, next watering I will probably give her the last water with biobizz fertilizer, next week, I'm going on a short vacation (5 days) I will ask my friend to come and water her, but it will only be clean water 6.3ph:) probably when I get back, it will already be harvest week:).
Likes
5
Share

@Skipi007
Follow
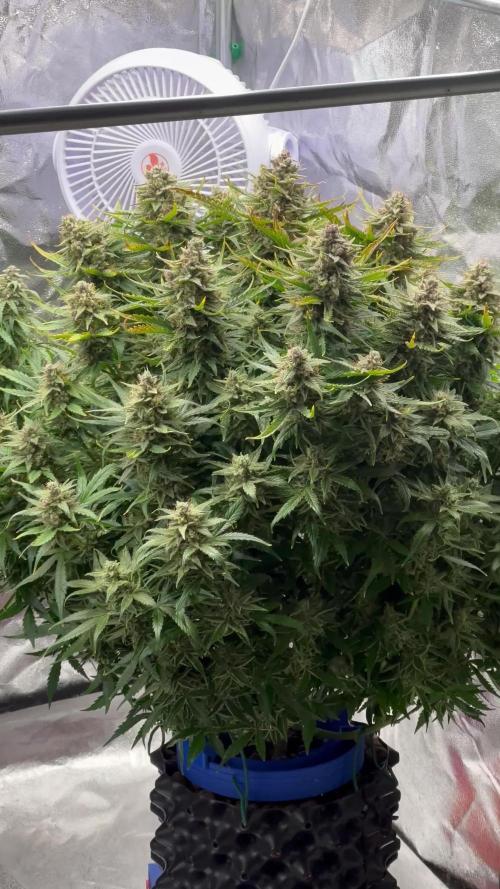
Hi, here is another week and the flowers are gaining volume nicely, for flower no. 2 I am not sure if I should feed for another week or if I should start the 14-day flush, flower no. 1 is about two weeks behind so I will fertilize everything this week, another week or two just Dragon force and then flush. Would you start flushing flower 2 already? I don't want to create another question. The trichomes are milky so far, no amber yet but the buds are overall with a brown tint so I think they will start to turn amber soon.
Likes
Comments
Share

@Hempel420
Follow
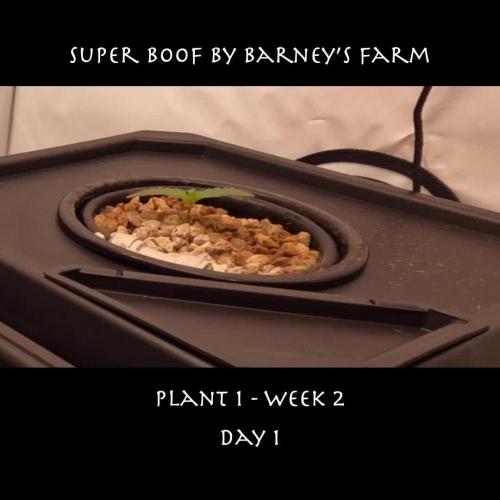
This week's highlights: Root Breakthrough, Dimmer Battles & The EC thingy
Another week down! Since my last update on September 13th, the girls have made some serious moves. Here is the day-by-day log of what’s been happening inside the tent:
The Story So Far:
September 14th – Minor Tweaks & One-Handed Light Gymnastics
Adjusted the pH back down from 5.8 to 5.5. I also wanted to bump the PPFD up to 350 µmol/m²/s. Since the somewhat finicky built-in dimmer on the Lumatek ATS 300W Pro only allows adjustments in 25% steps—and I’m far too stingy to buy additional control gear so I had to lower the light physically. Doing that with only one hand was… an experience, to say the least! The bright side? As the plants grow upwards, the PPFD will naturally increase on its own. I just need to keep an eye on the canopy distance. Once the roots hit the main reservoir, I’m expecting an explosive growth surge anyway.
September 15th – Steady Cruising
Noticed the EC drifted up slightly to 1.3 mS/cm. Left it as is. Just brought the pH back down from 5.7 to 5.5.
September 16th – Quiet Day
Nothing major to report. The pH only rose to 5.6. My threshold for this phase is 5.7 so I don't bother adjusting down to 5.5 until it hits or exceeds that mark. Minimal effort, maximum chill.
September 17th – We Have Touchdown!
pH crept up to 5.8, so I dialed it back to 5.5. More importantly: roots from BOTH plants have officially broken through into the main reservoir! Game on.
September 18th – Smooth Sailing
Just letting the plants do their thing. No intervention needed.
September 19th (yesterday) – Reservoir Change & A Quick Lesson on Canna Schedules
I did a full reservoir change and prepared the mix for Vegetative Phase I strictly according to the Canna Aqua calculator for 30 liters. I input my custom base EC of 0.28 mS/cm and dosed everything down to the exact milliliter using syringes (66 ml Vega A+B, 60 ml Rhizotonic, 75 ml Cannazym). After letting the solution sit for 2.5 hours to settle, I took a reading expecting the target EC of 1.4. Instead, the meter hit a whopping 1.78 mS/cm!
The takeaway here: official feeding charts are guidelines, not absolute truth. Especially when working with remineralized RO water, which reacts quite differently than standard tap water. To bring it back down to a safe 1.4 EC, I had to scoop out 6.5 liters of the hot solution and dilute it back up with fresh, remineralized RO water (EC 0.28). Always double-check your readings before feeding your roots!
September 20th (today) - pH correction from 6.1 back to 5.5 and video editing for this week's report.
Now that the roots are drinking directly from the reservoir and the fresh nutes are locked in at 1.4 EC, let's see how fast they explode next week!
A Note on VPD & Climate Controls:
You might notice I’m not running a high-end, dynamic VPD-controlled tent with automated humidifiers or smart exhaust triggers to chase the absolute textbook 1.0 kPa around the clock. Why? Because this is a Lazy Grow (maybe not for so long, still thinking about mainlining), not a NASA cleanroom operation. Looking at my environment logs, temperatures stay nicely between 22°C and 26°C with RH hovering in the 50–65% range. This puts the VPD naturally right in the sweet spot for veg (~0.9 to 1.1 kPa) without me having to micro-manage humidifiers or drain my wallet on automated climate gear. Sure, dialing in VPD to the exact decimal point might squeeze out an extra 5% of dry weight in the end, but ambient room conditions are doing 95% of the heavy lifting just fine. Good enough for me!

Likes
1
Share


@BlackBear833
Follow
This week was the first feeding I did 1 tbsp of 444, 1/4 tsp of molasses, 1 tsp fish and seaweed extract, then 1/4 tsp Epsom salt . One if my plants is still looking rough but I’m trying to learn how to grow so having one sick plant can help with learning how to fix specific issues in the future. Thank you for checking out my grow more to come in the future :)


Likes
Comments
Share


@Piro420
Follow
End Week 8 a lil light burn.
Still shocked 14day veg at 14inches went over 65 inches(lights max is 63). I bent tucked topped and folded still in the lights.
Other then some cooked tops it looks to be a good harvest soon.
Stinky and sticky af.
Likes
17
Share


@HowtoBubatz
Follow
The plants are thriving in their 4th week of flowering, and I couldn’t be happier with their progress! 🌟
Adjusting the nutrient mix for the coco substrate has really paid off, and both plants are responding beautifully.
The trichome production is impressive on both, but interestingly, the plant without LST is slightly ahead in development compared to the LST variant. 🌿💨
The buds are forming nicely, and there’s already a noticeable aroma in the grow space. It’s predominantly sweet, with hints of something deeper starting to come through. 🍭✨
So far, everything is looking on track, and I can’t wait to see how they progress in the coming weeks!💚💚💚
Likes
3
Share

@Ninjabuds
Follow
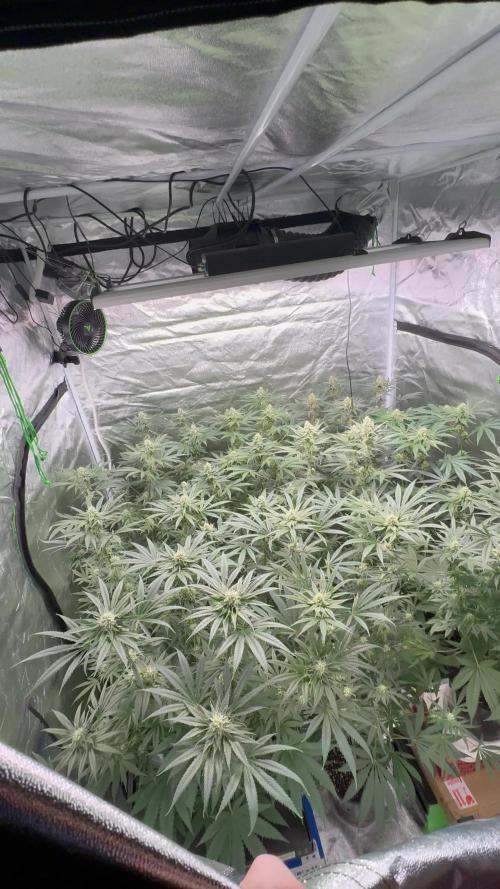
Everything is looking great for now. Busy week. Check back next week for individual photos of he plants will be starting to be pretty fat by then
Likes
80
Share


@Roberts
Follow
Pure Ice cream clone is very top heavy. She fills the whole tent. She has a good strong smell. Looking frosty, and just eating, and drinking everything I throw at her. Cokas are looking frosty, and dense. Thank you Spider Farmer, and Pure Instinto Seeds. 🤜🏻🤛🏻🌱🌱🌱
Thank you grow diaries community for the 👇likes👇, follows, comments, and subscriptions on my YouTube channel👇. ❄️🌱🍻
Happy Growing 🌱🌱🌱
https://youtube.com/channel/UCAhN7yRzWLpcaRHhMIQ7X4g

Likes
5
Share


@Ourweedfarmuk1
Follow
Been amazing grow guys took 12 days to dry to my liking. Buds were very dense and sticky icky


