


Likes
Comments
Share


@Mr_Prawn
Follow
Hago poda de bajos, hay mucha humedad. Las plantas creen correctamente.


Likes
29
Share


@olli0420
Follow
this week is going smooooth. Te fact that the temperatures went down turned out to be good cause it happened right at the end.
Next time I water I'm going to flush 😁 then wait til the soil is a little dry (but before they look thirsty) 😁😁😁😁
im happy with this grow cause it was my first one so I can't complain. Next time I'll be more preventive towards pests 😬 and use cuttings to do clones too😁😁 they have an amazing smell. I think before harvest ill also give them 24 hrs of darkness to increase resin 😆😆😆😆😆😆

Likes
6
Share


@DillyGenetics
Follow
Transplanted my nursery tent from 4L cup to 1 gallon plastic pot , main lining , topping , made Micro tea every week with fish fertilizer 1 tsp Neptune , bloom city seaweed , worm tea concrete, soil recharge 1,2 1 liter of tea per pot to make sure the soil is condensed into soil

Likes
27
Share


@R_Dank
Follow
Nice to get the first month of flowering done! I believe these females will take just over another month, last 2 weeks of additives..

Likes
7
Share

@GoodTimesOrganics
Follow
Hi liebe Community and Welcome Back! 💚
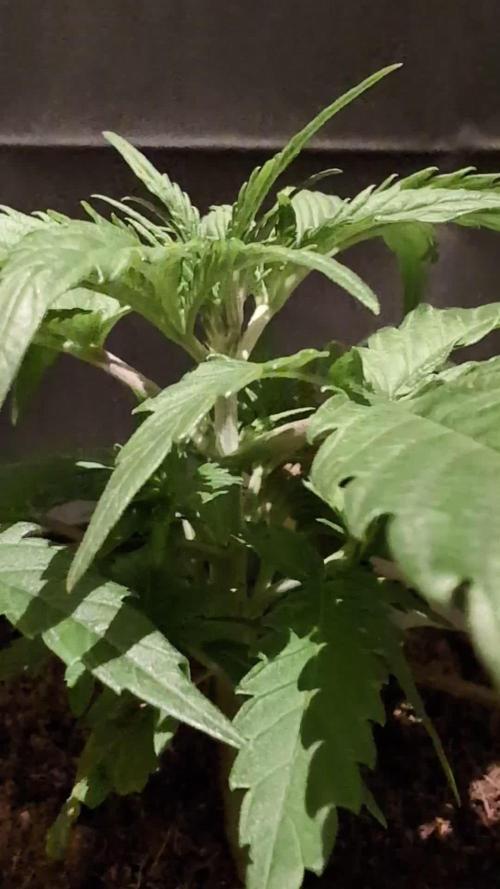
Nach der dritten Wachstumswochen entwickelt sich die Orange Bud solide. Die Verformungen haben aufgehört und das Pflänzchen entwickelt sich sehr Vital.
Die neuen Blätter sehen sehr Gesund aus und insgesammt hat sich die Pflanze gut erholt.
Diese Woche habe ich die Pflanze mit etwas Orgatrex gedüngt.
Die Umgebungsgegebenheiten sind aktuell gut:
—————
🌞 Temp: 21
🌚 Temp: 18°C bis 19°C
💨 RH: 48%
VPD: 1,00 kPa
💡ppfd: 330 mpm
—————
Viele Grüße 👋


Likes
33
Share


@iLoveGoodWeed
Follow
She is almost ready to harvest next week she will receive Finalpart


Likes
13
Share


@eldruida_lamota
Follow
Que pasa familia, vamos con la cosecha de estas Tropicanna Poison F1 de Sweetseeds.
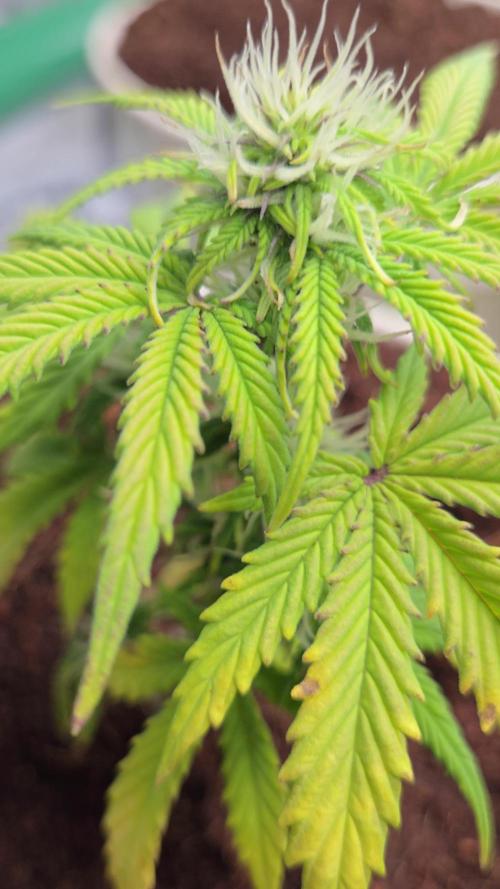
Esta variedad me resultó bastante sencilla de cultivar, y si no la maltratas crece sana a mi parecer, la flor se ve increíble, tiene una cantidad de resina considerable y unos tonos rojos muy peculiares, se ven muy apetecibles.
El olor que desprende es muy peculiar es muy dulce con toques terrosos, a mi parecer, no pinta nada mal, las flores están prietas.
También os comento que la variedad es muy fácil de cultivar y no da mayores problemas, el ciclo no es largo, cuiden con la altura ya que se desmadran un poco.
IMPORTANTE destacar: En las fotos comprobaréis que ya no hay botes de cristal con sobres de bóveda, ahora hay Grovebags.
Que son una especie de sobres o bolsas que retienen el peso, previene la aparición de moho y mantiene intacto el terpeno, para que el curado sea más óptimo.
Hasta aquí todo, Buenos humos 💨💨💨


Likes
30
Share


@Mrs_Larimar
Follow
2023-03-15
The Mimosas were a bit Challenging to Grow, because they produced lots of Leaves.
If you give her a Strict trimming and Maybe a SCROG, she provides of that
I did not do that this TIme, so i had to remove 3-times lots of Leaves
Besides That she has a great TerpeneProfile, like I already menationed
Buds were supersticky ( good for Extracts of Rosin)
Iam courious to her Taste and Effects

Likes
2
Share

@Colonel
Follow
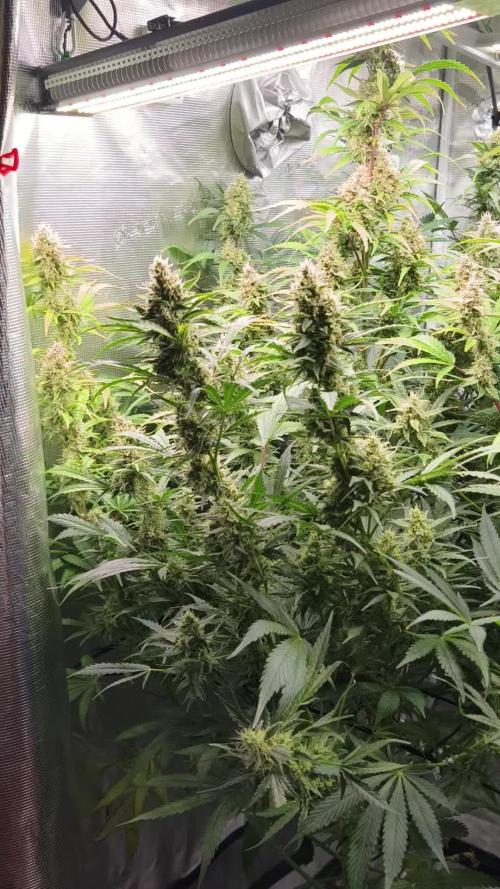
Week 10. The smell is insanely strong — like hot tar and roadwork, super loud, super skunky.
Likes
6
Share

@Paying_Customer
Follow
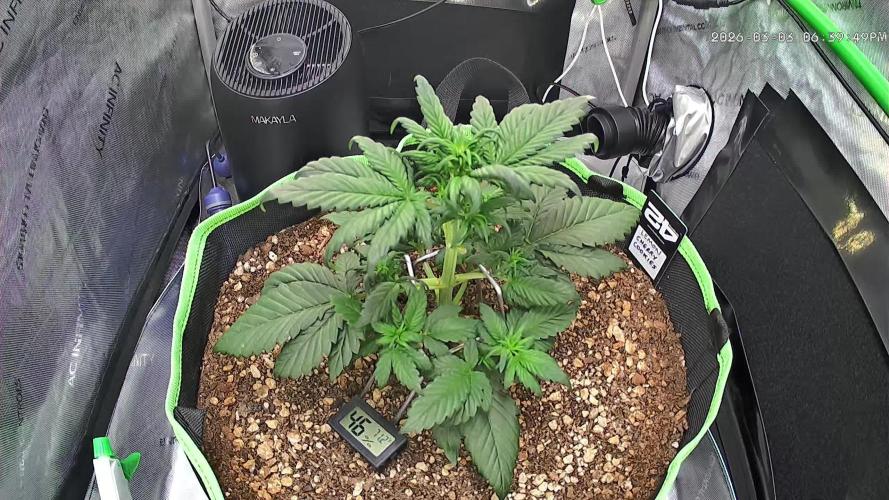
Started flowing after about 25 days in Veg. She stayed very compact but all the sudden she’s growing rapidly bumped up the lighting to 600 ppfd and have side lights on full getting about 550 ppfd under the canopy which is better than 150 ppfd without the side lights. The leaves have a curl on the ends I think maybe it had too much Nitrogen in early veg leaves were extremely dark green. I'm still learning this is only my 3rd grow hopefully I keep learning from my mistakes. Accidentally broke one branch that had multiple bud sites I think it snapped while plant kept getting taller and the pressure made it break and me not knowing this broke it the rest of the way when resetting the metal stakes. Hopefully it doesn't affect it too much, I know I should've just left it alone.
Likes
4
Share

@Organic473
Follow
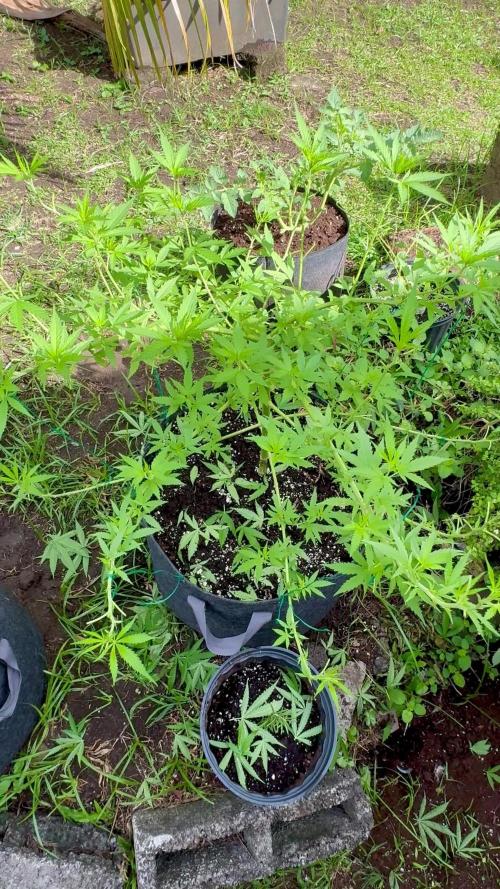
Her new top branches are popping up. I tried a few clones and defoliated her again. She still looks healthy, loving the progress thus far.

Likes
10
Share


@MakFaso2022
Follow
Moby 1: La Moby esta a sus 8 días en preflora en exterior y ya obscurece tipo 18 y 30 y amanece después de las 7 aveces esta muy fresco s la noche ahora estos días de 3° A 16° la temp.Se adapta muy bien veré q tengo para incentivar la flora ya tenia pelos q de.ostraban su sexo y sigue bie. Les aplique Sílice quedo con un ph 6.4 aproximadamente,para que estén más fuertes y puedan resistir algunos cambios de temperatura,
Moby 2 : Está vegetando pasa 4 hs de noche y lo demás en el sol y bajo luz blanca para completar,todavía seguirá vegetando y quisas le saque algún esqueje más..
Pd: Se ve en una foto atrás el techo cono de alromb4a de auto qué uso para cubrir en la noche la planta simple pero más el aislante en la maceta se cubren bastante.

Likes
9
Share


@Dormando
Follow
BEGIN WEEK 8 -
Day 50 - 12/11 -
Light Water.
Day 3 into flowering.
Observe red stems.
Day 51 - 12/12 -
Day 4 into flowering.
Red streaks on stem disappearing slowly.
Plain Water about a cup.
Day 52 - 12/13 -
Day 5 into flowering.
No Water.
Day 53 - 12/14 -
Day 6 into flowering.
1.8ml Grow + 1.2 Calmag fed.
Red Streaks appear to be stopped growing, looking good progress.
Trimmed Fan leaves to expose canopy.
Minor adjustment to ties.
Day 54 - 12/15 -
Day 7 - 1 Week in flowering.
Light plain water. About 2 cups.
Growth like wild, nice dense green canopy formed.
Trimmed lower growth, fan leavs, chopped off weak tops from bottom.
Adjusted ties, spaced out the main tops.
Day 55 - 12/16 -
Day 8 into flowering.
Light plain water.
Day 56 - 12/17 -
Day 9 into flowering.
2ml + 1.2ml Ferts.
Plant ajustment and red streaks recovered really good. Overall looking healthy to my rookie vision.
END WEEK 8.

Likes
21
Share


@reirrac1
Follow
Decided after seeing the improvement in the Tangerine Dream to continue with the new feeding schedule, which will include a flush in a few days. She got pretty burnt from the salt based nutes, but her flowers have thickened up considerable over the last few days so I will try to get as much out of her as possible. NCH x SB trichomes are finally beginning to fill out with milk, and several sugar leaves have already gone 30% amber. One more week of flushing and I think I’ll chop her down. Feed pH 6.5, EC 0.9. Flush pH 6.2, EC 0.3.

Likes
10
Share


@Weedman268
Follow
Really love this strain, grown it a few times, happy with how she turned out, greasy an sticky and the smoke is heavy an euphoric, she smells like fruit punch with hints of nut meg, a smell I can't explain very pungent...

Likes
21
Share


@Shaunofthedank
Follow
Plants are going beautifully. No problems. Easiest grow so far. I’m running dangerously low on weed and I’m quarantined. If u read this message pls send weed 😷💊


