




Likes
9
Share


@Grizzly
Follow
I recommend everyone try this strain, couldn’t be happier and it’s a freebie, I should have more photos coming soon, I’ll also update effects once I have smoked

Likes
3
Share

@PatriciaGant
Follow
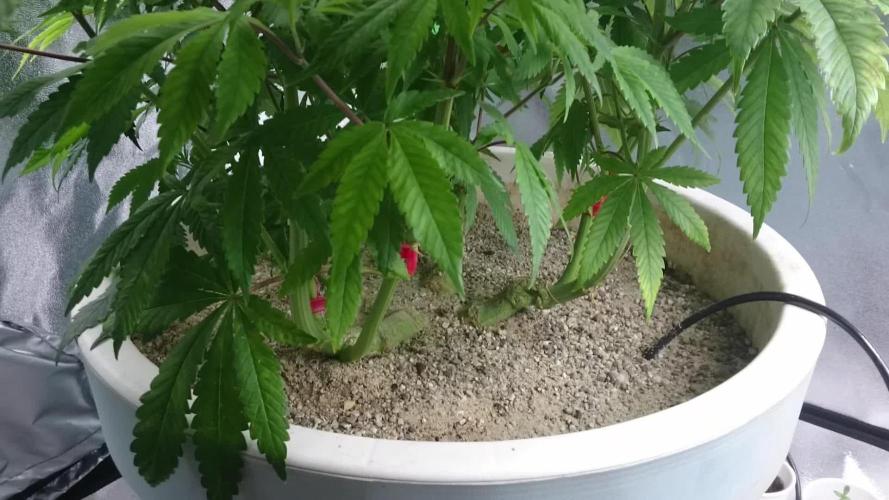
Dane, We all should help one another.
Human beings are like that.
We should live by each other’s happiness - not by each other’s misery.
We don’t want to hate and despise one another, share the Joint.
And mother earth is rich and can provide for everyone.
We can Grow enough Happiness, In this paradise, there is room for everyone.
We only exist to bring joy into the world and The way of life can be free and beautiful,
but we have lost the way.
Grow High and Give the world A smile.
At the end we own nothing more then all our memories, lets make them amazing for everyone,
nothing to lose only everything to win.
for those who come after, right.
A last kiss goodby, a second one, softer and long as a sign, that you are woth it.
That Everyone worth, who loved and given.
Enought Hippie Talk, now have a nice day and an even better grow, thx for watching by.
((From Seed 🌱
((From Clone 🌿
week report:
shhhit those fking flys sand should be washed and not mineral heavy SHOULD well i let airpump in mabe it helpd sand could strangle off air suply we see
well well sadly she is dying

Likes
43
Share


@Ju_Bps
Follow
Hello my friend,
Plant is ending, I've checked a bit in late the trychromes, as we can see on the movie plant is almost ready to harvest,
But I'm just flushing few days, I'm in late, so I'll check trychromes all the days, and I'll try to wait one week to harvest,
I like harvest when 75/25 milky/amber.
Next week, will be the harvest 😃😃.
See you next week for the result,
Have a good week

Likes
31
Share


@KitaKush
Follow
2 weeks left!!! Flushed with water a few days ago..can’t wait to see that leaf fade!
#1 trichomes are popping off..lots of milky and amber..my frostiest plant to date!
#2 trichomes increasing but not nearly close to #1

Likes
20
Share


@3rnest
Follow
Weiter geht's!
Bis jetzt entwickelt sich die Pflanzen gut und bekommt weitere Blüten.
Hoffen wir mal, dass der Herbst schön wird...
Likes
37
Share


@iMpulsive_Grow
Follow
Day 50!
Finally it’s here!!!!! Flowering stage!!!!! 🤗🙏🏼🙏🏼🌱🌱🌱 👌🏼
Day 51! You can see them starting to expand faster again
Day 52!
You can definitely smell it now
Day 53!
Checked her height, and in three days she grew 2 “
Day 54!
Just fed them again. ( they are starting to consume a lot)
Day 55!
22”
Day 56!
Man they are eating so much!!! It’s crazy how fast my soil is drying up now. I’ll measure again tomorrow and see how much expansion they did in the first week of flowering 🤗🙏🏼🌱
Day 57!
This concludes week 8 💯

Likes
4
Share


@OutForReal
Follow
🍎🍑🍋🍐🍏Fruity Jack Part.2 🍌🍍🍒🍊🍇
Song of the week : Konshens - Bassline
----------
She is now heavily feed like you can see the EC is reaching 2.2 but I have some difficulties to adjust the PH ( no PH down or up at home ) but 6.1 will be ok , next time it will be higher let's just hope that she will not suffer from the PH variations

Likes
7
Share


@I_Identify_As_A_Dan
Follow
Week 11 for Lemon OG by SSSC
Im not going to be touching her for a while just want her to start doing some proper growing before i train her anymore.

Likes
21
Share


@Staffedition
Follow
Привет друзья. Моей растихе сегодня 129 дней
Сегодня температура упала до +8°
Замёрзла моя девочка((
Буду делать сверху водяное отопление) а то так дело не пойдёт зимой)
20.10 перевёл свет в режим 12/12
Начал применять LST технику на 19 дне, а 18 августа добавил ДЕФОЛИЗАЦИЮ
С 20.08 ДЕФОЛИЗАЦИЮ делаю каждые 3,4 дня
С 20.08 LST технику делаю каждые 4.6 дней
На сегодняшний день влажность 54%
5.09.2023 заметил высокий Ph 7.9
С 48 дня Ph не ниже 5.8
На сегодняшний день Ph 6.0
Начал кормить с 60 дня Canna Terra Vega
PPM 870
Всем мира и добра!
Не забудь поставить лайк❤️, если понравилась как прошла неделя
И читайте наш TELEGRAM: https://t.me/smail_seeds
#Smail_Seeds 😀

Likes
6
Share


@Mr_nugs_lover_David
Follow
A-M-A-Z-I-N-G! This alien gorilla is blowing me away maan, shit she stinks soo freaking strong, very spicy aroma very piney too, and woody, she's not sweet at all, at least this pheno but the strong spicy piney woody smell is just lovely, you fall in love instantly, the colas look like rockets 🚀🚀 very hard, dense and sticky as hell. I'm so in love with this genetic by the family of original sensible seeds man, what a crazy surprise, I need this girls in my garden every year. She's been 100% organic grown with FLO Living soil and guanokalong organic dry amendments. Hope I can make a big big xxl bush with this strain next season man💎🤤🦍👽🤞 peace everybody!

Likes
18
Share

@Staffedition
Follow
Привет друзья. Моей растихе сегодня 112 дней
20.10 перевёл свет в режим 12/12
Начал применять LST технику на 19 дне и продалжаю применять её через день, а 18 августа добавил ДЕФОЛИЗАЦИЮ
С 20.08 ДЕФОЛИЗАЦИЮ делаю каждые 3,4 дня
С 20.08 LST технику делаю каждые 4.6 дней
На сегодняшний день влажность 54%
5.09.2023 заметил высокий Ph 7.9
С 48 дня Ph не ниже 5.8
На сегодняшний день Ph 6.0
Начал кормить с 60 дня Canna Terra Vega
PPM 870
Всем мира и добра!
Не забудь поставить лайк❤️, если понравилась как прошла неделя
И читайте наш TELEGRAM: https://t.me/smail_seeds
#Smail_Seeds 😀
Likes
35
Share


@Santica_Garden
Follow
Things are going good, but I have made a few mistakes along the way which have hurt my yield. All is explained in the video (if it plays).
Thanks for Watching & Happy Growing guys 👍🏾😎


Likes
17
Share

@Caertner
Follow
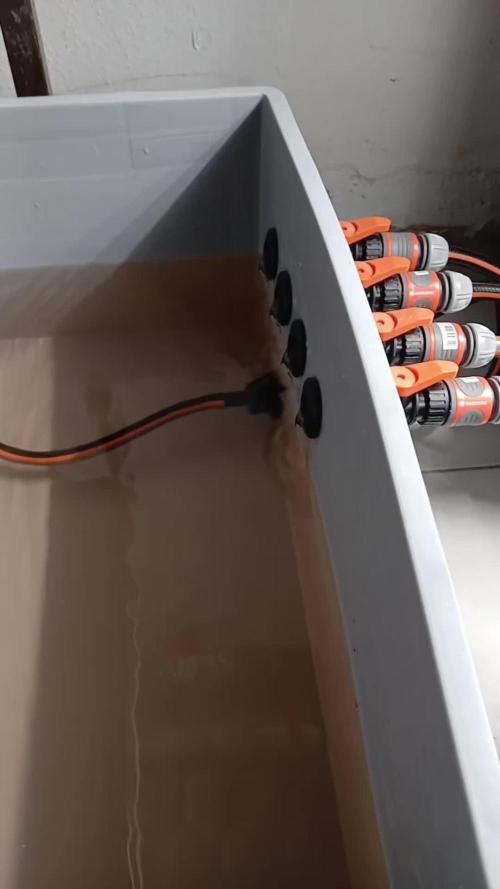
Immer ein wenig entlauben und die unteren Achseln ausgeizen (Lolipop).
Ich hoffe bei dieser Dame auf etwas voller Blüten als bei der BlueSkunk. Wir werden sehen.
Keine Mangelerscheinungen, keine Wachstumspausen. Die Dame sollte bald Pelz tragen.
Likes
8
Share


Likes
6
Share


@Shotter
Follow
So were on day 26 of flower there looking good getting a nice smell starting to throw out trichomes
Have down loaded a thew videos of before and after removing fan leaves


Likes
45
Share


@valiotoro
Follow
Very very sticky i had to change gloves every 2-3 buds!🤓
Delicious smell🤤
Likes
9
Share


@Alejangrow
Follow
They look great for free beans 😉🌿
Just topped these girls at going into week 5🔝
Likes
3
Share


@Gery21
Follow
I had bad luck, or beter I didn’t keep the rain out of the structure.
So unfortunately the lady’s did get wet! We had a lot of rain after a great summer.
I think if I didn’t had rotten flowering 800 gram per plant was normal yield!
It is a great plant verry easy to grow and a big yield!
I like the seeds of high-Seeds!
Its a great supplier!
This year a couple of diverent lady’s!
Whit a new growhouse.

Likes
56
Share


@JuanHaze_Arg
Follow
04/04 se levantaron hermosas! Les faltaba alimento a las pobres plantas,
Se realiza fertilizacion foliar y se riega el sustrato con el estimulador de floración big one. 500 cm3 de agua de osmosis + 500 cm3 de agua del grifo + 0.5 ml - cal mag de top crop + 1.5 ml de big one - top crop. EC: 1.1 PH: 6.3.
En 10 días se pasa a flor.
Se agrega al sustrato 20 gramos de bokashi de murciélago 🦇 vegetativo
07/04 se riega con 2 litros de agua( 50% osmosis + 50% canilla) + 1 ml de cal-mag de top crop (una bomba) + 2 ml de oro negro de namaste PH: 6.2 EC: 1.0
Se coloca red para hacer scrog
