




Likes
26
Share


@ButterfliesLittleFarm
Follow
Hello Diary.
The second week of vegetation and Hulkberries is progressing wonderfully. 👌 You have grown 20 cm and the plants look happy and healthy. The temperature is slightly higher in the middle of the day when the outside temperature is also high. Sometimes it reaches 28 degrees 😎, but luckily summer is not in full swing so temperatures are acceptable. In my case, the outside temperature also affects the temperature in the box since I don’t use air conditioning for cooling. The box is located in a smaller room without windows, the temperature is not too high. I regulate the humidity with a humidifier, and it varies between 55-65%. 💪
Unlike their Green Gelato roommate, Hulkberries stretch more in height than in width. The distance between the branches is much longer than with Green Gelato.
Starting this week, I started adding Fish-Mix from BioBizz. So this week they will get Fish-Mix, Acti-Vera and Bio-Heaven, 2ml / lit each.
Let's take a look at the activities this week:
28/06/2020. Day 10.
Watering. As I wrote earlier, the food for this week is Fish-Mix, Acti-Vera and Bio-Heaven, 2ml / lit each. P. H. I regulate with Plagron’s Lemon Kick.
02/07/2020. Day 14.
Photographing, watering and measuring height. As for watering, the procedure is the same as 4 days earlier.
Hulkberry #1 - 19 cm
Hulkberry #2 - 20 cm
All in all, everything is going well for now, Hulkberries and Green gelato have almost ideal conditions and I hope that I will continue to do so. See you next week.😀

Likes
7
Share


@Fresco_Grower
Follow
La altura de las plantas ronda entre los 45 y 60cm. Durante esta semana se realizara una poda, todavia no realizada al momento de hacer este seguimiento. Se prosigue el riego 3 veces por semana, lunes, miercoles y sabados. Aparecen los primeros pistilos que dan comienzo a la flora.
Likes
5
Share

@NoProbation4Weed
Follow
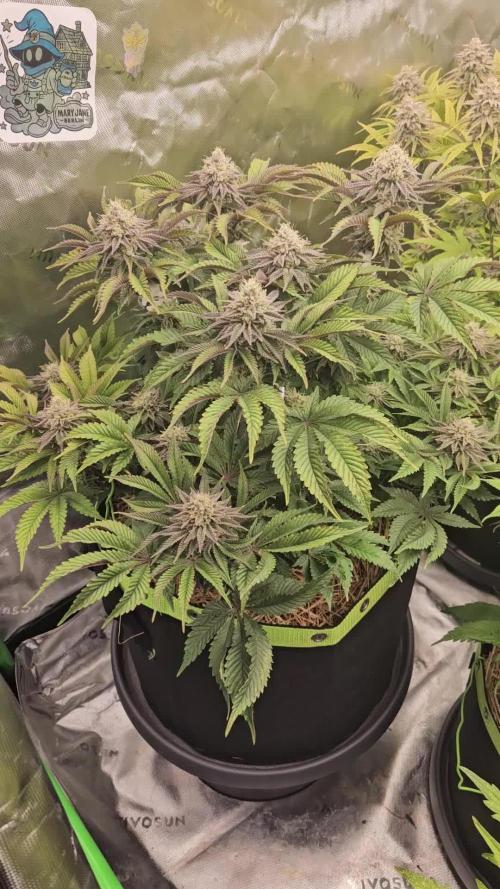
2 plant in different tents. a view optical differences but the smell is almost identical. It smells extreme intense fruity. Like Lemon with Pinapple
Likes
7
Share


@Naujas
Follow
the girl started to bloom this week, although the weather was not very good, but the girl is seeing the sun more and more often, which she likes:) let's keep growing.

Likes
9
Share


@horticulturale
Follow
Esta semana han sido trasplantadas al tiesto de 7 litros.
Salen del armario pequeño de germinación a los focos guays de led.


Processing
Likes
5
Share


@Cousinrandy
Follow
these ladies like to get wet every now and then...so i figured the shower is a nice temporarily spot for them..
that means......yes..i am a stinky bastard at the moment 😌
Likes
25
Share


@Mr_Weeds_Autos
Follow
On Day 15 we checked on the ladies and seemed to respond very well to their first feeding of nutrients. When I to check on the on Day 16 the ladies seemed thirsty so they where given 250 ml of water with a 6.0 ph along with a misting, the plants then received another feeding on Day 18 but this time we went up on the nutrients slightly, I then again watered them on Day 20 and they were given the normal 250 ml of water with a 6.0 ph along with a misting. I did notice that the AK-49 strain is a lot smaller than the last time I grew it at this stage of life. Which I thought was weird so I started seeing what was different. I've come to the conclusion that it's how many plants are in the grow space using the light, meaning I need more light for this many plants. I also think that AK-49 #1 & #4 could have been overwatered which goes to show that every plant no matter the strain can have different needs. So I'll be letting them dry out and show signs that they need by being slightly droopy. Well till next time folks Happy growing and Enhance Your Life ......

Likes
36
Share

@BUZIMAN
Follow
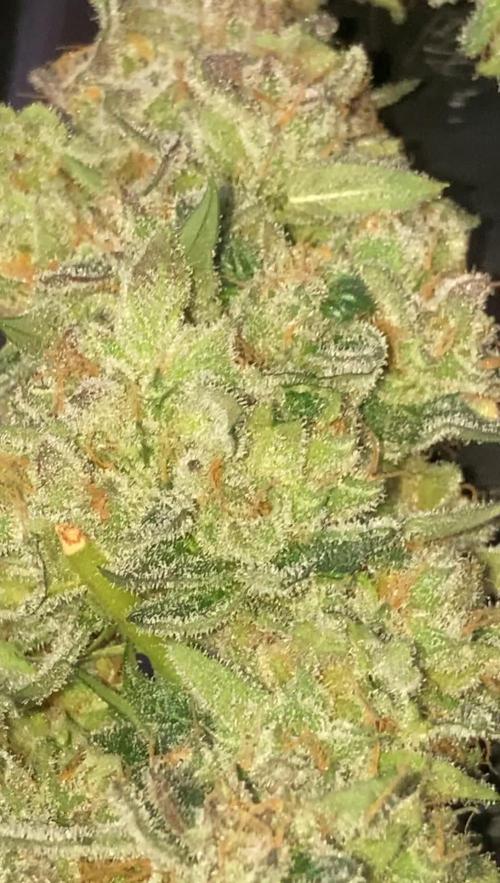
Sunset Peach 🌆🍑
The long-awaited harvest has finally arrived! 🌿✂️
This is an amazing variety that doesn’t take up much space, yet produces exceptional buds. They’re absolutely covered in trichomes, incredibly aromatic, and have beautiful colors. I highly recommend this one, hands down! 👌🔥
I’ll post another update once the drying and curing process is complete.
Big thanks once again to Sensi Seeds for the collaboration — always a pleasure! 💚☮️😎

Likes
7
Share

@MrLahey
Follow
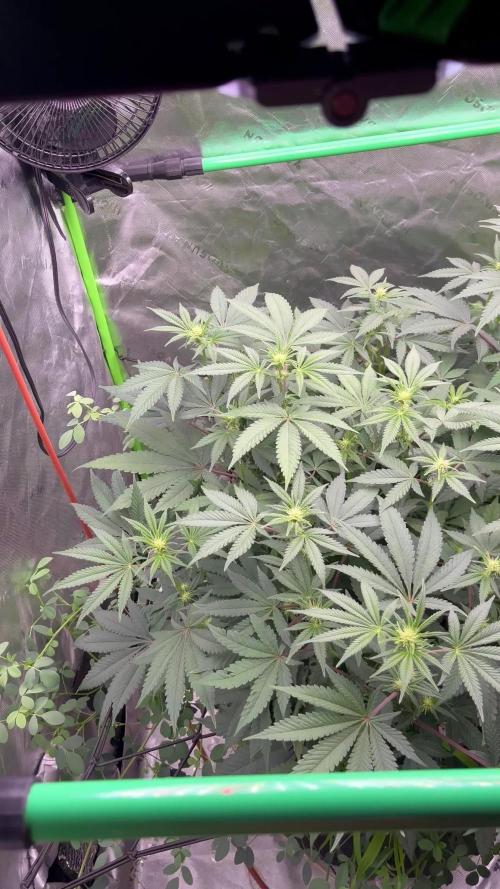
Looking great so far. She was thirsty as heck some days last week. Used close to 2 gallons of water a day. Smell is starting to come on. Veryyyy slight syrupy smell possibly but it’s too early to be sure, to be quite honest. Regardless, she’s starting to create her smell it seems.
Gonna give her maybe five or six days and then do a lollipopping and considerable canopy clean up to make sure that the lower bud sites don’t get too deprived of light. Learned my lesson on my last grow with that. After that I’ll be pretty hands off the rest of the grow other than maybe some flower amendments.


Likes
14
Share


@GODSGIFT_2005
Follow
For LIQUIDS & NUTES ******GREEN BUZZ NUTRIENTS***** organic.
Also i’m using their LIVING SOIL CULTURE in powder form!
MARSHYDRO ⛺️ has large openings on the sides which is useful for mid section groom room work. 🤩
☀️ MARSHYDRO FC 3000 LED 300W
💨MARSHYDRO 6” in-line EXTRACTOR with speed-variation knob, comes complete with ducting and carbon filter.

Likes
19
Share


@sirstickyfingers
Follow
Day 35 from sprout, wk 4 Veg for these girls. This being my first grow I obviously need work on my LST techniques lol. I Am am trying to let them grow naturally for the most part and just trying to pull them higher branches aside to allow the lower growths meet the canopy. Im not sure what to do with the sour diesel as it has become like a damn hedge and so dense that im just gonna let it go until after the stretch to defoliate since i like the natural canopy it has going. They been doing really well and they are drinking alot more water now almost double what they were drinking last week. But mostly just water every other day now. I am considering on a 6 week veg depending how this next week goes.


Likes
Comments
Share


@LokalGrenz
Follow
Having cal mag issues going to hit the grow store tomorrow am and see can I get some organic cal mag and see if that helps other than that no real issues
2/24
I’m going sit my dumb ass down and chill I did a defoliation and man I over did it I think it’s pretty aggressive and i don’t know what I was thinking I was just clipping away 🤦🏾♂️…… anyway got some calmag for the color issues only going 1/2 tsp see how that goes hopefully when the new growth and more stretch happens it’ll look a lot better I’m also bottom feeding the calmag hope that works too
Likes
41
Share


@MadeInGermany
Follow
Flowering day 30
since time change
to 12 / 12 h
Hey guys :-)
Every day when I look into the tent, the sight and the smell are a dream 💚.
They are all developing very well.
There is no tip of the leaf that looks funny at the bottom or at the top 😃.
They were watered every 2 days with 1.3 l each (nutrients see table above).
They were all checked and checked for their health.
Stay healthy 💚🙏🏻
👇🏼👇🏼👇🏼👇🏼👇🏼👇🏼👇🏼👇🏼👇🏼👇🏼👇🏼👇🏼
You can buy this Nutrients at :
https://greenbuzzliquids.com/en/shop/
With the discount code: Made_in_Germany you get a discount of 15% on all products from an order value of 100 euros.
👇🏼👇🏼👇🏼👇🏼👇🏼👇🏼👇🏼👇🏼👇🏼👇🏼👇🏼👇🏼
You can buy this strain at :
https://www.exoticseed.eu/
Water 💧 💧💧
Osmosis water mixed with normal water (24 hours stale that the chlorine evaporates) to 0.2 EC. Add Cal / Mag to 0.4 Ec Ph with Organic Ph - to 5.8 - 6.5
MadeInGermany

Likes
3
Share

@fabialien
Follow
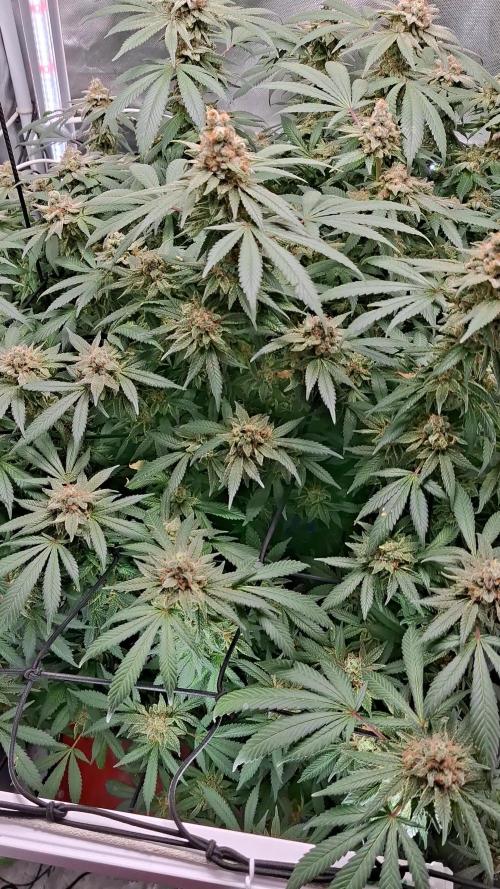
semana del 28 de marzo al 3 de abril 2026, en el que quitamos toda la nutricion y solo dejamls full tit de floraflex para el cierre, próximo cambio de agua sera con flawles finish de advanced nutrients x 24 horas, posteriormente 6 dias de agua purificada en ph 5.8


Likes
7
Share

@Naujas
Follow
It grows very fast, I will use the 12/12 mode from tomorrow;) you can see a few spots on the leaves, but the problem has been eliminated. great home in AMS. I'm new, so I don't know a lot yet, but I have a very good teacher who, if I have any questions, very quickly advises me on how to deal with her:) thank you very much to my teacher :)
