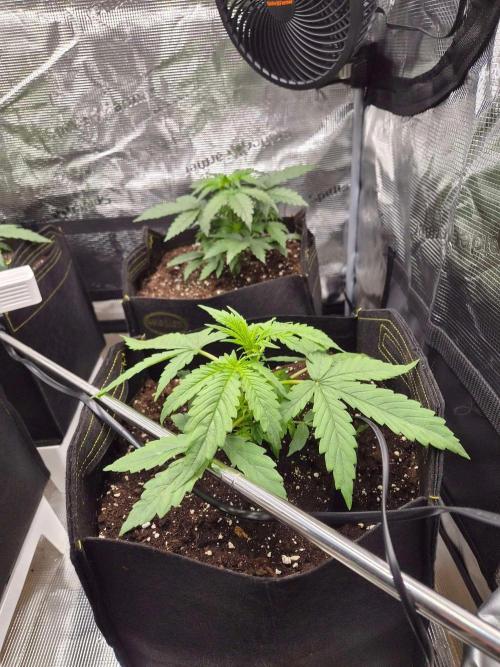
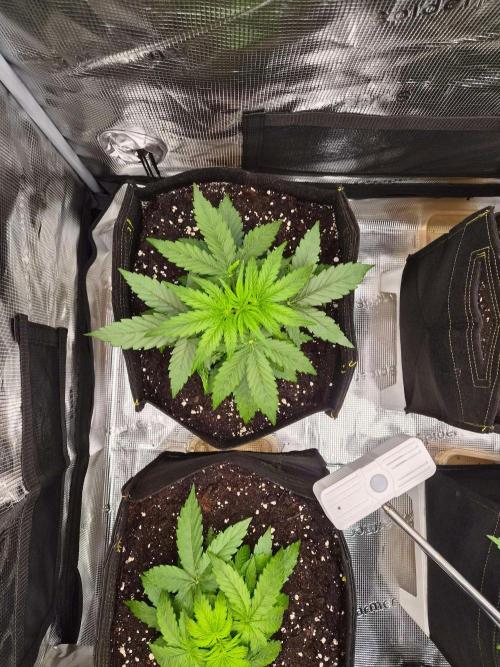
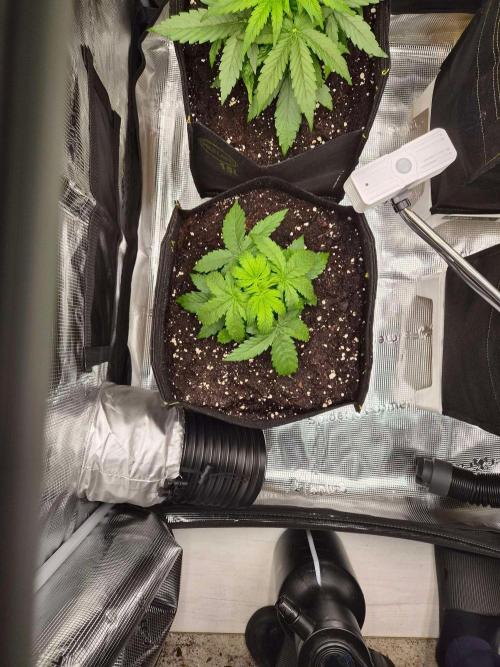
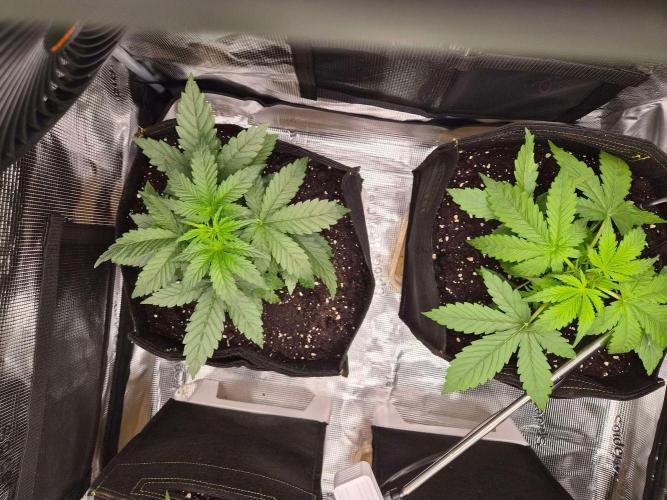
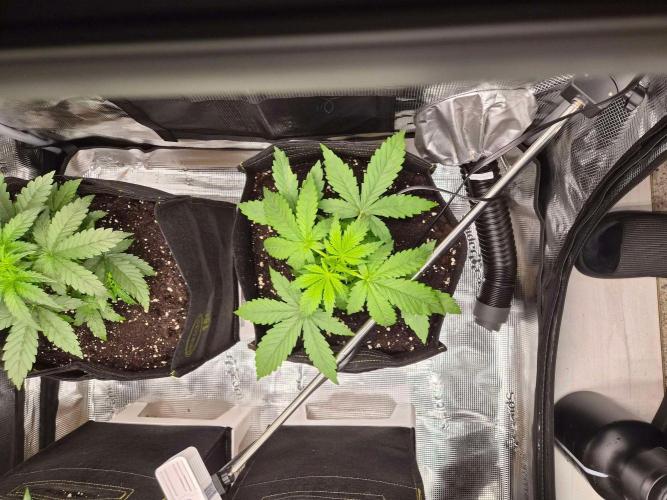
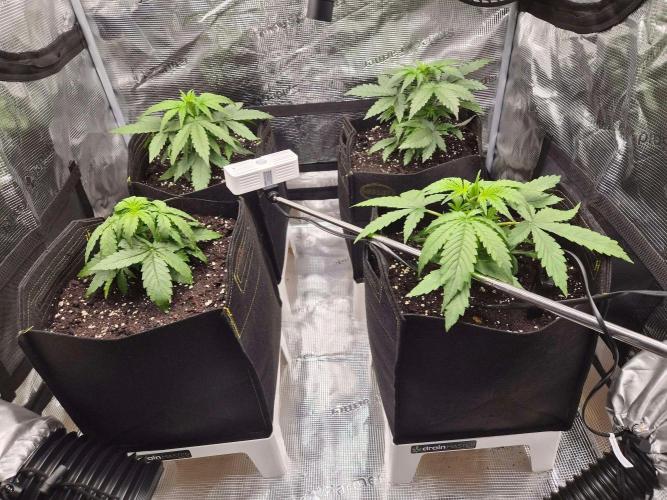
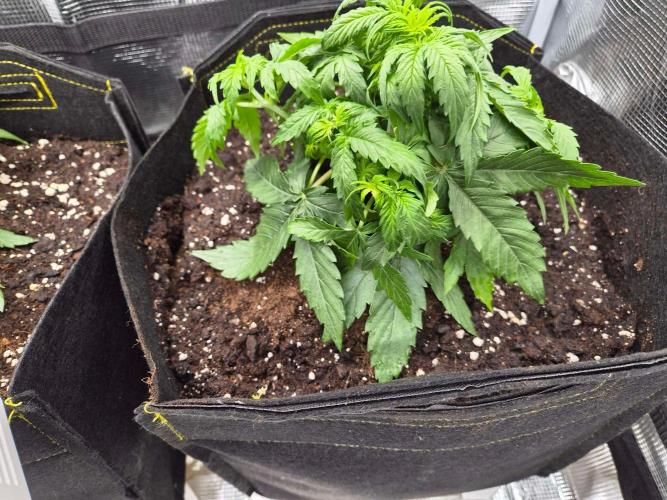
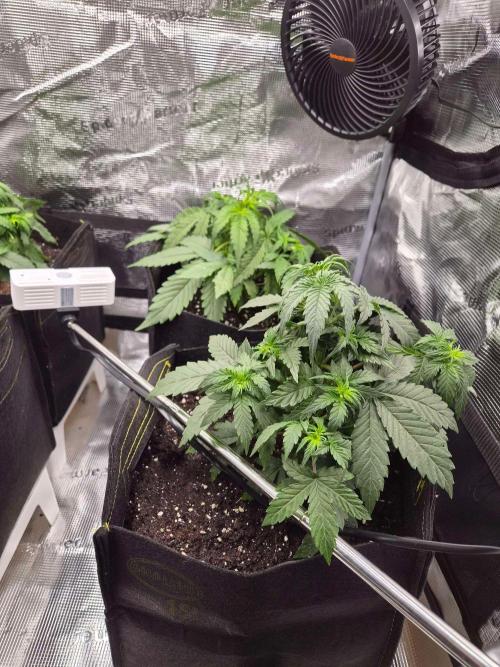
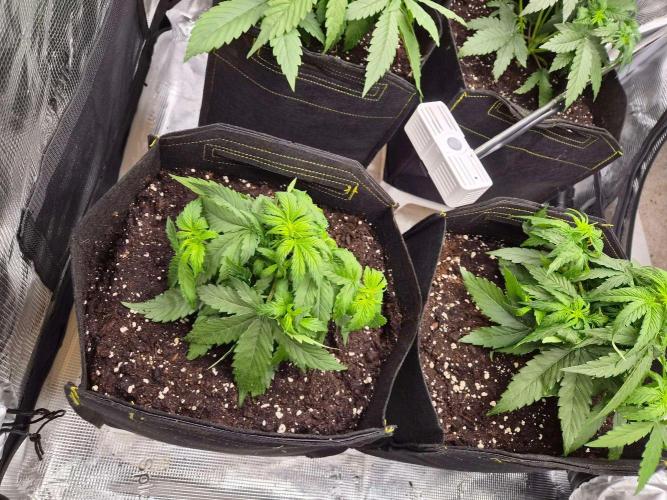
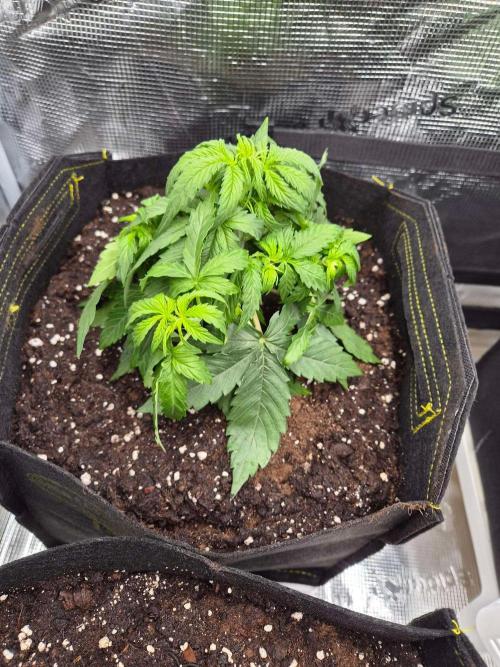
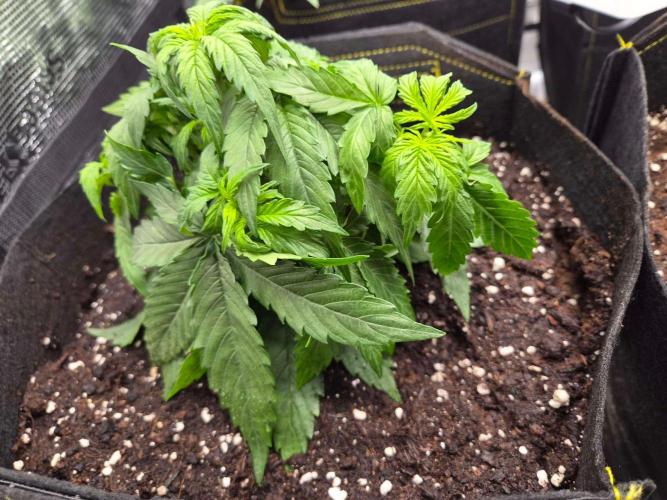
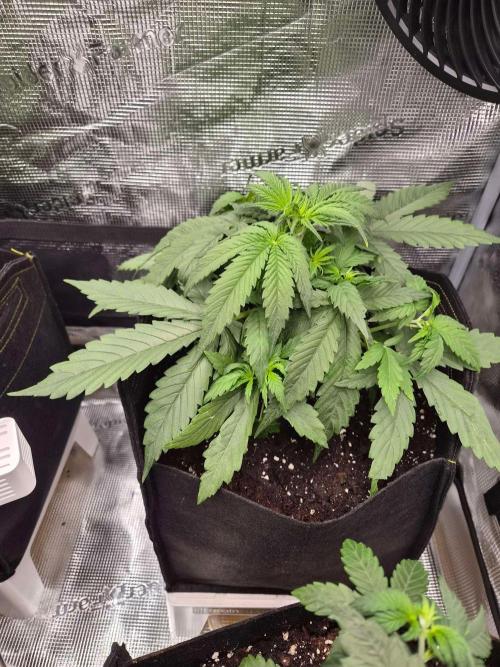
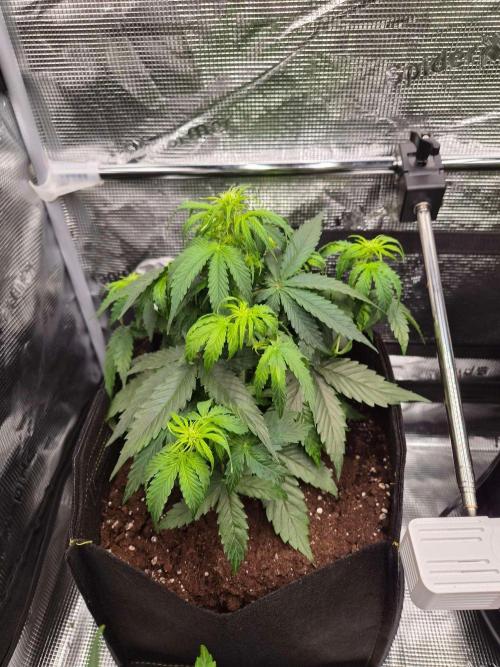
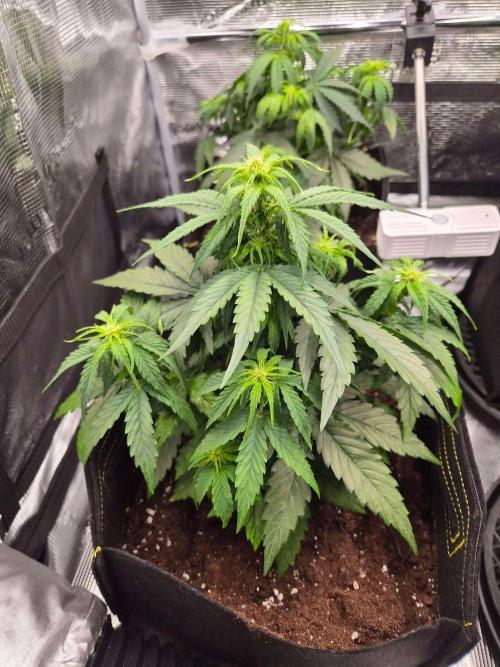
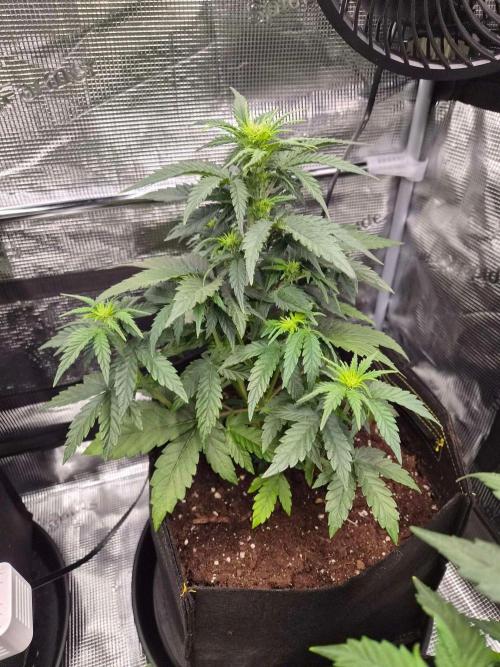
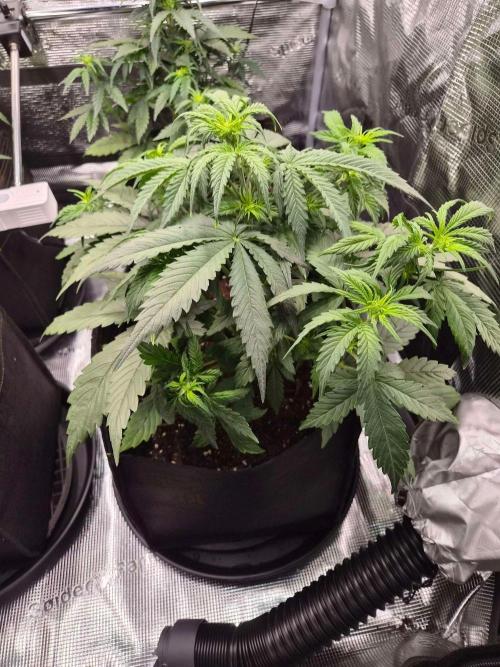
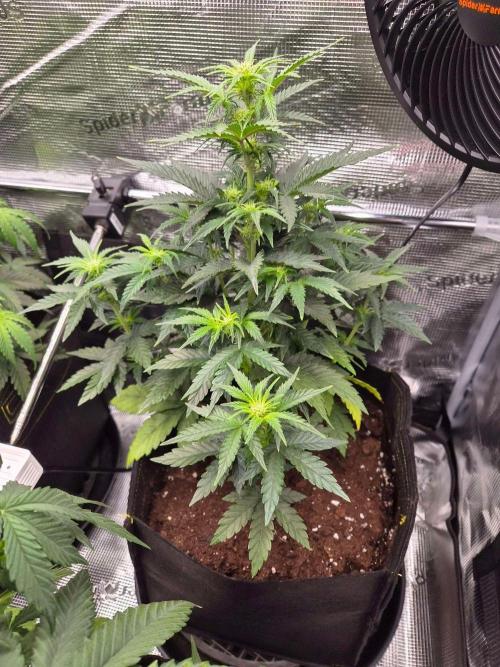
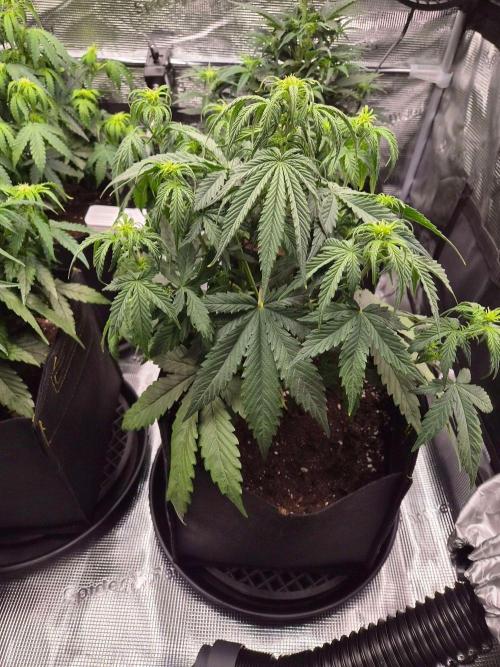
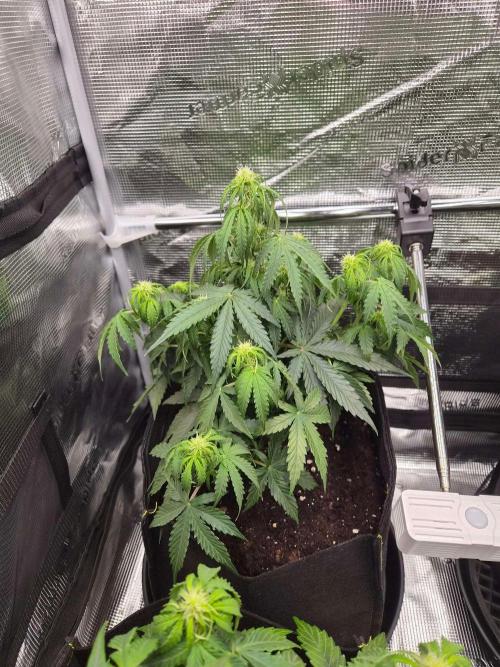
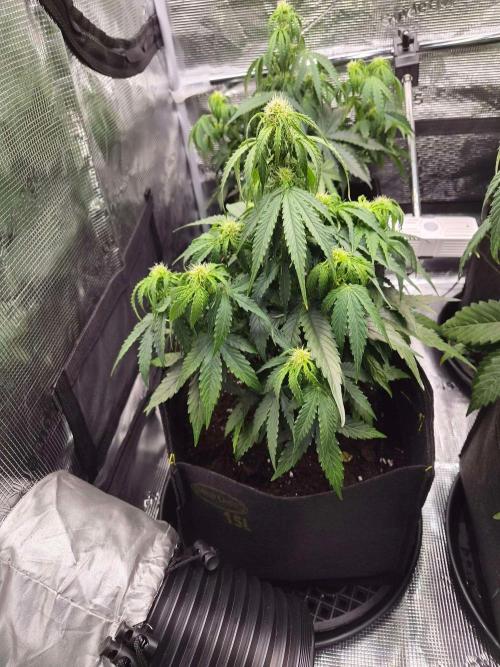
tjaym 🚀 Week 1:
Germination & The First Warmth (Milkyway F1 & Critical Auto)
Introduction
Welcome to my new grow diary!
Today marks the official start of an exciting new journey.
For this run, I am popping two absolute top-tier strains: the cosmic Milkyway F1 and the reliable classic Zamnesia Critical Auto.
The main goal for this cycle is maximizing seedling vitality right from day one.
The Setup & Method
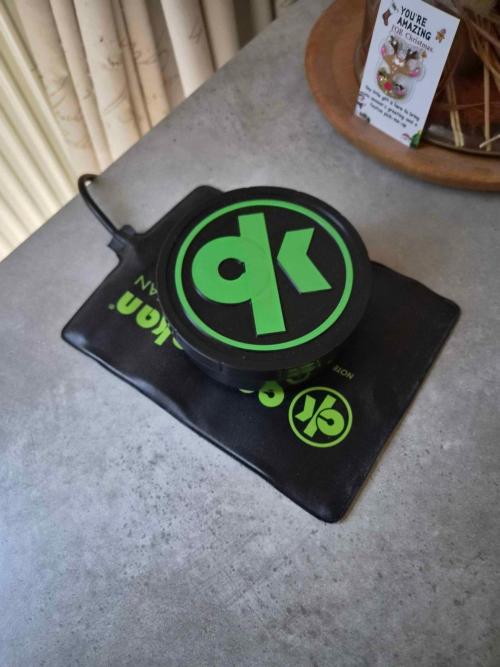
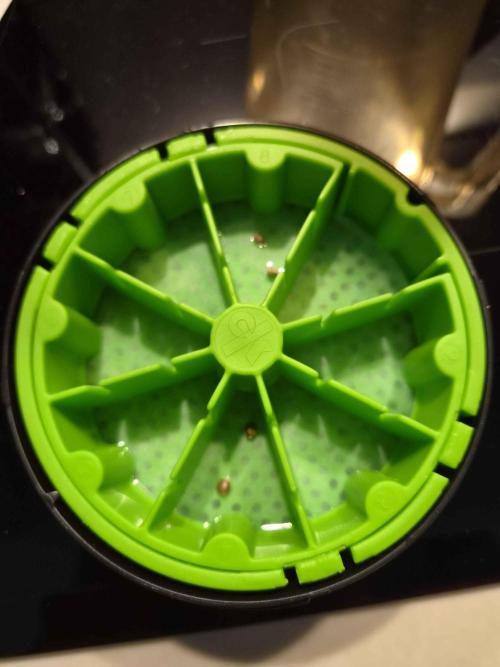
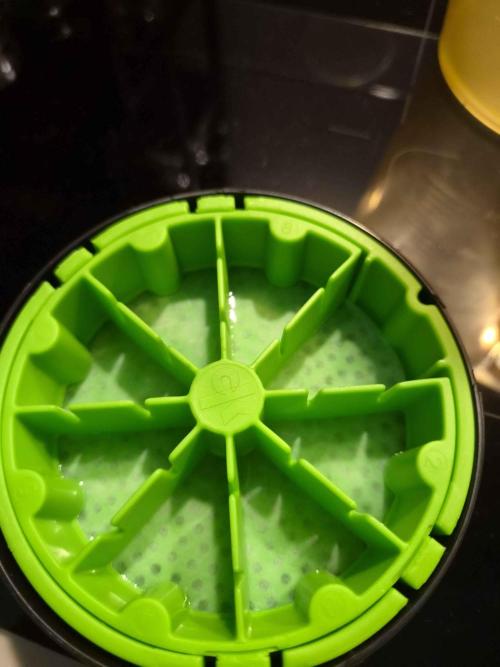
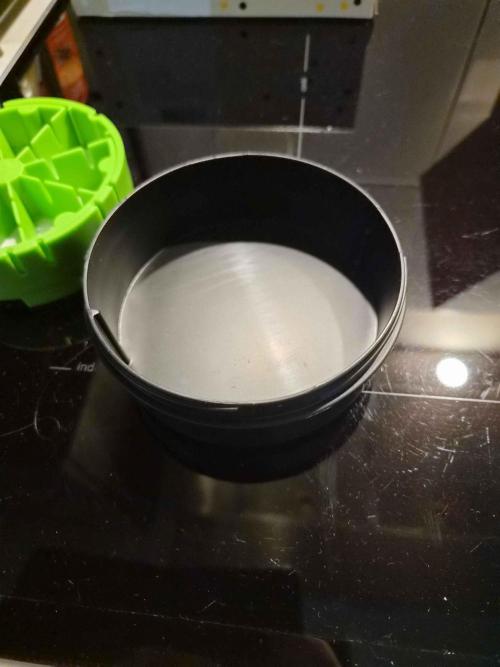
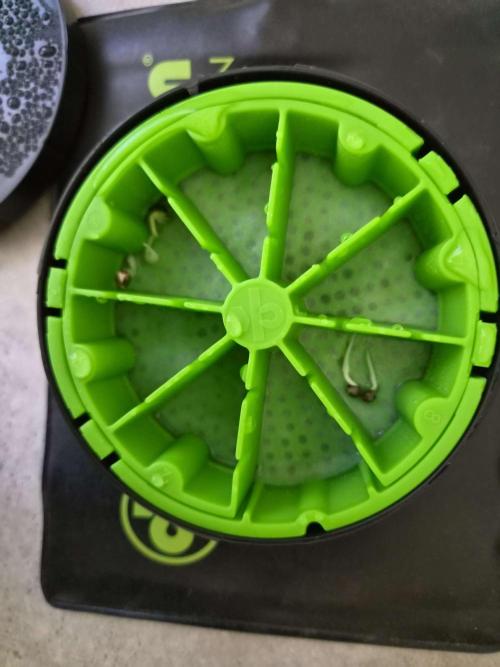
To give these seeds the best possible start, I am using the Cannakan.
This setup ensures a perfect, stable humidity dome effect.
Since the nights can still get chilly, the Cannakan is placed directly onto its matching Heatmat.
A constant, gentle root-zone warmth is the ultimate key to a fast and successful germination rate.
Current Status
Seeds: 2x Milkyway F1 (Royal Queen Seeds)
2x Critical Auto (Zamnesia)
Method:
Cannakan microclimate + Heatmat
Temperature: Steady around 35°C
Humidity: 90%+ (inside the Cannakan)
The seeds are tucked in nice and warm.
Now it is just a game of patience—monitoring the temps and waiting for those first taproots to break through.
Fingers crossed for a 100% germination rate!
🌱 Day 2: Soil Preparation & Warming Up the Pots
The Process
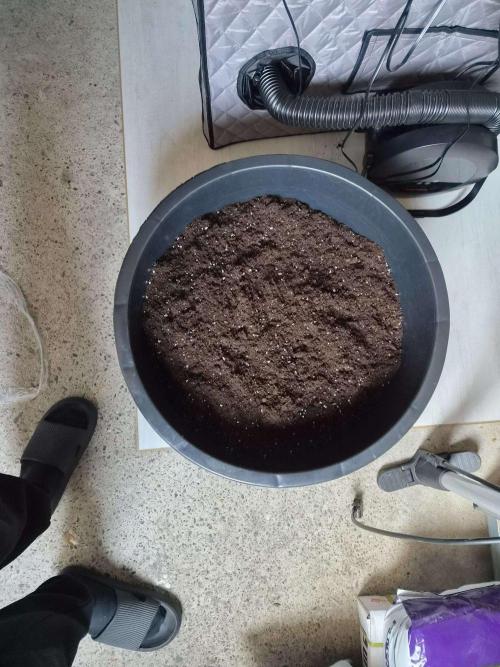
While the seeds are doing their thing on the heatmat, it is time to prep their future home.
Today was all about getting the growing medium ready.
I mixed and hydrated my soil inside a large mortar tub, using good old-fashioned muscle-power to blend it thoroughly by hand.
I brought the soil to perfect field capacity—meaning it is moist enough to squeeze a few drops of water out, but not overly saturated or muddy.
This ensures ideal oxygen levels for the young roots later on.
The Setup
Pots: 15-liter square fabric/geotextile pots.
Benefits: Fabric pots offer excellent drainage and automatic air-pruning for a massive root system.
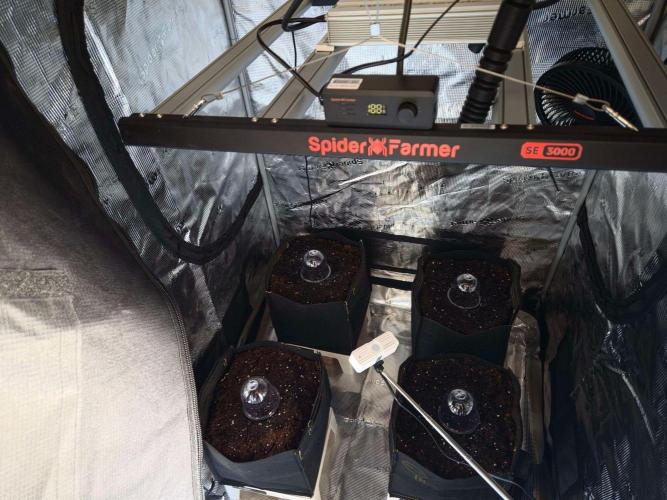
Environment: The filled pots are now placed inside the grow tent with the doors fully zipped shut.
Why now?
Placing the pots in the closed tent ahead of time allows the soil to warm up gradually to the ambient room temperature.
Planting delicate seedlings into cold soil can shock them and stall growth.
By the time the seeds sprout, their medium will be nice, cozy, and ready to go!
🚀 Day 3: The Big Move – Planting & Root Inoculation
The Process
Today was moving day!
The seeds showed beautiful progress, so it was time to get them into their final 15-liter fabric pots.
To give them the ultimate head start, I used a precise planting method to maximize root contact with beneficial fungi:
The Inoculation: I scooped out a small handful of the warmed-up Plagron Lightmix to create a nice planting hole.
I sprinkled a generous pinch of Mycorrhiza directly into the bottom of the hole before lightly covering it back up.
The Planting: I gently pressed a small hole, placed the sprouted seeds carefully inside, and closed the soil over them.
Moisture & Microclimate: I gave the topsoil a very light watering just to settle the medium around the seeds.
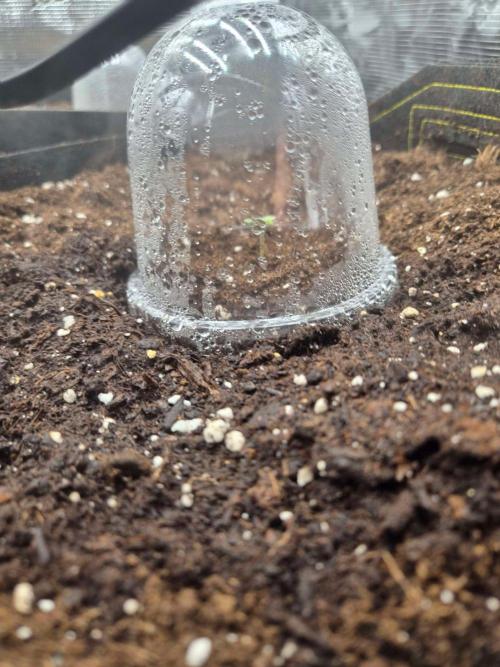
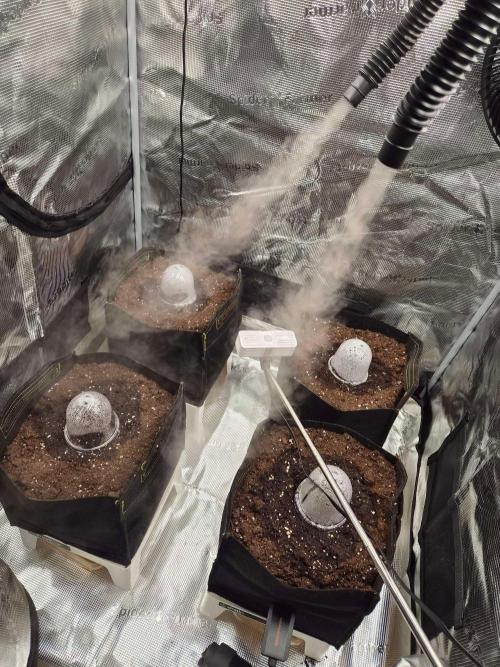
To lock in that crucial early-stage humidity, I placed a clear plastic cup over each seedling site to act as a mini humidity dome.
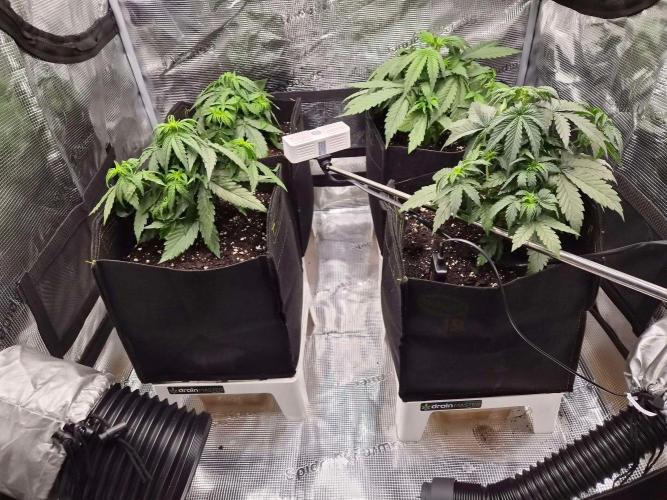
Tent Layout & Organization
To keep track of my genetics easily during this multi-strain run, I have set up a strict layout in the grow tent:
🌌 Left Side: 2x Milkyway F1
⚡ Right Side: 2x Zamnesia Critical Auto
Current Environment
The tent remains fully zipped up to maintain a stable environment.
The combination of pre-warmed soil, localized moisture, and the plastic cups creates the absolute perfect microclimate for these babies to break through the surface.
The waiting game for the first green leaves officially begins!
🌱 Day 5: Sprout Alert & The Great VPD Battle
The Sprouted Seedlings
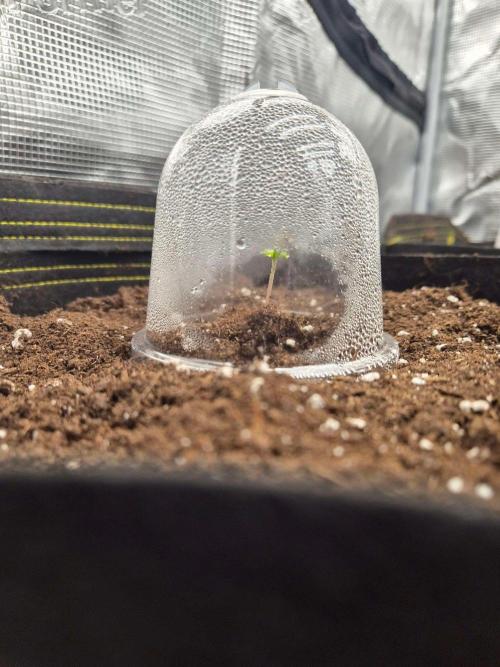
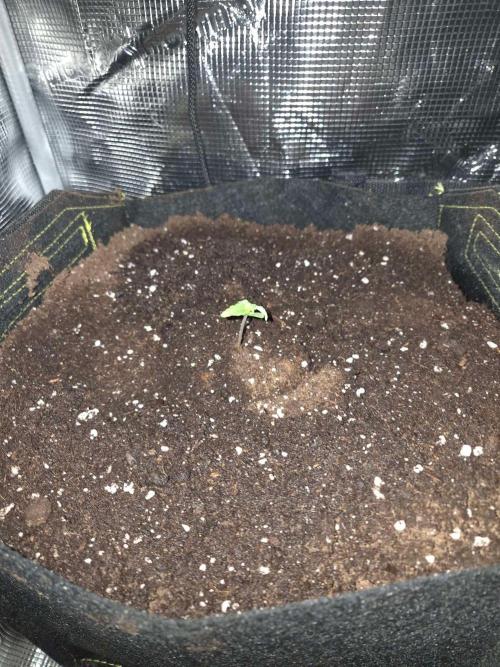
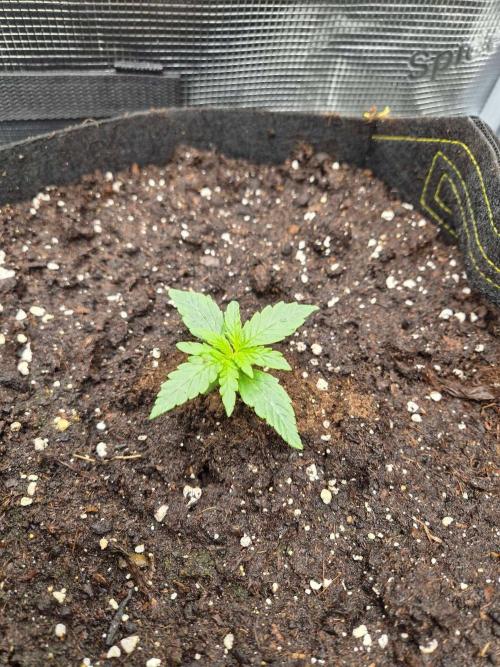
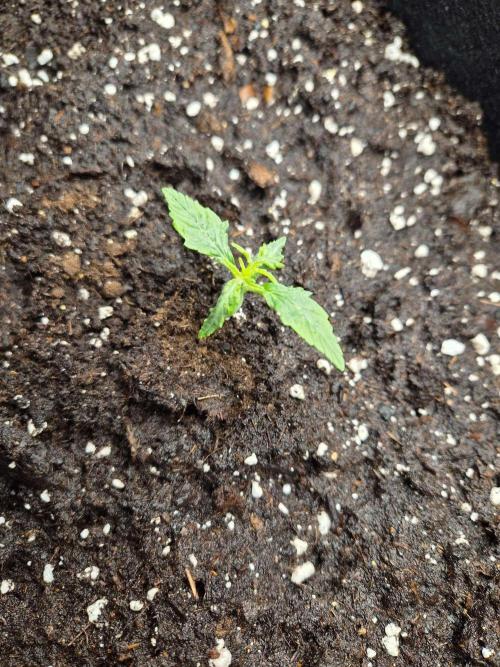
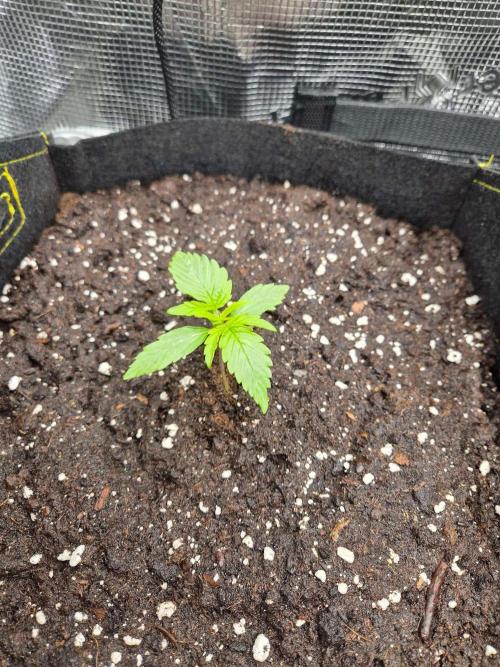
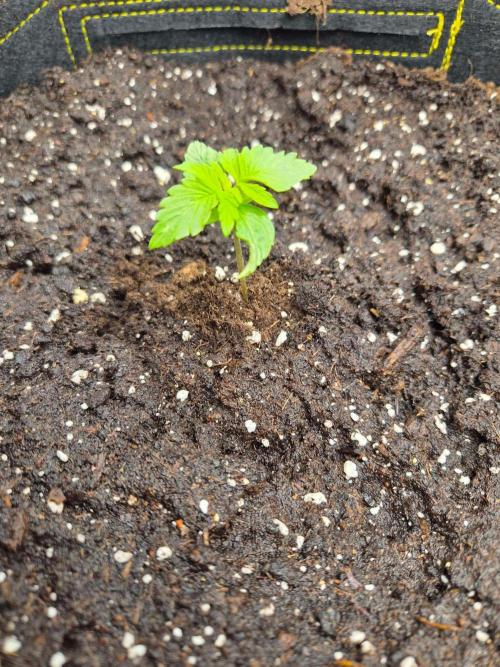
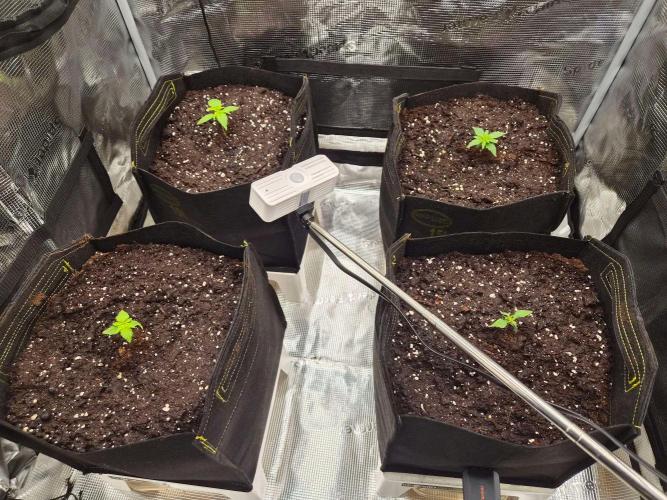
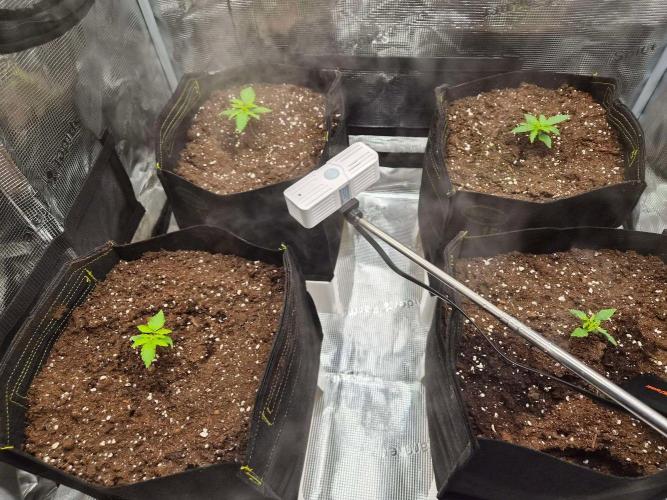
Two days have passed since planting, and we officially have liftoff!
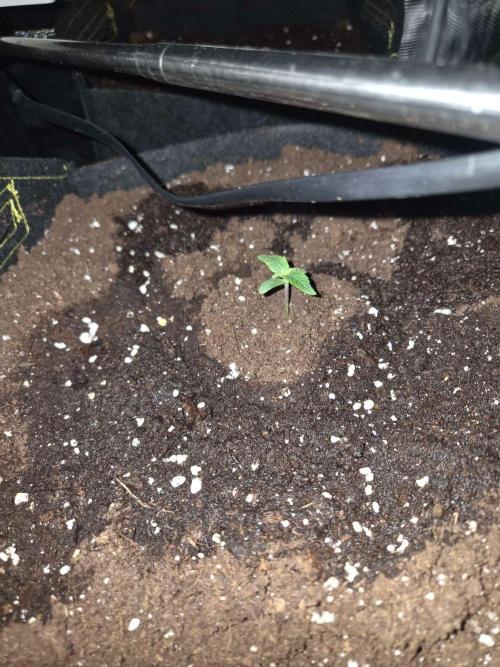
The seedlings are just starting to push their tiny heads above the Plagron Lightmix surface.
They are still safely tucked away under their clear plastic cups, which are doing an amazing job keeping that immediate microclimate ultra-humid and warm.
The Environment:
Battling the Weather & VPD
While the seeds were doing their work underground, I was putting in some serious work outside the tent.
The unpredictable weather over the past 48 hours made environmental management a real challenge.
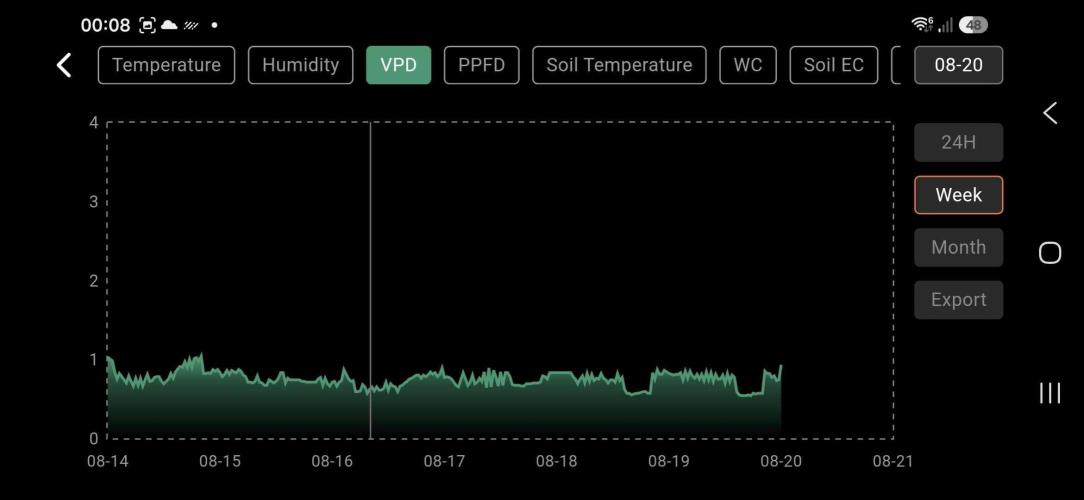
My target for this early seedling stage was a soft, low VPD of around 0.6 kPa to prevent any moisture stress on the unrooted sprouts.
However, nature had other plans.
Due to the shifting outdoor weather conditions, my tent environment fluctuated, forcing my VPD up into the 0.8 kPa to 1.1 kPa range.
The Impact:
A VPD around 1.0 kPa is a bit too intense for brand-new sprouts, as it causes them to transpire faster than their tiny, developing roots can absorb water.
The Savior:
This is exactly why those plastic humidity cups were a lifesaver!
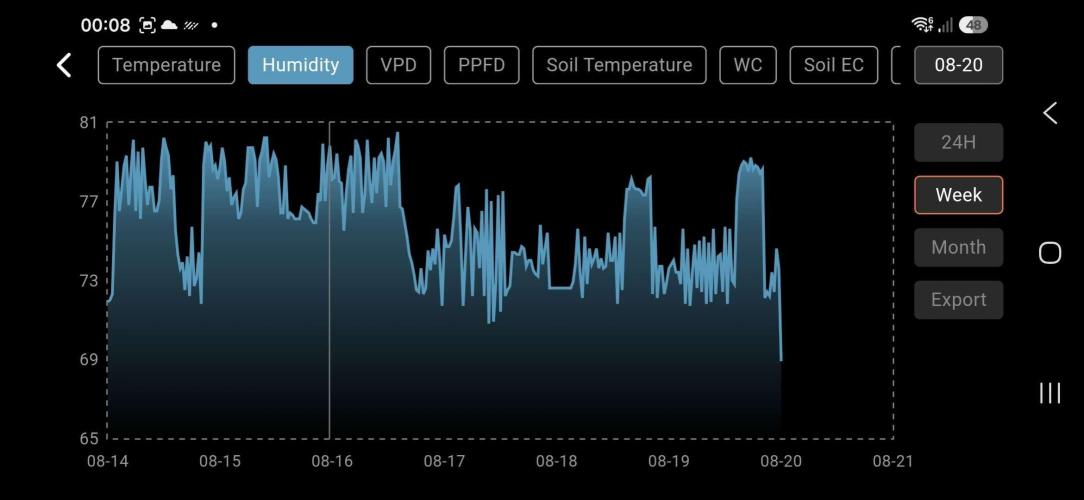
While the overall tent air was drier and drove the VPD up, the microclimate inside the domes remained near 100% relative humidity, keeping the babies perfectly protected from drying out.
Current Setup & Next Steps
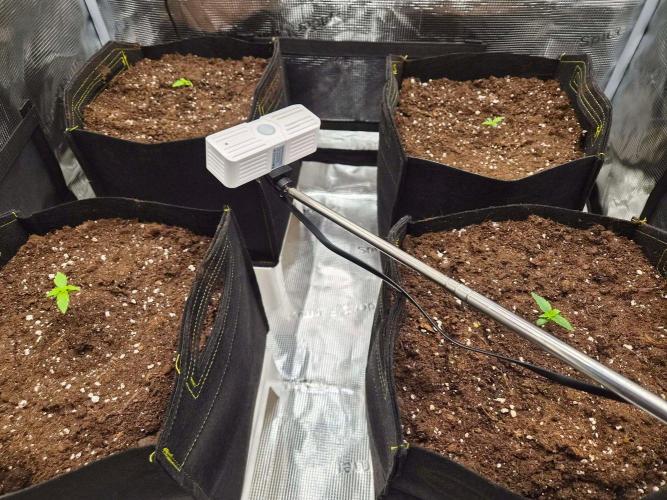
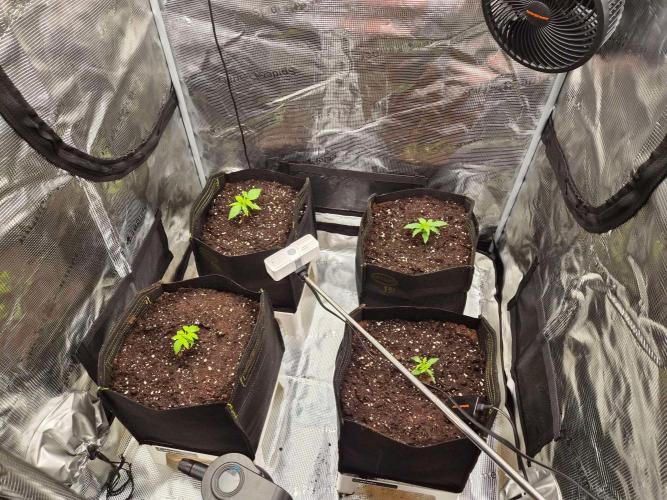
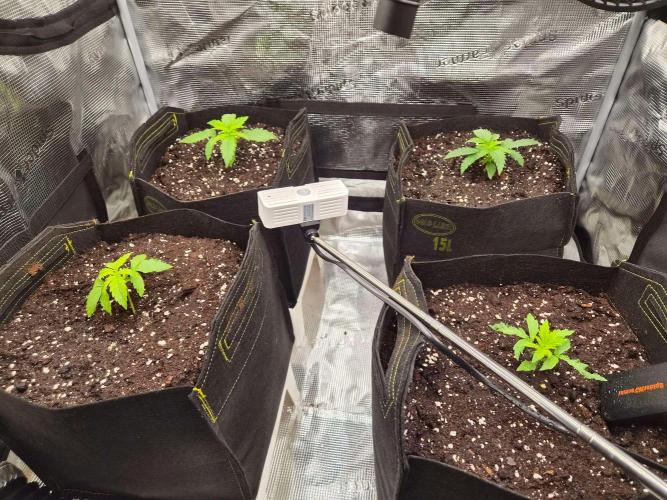
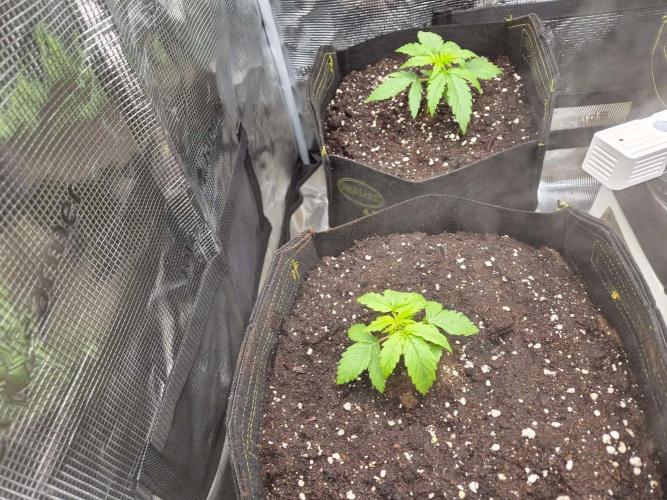
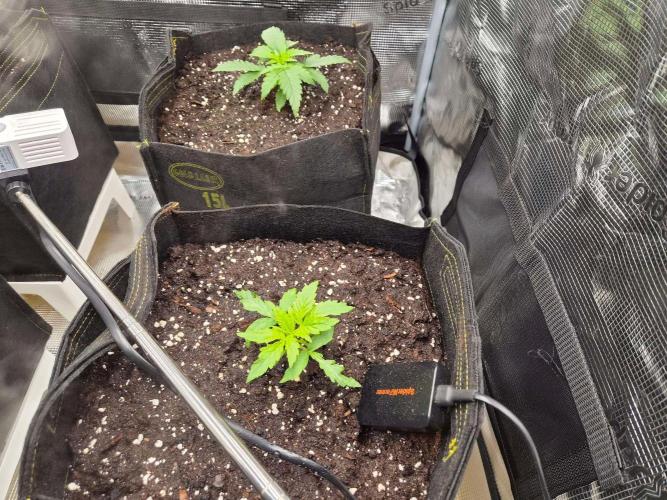
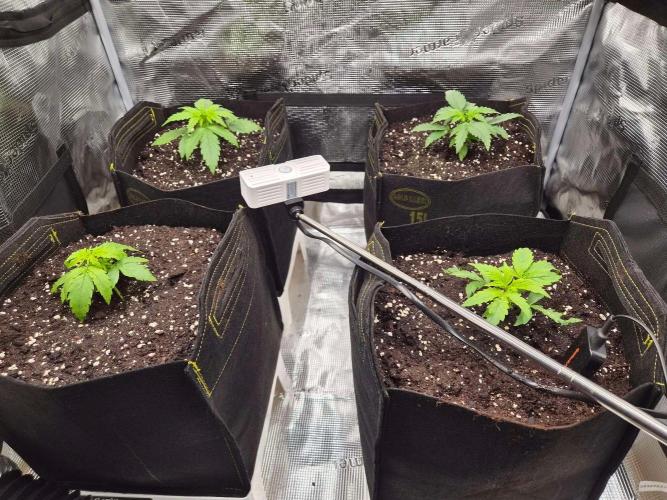
🌌 Left Side: Milkyway F1 – Sprouting beautifully.
⚡ Right Side: Critical Auto – Showing green.
Plan: I am keeping the domes on for now until the root systems develop a bit more and the ambient tent VPD stabilizes closer to my target.
The battle with mother nature continues, but the girls are winning!
🛠️ Climate Control Adjustments: Tuning the VPD & Humidifier Hacks
Dialing in the VPD
To fight back against the high VPD and bring it closer to my 0.6 kPa target, I had to make some tactical adjustments to my ventilation and equipment today.
The Airflow: I dialed the extraction fan down to a steady 25%.
If left on auto-pilot, the temperature lately would cause the fan to ramp up to 100% (as it is outside of my requested tempratures), instantly sucking out all the hard-earned humidity.
I did the exact same with the internal circulation fan to keep a gentle, non-aggressive breeze.
The Moisture:
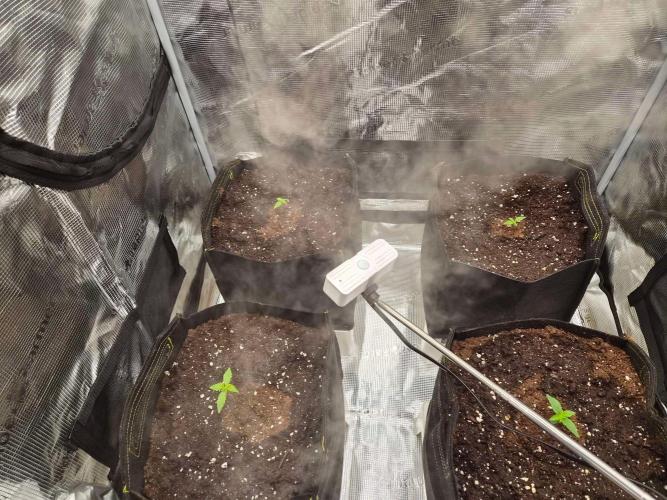
To actively drive the humidity up, I fired up my Spider Farmer Cool Mist Humidifier.
It is an absolute beast of a machine and incredibly effective at raising the RH (Relative Humidity) exactly when you need it.
The Humidifier Workaround 💧
While the Spider Farmer humidifier is amazing, it does have one small quirk: occasionally, heavy condensation builds up inside the misting hose, causing stray water droplets to drip from the nozzle.
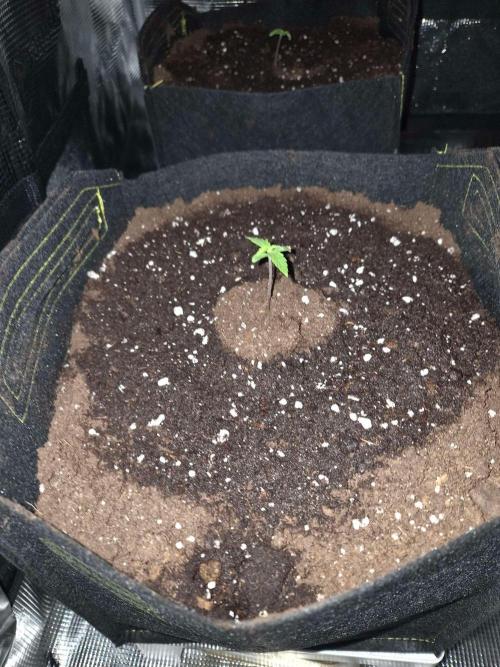
I noticed the topsoil directly underneath the hose got a bit wetter than I liked.
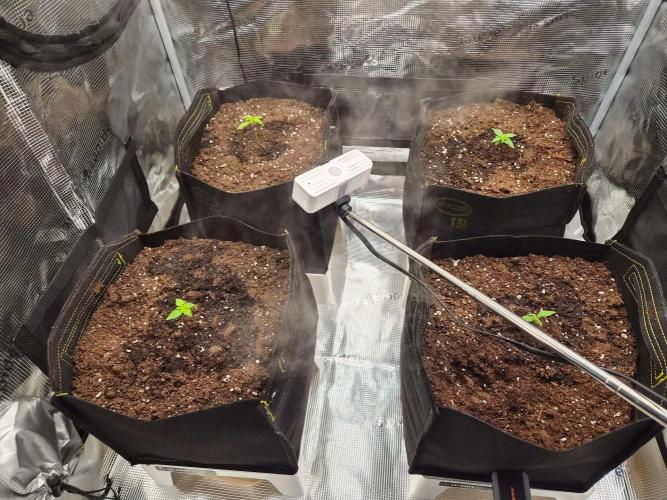
To prevent over-saturating the light-mix around the delicate seedlings, I shifted the hose position slightly so any potential drips fall safely away from the plant sites.
Current Outlook
With the humidifier running and the extraction choked back to 25%, the tent environment is softening up beautifully.
The seedlings are enjoying their cozy, humid paradise under the cups while their roots start exploring that fresh Plagron Lightmix.
11 likes
5 comments
Share
Used method
Other
Germination Method
1
Week 1. Vegetation
2mo ago
1/14
3 cm
Height
23 °C
Day Air Temp
6.1
pH
252 PPM
TDS
75 %
Air Humidity
20 °C
Solution Temp
23 °C
Substrate Temp
20 °C
Night Air Temp
15 liters
Pot Size
0.1 liters
Watering Volume
70 cm
Lamp Distance
440 PPM
CO₂ Level
Nutrients 2
Terra Grow
1 mll
Power Roots
1 mll
tjaym 📝 GrowDiaries Update: Week 2 - Early Vegetative Stage
Overview:
Welcome to Week 2!
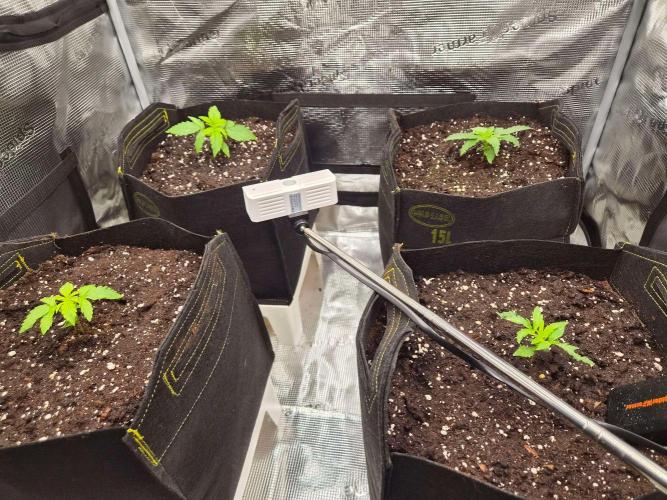
The seedlings are looking healthy and the humidity domes have been officially removed.
Now that they are exposed to the open air, the plants are adjusting beautifully.
My soil probe showed extremely low EC levels (0.02 - 0.03 mS/cm), indicating that the light nutrients in the Plagron Lightmix are spent.
It's time to start a gentle feeding schedule to support their upcoming explosive growth.
Environmental Conditions & VPD:
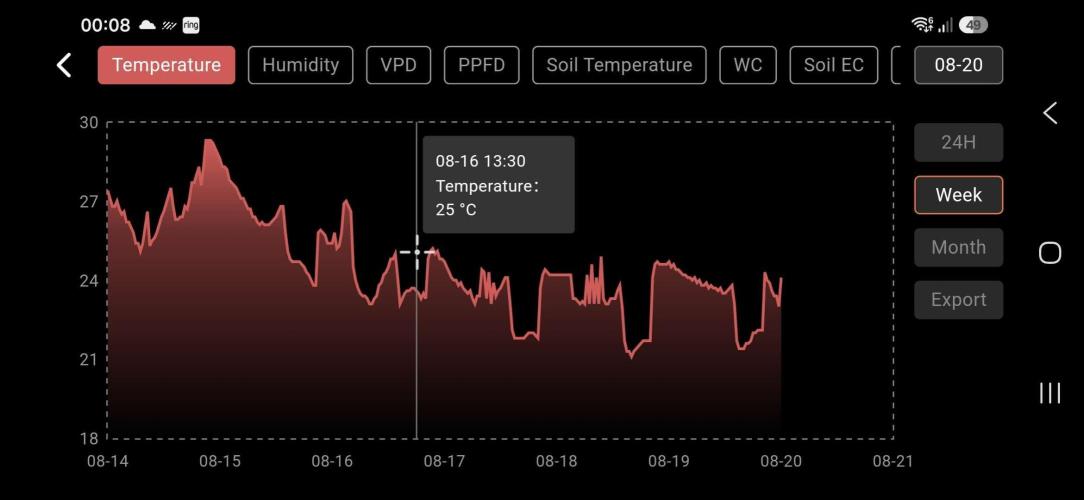
Day Temperature: 23°C
Night Temperature: 20°C
Relative Humidity (RH): 70% - 75%
VPD Target:
Kept stable around 0.8 – 1.0 kPa using the Spider Farmer controller to ensure smooth transpiration without stressing the young root system.
Lighting & DLI Strategy:
Light Cycle: 18/6
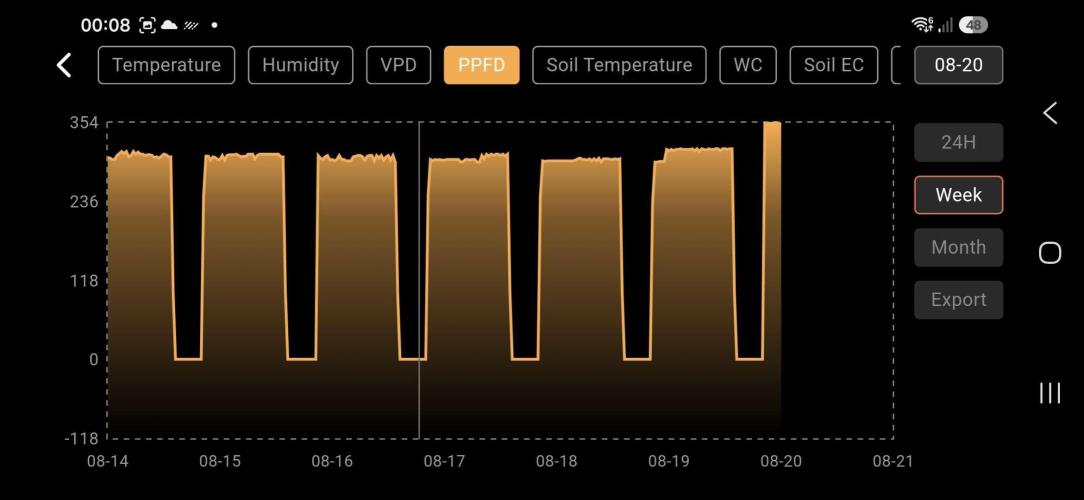
Current PPFD: ~360 µmol/m²/s
Current DLI: ~38.88 mol/m²/day
DLINote: I will increase PPFD 40 with µmol/m²/s each day
The goal is to condition the plants so they can easily handle a powerful 38.88 DLI (600 PPFD) starting next week.
Feeding & Watering (Per Liter):
Since the Lightmix is running low on nutrients, I started the first light feeding today (25% strength) to match the increasing light intensity:
Plagron Terra Grow: 1 ml/L
Plagron Power Roots: 1.0 ml/L
Water pH: Adjusted to 6.1
Input EC: 252PPM (0.5EC)
Watering technique: Watering in a circle around the base to encourage the roots to stretch out and search for moisture. A quick circle with the Spiderfarmer automatic plantspray
The plants are responding well, showing great node development and zero signs of burn.
Ready for a big week ahead!
9 likes
4 comments
Share
2
Week 2. Vegetation
2mo ago
1/9
7 cm
Height
18 hrs
Light Schedule
25 °C
Day Air Temp
6.1
pH
730 PPM
TDS
75 %
Air Humidity
20 °C
Solution Temp
23 °C
Substrate Temp
22 °C
Night Air Temp
15 liters
Pot Size
0.2 liters
Watering Volume
40 cm
Lamp Distance
400 PPM
CO₂ Level
Nutrients 4
Terra Grow
2.5 mll
Power Roots
1 mll
Pure Zym
1 mll
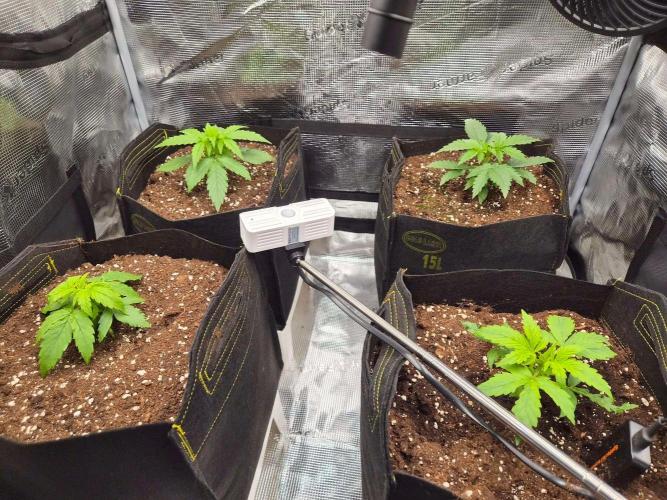
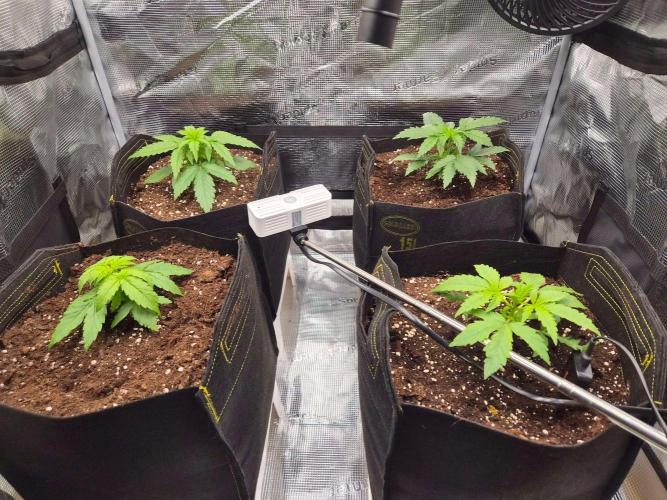
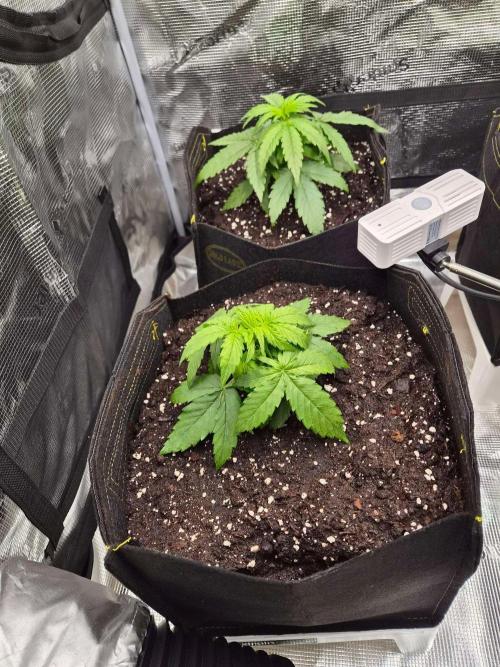
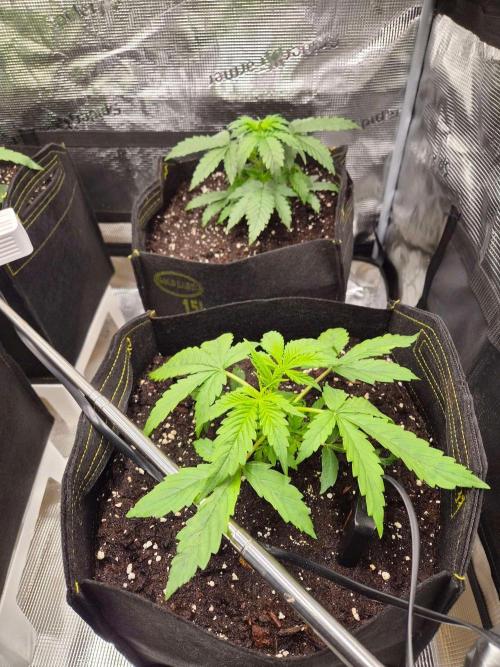
tjaym Diary Update: Week 3 – Substrate Management & Climate Tuning
Starting tomorrow, I am bumping the light intensity up significantly, targeting a DLI of 38.88 to push vegetative growth to the max.
To support this high light energy, I am using the Plagron Terra mineral line (Terra Grow, Power Roots, Pure Zym, and Sugar Royal).
Because my substrate EC is currently under 0.2, raising the nutrient levels is urgent; otherwise, the plants won't be able to keep up with this high DLI.
I will gradually increase the Terra Grow and additives this week to hit that target substrate EC of 1.0. I'll closely monitor the two slower-growing plants to ensure they don't get stressed by the intense light while their root systems catch up.
Day 18 - In the previous days i had the soil probe on the top of the pot to see how the water levels/ec would do. But it seems that the ladies are quite demanding and i will up the EC to 1.5 at this stage. Today i shall move the soil probe to a horizontal positon halfway in the pot and give each pot about a liter of water (see when the soil probe goes up to around 30%)
10 likes
6 comments
Share
Used techniques
LST
Technique
Natural Wind Simulation
Technique
3
Week 3. Vegetation
1mo ago
1/19
12 cm
Height
18 hrs
Light Schedule
25 °C
Day Air Temp
6.2
pH
817 PPM
TDS
70 %
Air Humidity
20 °C
Solution Temp
23 °C
Substrate Temp
22 °C
Night Air Temp
15 liters
Pot Size
0.25 liters
Watering Volume
40 cm
Lamp Distance
400 PPM
CO₂ Level
Nutrients 4
Terra Grow
5 mll
Power Roots
1 mll
Pure Zym
1 mll
tjaym Week 3 Update: Rapid Growth & Perfect Vibe! 🌱✨
Hey everyone! Welcome to the start of Week 3!
🚀Things are really starting to pick up in the tent now.
The girls are kicking into high gear and growing super fast!
They are showing a beautiful, vibrant green color and look incredibly healthy and happy.
Climate & Environment 🌤️
Outside temperatures are starting to drop a bit, but inside the tent, everything is dialed in perfectly:
Lights ON: 24°C - 26°C
Lights OFF: Around 22°C
Humidity (RH): Keeping it nice and high for this veg stage.
My humidifier keeps it between 68% - 76% when the lights are on, and the dehumidifier takes over during the dark period to keep it steady between 66% - 74%.
Airflow: The fan is running smoothly on speed 3 to keep the air moving nicely.
Feeding & Watering 💧
This past week, I’ve been giving them about 250ml of water almost every day.
I gradually stepped up the nutrients, starting the week at an EC of 1.2 and safely ramping it up to 1.8 by the end of the week.
I am running the full Plagron lineup at their recommended dosage per liter:
Plagron Grow
Plagron Power Roots
Plagron Pure Zym
Plagron Sugar Royal
Plant Training ✂️
For now, I haven't touched the plants at all. I'm just letting them do their thing naturally and build up some solid structure before I decide on any training.
Super hyped to see how much they will explode over the next few days.
Thanks for following along, and happy growing to you all! 🔥🍁
10 likes
7 comments
Share
4
Week 4. Vegetation
1mo ago
1/24
15 cm
Height
18 hrs
Light Schedule
23 °C
Day Air Temp
6.2
pH
817 PPM
TDS
70 %
Air Humidity
20 °C
Solution Temp
23 °C
Substrate Temp
22 °C
Night Air Temp
15 liters
Pot Size
0.25 liters
Watering Volume
40 cm
Lamp Distance
400 PPM
CO₂ Level
Nutrients 4
Terra Grow
5 mll
Power Roots
1 mll
Pure Zym
1 mll
tjaym Week 4: Vegetative Phase – Managing the Changing Seasons 🌿
Welcome to week 4!
As the outdoor temperatures are starting to drop, I am focusing heavily on keeping the indoor climate perfectly dialed in for the ladies.
Climate & Environment 🌤️
Daytime Temperature: 23°C – 25°C (Keeping it stable despite the colder weather outside)
Soil Temperature: 22°C (Nice and warm for optimal root activity)
Relative Humidity (RH): ~65%VPD: 0.9 – 1.1 kPa (Right in the sweet spot for this stage of growth!)
Light Distance: Hanging steady at 40 cm from the top of the pots.
Plant Development & Training 📏
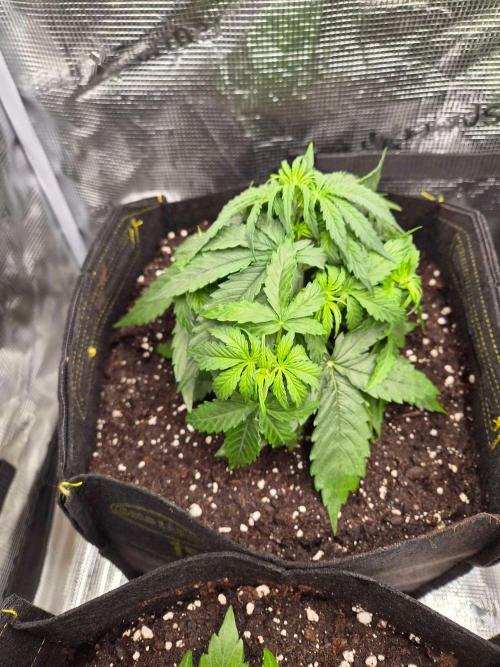
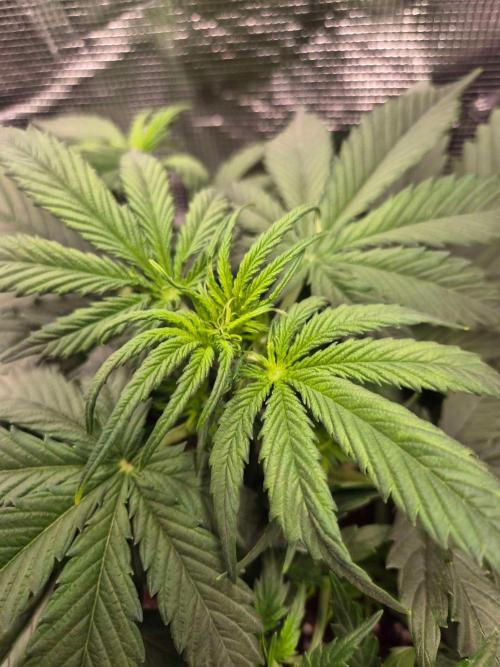
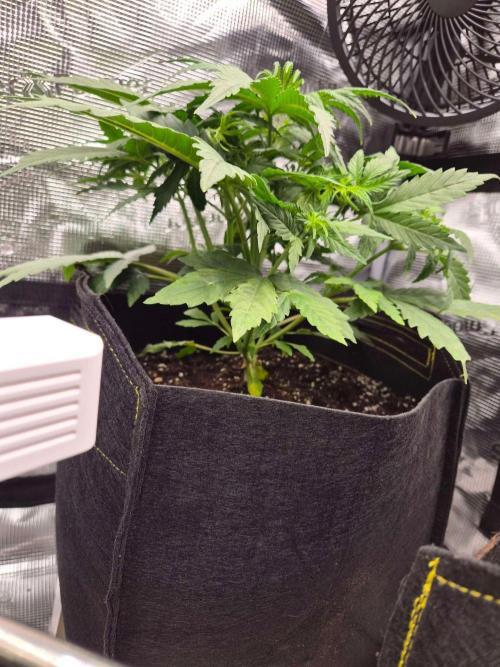
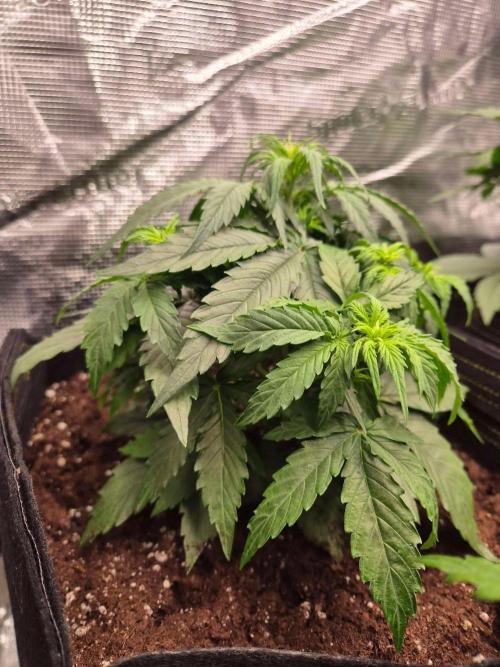
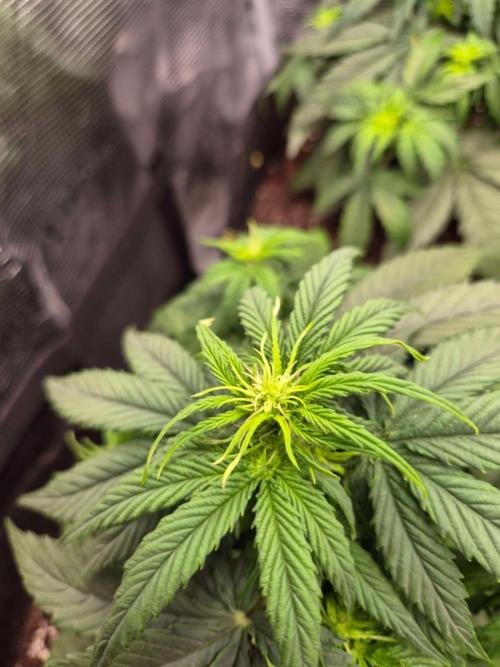
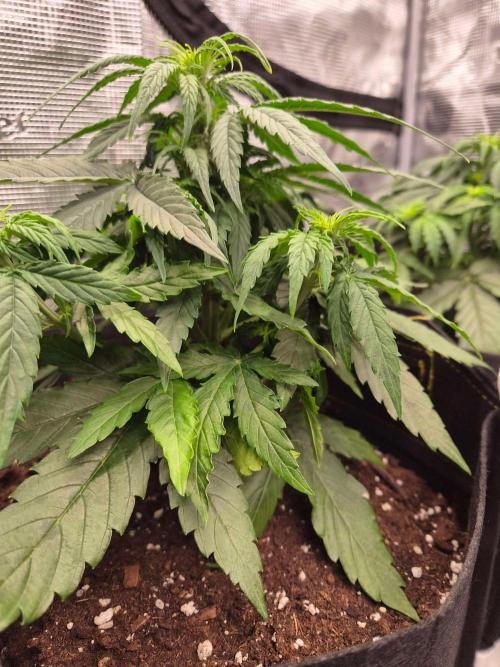
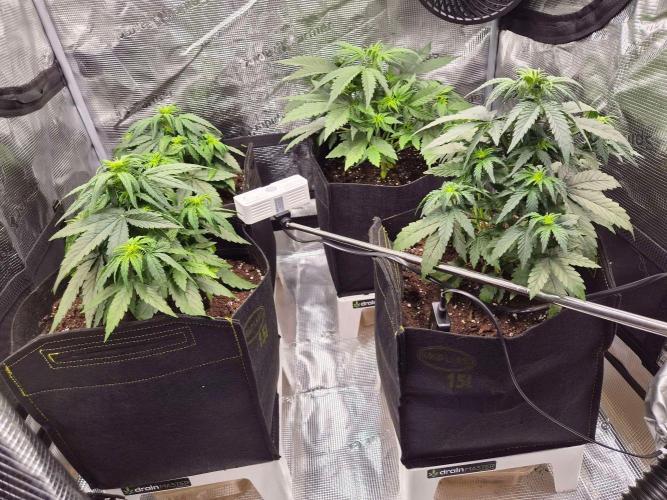
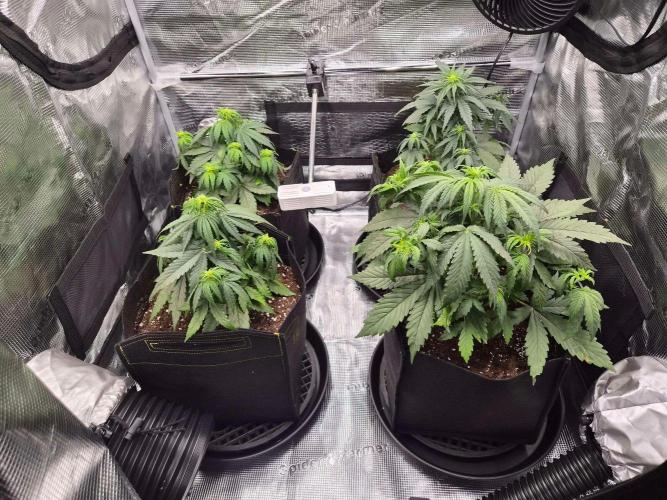
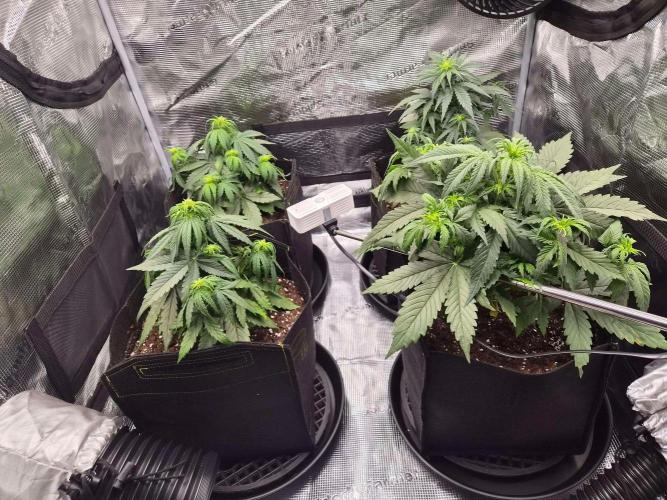
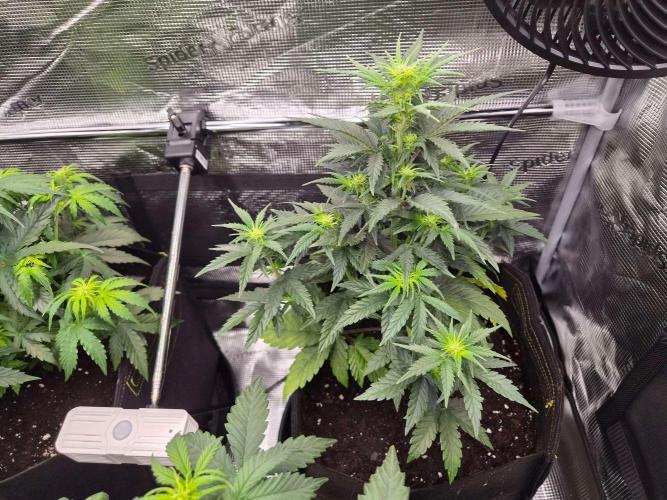
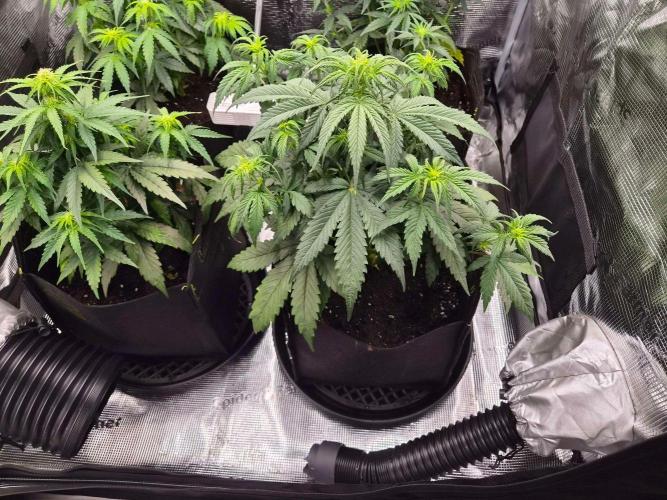
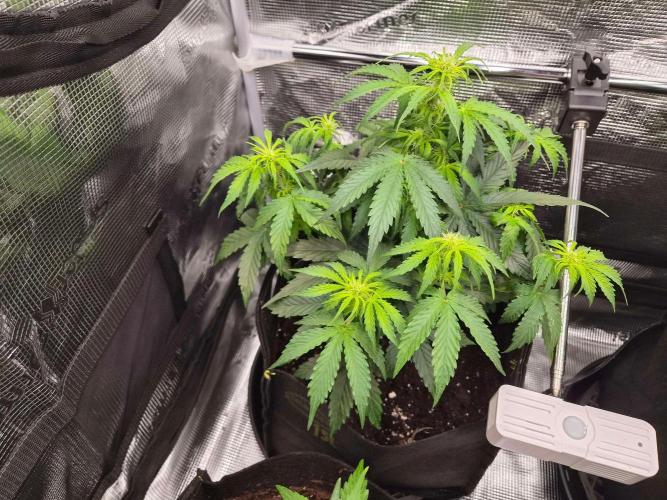
The girls are looking incredibly healthy and robust.
They are currently standing at a height of 12 to 15 cm.
They are developing nice, thick foliage and showing great vigor.
Regarding training, I kept it simple this week.
No high-stress techniques yet—just some leaf tucking to open up the canopy and promote the growth of the lower, newer shoots.
They responded beautifully to this.
Feeding & Watering 💦
The root zone is thriving, and the plants are drinking well.
Over the past week, I've been giving them at least 250 ml of water almost daily, packed with a solid Plagron cocktail to support their vegetative growth:
Plagron Terra Grow (Base nutrients)
Pure Zym (Enzymes for soil health)
Sugar Royal (Amino acids to enhance development)
Power Roots (To keep the root mass expanding)
To my eyes, they look absolutely gorgeous right now.
Take a look at the pictures and let me know what you think!
Happy growing everyone! 🚀
Unfortunately, my pH pen broke down early in the week after giving some highly unusual readings. Without a reliable tool to measure, I had to resort to "freestyle" watering. To play it safe and avoid nutrient burn or major lockout, I kept the feeding very light and only gave 2ml per liter of Grow nutrients per watering session. On top of the pH issues, some sharp viewers pointed out that the leaves are not "praying" like they usually do. Looking closely at my schedule, I suspect I have been chronically underwatering them. Between the guessing game with the pH and the lack of water, the ladies definitely had a rough week.
11 likes
comments
Share
5
Week 5. Flowering
1mo ago
1/29
25 cm
Height
18 hrs
Light Schedule
25 °C
Day Air Temp
6.2
pH
900 PPM
TDS
60 %
Air Humidity
20 °C
Solution Temp
22 °C
Substrate Temp
22 °C
Night Air Temp
15 liters
Pot Size
1 liters
Watering Volume
30 cm
Lamp Distance
400 PPM
CO₂ Level
Nutrients 6
Power Roots
1 mll
Pure Zym
1 mll
Sugar Royal
1 mll
tjaym 📝 Grow Diaries Update: Week 5
General Status:
The plants are officially entering Week 5 and are showing the first clear signs of early flowering/pre-flowering.
They are growing under an 18/6 light cycle, with the lamp positioned roughly 30cm above the canopy at a light intensity of 700 PPFD.
Environmental Factors:
Day Temperature: 24°C – 27°C
Night Temperature: 20°C – 22°C
Day Humidity (RH): 60%
Night Humidity (RH): 60%
Feeding & Watering:
Today, the plants received a total of 5 Liters of water distributed over the 4 pots.
Switching over to the flowering regime using the Plagron line:
Plagron Terra Bloom (2 ml/L)
Power RootsPower Buds
Royal SugarPure Zym
Actions & Issues:
Defoliation: Cleaned up the bottom of the plants by removing low-hanging leaves and small stems close to the soil to prevent issues with airflow and potential pests.
PH Issues:
The pH meter started acting up and refused to calibrate properly.
Because of this, the plants received water based on a rough estimate regarding pH levels over the past week.
Watering Adjustment:
Following advice that the plants were slightly underwatered and lacking "praying leaves," the watering volume has been adjusted.
11 likes
comments
Share
6
Week 6. Flowering
23d ago
1/37
25 cm
Height
18 hrs
Light Schedule
25 °C
Day Air Temp
6.0
pH
600 PPM
TDS
60 %
Air Humidity
20 °C
Solution Temp
22 °C
Substrate Temp
22 °C
Night Air Temp
15 liters
Pot Size
1 liters
Watering Volume
30 cm
Lamp Distance
400 PPM
CO₂ Level
Nutrients 6
Power Roots
1 mll
Pure Zym
1 mll
Sugar Royal
1 mll
tjaym 🌿 Update GrowDiaries
Week 6 Bloom – Finding My Own Way & Fine-Tuning the Routine
Welcome to Week 6 of flowering! The tent is looking lush and filled with lovely green ladies, but this past week has been quite a learning process.
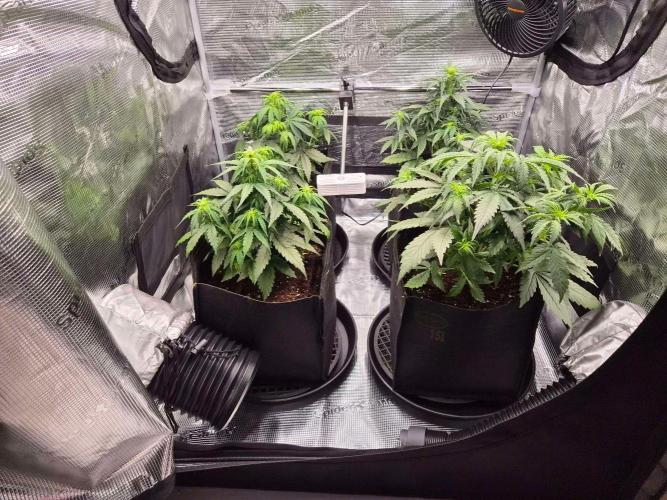
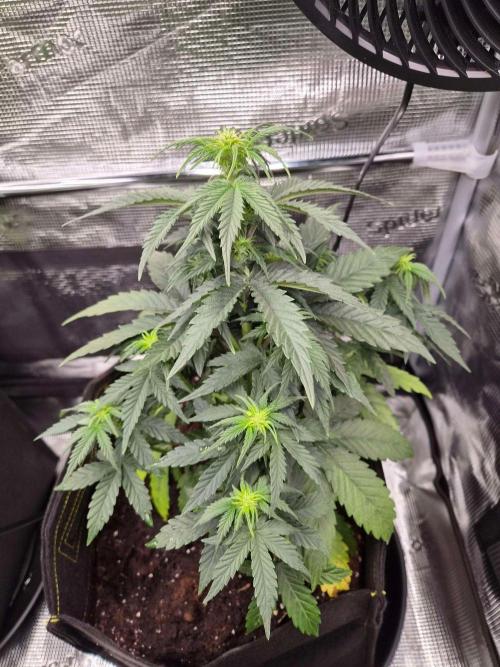
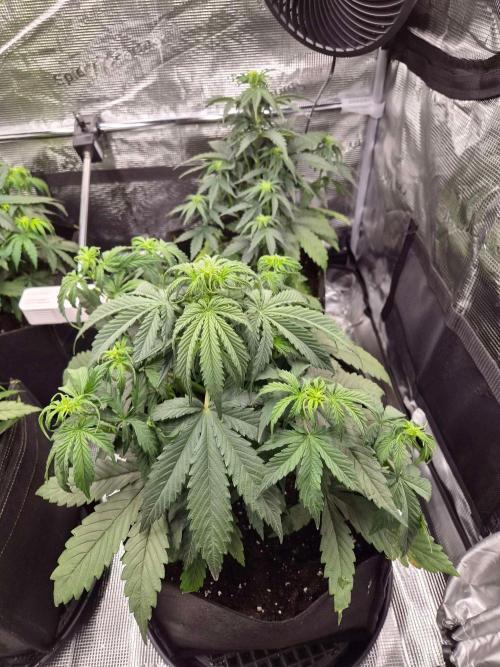
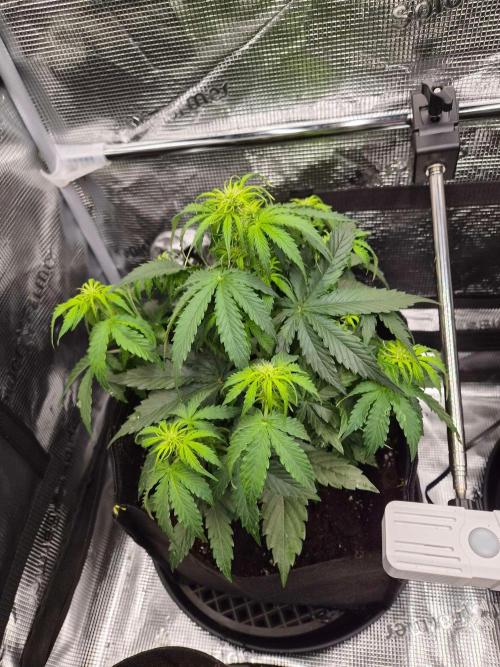
Strains in the tent:
2x Milkyway F1 (Royal Queen Seeds)
2x Critical Automatic (Zamnesia Seeds)
General Overview & Observations:
Overall, the girls are doing well and the bud production is coming along nicely. However, they've been looking a little droopy lately. This past week was all about dialling in the watering schedule, aiming for that ideal leaf angle ("praying"), and learning how to properly read the soil meter.
I’ve received a lot of advice from well-meaning growers lately. While everyone means well and tries to help, I realized that taking in too many different opinions can actually cause overthinking and uncertainty. The biggest takeaway from this week is that while advice is always appreciated, every grower ultimately needs to find their own path and figure out what works best for their specific setup.
We also learned firsthand how strong LED lights increase the plants' appetite for Calcium and Magnesium. I noticed early signs of a CalMag deficiency on one of the plants, so I adjusted the feeding regimen accordingly.
Setup Details:
Tent: Spider Farmer 90x90x200 cm
Light: Spider Farmer SE3000
Ventilation & Monitoring: Spider Farmer 6" Carbon Filter, Clip Fan, 5-in-1 Sensor, and Soil Probe
Pots & Medium: 15L Fabric Pots with Plagron Lightmix
Nutrient Recipe (per Liter of water):
Plagron Terra Bloom: 5 ml
Plagron Power Roots: 1 ml
Plagron Royal Sugar: 1 ml
Plagron CalMag Pro: 0.5 ml
Plagron Pure Zym: 1 ml
Plan for Next Week:
Starting next week, I will replace Pure Zym and introduce Plagron Green Sensation to boost bud development. Excited to see how they respond!
13 likes
comments
Share
7
Week 7. Flowering
17d ago
1/31
25 cm
Height
18 hrs
Light Schedule
25 °C
Day Air Temp
6.0
pH
600 PPM
TDS
60 %
Air Humidity
20 °C
Solution Temp
22 °C
Substrate Temp
22 °C
Night Air Temp
15 liters
Pot Size
1 liters
Watering Volume
30 cm
Lamp Distance
400 PPM
CO₂ Level
Nutrients 6
Pure Zym
1 mll
Sugar Royal
1 mll
Terra Bloom
2 mll
tjaym Week 7 - Flowering
Overall Status & Canopy Management
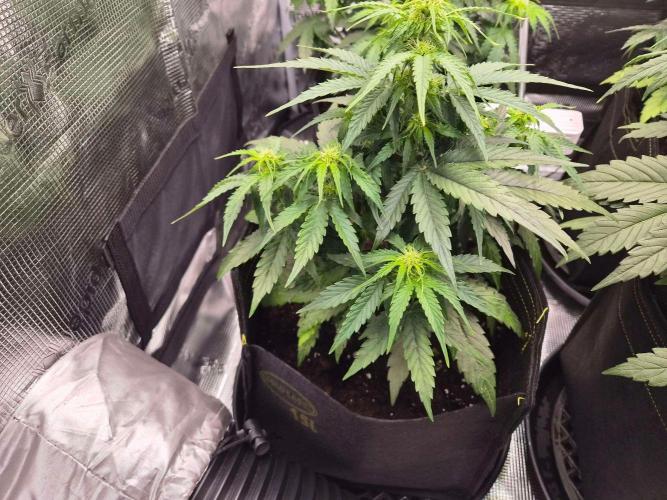
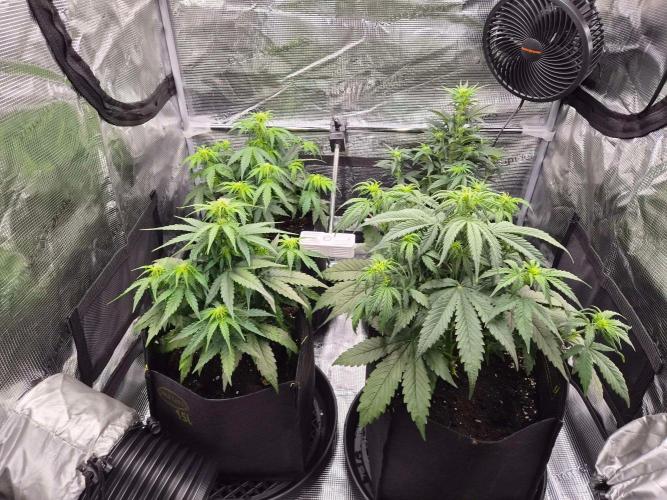
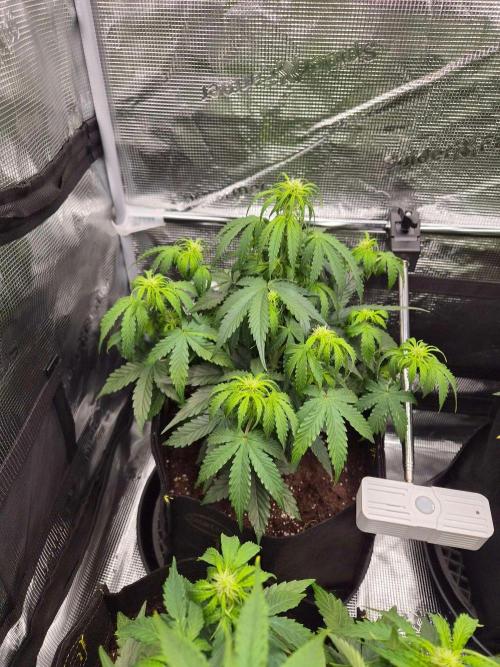
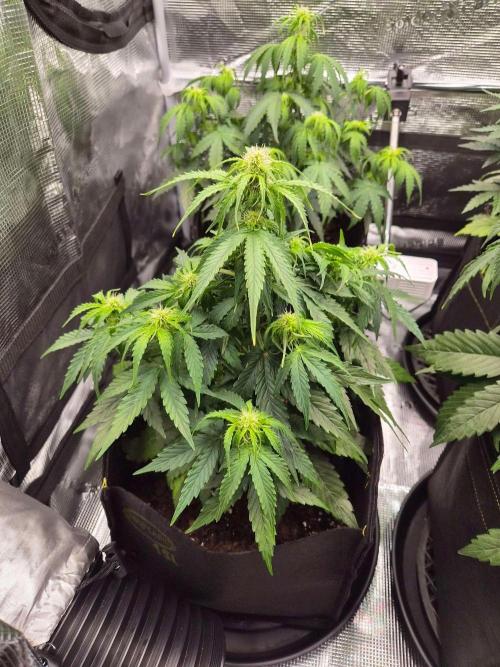
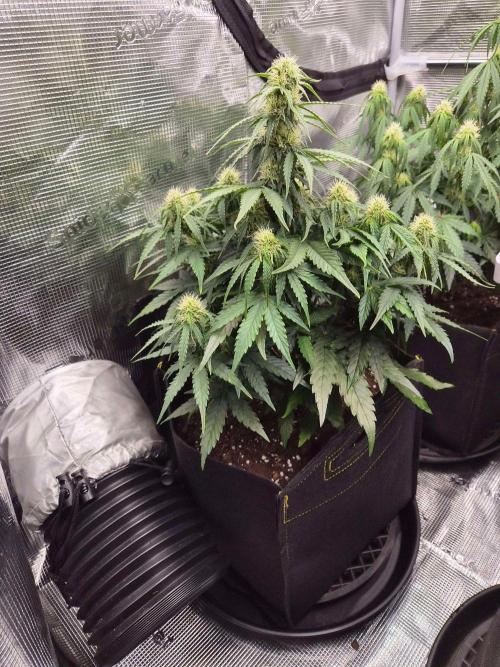
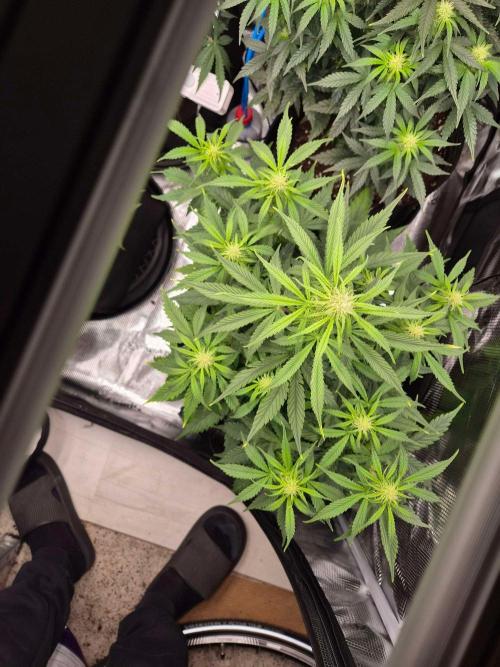
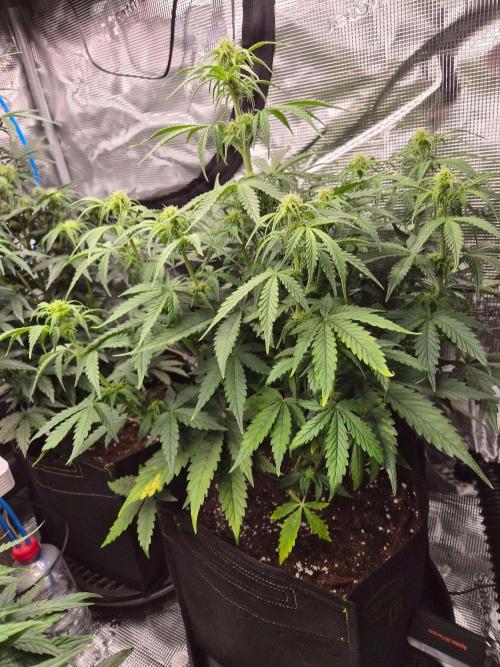
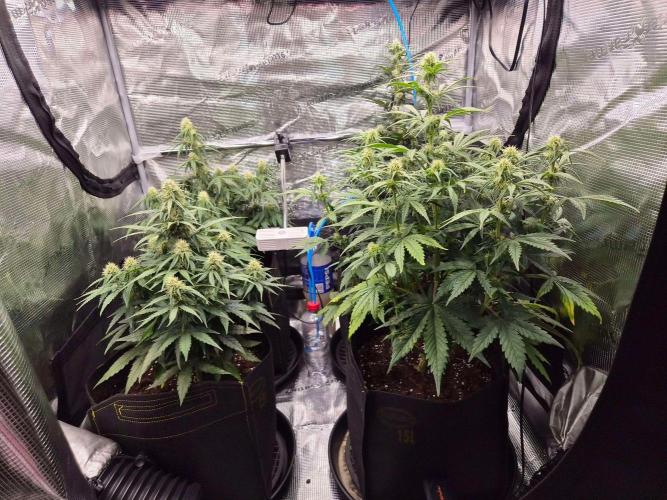
Everything is moving along smoothly in the tent this week! All the ladies are progressing really well, and I’m very satisfied with their overall growth and development. Yesterday, I performed a light defoliation to clear up some excess fan leaves, opening up light penetration to the lower bud sites and improving airflow.
Nutrients & Watering Strategy
Green Sensation: Introduced Plagron Green Sensation for the first time yesterday alongside the base nutrients to push bloom production and resin development during this crucial phase.
CalMag: Happy to report that the CalMag deficiency we picked up earlier under the Spider Farmer SE3000 LED is completely under control now. The leaves are looking much healthier and stable.
Watering Schedule: Shifted to a heavy watering routine once every 3 to 4 days, allowing for better dry-back cycles and root oxygenation.
CO2 Boost: Noticed that ambient CO2 levels inside the tent were running a bit low, so we are currently experimenting with CO2 boosters to keep photosynthesis running at peak efficiency.
Bud & Trichome Development (Milkyway F1 & Critical Auto)
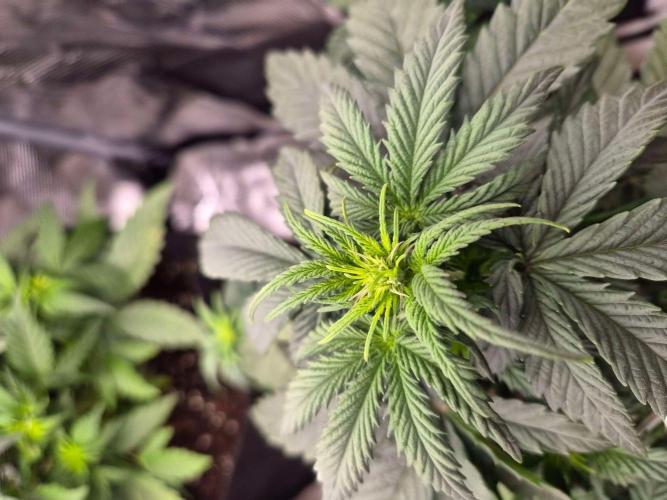
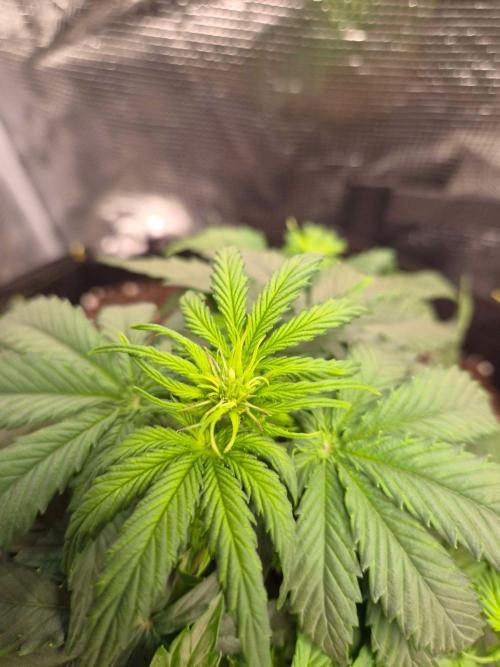
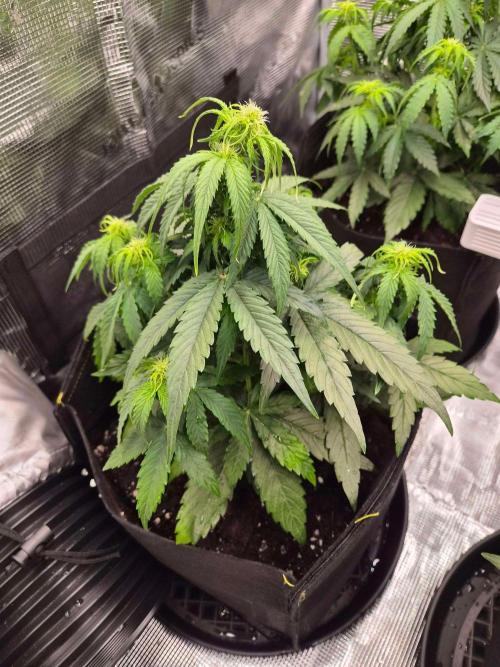
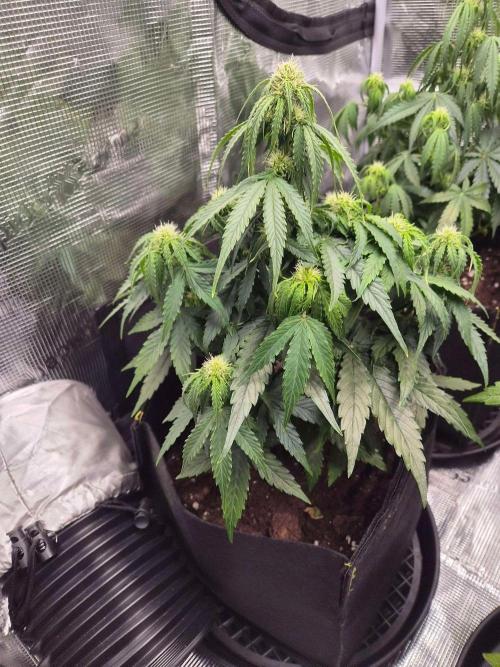
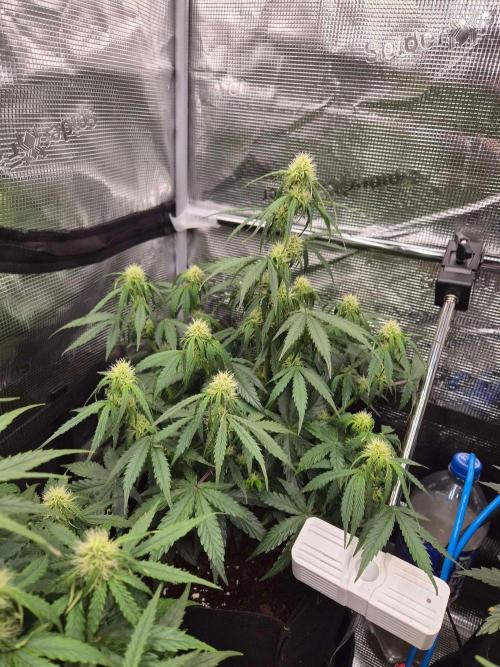
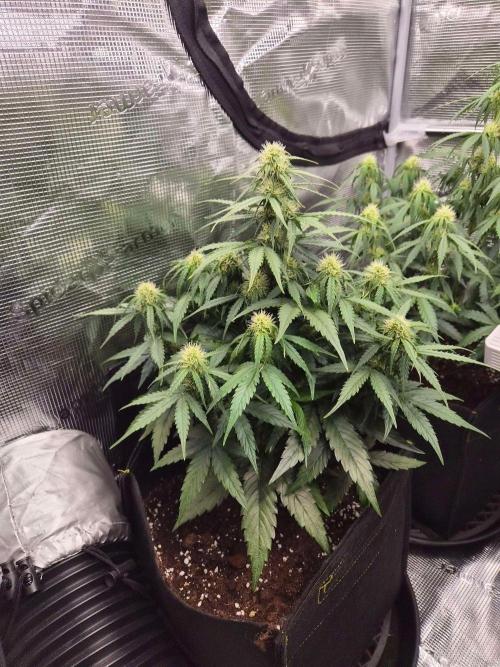
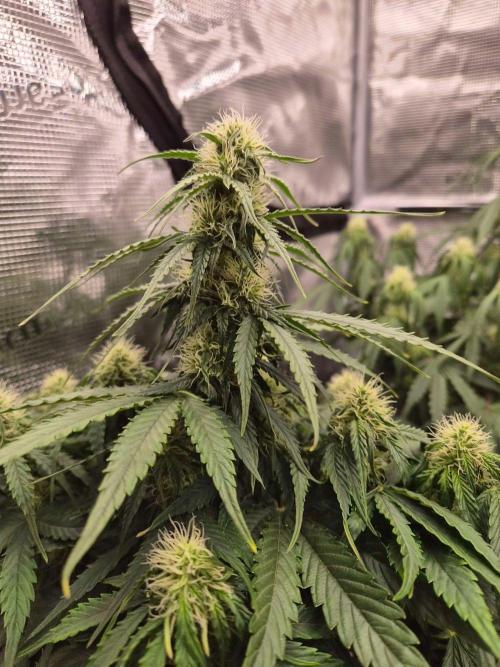
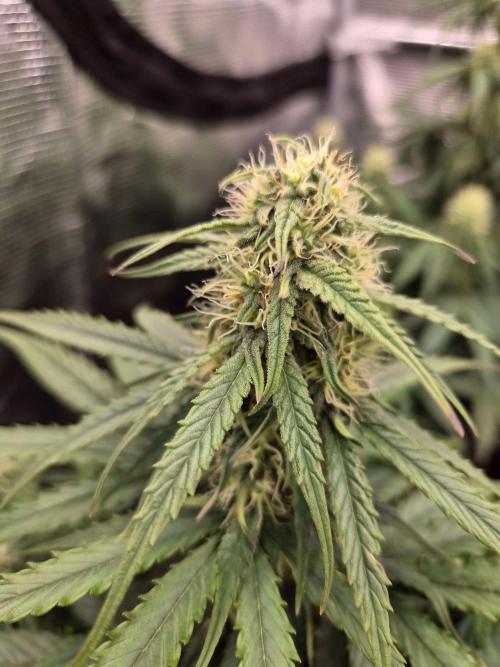
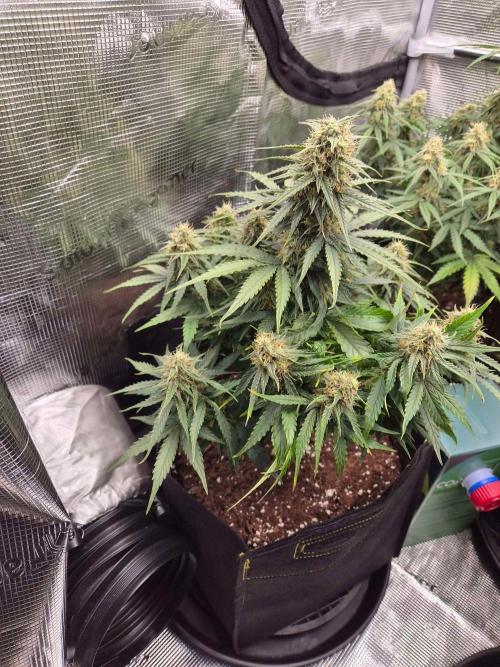
The Milkyway F1 is looking fantastic! The aroma inside the tent is getting noticeably stronger and richer every day. Bud production is coming along nicely, and as you can see in the photo, trichome development is ramping up with a very clean, frosty coating forming across the sugar leaves and calyxes. The pistils are starting to show those nice warm colors as well.
Overall, super happy with how this run is progressing!
10 likes
comments
Share
8
Week 8. Flowering
6d ago
1/42
50 cm
Height
18 hrs
Light Schedule
23 °C
Day Air Temp
6.0
pH
1200 PPM
TDS
55 %
Air Humidity
20 °C
Solution Temp
22 °C
Substrate Temp
20 °C
Night Air Temp
15 liters
Pot Size
1 liters
Watering Volume
30 cm
Lamp Distance
400 PPM
CO₂ Level
Nutrients 5
Sugar Royal
1 mll
Terra Bloom
5 mll
CalMag Pro
0.7 mll
tjaym 🌿 Week 8 (Days 57 – 63) Update
Stage: Late Bloom / Ripening
DLI: ~51.84 mol/m²/d
PPFD: ~800 µmol/m²/s
Nutrient Solution EC: ~2.5 (1250 PPM)
Target RH: 55%
Day / Night Temps: 23°C–25°C / 18°C–20°C
📋 Overview & Canopy Status
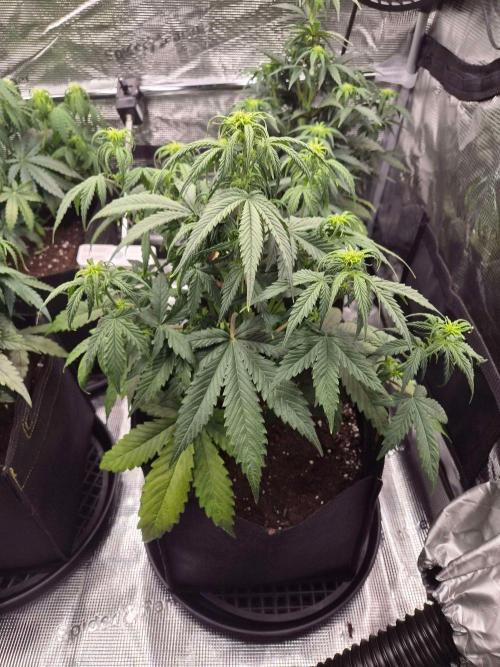
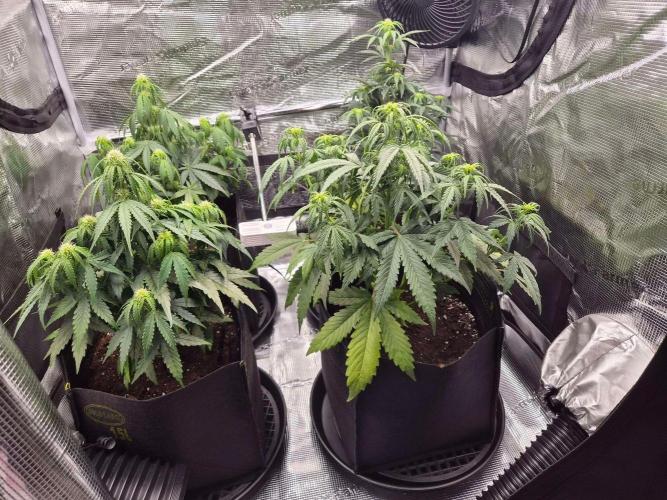
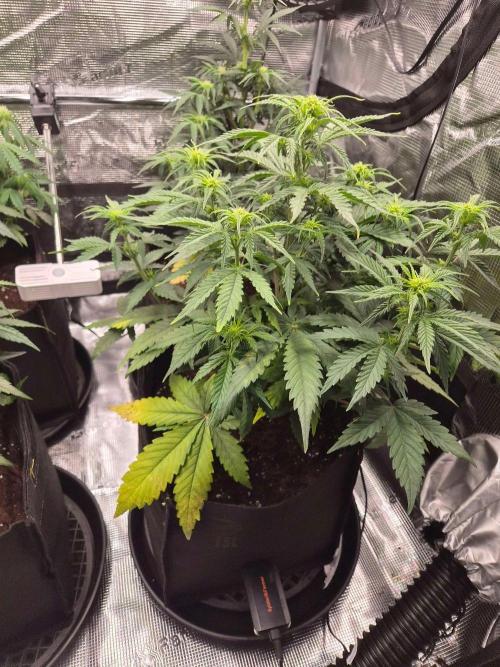
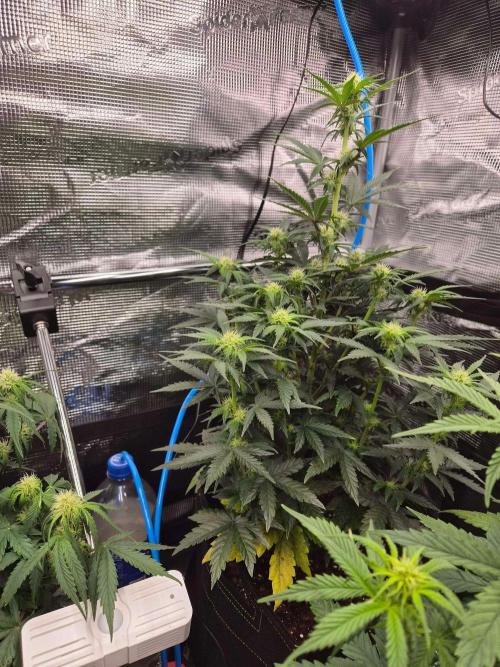
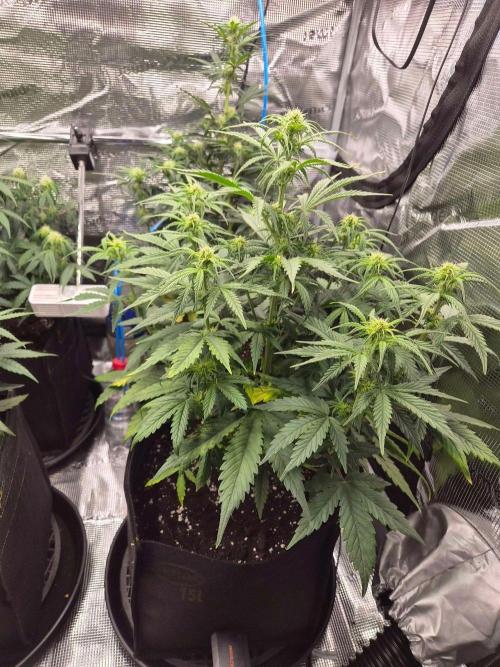
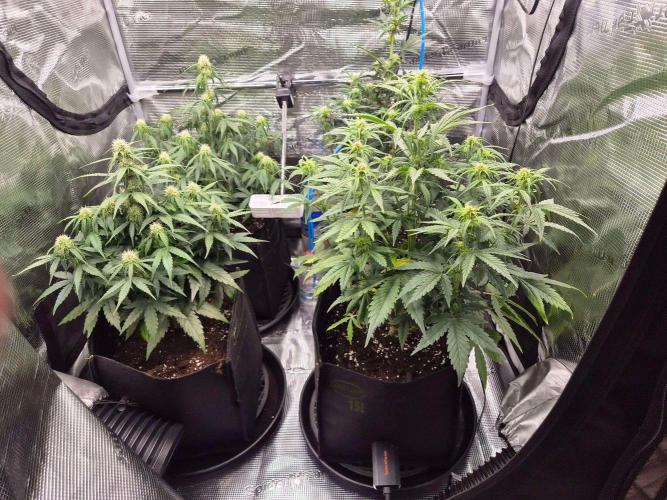
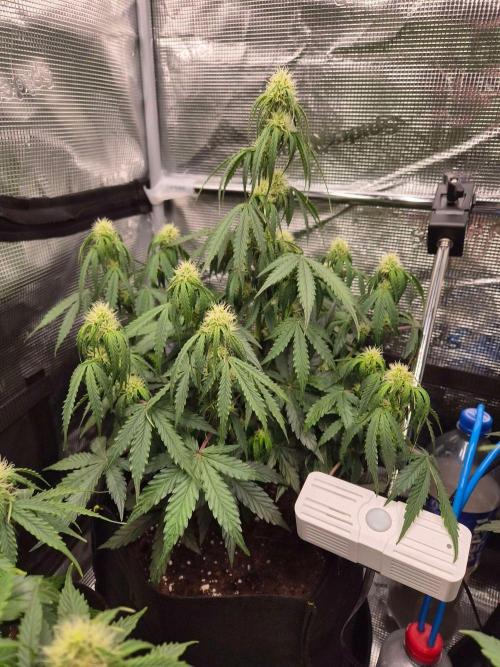
The ladies are fattening up nicely and starting to swell!
Milky Way F1: Starting to show her first amber trichomes on the sugar leaves. She is maturing fast and looking super frosty.
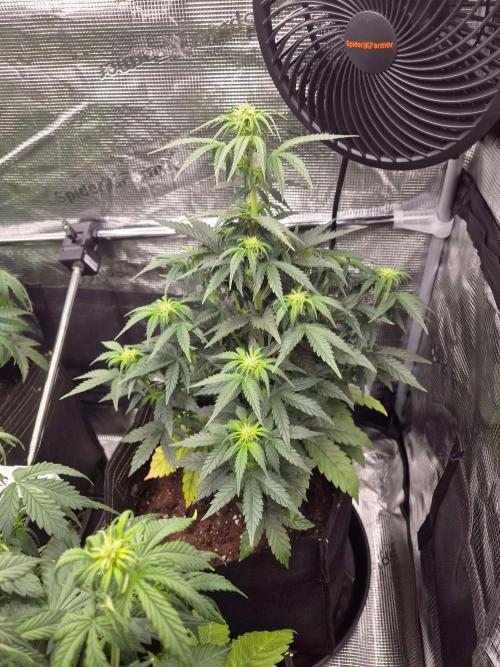
Critical Automatic: Needs a bit more time compared to the Milky Way F1, but her buds are filling out heavily.
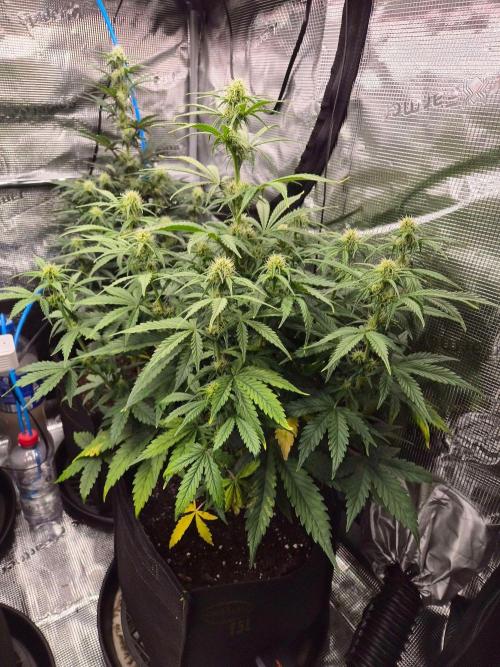
Nutrient Deficiencies: The Critical in the front is showing some light signs of nitrogen fading (yellowing lower/mid leaves).
At this stage of flower, natural fading is completely normal and expected, so no stress there.
I'm keeping maintenance simple this week—just light defoliation to clear out completely yellowed leaves and keep air circulation optimal through the canopy.
🎛️ Climate & Environment
Temperatures: Outside temps are dropping significantly, which I can notice inside the tent. The Spider Farmer heater is kicking on much more frequently during the day to maintain stability. Daytime temps are steady at 23°C – 25°C, while lights-off temps drop to 18°C – 20°C.
RH & VPD: Humidity is set to 55%, keeping my target VPD comfortably between 1.2 and 1.6 kPa for ideal transpiration during late bloom.
Substrate pH: Soil pH is sitting right in the sweet spot around 5.8 – 6.0.
💧 Fertigation & Feeding Schedule
We feed 10 Liters total spread across all 4 plants every 3 to 4 days.
I use a "Sip & Rest" method (watering in small bursts with short rest intervals) to fully saturate the substrate evenly until achieving slight runoff. The last runoff measurement came in at around 1400 PPM (~2.8 EC), which is right on target for this heavy feeding phase.
Current Feed Mix (per 10L solution):
Terra Bloom: 50 mL
Royal Sugar: 10 mL
CalMag Pro: 7 mL
Green Sensation: 10 mL
Power Buds: 10 mL
💡 Lighting Adjustments
Since we are nearing the final stretch and still had plenty of headroom on light intensity, I've been ramping up the PPFD by +50 µmol/m²/s each day over the last few days.
We are currently sitting at 800 PPFD, pushing a heavy 51.84 DLI. The canopy is taking it like a champ!
12 likes
comments
Share
9
Week 9. Flowering
18h ago
1/9
60 cm
Height
18 hrs
Light Schedule
23 °C
Day Air Temp
6.0
pH
1200 PPM
TDS
55 %
Air Humidity
20 °C
Solution Temp
22 °C
Substrate Temp
20 °C
Night Air Temp
15 liters
Pot Size
1 liters
Watering Volume
30 cm
Lamp Distance
400 PPM
CO₂ Level
Nutrients 5
Sugar Royal
1 mll
Terra Bloom
5 mll
CalMag Pro
0.7 mll
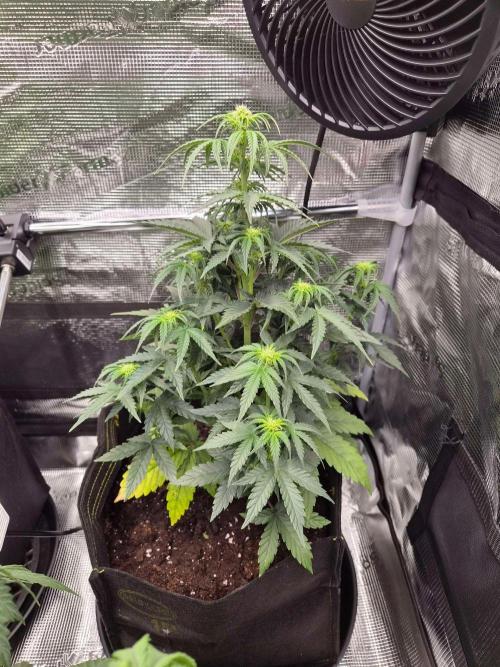
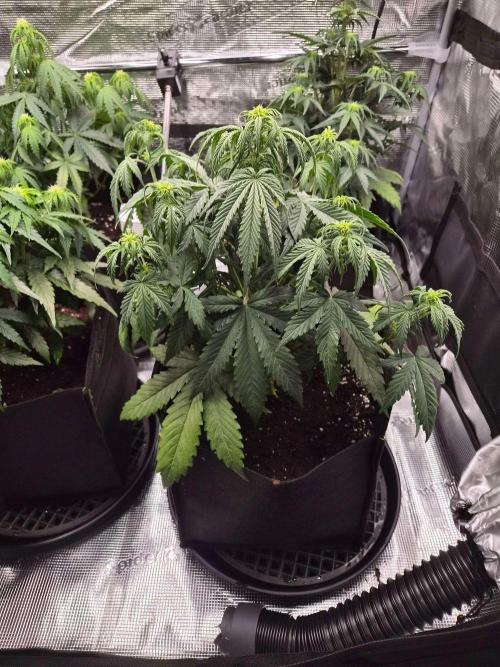
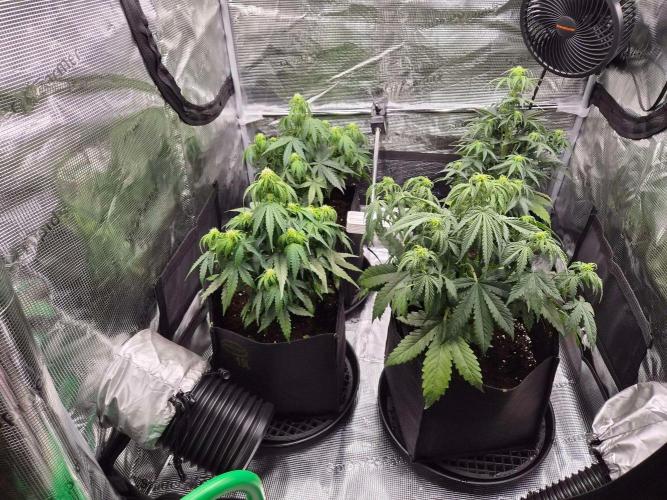
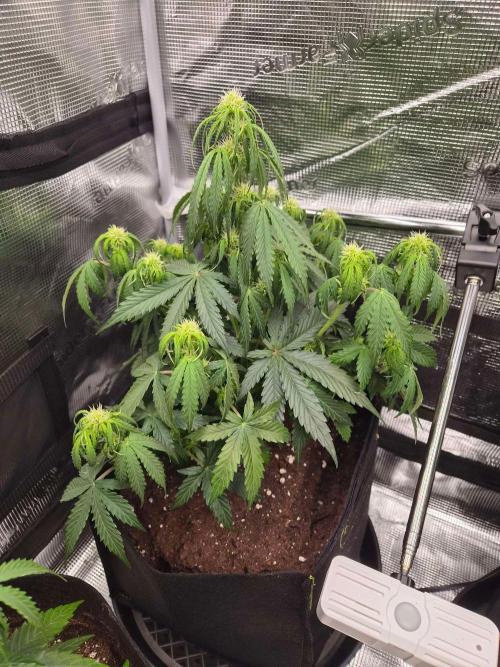
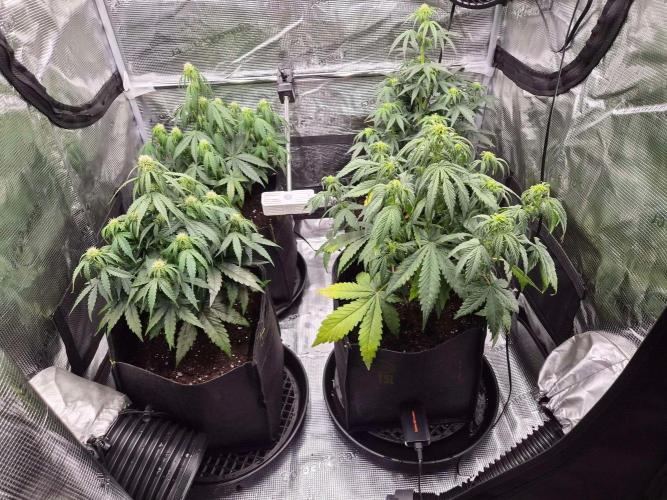
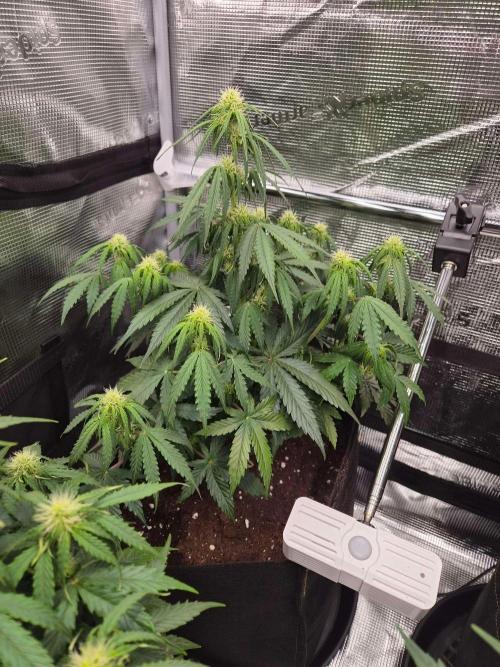
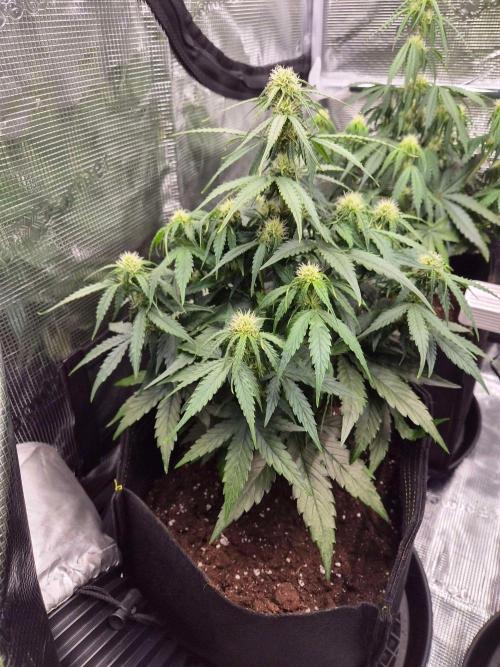
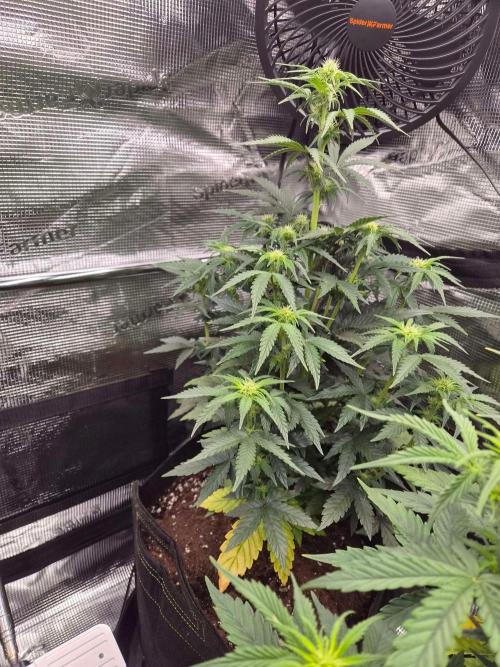
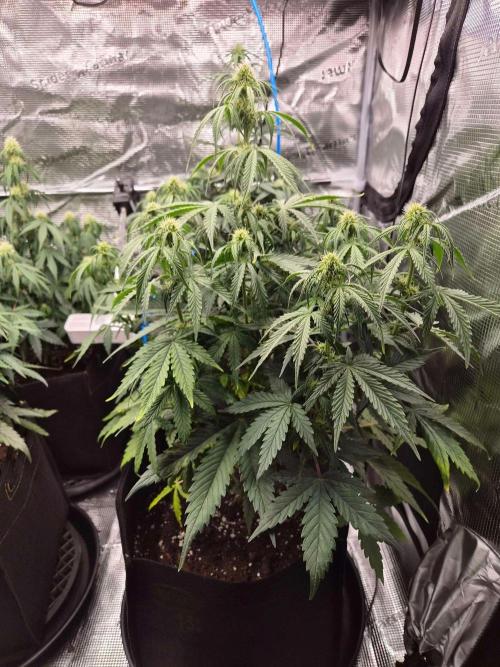
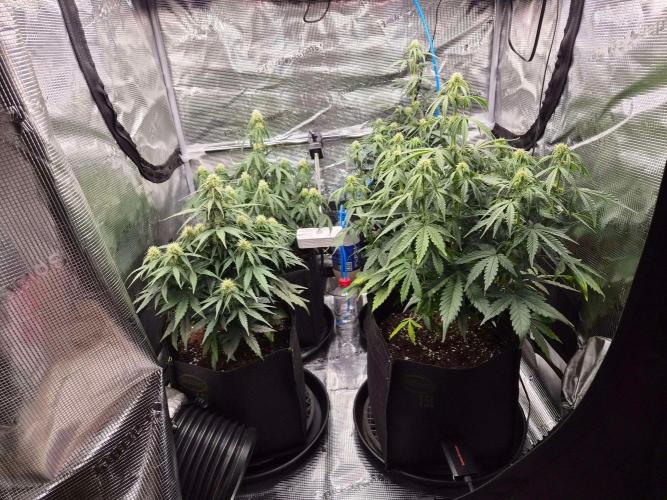
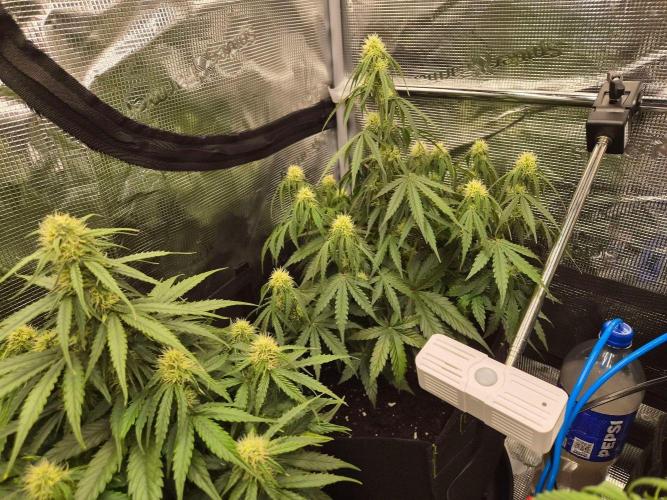
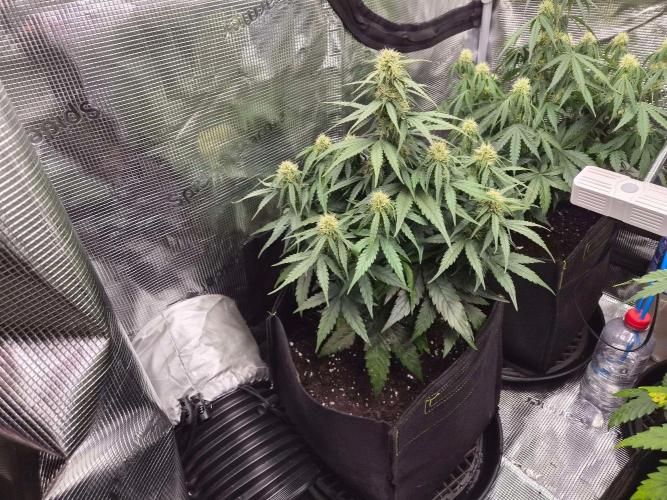
tjaym 🌿 Week 9 - Bloom Update: Split Strategy & Harvest Countdown!
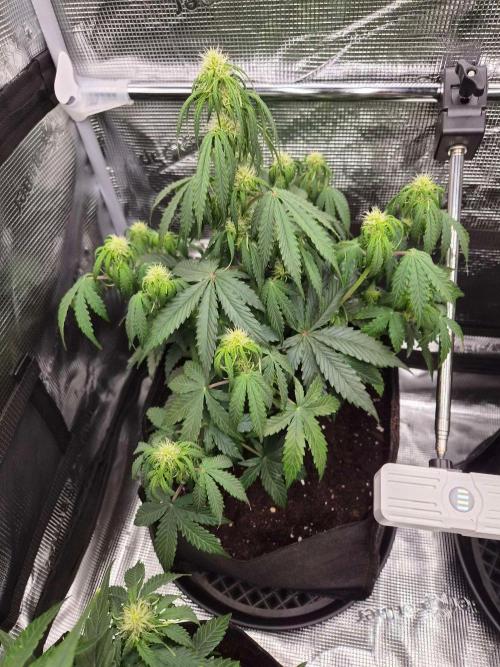
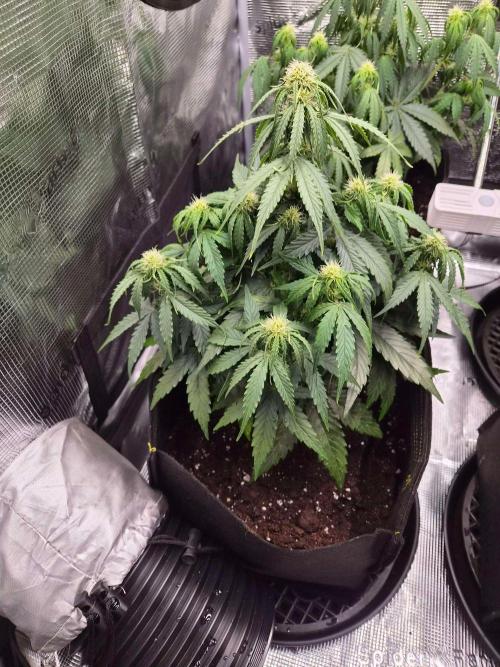
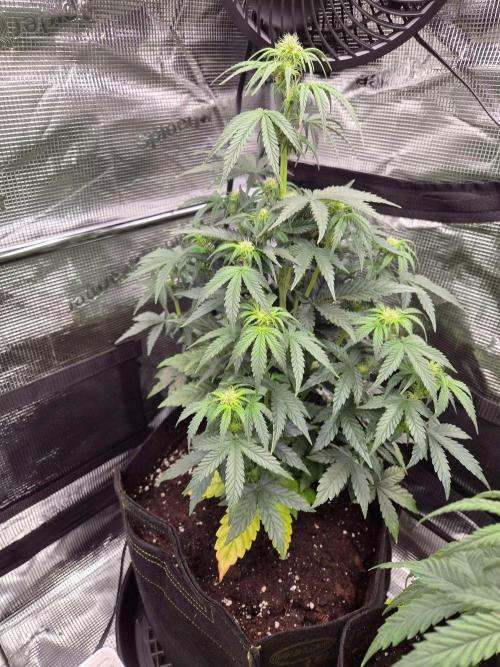
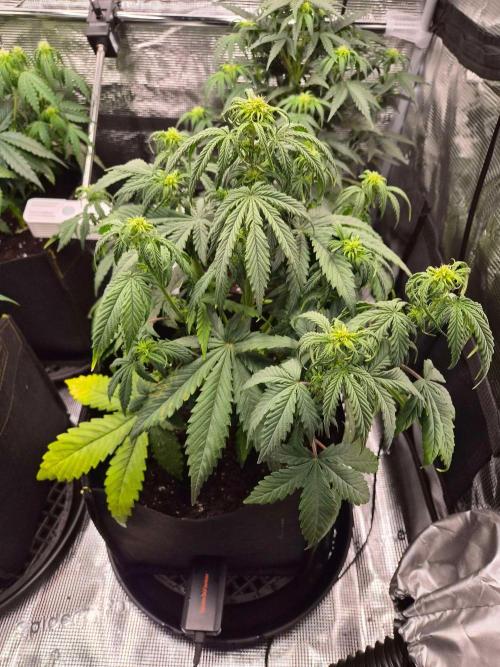
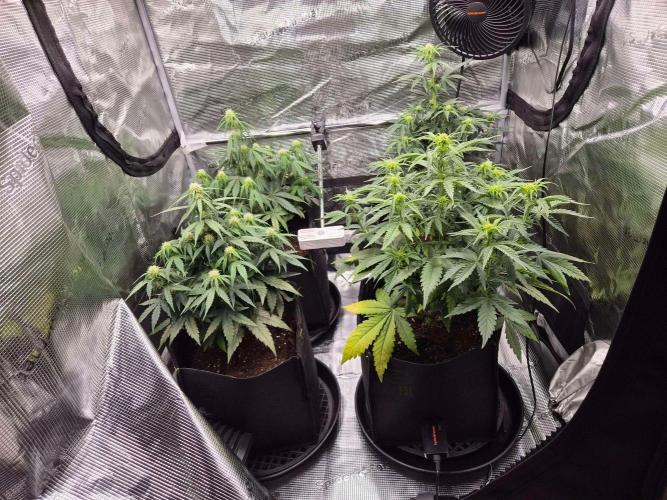
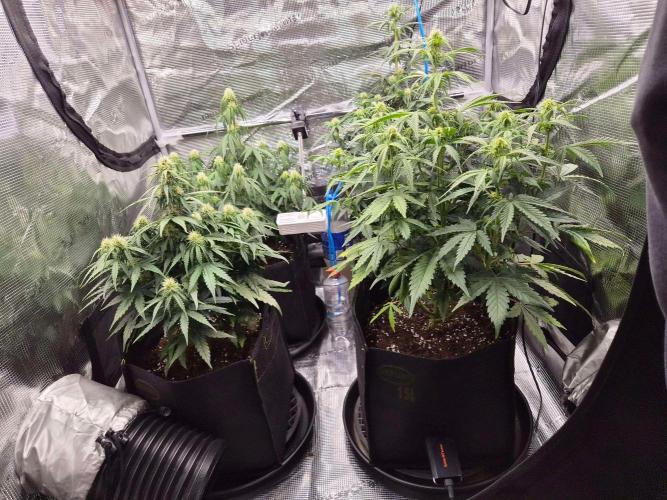
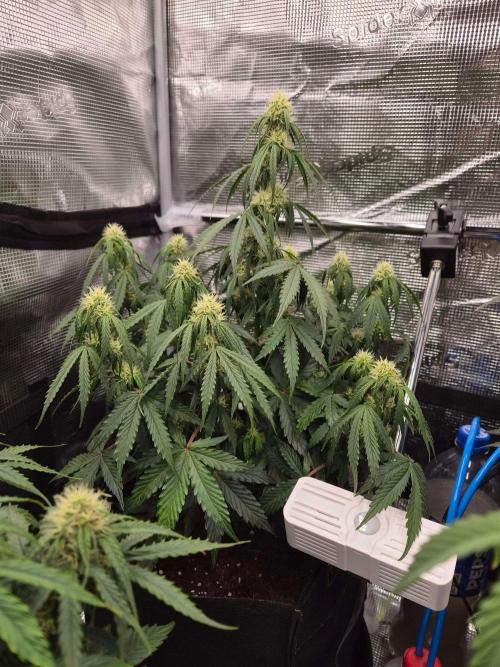
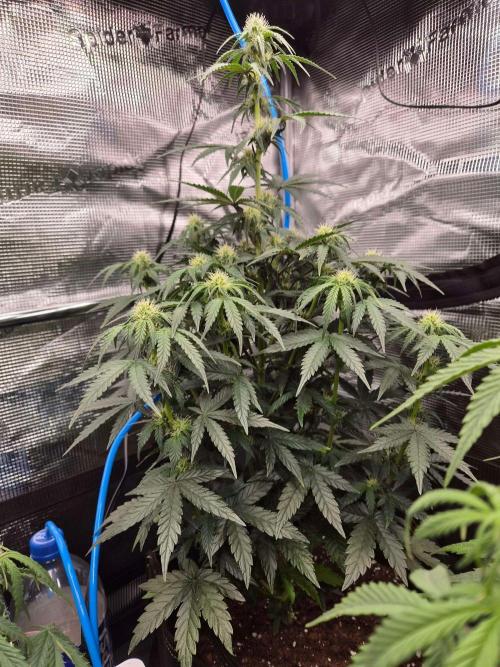
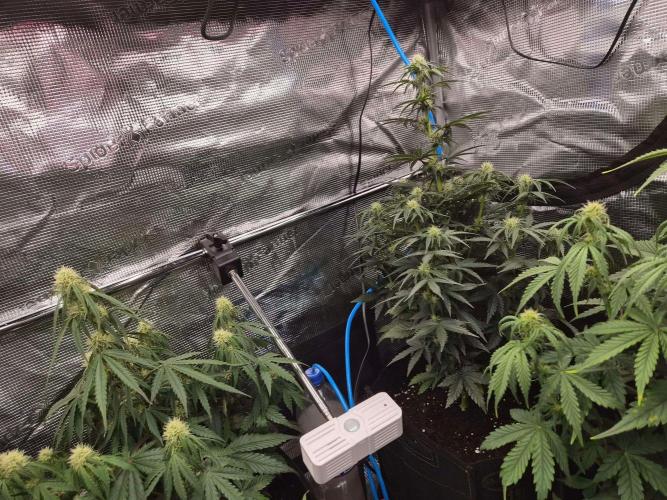
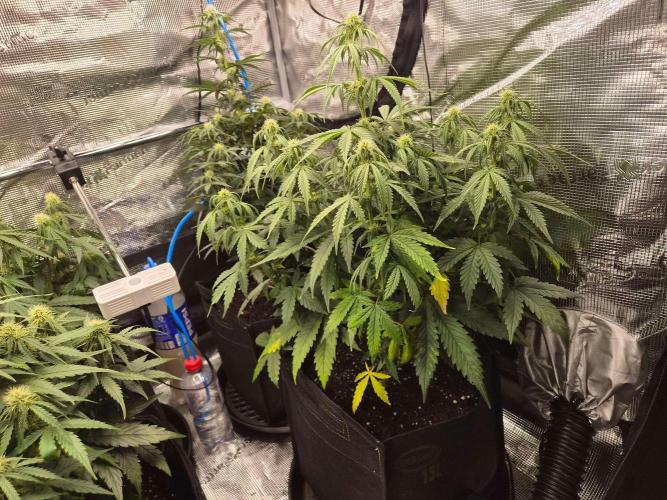
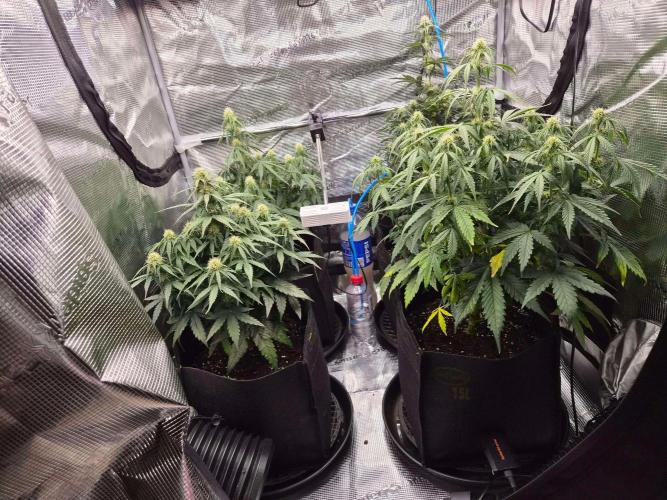
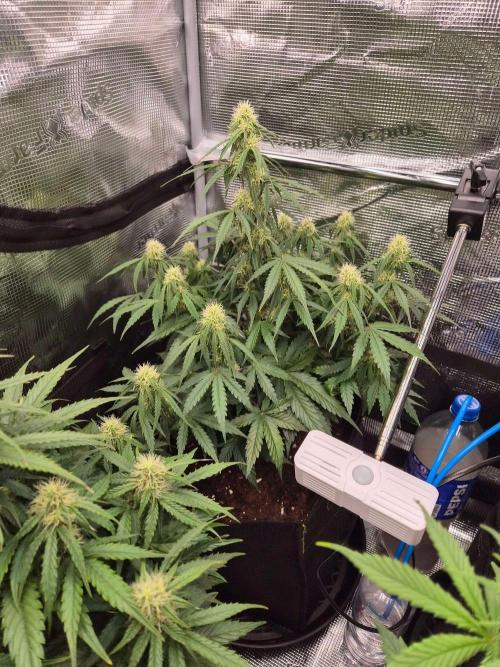
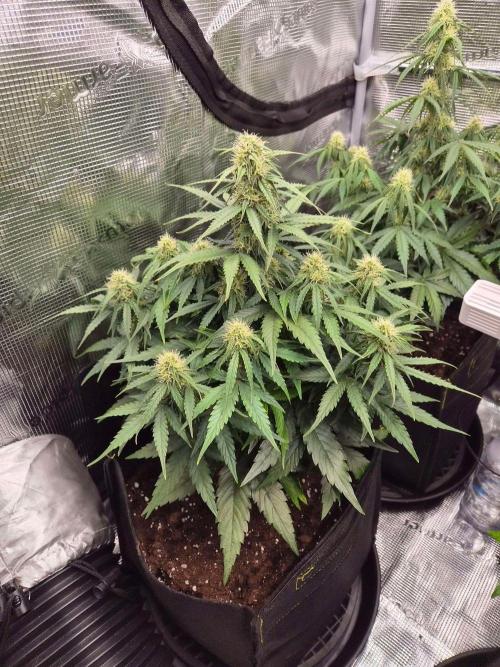
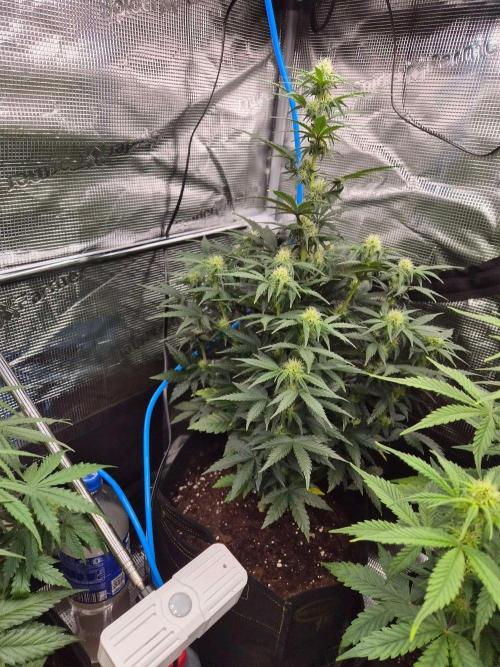
We have reached a super exciting stage in the tent! We are running a split strategy now: the Milkyway F1 has officially entered her final stretch (estimated ~1.5 weeks until harvest) and is getting plain water to flush. Meanwhile, the Critical Automatic plants are still in full bloom and building up massive weight for another 4 to 5 weeks. It's time for those autumn colors!
💡 Climate & Light Parameters
Grow Light (Spider Farmer SE3000): Dimmed at 88%
PPFD: 750 µmol/m²/s
DLI (Daily Light Interval): 48.6 mol/m²/d
Temperature:
Day: 23 - 25 °C (73 - 77 °F)
Night: 20 - 22 °C (68 - 72 °F)
Relative Humidity (RH): Stable around 55% (range 55–60%), keeping conditions optimal and safe from bud rot.
💧 Feeding & Irrigation (Every 3–4 Days / 10L Total across 4 Plants)
Milkyway F1 (Flushing Phase):
Switched to pure RO water only to drain remaining nutrients from the medium and plant tissue, ensuring a clean and rich terpene profile at harvest.
Critical Automatic (Full Bloom Recipe per 1L RO Water):
Terra Bloom: 5.0 ml/L
Green Sensation: 1.0 ml/L
CalMag Pro: 0.7 ml/L
Royal Sugar: 1.0 ml/L
Power Buds: 1.0 ml/L
Nutrient Metrics:
pH: ~6.2
EC: 1200 PPM (2.4 mS/cm)
🌱 Plant Status & Observations
Milkyway F1: Entering the home stretch! About 1.5 weeks remaining. Trichomes are being closely monitored under the microscope as the flush gets underway.
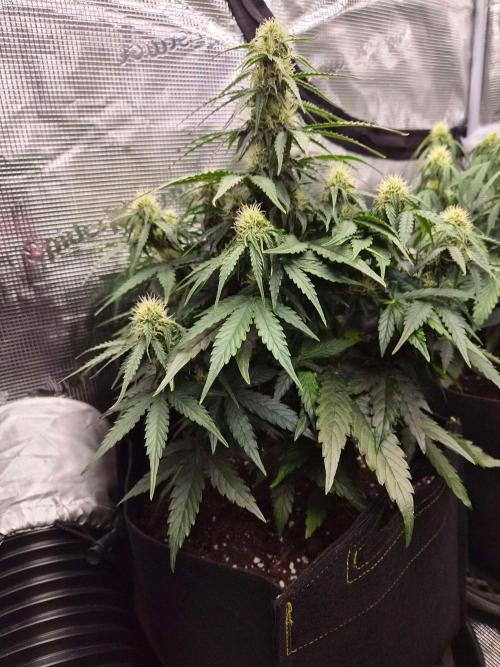
Critical Automatic: Thriving in full flower, swelling nicely, and set to continue for another 4 to 5 weeks while slowly shifting into autumn hues.
Overall Impression: The tent looks incredible, and as soon as you step into the shed, you are greeted by an intense, sweet, mouth-watering aroma. Autumn fades are starting to show beautifully!
@Natrona,
Hihi, your a legend. I was thinking about that the other day.
From next grows on (next year) I'll be starting to do so. for now its all a experience hahaha
@Natrona, well notice buddy 😍 @tjaym dude you still can remove one of them and create new witch the same photos and form now on you make new ones for each of them 😍 this way you dont love the chance to enter them on the DOTM 🙌🙌🙌 just go and edit the diary 😇Growers Love my friends
I remember getting a Milky Way F1 Auto freebie sometime last year and was a super nice one to grow and smoke! Look forward to seeing what you make of it!
@DomForester,
Hihihi, that was the case here too. also that she's about the same height as the critical made it a perfect selection! Really looking forward to seeing the ladies developping :D