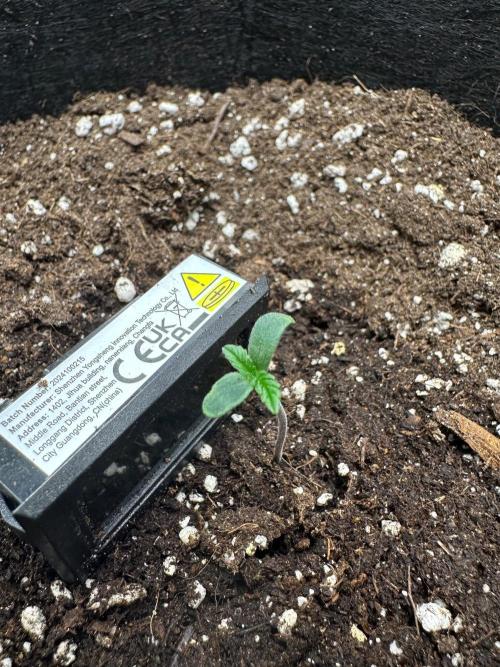
Bedroom_tent_grower 2 days in paper towel, 1 day in soil.
Gave it 200ml of dechlorynated 6.3 ph tapwater.
7 likes
1 comment
Share
Used method
Paper Towel
Germination Method
1
Week 1. Vegetation
24d ago
1/3
6 cm
Height
24 hrs
Light Schedule
25 °C
Day Air Temp
6.3
pH
No Smell
Smell
300 PPM
TDS
65 %
Air Humidity
22 °C
Solution Temp
24 °C
Night Air Temp
19 liters
Pot Size
0.12 liters
Watering Volume
55 cm
Lamp Distance
Nutrients 3
Power Roots
1 mll
Silic Rock
1 mll
Pure Zym
1 mll
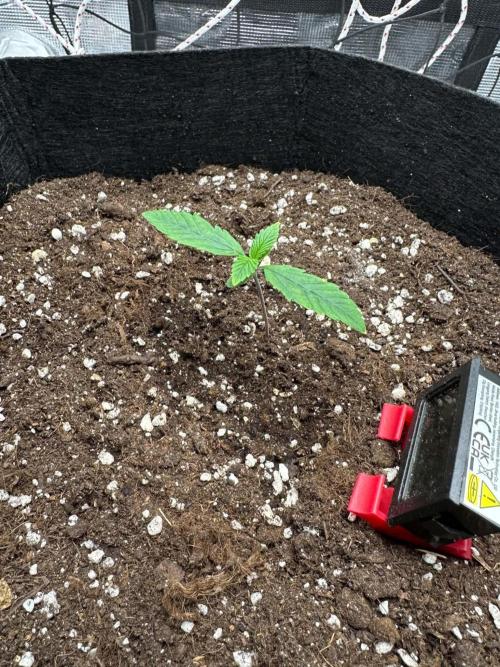
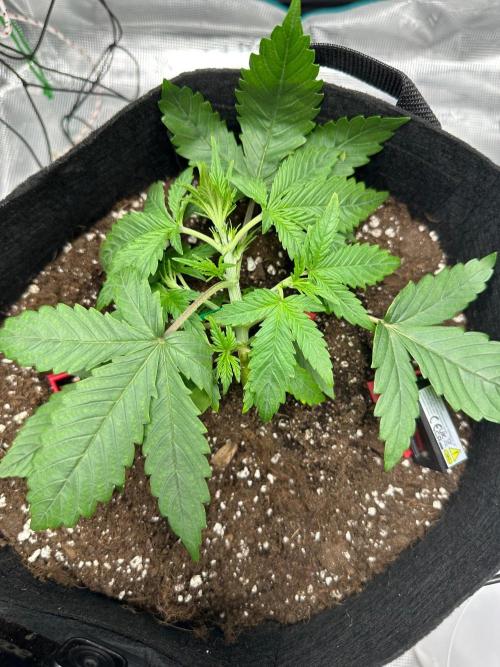
Bedroom_tent_grower Day 7 above ground 🌱
No nutrients so far, just dechlorinated, pH-adjusted water at 6.3, along with a few additives to support strong root development and stem growth.
There was a slight bit of light burn on the leaf edges, so I raised the light by another 5 cm and reduced its intensity by 5% (now its at 35%). She's now getting around 200 PPFD.
The leaves look a little lighter green than I'd like, possibly indicating a mild nitrogen deficiency. I'll try 1 ml/L of Plagron Terra Grow at the next watering.
The soil should have enough nutrients to last the first 1-2 weeks, but mine wasn't fresh and had been sitting around for roughly six months, so I'm wondering if some nutrients may have degraded.
Other than that, she looks healthy and is growing well! 🌿
6 likes
comments
Share
2
Week 2. Vegetation
16d ago
1/6
14 cm
Height
24 hrs
Light Schedule
26 °C
Day Air Temp
6.3
pH
No Smell
Smell
300 PPM
TDS
70 %
Air Humidity
23 °C
Solution Temp
23 °C
Night Air Temp
19 liters
Pot Size
0.15 liters
Watering Volume
55 cm
Lamp Distance
Nutrients 5
Power Roots
1 mll
Silic Rock
1 mll
Pure Zym
1 mll
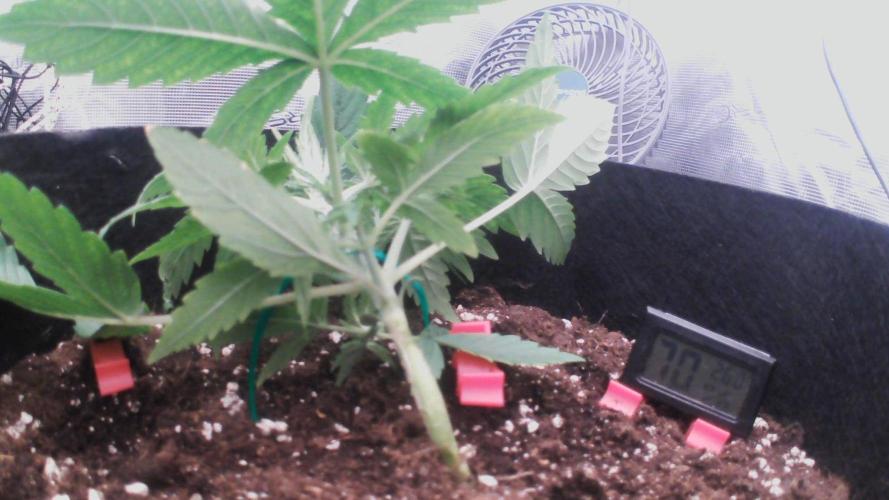
Bedroom_tent_grower Day 14 - First LST Experience 🌱
Lights are now on 60% strength.
We're officially on day 14! The plant has reached 14 cm in height and developed 4 nodes, so I decided it was finally time to try some LST (Low Stress Training) for the first time.
I made sure to water her the day before applying LST, so the plant wouldn't be completely dry during the process.
I also gave her a small dose of nutrients along with some calmag on day 16 to address the yellow spotting that had appeared on a few leaves. Another reason for feeding was the soil EC measurement I took recently. I tested it by mixing 1 part of slightly moist soil with 2 parts of distilled water, which gave me an EC reading of around 0.5. That seemed a little on the low side, so I decided to provide some additional nutrients.
So far, this has been her only nutrient feeding. Since day 16, she received nothing but dechlorinated, PH adjusted tap water. I don't want to overdo the feeding, especially at this early stage.
Overall, I think she's looking beautiful! I'm really happy with her progress so far, and I'm especially looking forward to seeing how the new branches develop and how she responds to her first LST session. 🌱
4 likes
1 comment
Share
Used techniques
LST
Technique
3
Week 3. Vegetation
8d ago
1/11
17 cm
Height
24 hrs
Light Schedule
28 °C
Day Air Temp
6.3
pH
Weak
Smell
600 PPM
TDS
65 %
Air Humidity
23 °C
Solution Temp
26 °C
Night Air Temp
19 liters
Pot Size
0.25 liters
Watering Volume
50 cm
Lamp Distance
Nutrients 5
Power Roots
1 mll
Silic Rock
1 mll
Pure Zym
0.25 mll
Bedroom_tent_grower Days 15–23 🌱
Pictures are in descending order, from day 23 to day 15.
These last 9 days have been craaazy! She's been growing and I had to readjust her almost every other day because she kept outgrowing it.
I didn't want to start cutting leaves just yet, so I have mainly been leaf tucking to keep things under control.
On day 20, I had an unfortunate incident where I pulled at the branch too roughly and snapped it. Guess that counts as some unplanned HST 😅
Luckily she recovered just fine.
Another thing I have observed is that the bottom-most leaf is exhibiting signs of deficiency. Perhaps this is because of the deficiency of nutrients but as it is the lowest leaf, it could also be due to the lack of light. The new leaves at the tip appear to be in perfect condition though.
I give her nutrients every other watering and power roots + pure zym with every watering.
I also installed a new external humidity sensor that automatically switches my humidifier's outlet on and off.
I wasn't really happy with the readings from the built in sensor, so I decided to purchase it and this way I could put the new probe close to the plant so I can accurately measure the climate of the air around the plant instead of the corner of the tent.
Pretty happy with how things are going so far. She's definitely keeping me busy 😌