The Grow Awards 2026 🏆 









Lets grow this cake!
Soil
Custom
Indoor
Room Type
LST
weeks 3-5
11 liters
Pot Size
Start at Harvest
1
Week 1. Vegetation6y ago
4.5 cm
Height
20 hrs
Light Schedule
25 °C
Day Air Temp
6.6
pH
95 PPM
TDS
85 %
Air Humidity
22 °C
Solution Temp
19 °C
Night Air Temp
11 liters
Pot Size
0.05 liters
Watering Volume
50 cm
Lamp Distance
Nutrients 3

Root-Juice
3 mll

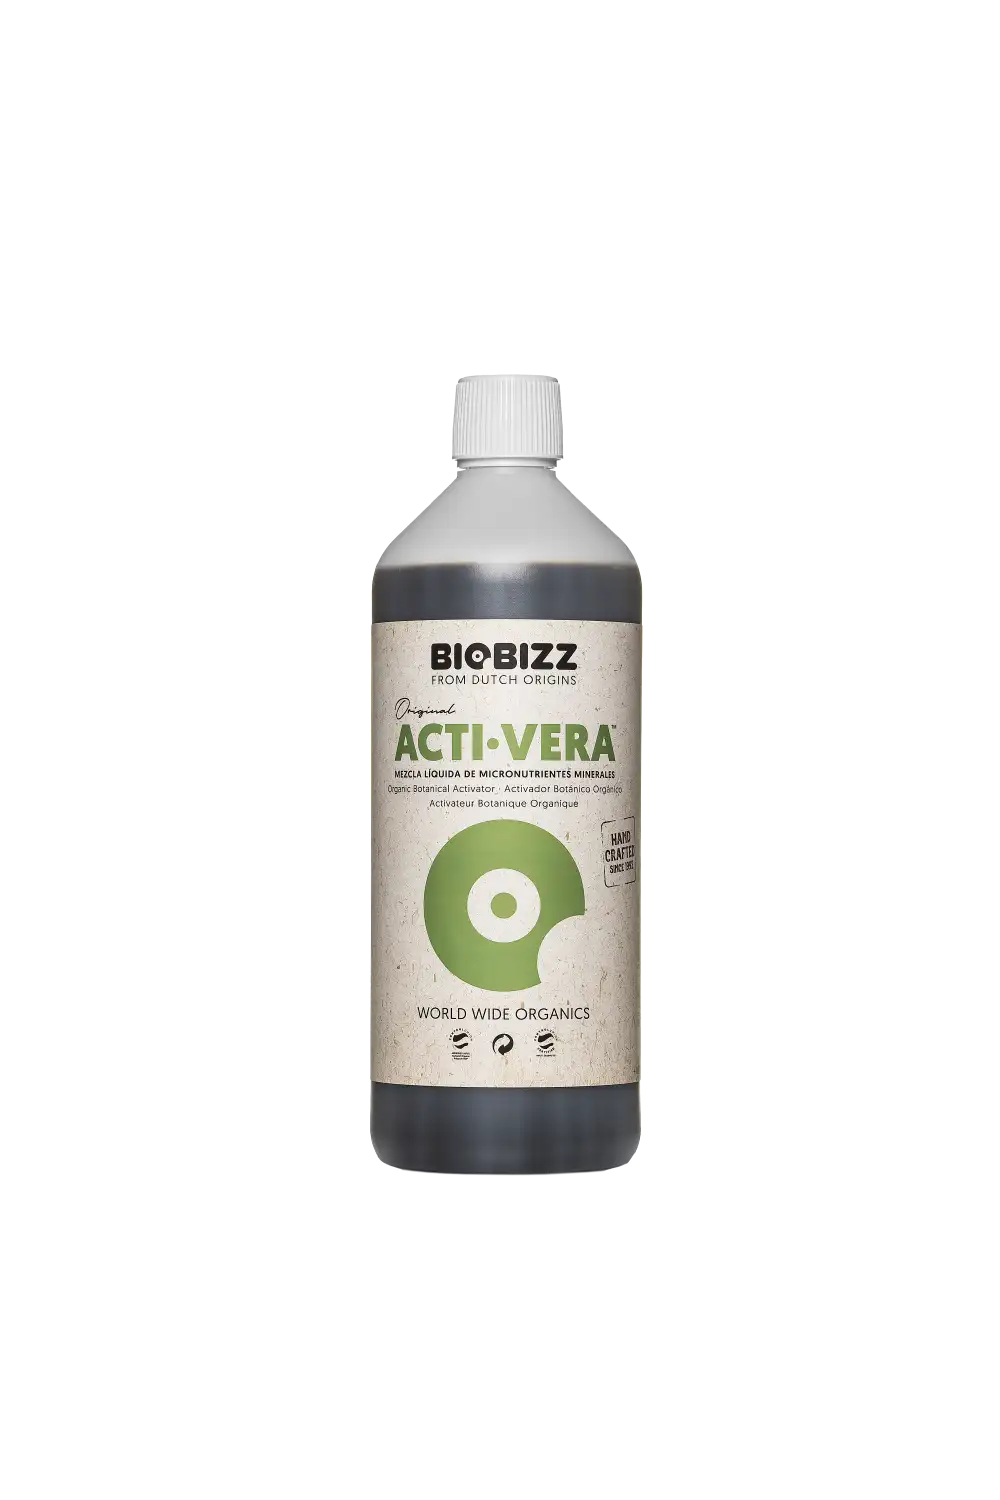
Acti-Vera
2 mll

Bio-Heaven
1 mll
Satori_Hanso Welcome to my first indoor grow!
This is going to be an interesting journey as I have zero experience in indoor growing and only knowledge I have is from books and online videos.
********************************
* BUILDING A GROW ROOM *
********************************
Before this journey begins I had to setup a grow room. Fortunately, there is small space in the attic area that is perfect to turn it into a grow room. Unfortunately, that room was completely uninsulated with bear walls. That means RH/temp problems. To do a complete and proper roof insulation it would have cost me a lot so I opted out for only cheaper version and that was to use 3cm thick Styrofoam boards between beams and roof plates just to reduce heat dissipation, for the walls 2cm Styrofoam boards and for the floors, I spread thick plastic sheet over it and placed on top 3cm Styrofoam boards wrapped in white plastic sheets. With those plastic sheets on, everything is washable with ease.
Now it’s time to test the room and see how the temperature holds. As I was worried, the room needed some heat source so I placed one heat radiator in the back of the room.
Next day I checked the temp and it was around 23°C. The insulation was working nicely as the radiator was not constantly on and outside was -10°C. All in all I was satisfied even with some small draft coming in which was impossible to close but on the upside it will actually provide constant flow of fresh air.
After renovation was done I had to decide how and where I should set up pots and lights.
Room dimensions look like a right-angled triangle with entrance height of 2m and floor length of 3m. Only middle of the room is usable for growing due to a roof slope. That allows height of the plants up to around 1m and with the 90 cm room width, the actual growing space for plants would be 90x100x120cm. Now all I need was lights that would cover that space.
*******************
* GROW LIGHTS *
*******************
Since last year I started reading about grow lights, as it turned out, there are so many brands, models and it’s very difficult to choose one, but quantum boards caught my attention with their high efficiency, low wattage and on top of that they are passively cooled.
After spending hours of browsing through different QB models I came across one company “EasyGrow Lighting” that was making quantum boards and something told me that this is it.
What stood out was free shipping, cheap prices and 5 year warranty and in case of a failure they will pick up the lights at your place and send it back repaired for free
Now that sounds like a great deal.
S600 Full Spectrum model is ideal for my grow space with its recommended coverage:
Grow stage: 120x120cm - 150x150cm with light distance 40-60cm
Flowering stage: 90x90cm - 120x120cm with light distance 30-40cm
Technical specs:
Chips: Samsung LM301B and Far red diodes Epistar 660nm
PPFD: 1075.60168 μmol/(m²·s)
Driver: Meanwell HLG
Light power: 0 - 250w
Luminosity: max. 228.99 lm/W
Lifetime: 100 000h in operation
Light dimension: 68x22 cm
Weight: 5 kg
Replacement for: 600W HPS
Yields: 2-2.5 g/W
Those are some great specs. The Samsung LM301B is one of the most efficient LEDs on the market and exceeds the 200lm/W limit.
PPFD readings are over 1000 at distance of 40cm and goes up to 1800 at distance of 30cm. That’s going to be more than enough and plants will love it.
When the package arrived I was surprised how good the product was packed. At first glance you can see that the lights are professionally made and assembled and with the black heatsink it looks beautiful. In the package was also power cable (3m), rope ratchet 2pcs suspension system with spare clips and steel wires to connect ratchet and lights.
What I also got was the EasyGrow Controller that has temperature/humidity probe and comes with 2 cables, one shorter and the other is 2m long, built-in timer for lights which you control via mobile app and it also comes with a light dimmer 0-250W. App has options like on/off light schedules, timers and you can monitor temp/humidity when you’re away from grow room. For me this is very useful as my grow room is in a different part of house and it keeps me somewhat closer to my plants.
One thing to mention is that controller and lights are already connected together so the whole light system is plug&grow out of the box.
I’m really impressed with the whole package and I can’t wait to try out the lights.
*********************
* SOWING A SEED *
*********************
For my first winter indoor grow I chose sponsored Original Sensible Seeds - Wedding Cake Auto,
Strain info:
Genes: Indica dominant
Genetics: Wedding Cake, Girl Scout Cookies Auto
Flowering: 10 weeks
Harvest: 600gr/m2
Height: 60-120 cm
THC: Up to 20%
CBD: Low
Description:
“Wedding Cake is another West Coast strain from California that has it's parentage in Girl Scout Cookies and Cherry Pie and is sometimes referred to as Birthday Cake or Pink Panties.
Wedding Cake Auto gives growers the opportunity to experience these American strains without the need for special lighting and the ability to achieve 2 or more harvests a year as Wedding Cake Auto will be ready to harvest in around 70 days from seed with a yield of 150g per plant when grown outdoors and 600g/m2 when grown indoors.
The effect from Wedding Cake Auto is potent and relaxing as you would expect from heavy Indica seeds but well balanced between physical and cerebral. The flavor is sweet, woody, vanilla, pineapple and hints of lemon.”
There are few things to do before the seed starts its journey.
For 11l pots I made my own light soil mix that consists of:
2l – black earth mix
1l – worm castings
1l – perlite
6l – coco coir
40g - Bio Guano
5g – Mycorrhizae
Bio Guano composition:
N - 3-5%
P2O5 - 9-12%
CaO - 23-28%
K2O - 1-2%
MgO – 0.5-1%
C (org) - 5-7%
org substance - 21-26%
I decided to do some layering in a pot so at the bottom of a pot I added a thin layer of coco coir, on top of it 1-2cm layer of perlite, then up to a half of pot added my light soil mix and sprinkled 20g of Bio Guano, then added 15cm of light soil mix, again sprinkled 20g of Bio Guano and then finished filling the pot with light soil mix. Mycorrhizae was mixed with the soil where the seed will be planted.
Time to start feeding the microbial life in the medium. I watered the medium with 500ml solution of 5ml/l molasses, Root Juice, Acti Vera, Bio Heaven, Fish Mix 1ml/l each, and once again after 12h. The pot was kept in a warm room at temp of 20°C.
Seed was pre-soaked in shot glass of water for 24h. Seed was then sowed 10cm from the corner of the pot.
To keep the RH at 80-90%, plastic bottle was placed on top of seed spot. Seeding broke surface after 48h.
Health & Growth:
- After the seedling broke surface she grew to 4.5 cm in first three days and stopped stretching.
Watering:
- Instead of tap water I used distilled water in the first week.
- 100 ml of nutrient solution every other day just around the seedling.
- 500 ml of nutrient solution last day of a week so the medium doesn’t dry out and to keep microbial life in the medium happy.
Lighting:
- Each day power of lights was increased by 10W starting from 60W.
- Distance from plant started at 30cm and was daily raised gradually to 50cm.
9 likes
4 comments
Share
2
Week 2. Vegetation6y ago
9.5 cm
Height
20 hrs
Light Schedule
24 °C
Day Air Temp
6.0
pH
550 PPM
TDS
55 %
Air Humidity
22 °C
Solution Temp
19 °C
Night Air Temp
11 liters
Pot Size
0.1 liters
Watering Volume
55 cm
Lamp Distance
Nutrients 5

Root-Juice
2 mll

Acti-Vera
2 mll

Bio-Heaven
2 mll
Satori_Hanso Health & Growth:
- seedling had a good start since last week and it grew to 10cm.
- there is no notable deficiencies or any kind of symptoms.
Watering:
- 120 ml of nutrient solution every other day around the seedling.
- 500 ml of nutrient solution last day of a week.
Lighting:
- each day power of lights was increased gradually to 175W starting from 130W.
- light distance from the plant was increased to 55cm.
5 likes
comments
Share
3
Week 3. Vegetation6y ago
13 cm
Height
19 hrs
Light Schedule
24 °C
Day Air Temp
5.9
pH
1000 PPM
TDS
40 %
Air Humidity
22 °C
Solution Temp
19 °C
Night Air Temp
11 liters
Pot Size
0.5 liters
Watering Volume
50 cm
Lamp Distance
Nutrients 5

Root-Juice
2 mll

Acti-Vera
2 mll

Bio-Heaven
2 mll
Satori_Hanso Health & Growth:
- at day 16 LST was preformed on main stem
- side branches started to grow and were pulled to sides each day.
- plant looks healthy and is growing vigorously.
- there is no notable deficiencies or any kind of symptoms.
Watering:
- 500 ml of nutrient solution every other day with pH water in-between.
- foliar feed every other day with Alg A Mic, Acti Vera and Fish Mix 1ml/l each
- 1000 ml of nutrient solution last day of a week to completely saturate the pot.
Lighting:
- light power was increased to 250W at the middle of the week.
7 likes
2 comments
Share
Used techniques
LST
Technique
4
Week 4. Vegetation6y ago
14 cm
Height
18 hrs
Light Schedule
25 °C
Day Air Temp
6.1
pH
1054 PPM
TDS
40 %
Air Humidity
22 °C
Solution Temp
19 °C
Night Air Temp
11 liters
Pot Size
0.75 liters
Watering Volume
40 cm
Lamp Distance
Nutrients 5

Root-Juice
2 mll

Acti-Vera
2 mll

Bio-Heaven
2 mll
Satori_Hanso Health & Growth:
- every day top and branches were pulled to sides
- LST continued throughout the week
- plant bushed up, looks healthy and is growing at fast pace
- there is no notable deficiencies or any kind of symptoms
Watering:
- 750 ml of nutrient solution every other day with pH water in-between.
- foliar feed every other day with Alg-A-Mic and Acti-Vera 2ml/l each
- 1000 ml of nutrient solution last day of a week.
Lighting:
- lights were lowered to 40 cm
- light power - 250W
11 likes
4 comments
Share
Used techniques
LST
Technique
5
Week 5. Vegetation6y ago
28 cm
Height
18 hrs
Light Schedule
25 °C
Day Air Temp
6.1
pH
1450 PPM
TDS
40 %
Air Humidity
23 °C
Solution Temp
19 °C
Night Air Temp
11 liters
Pot Size
1 liters
Watering Volume
40 cm
Lamp Distance
Nutrients 6
Organic molasses
2.5 mll

Root-Juice
1 mll

Acti-Vera
2 mll
Satori_Hanso Health & Growth:
- flowering started and LST stopped at the end of week
- all branches are fixed now and the plant is ready for final stretch
- plant grew over 15cm since last week and continues to grow at fast pace
- there is no notable deficiencies or any kind of symptoms
Watering:
- 750-1000 ml of nutrient solution every other day with pH water in-between.
- foliar feed every other day with Alg-A-Mic and Acti-Vera 2ml/l each
- molasses was added in feed schedule and was used once a week
Lighting:
- light power - 250W
8 likes
1 comment
Share
Used techniques
LST
Technique
6
Week 6. Flowering6y ago
33 cm
Height
18 hrs
Light Schedule
25 °C
Day Air Temp
6.3
pH
1220 PPM
TDS
40 %
Air Humidity
23 °C
Solution Temp
19 °C
Night Air Temp
11 liters
Pot Size
1 liters
Watering Volume
40 cm
Lamp Distance
Nutrients 6
Organic molasses
2.5 mll

Acti-Vera
2 mll

Bio-Heaven
2 mll
Satori_Hanso Health & Growth:
- main top is stretching
- buds are forming nicely
- there is no notable deficiencies or any kind of symptoms
Watering:
- 750-1000 ml of nutrient solution every other day with 750-1000 ml pH water in-between.
6 likes
comments
Share
7
Week 7. Flowering6y ago
39 cm
Height
18 hrs
Light Schedule
25 °C
Day Air Temp
6.3
pH
1420 PPM
TDS
40 %
Air Humidity
23 °C
Solution Temp
19 °C
Night Air Temp
11 liters
Pot Size
1 liters
Watering Volume
40 cm
Lamp Distance
Nutrients 6
Organic molasses
2.5 mll

Acti-Vera
2 mll

Bio-Heaven
2 mll
Satori_Hanso Health & Growth:
- main top stretched up to 40cm
- trichomes are frosting slowly
- buds continued to ball up
- there is no notable deficiencies or any kind of symptoms
Watering:
- 750-1000 ml of nutrient solution every other day with 750-1000 ml pH water in-between.
4 likes
comments
Share
8
Week 8. Flowering6y ago
40 cm
Height
18 hrs
Light Schedule
25 °C
Day Air Temp
6.3
pH
1200 PPM
TDS
40 %
Air Humidity
23 °C
Solution Temp
19 °C
Night Air Temp
11 liters
Pot Size
1 liters
Watering Volume
40 cm
Lamp Distance
Nutrients 4

Bio-Heaven
2 mll

Alg-A-Mic
2 mll

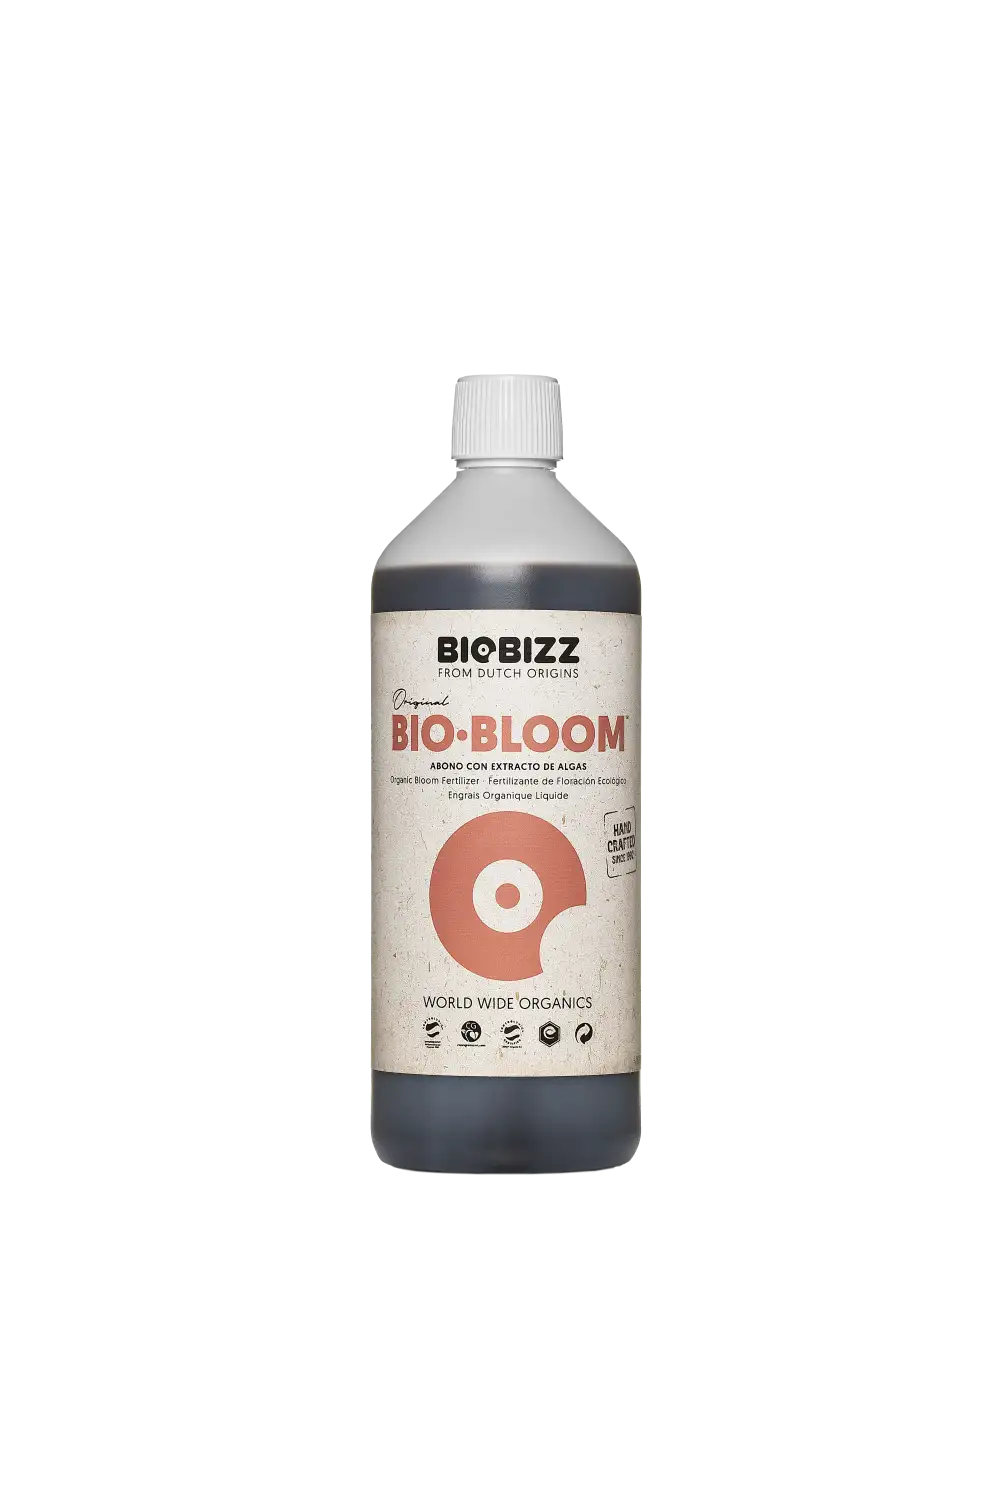
Bio-Bloom
3 mll
Satori_Hanso Health & Growth:
- trichomes are frosting slowly
- buds continued to ball up
- there is no notable deficiencies or any kind of symptoms
Watering:
- 750-1000 ml of nutrient solution
- every other day with 750-1000 ml pH water with dry periods in-between.
3 likes
comments
Share
9
Week 9. Flowering6y ago
40 cm
Height
18 hrs
Light Schedule
25 °C
Day Air Temp
6.3
pH
1040 PPM
TDS
40 %
Air Humidity
23 °C
Solution Temp
19 °C
Night Air Temp
11 liters
Pot Size
1 liters
Watering Volume
40 cm
Lamp Distance
Nutrients 5

Bio-Heaven
2 mll

Alg-A-Mic
2 mll

Bio-Bloom
3 mll
Satori_Hanso Health & Growth:
- trichomes are frosting slowly
- buds continued to ball up
- there is no notable deficiencies or any kind of symptoms
Watering:
- 750-1000 ml of nutrient solution
- every other day 750-1000 ml pH water with dry periods in-between.
7 likes
1 comment
Share
10
Week 10. Flowering6y ago
41 cm
Height
18 hrs
Light Schedule
25 °C
Day Air Temp
6.4
pH
525 PPM
TDS
40 %
Air Humidity
23 °C
Solution Temp
19 °C
Night Air Temp
11 liters
Pot Size
1 liters
Watering Volume
40 cm
Lamp Distance
Nutrients 1
Organic molasses
3 mll
Satori_Hanso Health & Growth:
- trichome frosting is slowly covering all bud sites
Watering:
- started flushing with organic molasses 3ml/l every other day 750-1000 with dry periods in-between.
3 likes
comments
Share
11
Week 11. Flowering6y ago
41 cm
Height
18 hrs
Light Schedule
25 °C
Day Air Temp
6.4
pH
Normal
Smell
525 PPM
TDS
35 %
Air Humidity
23 °C
Solution Temp
19 °C
Night Air Temp
11 liters
Pot Size
1 liters
Watering Volume
40 cm
Lamp Distance
Nutrients 1
Organic molasses
3 mll
Satori_Hanso Health & Growth:
- plant looks almost done
- 10 more days or so till harvest
- trichomes are near desired ripeness
Watering:
- organic molasses 3ml/l every other day 750-1000 with dry periods in-between.
6 likes
3 comments
Share
12
Week 12. Flowering6y ago
41 cm
Height
18 hrs
Light Schedule
25 °C
Day Air Temp
6.4
pH
Normal
Smell
430 PPM
TDS
35 %
Air Humidity
23 °C
Solution Temp
19 °C
Night Air Temp
11 liters
Pot Size
1 liters
Watering Volume
40 cm
Lamp Distance
Nutrients 1
Organic molasses
2 mll
Satori_Hanso Health & Growth:
- this is last week before harvest (2 more days)
- trichomes are where I like them to be
Watering:
- organic molasses 2ml/l every other day 750-1000 with dry periods in-between.
11 likes
2 comments
Share
12
Week 12. Harvest6y ago
Happy Harvest Day!

9/10
Rated
Very potent strain and it hits hard.
Smell is fruity, tropical.
It does anchor your body a bit but it also gives you cerebral high.
For home use.
Show more
Translate
Spent 85 days
Ger Veg Flo Har
231 g
Bud wet weight per plant
62 g
Bud dry weight per plant
1
Plants
0.8 m²
Grow Room size
Normal
Difficulty

Creative, Happy, Relaxed
Positive effects

Dry eyes, Dry mouth
Negative effects

Tropical
Taste
Height
Day air temperature
Air humidity
PPM
PH
Light schedule
Solution temperature
Night air temperature
Pot size
Lamp distance
6 likes
comments
Share
Equipment Reviews

the end.
Enjoying this diary? Follow for more updates!
Prefer the old Diary view?
Go back to the old Diary view


