


Likes
Comments
Share


@TheStrainAlchemist
Follow
From week 4 is an emotion every time I open the grow tent, they grow so fast now that is impossible to stop looking at them for hours.
Enjoy my grow fellow growers ☮️💪🏼😎

Likes
4
Share


@Mr_nugs_lover_David
Follow
This lady is amazing, just what I expected, the clasic amnesia haze smell, very sweet andnat the same time very earthy, beautiful nuggets super sticky full of trichomes everywhere, let's see how this lady keeps performing until the end of the road! 💛💚❤️👨🌾

Likes
6
Share


@GrowzWithZee
Follow
This is actually my first time growing in Coco, so had a few issues in feeding at first.

Likes
3
Share


@Satica_G
Follow
One seedling streched a bit, but thats not a problem. Besides that, everything went great! 3/3 Germination rate
I am very excited to see the ladys grow. We couldnt order our grow equipment, so we started the plants on the Windowstill.



Likes
20
Share

@Diips
Follow
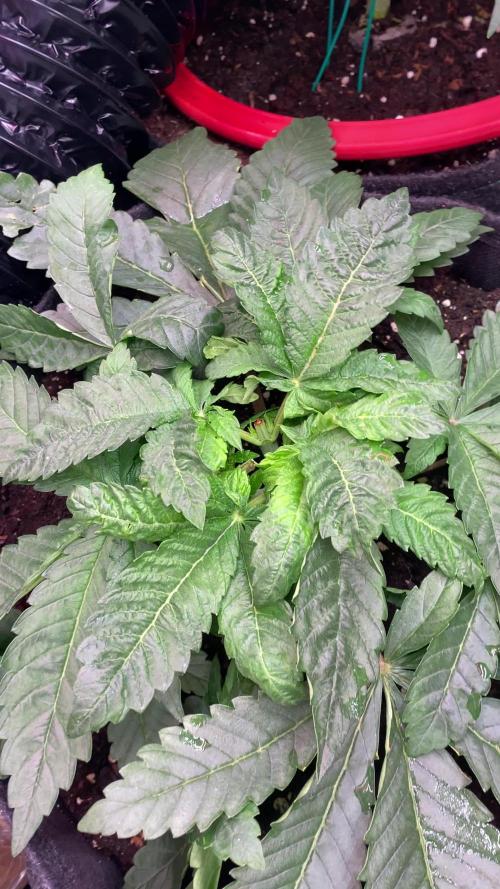
shes really something to be seen! thickness overall is wild! but her shortness also shows haha, but damn! cant wait to see her i flower, i can feel the strength through her thick stem! also topped her, but shes real good at hiding, but time will get her ;) loving life 💚🌞


Likes
36
Share


@MadeInGermany
Follow
Info:
Unfortunately, I had to find out that my account is used for fake pages in social media.
I am only active here on growdiaries.
I am not on facebook instagram twitter etc All accounts except this one are fake.
Have fun with the update.
Flowering day 1
since the time
change to 12/12 h.
Hi everyone .
Yesterday it was placed in the flower tent.
Next week the lowest shoots are removed so that you can put your energy upwards.
In addition, she will get 2 g GHSC Bio Bloom per L coco next week.
Otherwise, as always, everything was cleaned and inspected.
I wish you a lot of fun.
Stay healthy 🙏🏻
You can buy this Strain at
https://www.barneysfarm.com/blue-cheese-34
Type:
Blue Cheese
☝️🏼
Genetics:
Blueberry
X
Original Cheese
👍
Vega lamp:
2 x Todogrow Led
Quantum Board 100 W
💡
Bloom Lamp :
2 x Todogrow Led
Cxb 3590 COB 3500 K 205W
💡💡☝️🏼
Soil :
Bio Bizz Coco
☝️🏼
Fertilizer:
Green House Powder Feeding
☝️🏼🌱
Water:
Osmosis water mixed with normal water (24 hours stale that the chlorine evaporates) to 0.2 EC. Add Cal / Mag to 0.4 Ec Ph with Organic Ph - to 5.5 - 5.8

Likes
9
Share


Likes
17
Share


@RDWCGrowing
Follow
Week2 Day 1- 08/19/2023
Weekly Maintenance- Non-Water change week
Added
.5mil/gal of TPS SILICA Gold = 39 gallons X .5 = 19.5mil = 20mil add
She really does look great today. More roots are finding their way out of the basket and into the water, looks like I might be able to give her, her first top soon. Humidity is still running just a little low, I am making sure I keep a close eye on the humidifiers and added more water as needed.
Week2 Day 2- 08/20/2023
She is definitely a mutant, I was having a hard time deciding if I could Top her and if I did, where, since she is so closed up still. Found one side node that looked promising to let it spread out and not compact in harder from the cut. Hopefully the topping will help induce a rapid growth like her sister and spread her out a little bit more. She got her first hair cut today.
Week2 Day 3 - 08/21/2023
She is absolutely growing but with the mutations not outwardly exploding, the root ball is starting to form very nicely.
She overall looks really happy to me. I will just continue to observe and do what feels right in regard to methodologies as she grows.
Week2 Day 4 - 8/22/2023
she is looking great.. From me thinking she wouldn't make it to me having to support the stem and hand drip water.. I didn't think this little Mutant would make it but she is doing great, lets see what we can do with her over this grow.
Week2 Day 5 - 08/23/2023
What more can you say then I am proud of my little mutant.. she is taking to the system well, still not much I can do with her. Small tops in awkward spots.
Week2 Day 6 - 08/24/2023
Not much to report today, her growth is going great. Looks nice and comfortable, Saturday Water Change day. Tomorrow I will get all of her end of week measurements for height and all.
Week2 Day 7 - 08/25/2023
Week 2 is officially in the bag, my little mutant is now at 6 and just right at a 1/2 inch tall. The Rate of growth is showing she might need the full additional 6 weeks of Veg, but depending on continued growth of her sister, she might not be able to get the time and need to go to flower a little on the small side in 4-5 weeks. We will see how it goes but she is looking great and the root structure is looking great! Humidity is still a little low I added water to the Humidifiers and adjusted the input air flow down slightly. I also turned on the 4th fan to increase circulation in the tent.
Likes
23
Share


@TheOtherSide
Follow
This was my first photoperiod grow. It was a great experience. I kept the veg cycle short to keep it more manageable and so it wouldn't be as terrible if I screwed something up toward the end and needed to trash it. I'll grow MANY more photo plants in the future. Some of the autos have small yields. I doubt that's an issue with these babies! 💪 This girl got so big that even with added supplements to help keep her stem strong, almost all her branches bent. They were HUGE. The color got very light toward the end and the leaves got a little stress because I didn't manage the humidity well. *I think* It got down in the 20s a lot. It had a fairly strong aroma toward the end of the grow but nothing compared to it's tent partner. She looks like she started fox tailing a little toward the end. Also, most likely due to temp and humidity. Closets are hard to control. All in all, this was an enjoyable grow and I look forward to trying it again and hopefully growing an even better one!! 😁
Likes
30
Share


@WeWantItToGrow
Follow
This week has been such a gift! I have learned so much about proper care for a plant I had no idea how little I knew sitting down and observing these majestic trees produce such a potent flower has really humbled me. Premium cultivars strain has shown resilient and self sustaining easy to grow traits that it is hard to mess up. (Which I’ve done a few times lol) Notice the trichomes (I put the zoom lens on and got up in there so they could be better seen the bud itself is slathered in them ! This is going to be an amazing smoke! Also looking at the structure of the bud it’s self it has volume very full bodied bracts with pistils throughout It’s just an all-around beautiful thing to observe

Likes
12
Share


Likes
3
Share

@Raster893
Follow
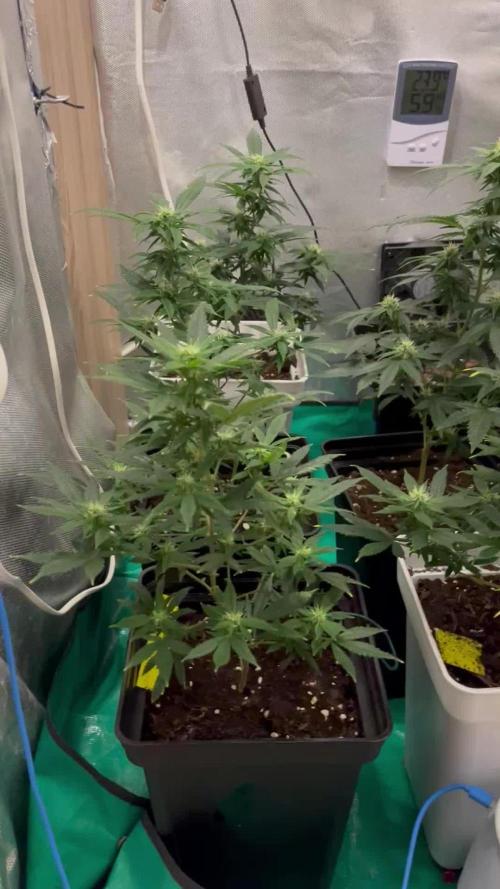
Entramos la semana con un lavado de raíces ya que cuando se ha revisado la EC estaba en 3 y la hemos bajado a 1,6. Quitados algunas hojas feas y dándole recuperación a la sobrefertilizacion. Esperemos que se recupere bien
Likes
19
Share

@Naujas
Follow
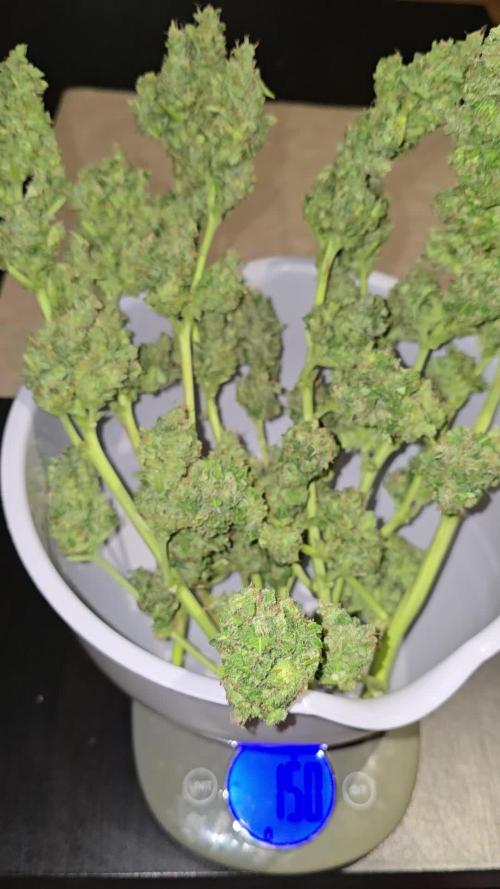
79 dienos!!!! Artimiausiomis dienomis žadama daug lietaus, tad nusprendžiau nerizikuoti – dėl puvinio, o šiandien ją geniu :) Mergaitė atrodė tikrai stipri viso augimo metu, atlaikė daug lietaus ir didelį karštį :) Ir be viso to, ji sunokino tikrai gražius prinokusius žiedus, pilnus trichomų :) Jų aromatas turi gaivų vaisių kvapą, nekantrauju jų paragauti :) 150 g drėgno derliaus iš mano mažo 8 l vazono ir balkono šiaurinėje pusėje, manau, tai tikrai geras rezultatas :) Mergaitė gavo @Plagron maistinių medžiagų viso augimo metu, jai patiko :) Po derliaus išdžiūvimo bus atnaujinimas, sėkmės visiems.
Likes
32
Share

@MadeInGermany
Follow
Info :
Unfortunately, I had to find out that my account is used for fake pages in social media.
I am only active here on growdiaries.
I am not on facebook instagram twitter etc All accounts except this one are fake.
Flowering day 56
since time change
to 12/12 h.
Hi guys :-)
The buds are slowly but surely coming to an end :-).
The next 10-14 days will be harvested.
It was poured 3 times this week.
One of them with GHSC enhancer.
Everything was cleaned and checked.
Stay healthy 🙏🏻
You can buy this Strain at :
www.Zamnesia.com
Type:
Runtz
☝️🏼
Genetics:
Zkittlez x Gelato
👍
Vega lamp: 2 x Todogrow Led
Quantum Board 100 W
💡
Bloom Lamp : 2 x Todogrow Led
Cxb 3590 COB 3500 K 205 W
💡💡☝️🏼
Soil : Bio Bizz Coco
☝️🏼
Nutrients : Green House Seeds Company Powder Feeding Bio
☝️🏼🌱
Water: Osmosis water mixed with normal water (24 hours stale that the chlorine evaporates) to 0.2 EC. Add Cal / Mag to 0.4 Ec Ph with Organic Ph - to 5.8
Likes
21
Share


@TheBluntBeauty
Follow
This week so far has been a breeze she is very healthy and seems happy with her environment and feedings
Successful week onto week 6 we go 🙌

Likes
Comments
Share
@Chrisandweed
Follow
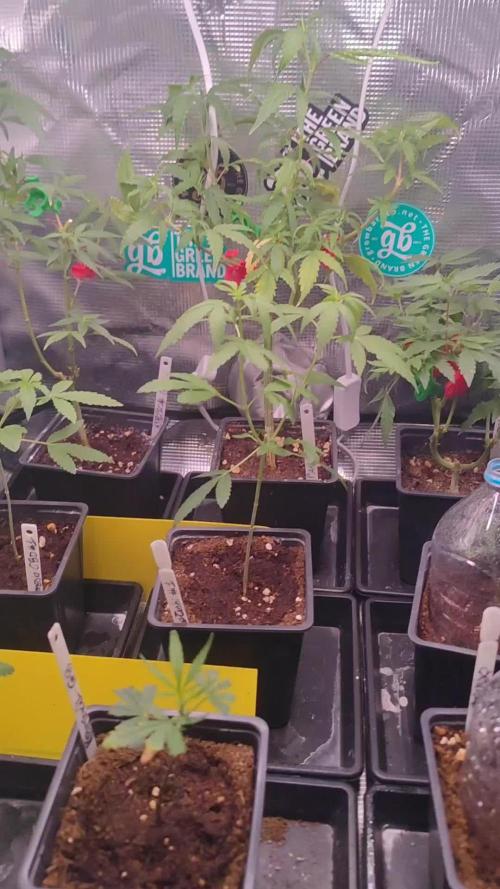
Y empieza el cultivo de los esquejes. De momento están recien metidos al armario pequeño con la luz flojita (dos barras led de 14w) y encuanto se aclimaten todos, los pasaré al armario grande con la luz grande puesta al minimo 300W. La intención es llenar el 1.5x1.5 con los 4 esquejes (3 esquejes y una semilla pero eso). La semilla es de la blue zushi, los esquejes son de la Kritical GB (de GB Strains), Critical (de GB Strains), y la Pakistan Valley Early Harvest de World of Seeds).
El cultivo va a ser organico basado en un supersoil, pero añadire potenciador de raices, enzymas y otros productos de base organica. El único producto mineral que usaré será CalMag para suber la ec del agua a unos 0.2 al principio e ir subiéndola hasta unos 0.4 mas o menos. El agua va a ser literalmente del aire acondicionado, que me tira mas de 8L de agua destilada al dia.
HE DE DECIR QUE EN ESTE DIARIO EL TEMA DE LAS PRIMERAS SEMANAS NO LO ESTOY REGISTRANDO BIEN YA QUE AL SER MEZCLA DE ESQUEJES Y SEMILLA NO QUISE PREOCUPARME MUCHO POR EL TEMA SEMANAS PERO BUENO. ESTA QUE ES ESQUEJE BUENO, DIGAMOS QUE ESTE DIARIO VA A PARTIR CON 2 SEMANAS DE CRECIMIENTO EN LA MACETA DE 1 LITRO ESTA QUE TIENE. YA TRATARÉ A PARTIR DE AQUÍ LLEVARLO MEJOR CONTROLADO.

Likes
12
Share

@Gewaltmann
Follow
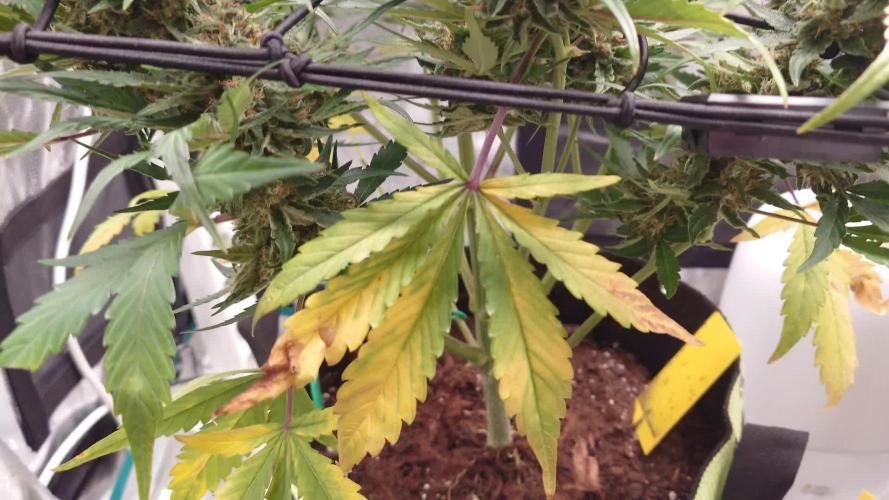
Wie auch bei der Runtz, es wird Zeit regelmäßig trichome zu checken. Auch das massive pistillhärchen meer fängt langsam an sich bräunlich zu verfärben.
Auch hier schätze ich noch die ein bis zwei Wochen also werden alle beiden Damen zusammen niedergemacht.
Ansonsten lasse ich hier noch das Video für sich sprechen.
Und wer noch mehr von der Guava Sundae sehen will - Ab 03.04. - Guava Sundae auf YouTube suchen 😘


Likes
41
Share


@MaxMo8
Follow
I transferred it to a half-gallon pot and I mixed the organic fertilizer with the soil.