
Likes
Comments
Share


@GrownwithLED
Follow
After germinating the seeds are transplanted into small pots with soil (see tutorial in VIDEO above). The soil is prepared with water mixed with a little bit of BIO NOVA Roots (0,5 ml/l), which aids the development of the seedling. Transplanting is very easy now, because they have grown a STRAIGHT tap-root while hanging during the SERIOUS' WAY of germination. This straight root allows for easy potting of the seeds. Simply make a little hole in the center of the soil with your pinky finger and carefully place the germinated seed with the white root pointing DOWNWARDS into the hole. Best is to lay it onto one side-wall of the hole with the seed shell right at the surface. Then I push the other side inwards and enclose the whole root with soil. At the end only the top of the seed-shell peeks out of the soil. IT IS VERY IMPORTANT to plant the seeds NOT TO DEEP into the soil. The seedling only needs extra strength to work itself upwards thru the soil and you run the risk of the soil drying out and the seed dying off. When you PLANT THE SEED VERY SHALLOW into the soil (=with the top of the seed-shell still peeking out) your seedling can grow out right away and you have a small plant already 24 hours after putting the seed into the soil.
The small seedling sometimes still has the seed-shell on its 'head', it normally falls off by itself, but sometimes you have to carefully help and take it off with your finger nails. Be careful to NOT clip of the seedling accidentally when you do this!
The seed-shall has an inner lining, which feeds the small seedling when it germinates. This inner lining sometimes gets tangled around the stem of the small seedling after the shell has fallen off. This little skin MUST be taken off the stem right away! Once it dries up, it gets hard and can strangulate the seedling around the stem. In order to avoid this, the skin must be taken off as soon as possible! I show it in the pics above and also made a video about taking off the inner lining of the seed.


Likes
4
Share

@carlitoshaze44
Follow
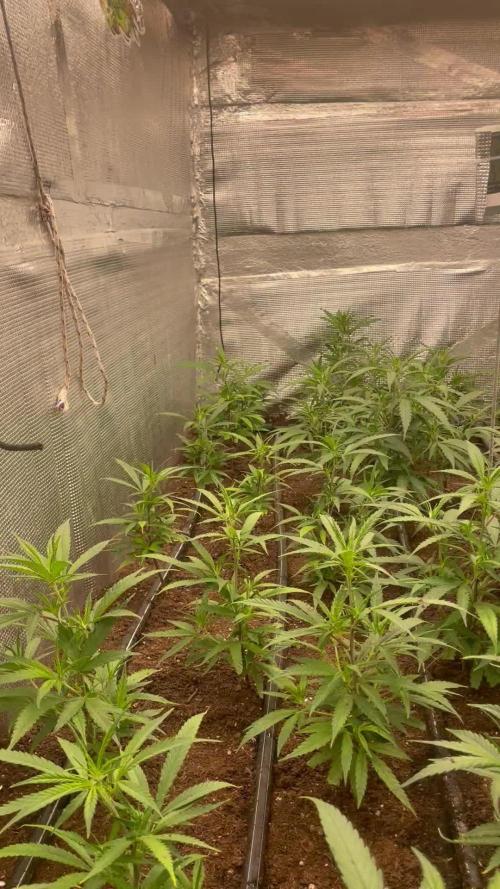
Vamos terminando la tercera semana de crecimiento en el día siguiente a este post.
Se realizará una poda dejando las plantas como chupa-chups.
Se bajará el horario de iluminación para inducir al cambio de floración .
Esta semana sufrimos un ataque de araña roja.
Que se a podido eliminar sin muchas complicaciones.
Las plantas al reaccionar rápido ,no sufrieron daños visibles.


Likes
16
Share


@Naujas
Follow
It seems that the girl is counting her last days, some of the trichomes are already showing an amber color, the buds look simply fantastic, it's a pity that I can't transfer that image with my phone - share that image with you, you need to see it live :) good luck to everyone:)

Likes
40
Share


@GYOweed
Follow
So this one started slow but healthy. She was a sativa that expected much more leg space and warmer humid climate which i fixed later. Needs LsT. I hit it with my concoction to keep her short it worked. Dense nugs especially for sativa hybrid. Not loud but tropical sweet. I needed 11 weeks min for flower could run 12 even though I seeded mine. Tiny sativa seeds like the original ibl bred by jaffa seeds uk and brought to me by Pevseeds.
Not bad for under a cheap 120w led quantum and 3 gallon grow bag. I should have went with 5. The roots were amazing dense.

Likes
11
Share


@Philhsy
Follow
Stretching a bit which is normal in föower, its a good size plant eventhough i like them vigger it still has potential. Its tiny and underdeveloped compared to the dwc version but what did we expect ;)

Likes
28
Share


@TheHighentist
Follow
As i said "Week 1 of veg was a tough one.
In the middle of updating my grow tent gear, i stumbled upon hardship with the young ladies.
The first days was with my old LED light, and when i switched to the new light, they suffered from light burn and high temps adjusting it.
They are looking crusty, but we will get through it."
Welcome to week 2... Recovery week.
👉5/9 Recovery... Adjusting a tight humidity level control.
👉6/9 At this point im just praying, but prepared for the worst.
👉7/9 Showing a bit of hope.
👉8/9 showing major improvements
👉9/9 showing sign of recovery.
👉10/9 3 plants still stunned
👉11/9 Still feel like im at a plant hospital
I have only been feeding ph 6.3 water, with no nutrition.
Monitering moisture level in soil, and feeding before dry.
-Temps - 26-27 day / 22-23 night
-RH% - 65%(+-1.5) day / 70% night (+-1.5)
Likes
75
Share


@Kitties_and_Colas
Follow
~_~_~_~_~_~_~_~_~_~_~_~_~_~_~_~_~_~_~_~_~_~_~_~_~_~_~_~_~_~_~_~_~_~_~_~_~_~_~_~_~_~_~_~_~_~_~_~_~_~_~_~_~_~_~_~_~_~_~_~_~_~_~_~_~_~_~_~_~_~_~_~_~_~_~_~_~_~_~_~_~_~_~_
❤️💡🌱😽💨
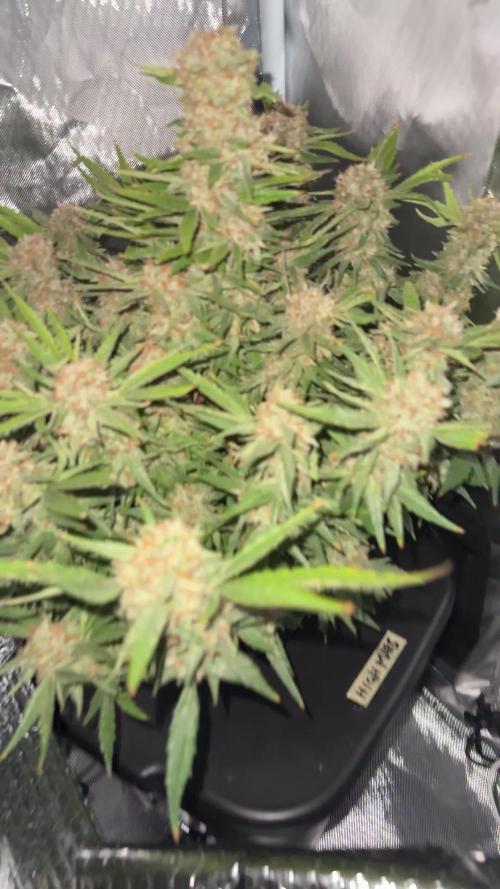
We got out times messed up somehow, our calendar puts the 24th of Sep as the 9th week of flower.. this makes sense, our Big Bud usually fades fast with a color show just before harvest week.. we couldn't understand why everything looked so mature lol..
The buds on this strain are rock hard, the FC-E6500 was a great investment, this plant did great under it (A++ MarsHydro!!) ..we're really excited to chop this plant down. My husband has a trim job on his hands lol.. we'll be giving her water only (and lots of it) from now until we dry her out completely for harvest..
This was a great grow and should produce enough flower to get us (partly) through the Winter.. thanks as always for dropping by, our next upload will be harvest and dried buds in approx 17days..Happy harvests everyone!!
⚡Mars Hydro/FC-E6500⚡ Specifications ⚙️:
650 watt, full spectrum design, removable (and adjustable) light bars and driver 🔌
Diodes: BridgeLux chips (3978 count!)
Veg Coverage: 6x6 ft 🌱
Flowering Coverage: 5x5 ft 🌼
High-Efficiency
PPFD: 1200umol/m²/s ☢️
-IP65 waterproof ratings, tolerant to high humidity grow environments 💦 ..
-Can be daisy-chained together and all controlled from a single light! 💡~💡~💡~💡~💡
~_~_~_~_~_~_~_~_~_~_~_~_~_~_~_~_~_~_~_~_~_~_~_~_~_~_~_~_~_~_~_~_~_~_~_~_~_~_~_~_~_~_~_~_~_~_~_~_~_~_~_~_~_~_~_~_~_~_~_~_~_~_~_~_~_~_~_~_~_~_~_~_~_~_~_~_~_~_~_~_~_~_~_


Processing
Likes
4
Share


@Cannibalgardens
Follow
This strain is one of my favourite to grow I'm addicted to the flavour and how fast she grows.. The team at @fastbuds have been very generous towards me and I'm happy to be growing out there strains ... She is healthy and will be growing a lot by next week cheers
Likes
2
Share


@FrenchLivingSoil
Follow
J’ai fait une petite défoliation pour éclairer de nouveaux top. Et dégarnie l’apex centrale pour le ralentir par manque de place en hauteur.
Très bonne santé et développement des branches latérales au top

Likes
2
Share


@CadillacGreen_420
Follow
The plants are developing really well! I’m happy with the uniformity I’ve achieved. It didn’t take much work to get it — the growth is compact and moderate in height, exactly what I was aiming for given my available space.
The risers under the pot helped the MilkyWay F1, which is in the smaller pot, while the other three Apollo F1s have shown good overall genetic uniformity, even though, as I mentioned earlier, one of the three is the overachiever 🤓
Apollo #3 is richer, more productive — it’s got an extra gear.
The scent is starting to express itself more clearly for all of them, with delicate, floral top notes reminiscent of linden and jasmine, and deliciously fruity undertones. For now, there’s little lingering scent — no skunky smell at all.

Likes
11
Share


Likes
25
Share


@Kush_queen
Follow
All is great with my ladies this week the buds are fattening up nicely I got alot of bud sites and they are all developing beautifully the 2 plants that were approximately a week behind are also now fully flowering thankfully
The extractors are working hard keeping the humidity low temps are around 28.5 lights on and humidity is 42 they are drinking more and they are getting the full recommended monkey nutrients and the Zues pro 600 is on 100% finally.
Let's hope the ladies keep improving
Stay blessed 💚


Likes
25
Share


@Aleks555
Follow
Anesia Seeds - Chimera Cut - Day 80 Our Chimera Cut from Anesia Seeds has reached day 80, with 32 days of flowering, and it looks absolutely stunning. The buds are dense and fully covered with a thick layer of trichomes, giving it a frosty shine and promising incredible potency. The vibrant green leaves remain healthy and lush, showing that the plant is thriving and getting everything it needs. Its structure is strong, and resin production is off the charts — every day it gets covered with more and more trichomes. We are very pleased with how this plant is developing, and it's clear that Chimera Cut is a true masterpiece from Anesia Seeds. The results speak for themselves: strong growth, excellent health, and incredible visual appeal.
We eagerly await the final product, continuing to feed it with Xpert Nutrients, which have helped it achieve such a level of perfection!
Likes
3
Share

@SWITCH420
Follow
Hi folks,
I'm coming here to start the process of ending this grow journal. I harvested about three months ago and the weed is definitely cured. Photos are about to come — I'm doing a real studio photo shoot for those buds, they deserve it!
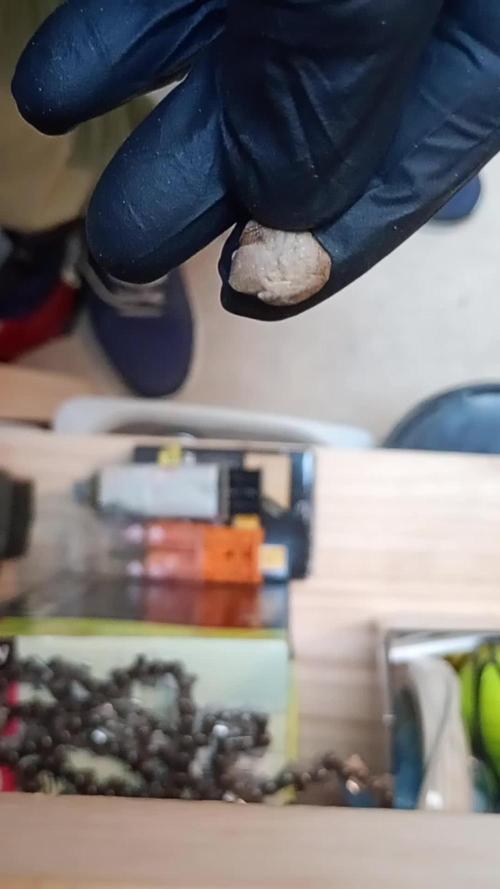
While waiting for the shots, I made some pretty damn dank hash temple balls using the iced water extraction method (solvent-free) with my little washing machine. It's a mix of the 8 strains I grew here — never ideal to mix different kinds of resin... but man, this is some serious dedicated work, so I'm making myself happy with that 14g shiny temple ball in the end 😉
Here are a few details about my process for you guys (and don't forget — you can do it with fresh material! Fresh frozen is always tastier. Also, the drying process is much more efficient and faster with a freeze dryer, but... you need the budget for that. I don't, so I go with the air drying method — check it out below):
1. Get your dry trim, then cure it properly for at least a month (I did 3 months). Smell it — mmh, sweet, dried to perfection. ✅
2. Freeze it, delicately wrapped in a freezer bag.
3. Let a large amount of tap water sit for at least 24h to remove chemicals like chlorine, then use it to make plenty of ice cubes — don't be shy, especially if you're not working in a cool environment.
4. Prep your washing machine: add trim between two layers of ice, fill up with clean water (as much as you can, large vortex is better than a smaller one), then make it seat for 30 min (45 min for thicker buds) the time that the dried green material gets wet again.
5. Prep your filtering tools: catch bag, different mesh bags, spoon, etc.
6. Wash as many times as you can before green contaminants appear, as these lower the quality of your hash — don't hesitate to go up to 8 to 12 washes if the resin still looks clean! Important: each wash has its own specific duration, and they get progressively longer as you advance through the process. Frenchy Cannoli (a true hash legend) provides a detailed timetable for this — from as little as 30 seconds to 1 minute for the first wash, all the way up to around 25 minutes by wash 8. Make sure to follow that schedule rather than using the same duration for every run or running it too long the first wash !! It could breaks to quickly your precious material before you collect all the trich's and the quality would be lower in the end.
7. Collect the wet resin in the mesh bags with a frozen metal spoon, make patties with the resin, and let them sit over some towels in order to drain as much water as possible (place a tissue made for hash collecting over the towel).
8. When the patties are a little dry to the touch, wrap them as they are in the tissue and place them in the freezer for 48h or more.
9. With an iron strainer, microplane your patties over the biggest flat surface you can get! It's important that your micro pieces of hash dry widely and don't get too compacted. Any failure in the air drying process will nucleate rot, ruining your hash in the end and making it a poor product — eventually something to throw away. Sad when you think about all the phases of the process to get to this point!
10. So, in order to air dry properly, you must — it's not optional — lower the RH of your dry room to 35% or slightly below, never above and let it dry as long as needed until the material feels like dry sand. For myself, I found 10 to 15 days is ideal. The room must be very lightly ventilated (not directly on your resin!) and in complete darkness — the goal is to preserve all those delicious terpenes! Ideally, temps around 60°F or 16°C
11. Now that it's dry, collect your resin with a large thin spatula! Make a little mound between two layers of PaperHash, boil some water, and fill up a wine bottle with it!
⚠️ From this point on, to avoid exposing your carefully dried resin to a more humid environment — which could ruin all your hard work — everything must happen in the same drying room. Keep working at 35% RH until your temple ball is tightly and airtight wrapped in PaperHash. (And don't forget to drink water — it's dry in there! 💧)
12. Start to slowly press your resin. Magical moment. Finally....
13. Press 3 times for 10 to 15 minutes in order to really decarb your hash — because that's what it's all about! Between each press, try as best you can to shape a patty... until the final press, when you'll be able to form that magical shiny temple ball (it only shines with gloves on, guys 😄)
14. You are now allowed to try it — for quality control purposes only, of course!
15. Because you want to age your hash for the sweetest 5-star smoking experience: wrap your temple ball in a large piece of PaperHash — if you can get that brand it's ideal, or another kind (check https://thepressclub.co) as long as it's organic!
16. Place the wrapped temple ball in a glass jar and store it in a dark, cool place.
17. Wait a minimum of 3 months before opening it.
18. Open, smell, touch — you'll be amazed. Roll it up with some weed or tobacco or both (I do both) / Or get a Hooka... you are smoking some true primo aged hash made by yourself! Taste the difference and realize all the path from choosing the seeds online until this first amazing puff ... 🙏
I want to credit my inspiration for making this kind of hash to the great Frenchy Cannoli, who has shared all his knowledge through amazingly rich tutorial content that you can find online with a bit of searching. 😉 Peace Frenchy 🕊️☮️


Likes
28
Share


@Professor_Chaos
Follow
The medium had issues from, pretty much, day one.. She did show the issues on the leaves.. But it did NOT slow her down a bit.. She outgrew her side of the tent. Very stretchy! Super pretty.. I feel I got a very Mandarin Sunset pheno type.. Looks alot like the pics of ETHOS Mandarin Sunset.. But wow.. Great terpy strain also.. Very lemony.. I love ETHOS!

Likes
13
Share


@dillande3
Follow
Hello, Day 56, Flower Phase , Gelat.OG, Final week of flower phase is started, Day 63 or week 9 I am planing to harvest the plant, Trichomes still cloudy but in some buds I can see slightly amber color on Trichomes, I ll ask a QUS before I do the harvest anyways.
PS there is BUD ROT Prob just seen it Yesterday 31-12-22 - Seeking answer for that grow QUS, Guys pls help Thanks. Pls check last Video for BUD Rot Problem. Thanks
Day 56 - 29/12/22
Day 58/59 - 31/12/22


