


Likes
Comments
Share



Likes
7
Share


@NORTHWALESAUTOS
Follow
I just can't get my head around what's going on here hahah.
But I'm so intrigued I'm going to have to let her grow.
I'm holding on to the Hope she's going to be a monster.
But I'm sure we'll find out in good time.
She absolutely stinks.. she's nice and sticky.
But so weird hahha

Likes
9
Share


@GYOweed
Follow
This was the squatest clone and grows thick heavy glowing marshmallow colas. Smells so sweet too soon to tell final taste.


Likes
Comments
Share


@JardineiroBr
Follow
Muitos problemas com a temperatura e ainda viajei e a iluminação desativou passaram 5 diss sem luz, terminar esse cultivo e vou dar uma melhorada nas técnicas.


Likes
27
Share


@GrowInger420
Follow
I sended thrm to flower this week and they stretched a lil bit and became bushier. I give them now topmax and biobloom all 2 days wit biogrow all of bio bizz.


Likes
23
Share


@Dabking
Follow
This is my 2nd grow of Runtz Auto by Zamnesia.
It's a fairly compact strain, smells fruity and this go around smells very similar to poison strains (red poison, Durban poison, ect). I believe the terpene is terpinolene. I wish I could test it😅.
Anyways,
She was chopped on day 80
Spent 7 days drying
Yield: 2.02 ounces dry weight
Huge thanks to plagron and Zamnesia. Thanks to the eternity Grow Cup. It was an honor. 🙏

Likes
9
Share


@pifflestikkz
Follow
Day 8
18/10/24 Friday
I have removed the domes, it was getting a little too humid without having a opening hole.
I gave them all another light watering only using de-chlorinated tap water pH 6. 300ml
Day 9
19/10/24 Saturday
Just a light spray twice a day. De-chlorinated tap water pH 6 with calmag 3ml-5L.
Day 10
20/10/24 Sunday
Started a small feed today, only 1ml of each listed advanced nutrients to 5L.
Feed 300ml.
Noticed that I must have sprayed too early too lights being on as this has burnt her first true leaves 🤦♂️ and stunted this week's growth.
Picture update with video 📸 💚
Day 11
21/10/24 Monday
A light spray de-chlorinated tap water pH 6 only. Done this soon as lights went off.
She already is showing tiny new leaf growth... We back in the game 🙌💚

Likes
14
Share


@Pleasant_Internet
Follow
Growing at a good pace. Going to top the leaders at the 3rd node on day 28. Might wait a week for the others. Going to mainline my grow for the first time. I will wait to defoliate after they heal from being topped. I will update this week with more pictures after they are topped.
Topped day 28.
Defoliated day 30.
Lst day 32?

Likes
2
Share

@GoodTimesOrganics
Follow
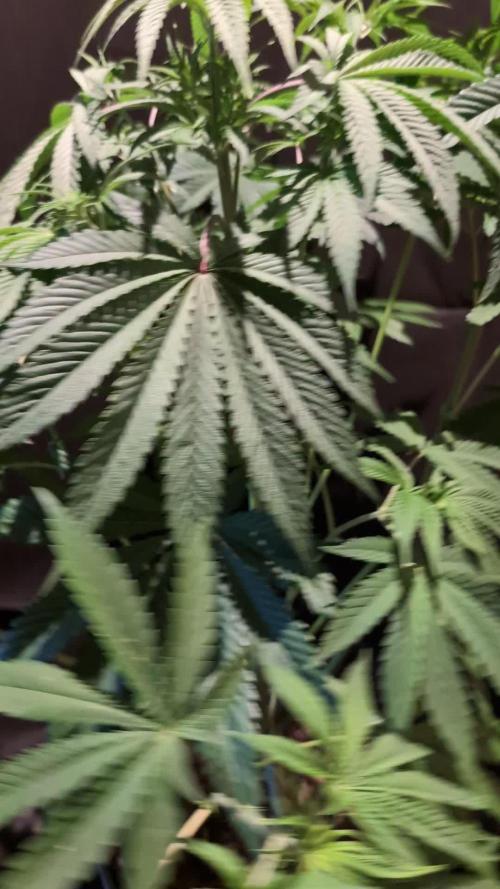
Welcome Back!💚
Die Pflanze hat nochmal ordentlich an Masse zugelegt und heute am 17.10.25 wurde sie in die Blüte übergeleitet.
Die Triebe sind schon homogen und Buschig, so dass sie nun bereit ist die Früchte zu tragen.
Die Umgebungsgegebenheiten sind bis jetzt optimal:
—————
🌞 Temp: 23°C bis 24°C
🌚 Temp: 18°C bis 19°C
💧RH: 68%
🌬️ VPD: 0,77 kPa👍
—————
Grüne Grüße 🥦

Likes
9
Share


@MoonxNL
Follow
ALL OF THOSE PLANTS WERE GROWN ON A BALCONY WITH ONLY SUNLIGHT AND LOVE
2 OF THEM ARE STILL FINISHING FLOWERING STAGE000

Likes
13
Share


@knicko
Follow
In Woche 4 der Blüte gebe ich den Ladys die zweite Ladung Greenhouse Feeding BioBloom je 2.5g/L vom Topf.
Dazu gebe ich per Gießwasser ab jetzt alle 2 Wochen 1g/L den BioEnhancer von Greenhouse Feeding und bei jedem Gießgang den Greenhouse Feeding Booster 0.2g/L.
Die Ladys wurden auch großzügig entlaubt. jetzt Konzentrieren sie sich auf die Produktion der Blüten.


Likes
8
Share

@Chubbs
Follow
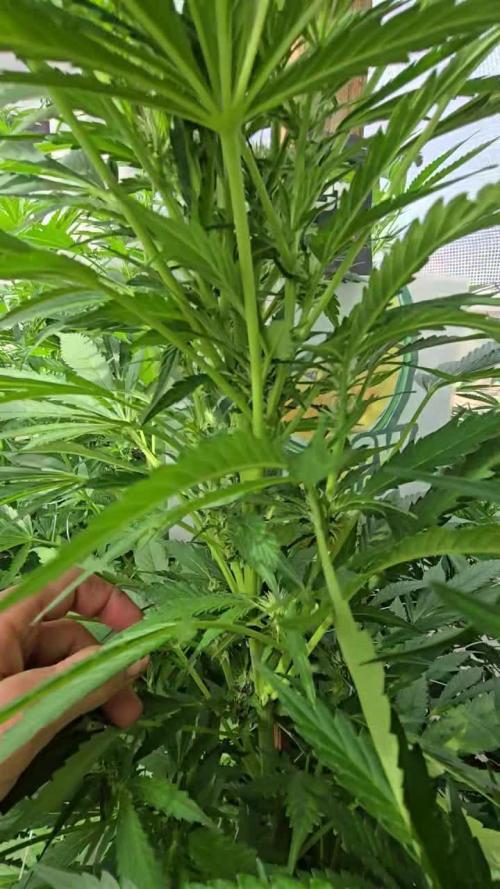
Weekly update for these lovely ladies. They've grown and grown since the last update so much I had to raise the greenhouse. Cinder blocks under the frame gave me an extra 16in. They're growing probably a foot of week and still reaching for the stars. I did switch to Athena's Bloom A & B and P&K booster this week giving 5-10ml per gallon. I really couldn't be happier with how they've grown up to this point.
All in all Happy Growing.


Likes
20
Share


@Bertoxxulous
Follow
Hey folks, I'm finally back at it again. It took me a while for a couple of reasons:
1) I usually only grow in the winter.
2) I completely revamped my grow room after the issues I ran into with the last setup.
3) It took me a while to brainstorm exactly what I wanted to do.
I bought these seeds from D.C. Seeds and was very pleased with the experience. I'm very happy to give business to a fellow American and Veteran. I've only ever purchased seeds from the UK in the past and that experience has been "dodgy" to say the least (not the vendors fault, but the transit).
I've only ever grown photo's, but chose to go with all auto's moving forward. After calculating the intensity of my current light, with it being on a 20/4 rotation I'm very close to hitting 40 moles per day, at least directly under the light. It doesn't quite cover my 2' x 5' trellis. I'll eventually upgrade my light, but auto's should get me the best bang for my buck with this light. Also, I spent a pretty penny building this new grow room. The other obvious reason for growing auto's is their shorter seed to harvest time. I've got a small grow area, and never plan on expanding. Theoretically, auto's will allow me to produce the most out of my room.
A few things about my grow room:
1) I lined the whole closet with 1/2" plywood and put that piece of ply the air intake/outtake/power as the divider between each side of the closet
2) The grow room itself has ply on all wall surfaces so I could mount stuff to it and paint it
3) The other side of the closet is my storage/prep/power distribution/etc. area. Maybe I'll take a pic one of these days
4) My last grow my carbon filter/fan was venting into the other side of the closet. This created a headache for a number of reasons. I tapped a 4" hole through the floor and am now venting into my crawl space below the house.
5) I moved to bubbleponics to speed up my grows even more. I will be removing the drip system once the roots hit the water in the res.
6) The larger res. will hopefully make my life much easier. Late in the last grow I could only fit 3 gallons of water in the bucket and that sucker was pounding down at least a gallon a day. That required too much micro-managing for me (both ph and refills).
7) I no longer have a fixed trellis with chicken wire. The trellis is held in place by dowels that I can pull out by hand. The short sides of the trellis have hinges on the bottom, so I can fold it and pull it out easy-mode. Lastly, I'll be using string for the trellis so come harvest all I have to do is cut the string instead of dealing with trying not to destroy buds pulling them through chicken wire (it takes forever).
8) I built a light diffuser on the other side of the air intake
9) My res. is on a motorcycle lift I'm using a drill to move up and down
I have now started using Jack's as my primary nutes. They tell you the full break-down of each macro and micro nute, giving me more control and understanding. I think House & Garden is a good product, but when stuff goes bad it's more difficult to troubleshoot when you have no idea what each piece of their full lineup contains. I'm assuming it's kind of a proprietary type thing, which I understand, but knowledge is power. I am still using their Drip Clean (while the bubbler is going) and Roots Excelurator Silver, both excellent products. I'm still using Hydroguard, and will FOREVER. I'm a true believer now of why Hydroguard is necessary for any hydro application, IMO. I also purchased water soluble fulvic acid, but have decided not to use it for this grow....or at least while the bubbler is going (I'll elaborate below).
Ok...now that all that is out of the way....
I really wanted to use my well water instead of R/O to make my life easier. Soooo....I filled up my res., and put two seeds in the system immediately. Nothing happened after 1 1/2 weeks. I finally opened up the cubes and saw that the beans had popped, but it looked like maybe I drowned them, or they ddin't grow straight up or something. For round two, I didn't change the water out, and decided to soak the beans for 24 hours in R/O water first. I had the exact same problem. I'm still not really sure what happend, but I suspect it was the well water. My PPMs were sitting at ~500 with the well water, which was probably too spicy for the beans just starting. Also, my well water is questionable (even though it's at 165ppm), but I won't elaborate further....it's a long ass story and I've spent an absurd amount of money on it. Lastly, I did put the Fulvic acid in, and it was very messy. I really want to avoid having to clean my res. Once the roots get big it will be a real pain in the ass to clean. I'm leaning towards not using the Fulvic acid this grow just to see how things go.
I had 10 beans total of the Sour Apple and have already ruined 4. So here's hoping third times the charm.
So, I went back to my tried and true method:
0) R/O water for everything. Ditching the well water idea.
1) Soak beans in R/O water for 24 hours
2) Paper towel method between plates on a heating mat
3) Once the roots pop, I place them pointed down in the hole of the rockwool cube
4) Hand water once a day by dipping the cube in the pre-mix of 1/4 strength Jack's and everything else I've listed above. This put my PPMs at 300...a way more reasonable value for starts.
It's been exactly 7 days since I followed the above. It's probably hard to see but the cotyledons came up, and multiple roots have come out the bottom of the cubes....way faster than I've ever seen since I started growing. That means even though I'm doing my old process this already shaved at least a week off of when I'd normally put it in my bucket in the past.

Likes
1
Share


@Pestitel
Follow
Amazing experience with the Mix Pack, I will try it again next summer for sure. Love the variety.


Likes
20
Share


@Rob96
Follow
Starting to see leaves browning buds still all fine doing well, going to keep eye on it and see how it goes next few days and try to find proper route of issue, overall still please as buds all seem totally fine