
Likes
Comments
Share


@Silverback_Guerilla
Follow
1/14:
Fed today.
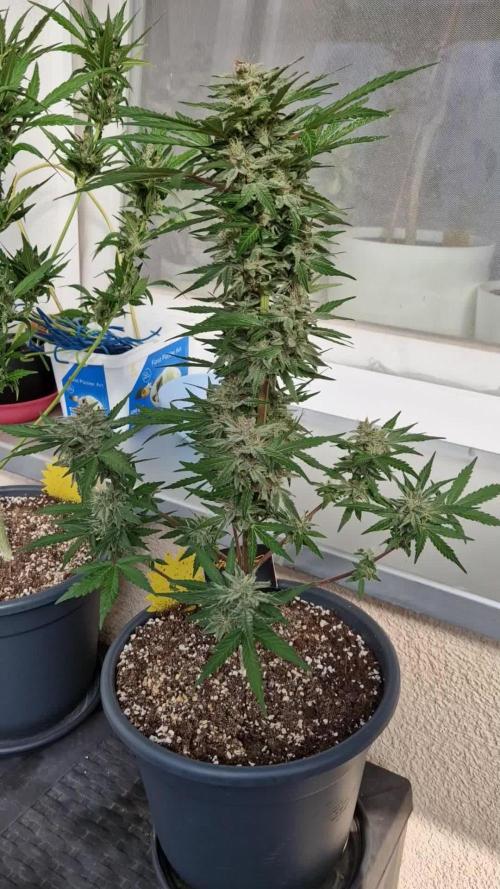
The weird little Lava Cake is finished stretching I guess...she's starting to stack up. The big one is fattening nicely. That plant is gonna weigh heavy.
The bigger Slurricane is also gonna be a good producer. She's thick all the way down. The skinnier one will have a kickass cola, but has less lower branching.
The Borderliners smell amazing...kindof a peppery piney mint fragrance.
1/18:
Fed today and rearranged. Increased UVB exposure by another 30 mins per day
1/21:
Fed today.

Likes
13
Share


@MotasKush
Follow
Switching to 12/12 so the girls have the first week of flowering behind them, so far without any major problems, they are out in the world and it is a pleasure to look at them.


Likes
9
Share


@Budzalot
Follow
Plant 1 been staying bushy not as much stretch.
Plant 2 stretch a good bit. They were both 18 inches start of flower. Bigger one is 30 inches.
Changed my nut mix lower. Was a little strong missed two days of adding water. Started to show little sign of nut burn. It was 4.5 gallon low and ph dropped to 5.12. Ordered float valve so wouldn't happen again. They are finely getting hairs two days ago. Been working on cleaning out under the canopy.
So I'm thinking one more day and plant 1 will be through the screen. Plant 2 almost has it grid full. Should be full by next week when I feed and post again.
If you have any questions about anything just ask. If you see something I don't please tell.
Happy growing see you next week

Likes
57
Share


@nonick123
Follow
Día 13 (06/05) Nos acercamos al final de la fase plántula. A ver si ahora empiezan a crecer de forma explosiva!
He sido muy estricto con los riegos, dejando que el top hasta el nudillo se seque completamente!
Día 14 (07/05) Hago una mejora en la tienda. Hasta ahora tenia intracción pasiva, pero ahora he instalado una turbina para que impulse aire fresco dentro de la tienda
Día 15 (08/05) Con el calor que hace me sorprende que las macetas sigan aguantando la humedad, pero al hundir el nudillo sigue húmeda. Mañana haré un riego de nuevo
Día 16 (09/05) Relleno el top con sustrato para compensar la compactación y dar mas soporte a las plantas
Riego con 300 ml solo H20 - pH 6,2
Día 17 (10/05) Baño de sol de dos horas.
Día 18 (11/05) Baño de sol de dos horas
Día 19 (12/05) Riego 750 ml H2O + Regulator 0,15 ml/l + CaMg-Boost 0,25 ml/l + Startbooster 0,25 ml/l - pH 6.2
💦Nutrients by Aptus Holland - www.aptus-holland.com
🌱Substrate PRO-MIX HP BACILLUS + MYCORRHIZAE - www.pthorticulture.com/en/products/pro-mix-hp-biostimulant-plus-mycorrhizae

Likes
24
Share

@TrickzGrowz
Follow
Servus Moin!
Die Chemical Candy macht sich bis jetzt immernoch am besten. Die Buds sehen richtig nach etwas aus! Bin sehr zufrieden mit ihr! Mal schauen wie dick die Buds noch werden.


Likes
9
Share


@420keef
Follow
I will be getting 1000 phyto mites to kill the spider mites in my tent & in the meanwhile i chaugt about 50 ladybugs & put them on my plants, i hope they both do the job right haha

Likes
34
Share

@Philhsy
Follow
Huge yield of sticky buds, took 12 weeks from seed and filled a full 1.2m tent. Needed quite a bit of maintenance so happy to reach harvest day. Ran simple nutrients, slight foxtailing at the end, but most buds in the net are around 100g each plus ( and the net is full!
and still a whole plant hanging with fat buds👍


Likes
10
Share


@smoker420
Follow
Will be trying more zamnesia f1s out minimal phenos what u want great stable genetics would recommend thanks zamnesia for sending me these to grow 👍

Likes
35
Share


@Chedderbob112
Follow
Well guys not uploaded a proper update since swazzenger teqnique well hav been doin my best not to over water hav been using bio bizz all mix and bio grow bloom top max n bio heaven with canna pk I follow the feeding schedule but sometimes I add a little more and between feeds I give just plain water n let the roots sook up the goodness seems to be doing the trick anyway well think tomorrow is start of week six tomorrow so hav two I hav not done as much defoliation on n two that I hav in next few weeks the girls will be ready av got itchy feet actually excited yez know the feeling well hope everyone likes ma progress on the juicy chronic from paradise seeds and hopefully as the next few weeks progress these ladies will fatten up a bit but am happy any tips more than welcome @ chedderbob112 these girls look like there Goni be beasties 😎
Likes
1
Share


@Green_Peace
Follow
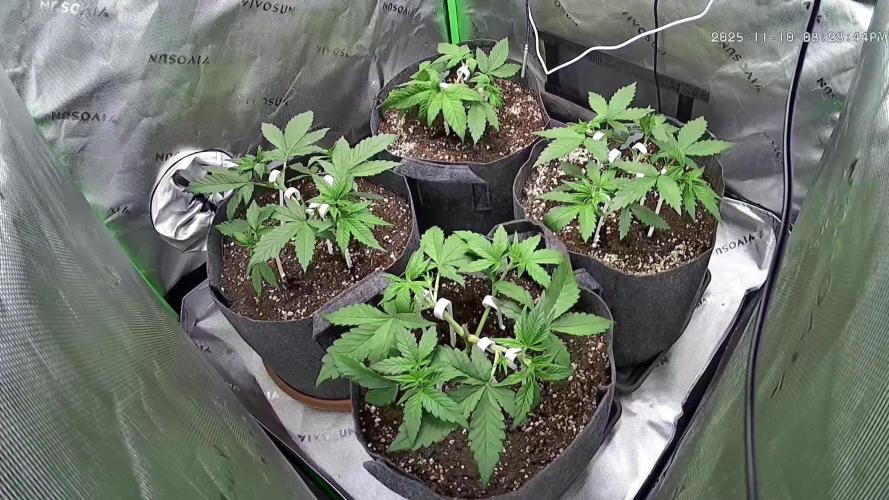
Transplanted to 5 gallon pots half way through the week and heavily watered/fed for the next 2 days, then topped for the first time yesterday.
The 3rd clone didn't make the cut and is now on my windowsill.
Next couple of weeks will be about keeping the plants trained and the same height.
2 timelapses this week. Enjoy!
Likes
11
Share


@rold8388
Follow
Strong week. Finished at 2.2 ec. Clean water. Flora flex nutes are top notch. No dirty brown water. Ph fluctuates a bit. If you check on daily you are good.

Likes
16
Share


@Prop207
Follow
Chasing the Ph down the rabbit hole. These ho's drinking a gallon a day. Had to add a float valve to keep up.
Soaked her in adjusted RO water to clean the salts off.
30ml gro
20ml micro
10ml bloom
25ml cm

Likes
7
Share


@Momentum
Follow
I'm growin' on,
and i'm prepared to growin' alone. 🎺
Ist ganz kurz davor aus dem Zelt zu fliegen und freiland weiter zu machen. Hab sie ziemlich groß bekommen. Jetzt ist sie kurz vor der Dachspitze.

Likes
20
Share


@DeepRootsGrowTrees
Follow
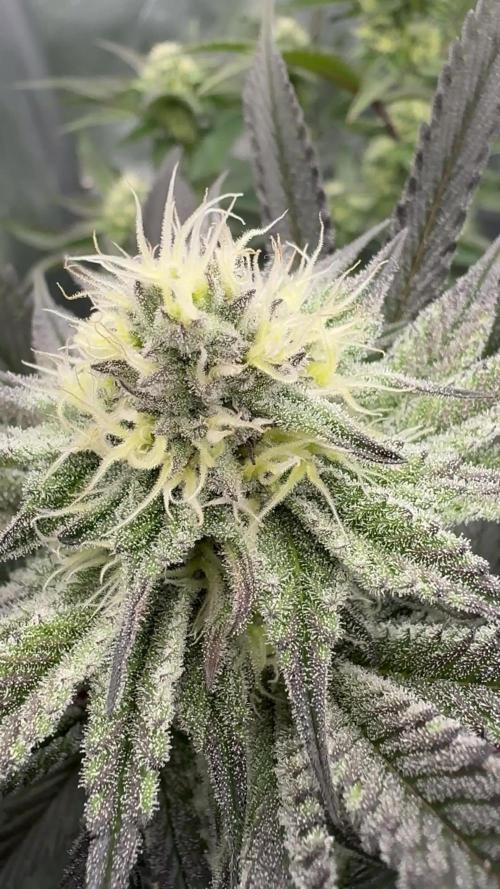
KRITIC AUTO by KANNABIA
Week #11 Overall
Week #8 Flower
This week she just continues to look and smell amazing the colors she has as she's getting close to being done are just 👌 I can't say enough about what KANNABIA has done with the genetics they are working with from autoflowers to photosynthetic genetics they are producing some great stains personally I haven't grown a strain that I haven't enjoyed. Stay Growing!!
Kannabia.com. KRITIC AUTO

Likes
5
Share


@OhanaMatata
Follow
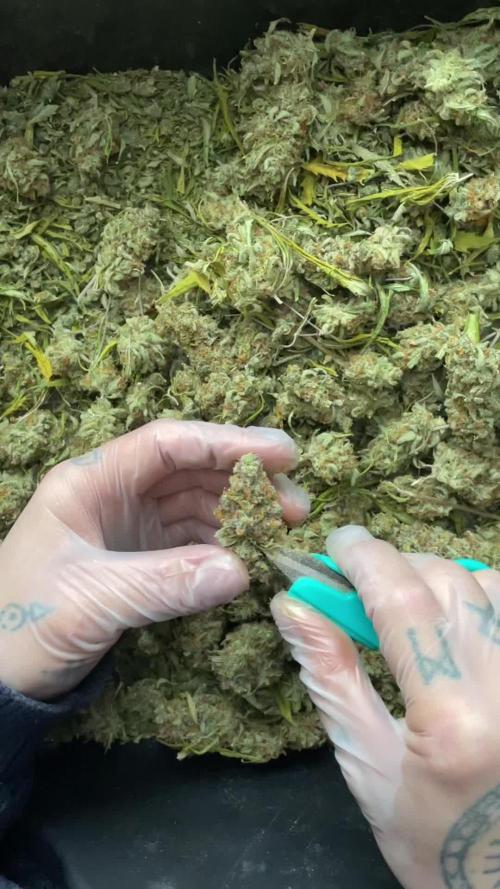
harvesting soon do not want to many amber trichomes, looking for the full sativa effect.


Processing
Likes
10
Share


@Reaper
Follow
day 15: flowers start to appear
day 16-17: temps go 24 celcius, i throw ice bottles in the res
day 25: insane stretch stops flowers fatten up, even crystals around the young budz.
Likes
17
Share


@OldskoolHed
Follow
Nice harvest. big dense , aromatic buds..super easy to grow. Will grow again.


