
Likes
Comments
Share


@WoodsonCult
Follow
Lower leaves are losing color and browning, flushed out water and added fresh nutes in 4 days ago. Roots have a brown slug on them from left over nutes, probably going to rinse roots off in the next couple days.


Likes
7
Share

@SpliffDoc
Follow
Well what a week we've had😆 a myriad of shite.
The guava didn't like the bloom so soon and it caused a magnesium lockout and then she got limp🙉🙉🤣 didn't panic and allowed a couple of good dry backs and she seems over the worst. She shot up nonetheless and trichome production had started and smelling sweeeeeeeeeet.


Likes
22
Share


@Weedbadk
Follow
Todo excelente un monstruo este variedad estábamos con 240w ahora con 360w
Desde ahora solo agua y bacteria estas 2semanas
Likes
54
Share


@Ganjagrandaddy
Follow
Day 27 flowering : Wow this girl want a title. She is about to go i to her 4th week tomorrow and her bud size is huge compared to the other strains. Her stacking is rapidly increasing and her while stem on a few mains is joined up. She is smelling of orange now and is very sticky to touch. Love this lady and her abilities. humidity has been a bit high due to weather pattern in uk at minute but with lots of air getting around it should be ok for mould resistant conditions. All in all a great week for the Orange girl.


Processing
Likes
12
Share


@Pauwela
Follow
5/18 Took the 5 best looking clones transplanted to 3gal grow bags
5/23 clone plant heights from 15.5” to 18”

Likes
69
Share


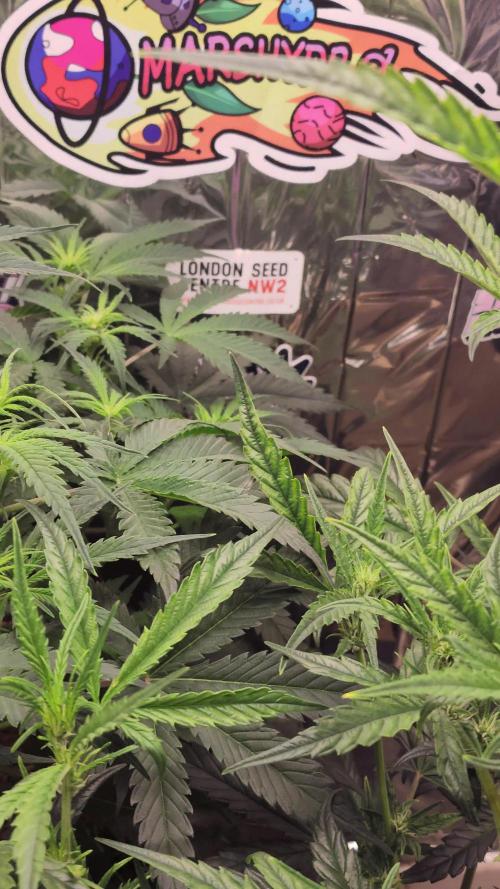
@Natrona
Follow
The Divine ladies Afghan Bullet and Pablo Escobar are getting close to harvest. I'm going to water only for the remainder.
Tps1 30 ml
Ph 7.01
Ppm 505
each received 3 ltrs
Thank you @DivineSeeds
Thanks for the visits, likes and comments, I appreciate all the plant love💚.
Have fun & love what you grow 💚
Sending you good vibes of love, light, and healing 💫
💫Natrona 💫

Likes
10
Share


@Servietsky
Follow
Another good week getting ready.
They are all very well, as envisaged last week I will switch to Extreme mode of the table Aptus.
I hope not to make mistakes, my mixture is ready but I find it very busy, but I tell myself that I follow the guide Aptus.
We'll see 😥😱
Likes
5
Share


@Deli_Weed
Follow
Esta semana fue solamente de flush 🚿 en esta ocasión decidí usar florakleen para ver con cual obtengo mejor resultado si con este o con flawless finish, lo hice así, primero hice un lavado con pura agua con ph de 6.2 lo hice desde el ultimo día de la semana anterior, fue lavado doble, uno en cuanto se encendio la luz y otro justo antes de apagarse, luego empezando esta semana regué dos dias usando el florakleen y ph de 6.2, el tercer día no regué y al final de ese día le di corte ✂️ y la colgué, actualmente ya la tengo curando, la tuve 10 días secándose con una humedad de entre 50 y 60% para un secado lento.
Likes
Comments
Share


@Uneasy
Follow
I pre-cut a plant. The plant, whose leaves turned yellow, turned yellow due to heat and flushing. Last 3-4 days left. Other 2 pots need at least 10 days


Likes
8
Share


@artems
Follow
Scrooge has grown bushy since the start of flowering. So, I gave it a trim and some care. Now, let's wait for it to bounce back, and I probably won't mess with it much more. 🌿🛠️

Likes
31
Share


@The_Doctor_Green
Follow
En la semana 11 de floracion solo hemos regado con agua ,sin nutrientes,para bajar la EC del sustrato.
El tamaño de los cogollos empiezan a ser importantes, al simple tacto se puede notar que los cogollos están bien compactos.
Estas semanas que quedan se van a hacer eternas, ya quiero cortarla 😅😅. El aroma te inspira a hacerlo👺👺🚀🚀

Likes
16
Share


@Pot_Portraits
Follow
We are in flower ! Trainwreck is doing great, the defoliation delivered the shape I wanted like always, simple training but can change the plant shape a lot.
The flower stretch went super well, I think she will stretch a bit more but should be almost done.
I cleaned the lower branches completely to avoid any problems down below, better airflow and less risk for Pm etc.
Still not using any nutrients, all living soil from Sonnenerde.
Likes
112
Share


@Dunk_Junk
Follow
Day 126 - Flushing now. Trichomes are about right. She sure took her time!!! 😂 😎 But looking at her I think she will be worth it!!! The lesson to be learned here for noob growers (of which i was guilty too) is let your plants grow! Don't be too hasty to harvest when trichomes are clear and glassy, she's not ready. There is not enough THC in her trichomes when they're clear.
She looks great. Very frosty. There are a lot of leaves to remove though so who knows what the harvest dry weight will be.
In the coming days she will be harvested, it's gonna be a big job 😳
Update: Day 129 - harvest has started at last! 😎

