Likes
Comments
Share


@BENY_TRUBY
Follow
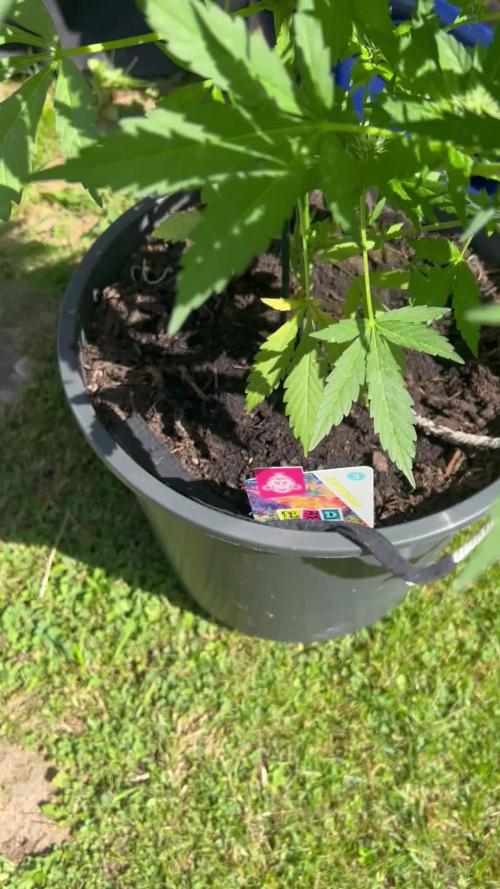
Semana con lluvia, poco sol y plantas recogidas en el interior recibiendo luz a través de la ventana la mayoría del tiempo (excepto las que reciben luz artificial).
He añadido algunos fertilizantes que he recibido para mi próximo cultivo.
Una whiteberry está casi lista para la cosecha. Creo que la voy a dejar una semana más. La siguiente sería una automaría II, pero todavía le falta. Al resto les falta mucho, espero que aceleren el ritmo con la subida de temperaturas que se espera durante los próximos días.
He defoliado algunas hojas amarillas, de abajo hacia arriba, en las plantas más cercanas a la cosecha


Processing
Likes
154
Share


@CBD_Sweden
Follow
@FAST_BUDS,
Hi all the happy people here in GrowDiaries.
This is my second cultivation ever and it will be fun to try a bigger space than my closet grow.
First, I'm just going to say I'm done with the construction of my new growroom.
I put some pictures on the construction here in week one.
The room is 2.14 meters by 1.7 meters and has a ceiling height of 2 meters.
It provides a floor area of 3.6 square meters.
I use a 54 Watt Lightwawe T5 for germination and 2 Pcs 400 Watt HPS lamps.
I have a channel fan that replaces the room air about 40 times an hour to get a comfortable environment in the room, the air enters a fresh air intake from the outside.
The air is purified through a carbon filter to then leave the room to the rest of the basement.
Then I use that heat to heat the rest of the basement.
I will use 8 pcs 15 liter Autopots to grow with and a 100 liter water tank that supplies the pots of water and nutrition.
I will grow completely organically in soil and will watercure my buds to get the best possible medicine for me.
But there are no cultivation rooms to be displayed here, so I continue with what is most important.
Today I have put my seeds in my moisture dome and hope the seeds have germinated within a few days.
I am very excited to see how the new growroom will work and how this new secret CBD plant from @FAST_BUDS, will turn out.
..............................................................................................................................................................................................................................................................................................................................................
Update 2017-08-15. Both seeds have germinated and planted in small pots inside the humidity dome.
I'm so glad it worked so well and now it's just hoping they'll start growing and become 2 big healthy girls :)
...............................................................................................................................................................................................................................................................................................................................................
Update 2017-08-16. I have mixed my own soil today. Its 40% sieved peat harrow H2-H4 0-30 mm, 45% sieved peat harrow H4-H6 0-30 mm. 5% sand and 10% of compost soil. And i use 15% of perlite and mix it all together.
....................................................................................................................................................................................................................................................................................................................................................
2017-08-21 The 2 sisters are doing great, Nr2 is a bit after Nr1 . Some new pics.
............................................................................................................................................................................................................................................................................................................................................................................
2017-08-23. Transplanted from humidity dome and the small germinating pots to 15 liter autopots.
................................................................................................................................................................................................................................................................................................................................................................................
2017-08-27. The girls have settled in to there new home of the 15 liters autopot after a little transplant chock. Now the real week 1 starts for me and the girls. 4 new pics.
---------------------------------------------------------------------------------------------------------------------------------------------------------------------------------------------------------
2017-08-29. New movie of the girls. Its no water for 3 days now so the roots develop more and match the plant above the soil. The temp controlled fan is awesome, its easy to set what temp you like to have in the room. Right now its 28 celcius. And humidity is 56%.
--------------------------------------------------------------------------------------------------------------------------------------------------------------------------------------------------------------------------------------------------
2017-08-29.
Hello to you who read my diary, I just want to say that I am pleased that you have chosen to check in with me and in my diary.
I just want to say that I do this for myself and for a steady flow of my medicine.
Everything you read and see in my diary is 100% honest and I will never distort or beautify anything here.
I document my crops so that I can learn from my mistakes and also to look back at those different crops.
I try to update with pictures every day and with text if something special has happened in the garden.
This is my strainhunt for the best medicine and the beginning of my journey with cannabis and the cultivation of it.
-----------------------------------------------------------------------------------------------------------------------------------------------------------------------
2017-08-30. Cleaned the room this morning, just vacuuming and cleaning with chlorine solution. Im testing the fan to control temp and humidity, it works great.
Added some pics with measurements and a movie. Everything is looking great right now.
-----------------------------------------------------------------------------------------------------------------------------------------------------------------------------
2017-08-31. New video of the girls.
-------------------------------------------------------------------------------------------------------------------------------------------------------------------------------
2017-09-01. New pics and videos. Gave each of the girls with 2 ml Alg-A-Mic, 4ml Bio-Grow, 4ml Bio-Heaven and 10 ml Formulex mixed in 2 liters of water.
I hope they like it :)
-------------------------------------------------------------------------------------------------------------------------------------------------------------------------------------------------------------------------------------------
2017-09-02. New pics and the girls liked the water and nutrients yesterday.
-----------------------------------------------------------------------------------------
2017-09-03. Video of the girls this morning.
Kl 16.00. Did some defoliation on the girls. Videos added.
KL. 23.00. New video.
----------------------------------------------------------------------------------
2017-09-04. The start of week 3. New pics. Im trying to LST the girls.
KL 23.00. Added new video.
--------------------------------------------------------------------------------------------
2017-09-05. KL 08.00. Cleaned the room this morning, just vacuuming and cleaning with chlorine solution.
KL 12.00. The girls got 2 liters of water each with nutes in it, added a video.
-----------------------------------------------------------------------------------------------------------------------------------
2017-09-06. KL 08.00. The girls woke up after their beauty sleep, the leaves are always a bit down after 6 h of darkness, but they will stretch now when the HPS lamp starts.
Everything looks good and I keep trying to tuck the leaves so they get the maximum amount of light where needed. Added pics and video.
KL 23.30. Did some LST and leaftucking.
--------------------------------------------------------------------------------------------------------------------------------------------
2017-09-07. This is day 21 from sprouting. I have never tested PH in my grows, when growing organic in soil iv learned that it adapt PH by it self. But im curious by nature so i had to test.
Kl 10.00 Tested PH in the soil, it was 6.9 and tested my tap water and it was 6.8. Added video/pics of the girls, its 10 H after defoliation, LST and leaftucking. I think its looking good.
Kl 22.30. New pics
-------------------------------------------------------------------------------------------------------------------------------------------------------------------------
2017-09-08 KL 08.00. Good morning, added new video.
2017-09-08. Kl 23.50. Gave every girl 3 liters of water and nutes, added new video.
-----------------------------------------------------------------------------------------
2017-09-09. Kl 21.00. Defoliated a lot today, new pics.
---------------------------------------------------------------------------------
2017-09-10. Kl 08.00. Last day of week 3. New video.
2017-09-10. Kl 23.00. 3 New videos.
---------------------------------------------------------------------------------------------

Likes
36
Share


@MadeInGermany
Follow
Info:
Unfortunately, I had to find out that my account is used for fake pages in social media.
I am only active here on growdiaries.
I am not on facebook instagram twitter etc All accounts except this one are fake.
Have fun with the update.
Hey everyone 😊.
This week has continued to develop great :-).
It was poured once with about 200 ml because it is still under the hood with very high humidity that is enough :-).
Next week the hood will be opened bit by bit so that it can get used to the surroundings :-).
Otherwise the tent was cleaned and the humidifier refilled every day this week.
I think I'll repot next week and then start training :-).
Until then, I wish you lots of fun with the update.
Stay healthy 🙏🏻 and let it grow 👍
You can buy this Strain at :
https://www.zamnesia.com/de/3271-zamnesia-seeds-blue-dream-feminisiert.html
Type:
Blue Dream
☝️🏼
Genetics:
Blueberry x Haze
20% Indica / 80% Sativa
👍
Vega lamp:
2 x Todogrow Led
Quantum Board 100 W
💡
Bloom Lamp :
2 x Todogrow Led
Cxb 3590 COB 3500 K 205W
💡💡☝️🏼
Soil :
Canna Coco Professional +
☝️🏼
Fertilizer:
Green House Powder Feeding
☝️🏼🌱
Water:
Osmosis water mixed with normal water (24 hours stale that the chlorine evaporates) to 0.2 EC. Add Cal / Mag to 0.4 Ec Ph with Organic Ph - to 5.5 - 5.8 .

Likes
7
Share


@Sunstonedgrows
Follow
We are DEEP onto flower now. Buds are still developing nice and at a steady pace. I was a little worried I'd get herms since my last ILGM grow was canceled because 4 plants hermed, but so far its looking great!
This puts us right around Day 30 of flower and it can't look much healthier. One of the bottom leaves looks to be displaying a small P deficiency, so we will continue feeding at 2 tbsps here of the Flower Girl. However we'll take a break on the kelp meal.
She definitely needs to be watered a tad more frequently, but we are still doing at most one watering a day. Even still, she's doing well and I honestly can't complain. Cheers for the final 3-5 weeks as we watch her put on more weight to these buds.
Cheers til next time
-DJ sunstone

Likes
10
Share

@Suemchen
Follow
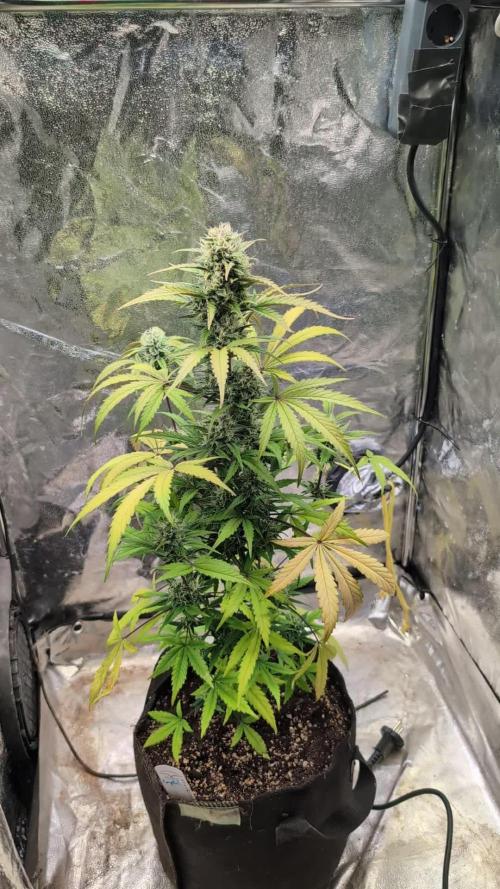
Sanlight EVO 3-60 at 80%
Day 50: watering still with rain water and 3 ml/l AlgaBloom, 1 ml/l CalMag, 2 ml/l Hesi Boost and 1 ml/l Green Sensation 👌🏻 pH at 6.4 👍🏻
Day 55: Night Temperatur dropped to around 17 degrees Celsius because the heating was Not on.... Leaves turned purple.... watering still with rain water and 3 ml/l AlgaBloom, 1 ml/l CalMag, 2 ml/l Hesi Boost and 1 ml/l Green Sensation 👌🏻 pH at 6.4 👍🏻


Likes
8
Share

@420DeepGrow
Follow
📆 Semana 6
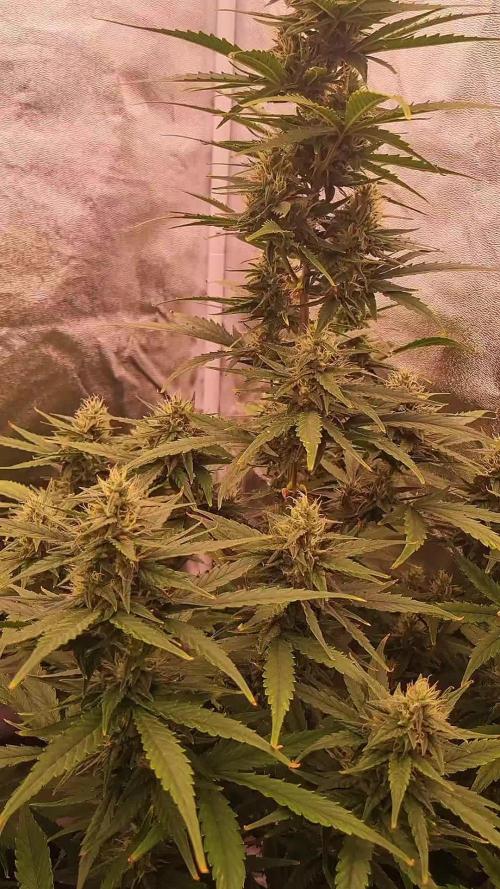
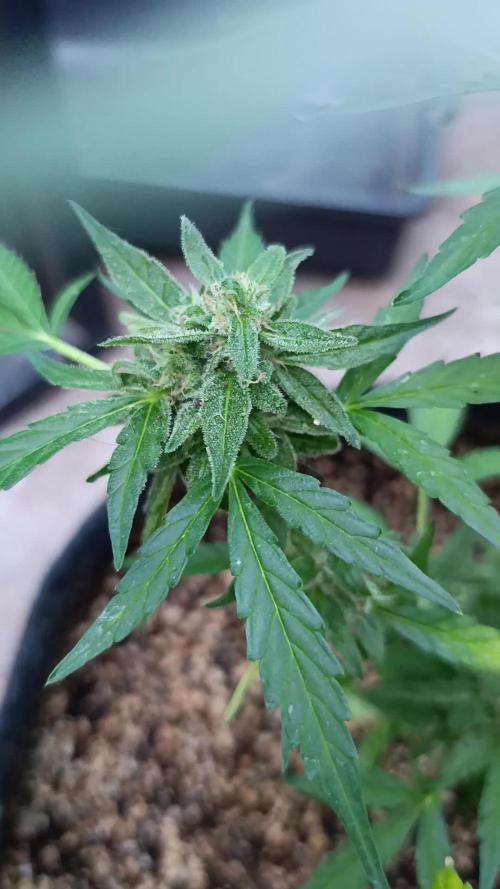
Durante esta sexta semana, la planta continúa desarrollando los cuatro cogollos que han quedado tras retirar la punta dañada. Aunque son pequeños, siguen ganando algo de volumen y se mantienen en buen estado.
⚡ EC: 0.3
💧 pH: 6.2
🌡️ Agua: 21°C
🌫️ Humedad: 45–55%
💡 Intensidad: Luz directa del sol
🔥 Nota de cultivo: Los cuatro cogollos restantes siguen cogiendo algo de tamaño. La idea es dejarlos avanzar durante estas próximas semanas y realizar la cosecha aproximadamente en dos semanas.
Seguimos creciendo fuerte 💪!




Likes
Comments
Share

@Darsilius
Follow
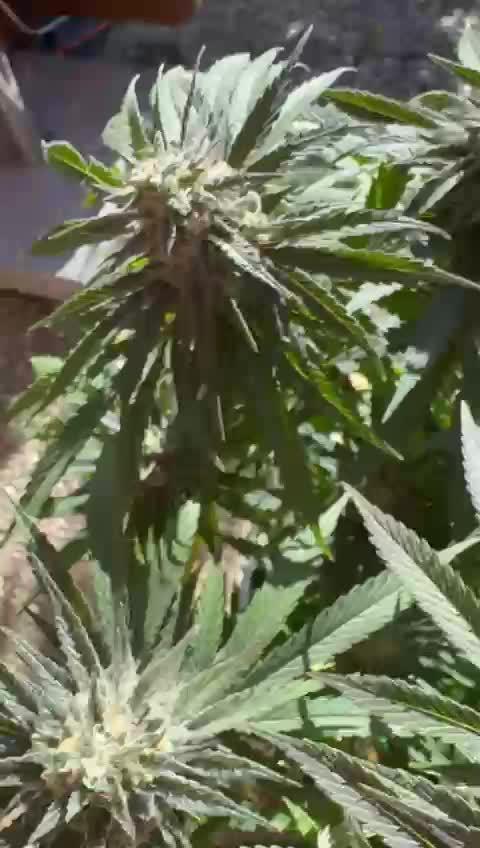
Next week of flowering
Some of girs are preparing for the final ferts
I add more grams and katana dragon force to the tank and now U will see thje magic of SHOGUN !
😁


Likes
9
Share

@420DeepGrow
Follow
Gracias al equipo de Sweet Seeds, Marshydro, XpertNutrients y Trolmaster sin ellos esto no sería posible.
💐🍁 Cream Caramel:
Variedad sintética resultado del cruce de varias de nuestras mejores índicas, Blue Black x Maple Leaf Indica x White Rhino. Reconocida por la escena cannábica mundial, es la variedad más premiada de nuestro catálogo.
El sabor y aroma de esta variedad es muy intenso, dulce y acaramelado como de golosinas, fruto del cóctel molotov de índicas que contiene, con un fondo de matices terrosos procedentes de la genética Blue que interviene en el cruce. Ideal para el cultivo interior y una superplanta en el cultivo en exterior.
Su estructura es típica de las plantas índicas, con un robusto tallo de corta distancia internodal, desarrolla un gran cogollo central y multitud de ramas laterales.
La preferida por los usuarios de cannabis medicinal entre nuestras plantas ricas en THC. Relajante y antidepresiva.
🚀 Consigue aqui tus semillas:
https://sweetseeds.es/es/semillas-fotodependientes/35-cream-caramel.html
💡TS-3000 + TS-1000: se usaran dos de las lámparas de la serie TS de Marshydro, para cubrir todas las necesidades de las plantas durante el ciclo de cultivo, uso las dos lámparas en floracion para llegar a toda la carpa de 1.50 x 1.50 x 1.80.
https://marshydro.eu/products/mars-hydro-ts-3000-led-grow-light/
🏠 : Marshydro 1.50 x 1.50 x 1.80, carpa 100% estanca con ventanas laterales para llegar a todos los lugares durante el grow
https://marshydro.eu/products/diy-150x150x200cm-grow-tent-kit
🌬️💨 Marshydro 6inch + filtro carbon para evitar olores indeseables.
https://marshydro.eu/products/ifresh-smart-6inch-filter-kits/
💻 Trolmaster Tent-X TCS-1 como controlador de luz, optimiza tu cultivo con la última tecnología del mercado, desde donde puedes controlar todos los parametros.
https://www.trolmaster.com/Products/Details/TCS-
🍣🍦🌴 Xpert Nutrients es una empresa especializada en la producción y comercialización de fertilizantes líquidos y tierras, que garantizan excelentes cosechas y un crecimiento activo para sus plantas durante todas las fases de cultivo.
Consigue aqui tus Nutrientes:
https://xpertnutrients.com/es/shop/
📆 Semana 9:
El engorde de los cogollos está prácticamente terminado y solo falta que maduren un poco antes de ser cosechada.
Gran trabajo por parte de mis colaboradores, estoy bastante contento con este grow, el próximo tendré más atención en la etapa de crecimiento, la cual es muy importante si quiero obtener una cosecha de calidad.
A partir de ahora agua hasta el fin.
Likes
2
Share


@StickyBlack
Follow
Super happy with this. Strong tropical citrus nose. Dense, frosty nugs. Definitely recommend trying tropicana cookies in your garden
Likes
35
Share


@XxxAuto
Follow
Again thanks too Fastbuds, for this amazing strain.... it's SOOOOOOOO fucking good !!!!!!!! 😘😍 and a beautiful lady
Likes
40
Share


@Drgreenthumb627
Follow
The blue/purple hue in the buds is starting to come through under the shimmering trichomes, the size and density of these buds is blowing me away. week 8 is at an end and i am avidly checking trichomes awaiting the end. the fade is in full effect

Likes
Comments
Share


@Earthsower
Follow
The blackberry cake feminised has seemed to of picked up a bit in the last two days. She has a little deficiency so I gave her a slight flush. The poor girl is still being attacked by pests so a little mist of neem oil was the treatment. Will lay rosemary on the substrate. She will need close monitoring until bloom. Overall she looks well and has grown a steady 5cm this week.

Likes
4
Share

@Emerald_Gardens
Follow
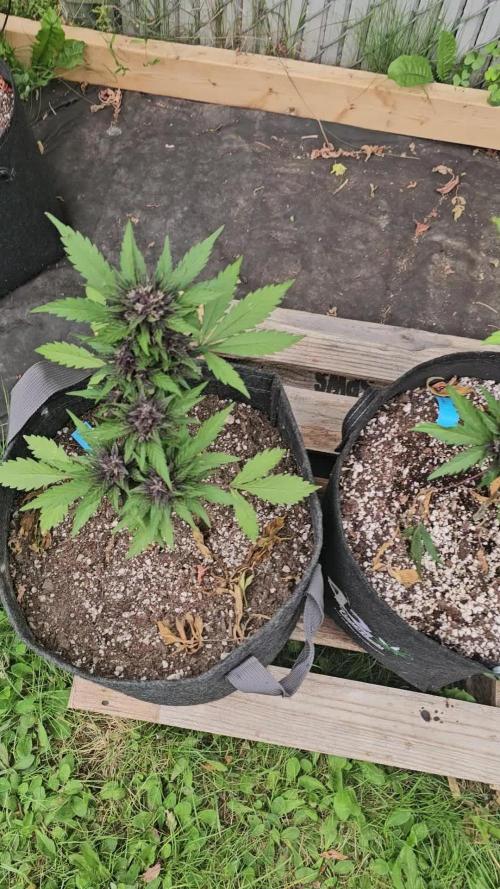
Couple new nutrients added to the grow this week. Rezing and massive bloom from green planet. A couple lst sessions turned into hst :( snapped a frw branches including the main cola. But using grafting tape makes short work to the recovery. Smell is absolutely amazing. Overall the grow has been pretty hands off other than mixing nutrients and bending a few branches. I do not notice a difference in smell or size between the organic vs green planet purple lemonade grow. The fast buds og kush is now in flower and is much larger than the purple lemonade. Not sure if its due to genetics or if it just blunced back better from the early on stress of being uprooted a few times due to my dog. Looking forward to see the buds start to stack!!
Likes
31
Share


@Densko
Follow
Medusa 3/5 is now also starting to grow fat flowers.
I started giving her a small dosage of green sensation.
I noticed this plant has more indica leaves instead of sativa/ruderalis on the lower growth. Im curious to see the development of smell and buds compared to the others.
It suffered a bit from dought and heat stress, anoybody have an idea what the cause is of my leaf damage?