


Likes
Comments
Share


@RDWCGrowing
Follow
6/13/2023
Week 10- Day 1 of Flower (Day 131 overall) (Day 70 of Flower)
Auto Pilot Day 6.. Checked the Trichomes and the bud density and both are looking good.. Definitely needs a little more time for the Trichomes to be where I like, so based on my check I think we are still looking right around the end of the competition 22June to be done and ready for harvest. I do like that the fade is coming in the leaves nicely, so my chart I think is dropping off the Nitrogen exactly like it is supposed to.
6/14/2023
Week 10- Day 2 of Flower (Day 132 overall)
Auto Pilot Day 7.. Decided I would take some contrasting pics today with my light up to 100 and my light all the way on Dim. I hope you enjoy the pics.
6/15/2023
Week 10- Day 3 of Flower (Day 133 overall)
Auto Pilot Day 8.. Decided to take a look at the Trichome's today and Check to see where they are at and honestly if I might ho ahead and start my flush tomorrow and harvest on Sunday.
6/16/2023
Week 10- Day 4 of Flower (Day 134 overall) (Day 74 of Flower)
Today I pulled an Armageddon however instead of darkness they are going to get 48 hours of light. The reason why they are going to get light instead of dark is when I was taking out the netting a lot of the buds were so heavy they fell over and exposed some areas I really want to get some light to... so 48 hours of light at 40% while I watch what should be a beautiful final fade as the plant eats up the last Nutes. If anything goes wrong I can abort take the photos and cut so will pay really close attention to how it is looking over the next 48 hours.
Added 30 Gallons of PH only Water.
Reduced Lighting to 40% removed program time off. 48 hours of light.
6/17/2023
Week 10- Day 5 of Flower (Day 135 overall) (Day 75 of Flower)
I had someone tell me that a few growers had done as I did and Gone Armageddon on the plants. Filling it with PH only and said the plants did not respond well and they were taken out of the comp at the very end because they felt like the pictures just wouldn't come out right. Even though I did go Armageddon, The PPM is at 353PPM with the residue of what was left in the buckets after draining as well as what I am getting from the TAP so I think they are doing good but I am checking them every few hours to see how they seem to be doing and I think they are doing good still and are on track.
I also started prepping the area for the pics tomorrow
T-24 Hours until Chop
6/18/2023
Week 10- Day 6 of Flower (Day 136 overall) (Day 76 of Flower) (Harvest Day)
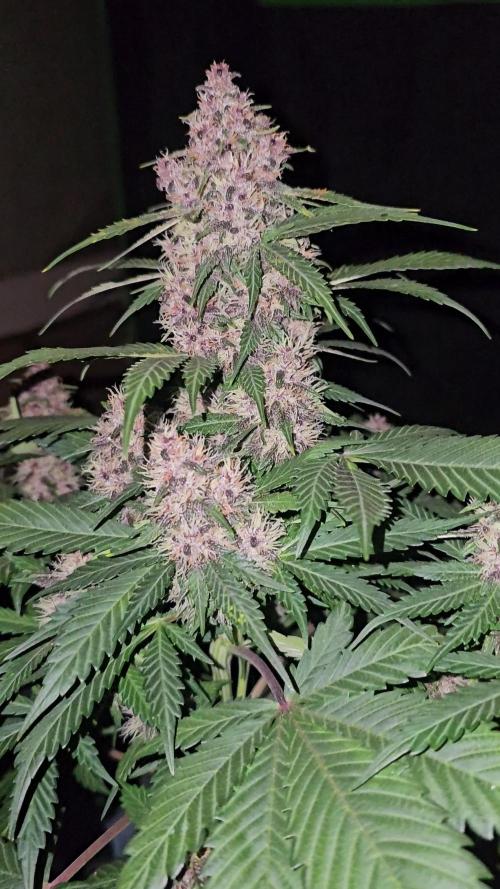
What a day.. what a day.. what a day.. as I was setting up and trying to figure out how I was going to get my pics #3 stems started breaking, it fell over and other stems broke.. So no really stunning competition photo for her, she had such a nice purple fade.. #2 stayed up in the Tent so that is the one I had to go with to submit for the contest. I wet trimmed them as they went into the tent and they took up three rows hanging in tent. I also decided I wanted to try some so I put a little in the freeze dryer for a 48 hour smoke test.. I will weigh it and add that to my total weight for the plants when it is all done.




Likes
4
Share


@Mr_nugs_lover_David
Follow
Amazing and very powerful amnesia fragrance guys! I fucking love this aroma, very good classic amnesia version this amnesia Fast by seedsman. Hope they get fat and as dense as possible to be able to enjoy her for a long time, very recomended seed.


Processing
Likes
6
Share


@LiLi_garden2020
Follow
been really busy.. all is going very well.. got new dairies coming soon from those seedlings🌱 I just started...
And 4 Hindu kush will be my first Scrogging...
My main plant look unhappy cause he got to settle in New pot

Likes
141
Share


@bioaccessory
Follow
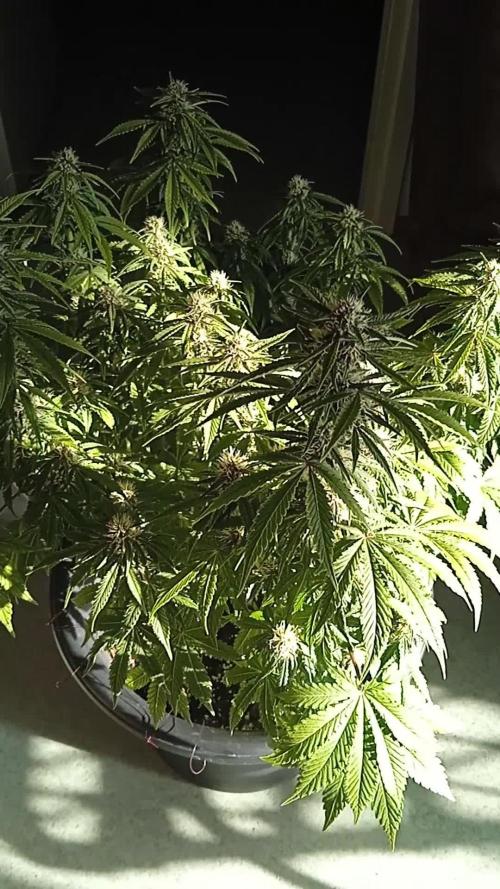
Что-то мои девчули не спешат со мной расставаться, несмотря на все сроки я не вижу даже признаков наступающей "осени". Но главное что шишки продолжают потихоньку набирать, ну и я не буду спешить. Как я уже говорил, в этот раз буду тщательно промывать субстрат, вкус готового продукта для меня очень важен.
Последнюю неделю влажность не падает ниже 60%, поэтому основной обдув теперь включен на максимум, мне не хочется испортить этот цикл плесенью.
Спасибо, что заглянули, и будьте здоровы! 🙏
Продолжение следует ...😶


Likes
2
Share

@Chucky324
Follow
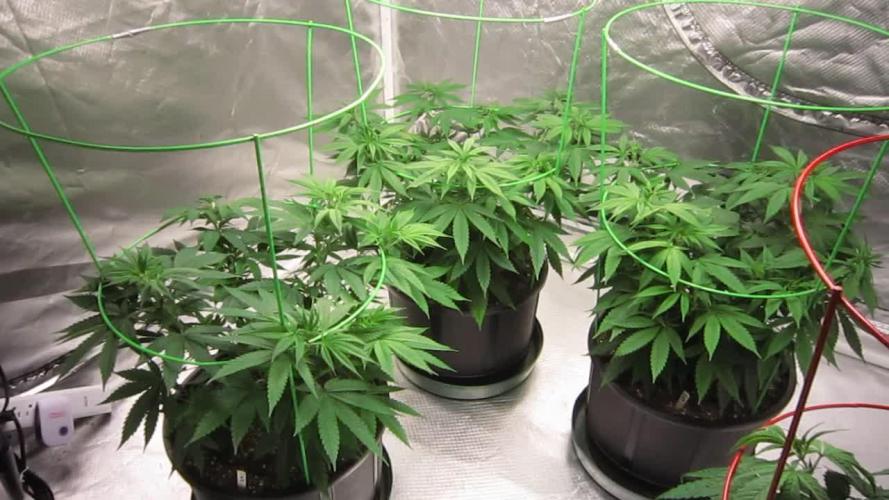
Hello. This is the end of week 7 and the beginning of week 8 of veg.
Got one of the plants spread out. Just waiting for the other branches to get a little longer.
Plants are doing good. The pots seem light today, so they will get some nutrient when I'm done with these diary postings.
Another week or 2 of veg before I flip to flowering... Stay Tuned.
OK. Keep Growing Straight.
Chuck.
Likes
62
Share


@SimpleGrow
Follow
Hey guys welcome to week 6 and day 33 🙌🏼
The girls are getting really big now and i‘m tucking the new groth every day. It‘s pretty dificult to get good light penetration through to the lower branches but I will try to wait until day 21 of flower to cut anything off. I don’t want to stress them. For now I tug the big fan leaves down and keep the humidity as low as i can. They do transpire alot. Well, thats it for the start :) nothing else to report..

Likes
51
Share


@Mr_und_Ms_Lue_Roots
Follow
Hallo liebe Gartenfreunde,
Ja insgesamt gibt es nicht ganz soviel zu sagen. Die Purple Coockie Kush auf dem Balkon wächst kaum noch da sie sich in re vege befindet.
Die Schwester und die CBD sonnen sich täglich gediegen im Gewächshaus.
Zudem haben die Ameisen 🐜 defentiv mehr Spaß wie wir Grower 😮💨 Wir haben auch schon sehr viel versucht... grrrrr
Na gut, desweiteren sind nur auch kurz mal wieder ein paar Bilder aus dem Gewächshaus mit angehangen.
In diesem Sinne euch noch ein terpigen Sonntag Abend und eine neue erfolgreiche Woche gewünscht!
Vielen Dank im Voraus an all die, die unseren Report verfolgen, kommentieren und liken! 😉
VG ✌️ 😎

Likes
5
Share


@Willy_Balls
Follow
#43 clones are maturing too fast I feel. Especially that a mother is ripening normally. I would guess it’s because of poor rooting. It’s the only difference.
I keep runoff at around 3 max.
Around week 5 the runoff ph started to drop below 6. Even towards 5.5. Both in rockwool and coco.

Likes
42
Share


@MrJoint
Follow
✂️ Defoliation one more time and LST adjustment.
🥦We stay training.
✌️🎃Thank you for checking my cultivation.

Likes
39
Share


@Hazecat_420
Follow
Las altas temperaturas han persistido es por esto que el riego ha sido más seguido variando siempre entre fertilizante y agua. Esta vez ya se utilizó Flawless Finish para este último proceso, una vez secándose el sustrato se comienza con la cosecha. Ha sido un buen cultivo. Veremos como termina esto. Seguimos ! 👽💪

Likes
18
Share

@Cauli
Follow
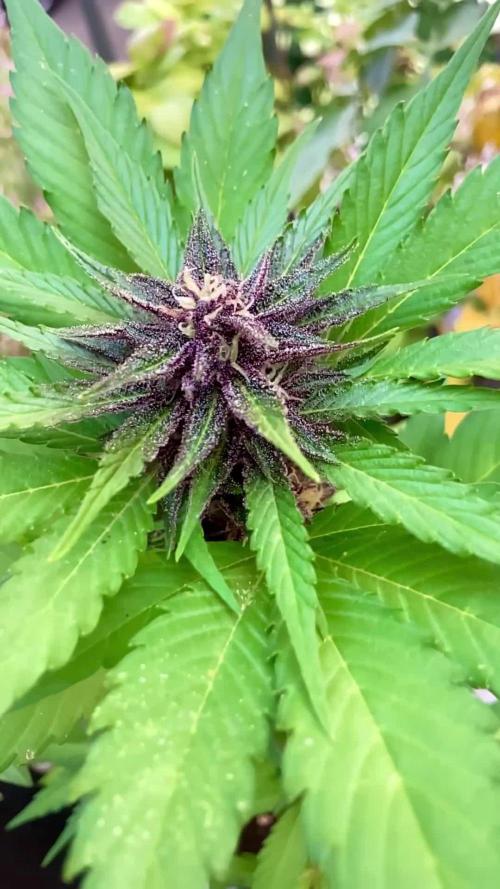
Weather was really changeable this week.
Again, still think this ladies lost a lot of potential in the beginning.
buds are getting a little bigger and look and smell very nice.


Likes
18
Share


@Stonyways
Follow
flower week 8,
2nd week of flush and my 15th week of crappy sleep due to this VIVOSUN 4"high cfm fan. I would just get rid of it as it does not owe me anything (2 full grows) but I am planning on gifting my old complete set up to someone I know that's in need.
and shit.... Spider Farmer never even got back to me....so my next grow will include my first HLG to supplement the Spider....
no contest this month due to...... well I gotta move. I don't think id be winning any contest but on the off chance I would.... address change. lol
HAPPY FRIDAY
Likes
28
Share


@Ferenc
Follow
Day 65, 14th of November 2020:
Bla bla bla I.could say a lot but just look at the pictures and video and say what you want. Crazily streching, and growing new sides as you can see she is having those fluor green new sides.... aggressive... strong I do love!
Pre flowers and pistils are out!
Beautiful tall even after topping she really grows....
Fertilization happens every 2nd day with the ratio and mix above.
I set the lamp 15 minutes shorter to switch off earlier so she receives 11:45 of darkness. I would like to imitate the nature when longer nights come with time till the 4th week (when she will receive 13 hours darkness a day 15 minutes minus 4 times = 1hour) so every week 15 min longer darkness for 4 weeks and then back to 12/12 to have bigger buds from the 4th week....
Likes
2
Share


@CannaIGrow
Follow
Topped this girl this week, she’s growing pretty good. Very nice looking plant to my eye.
Processing
Likes
43
Share


@Jack_Greenstalk
Follow
I topped both plants once thus far, cleared their lower nodes up to the 3rd node on "nemo" and 4th on "v" names are easier then saying seed 1 and seed 4. added pics and video of day 34/35 for these two. hope y'all can stand the slight off hue from grow light. pics/vids are taken on phone camera thru grow room glasses, when watered the 3 gal pots are heavy and not easy to yank out for a picture.

Likes
13
Share


@SimFarmer
Follow
First of all thank you @fast_buds for this amazing strain, had a blast growing and experiment with her.
It turns out that growing cannabis is not that difficult. All it takes is enough watering to balance the substrate.
During the grow I did not even measure ph or ec once. And the leaves were healthy all the way through.
In flowering I watered about half the size of the airpot every day.
In order to successfully water as such every day and grow without unnecessary measurements need a ventilated flower pot And a Soil substrate enriched with perlite.
The plant responded great to massive watering, grew quickly and recovered easily from stress.
I took her to the limit But I did not provide her with sufficient lighting, it was reflected in the flowers that came out bit airy. (Yet 253 grams are a respectable crop.)
So here is my next grow resolution I will make sure to provide the plants with all their needs So that they will take care of mine ;).