
Likes
Comments
Share


@GrowPassionItalyChris
Follow
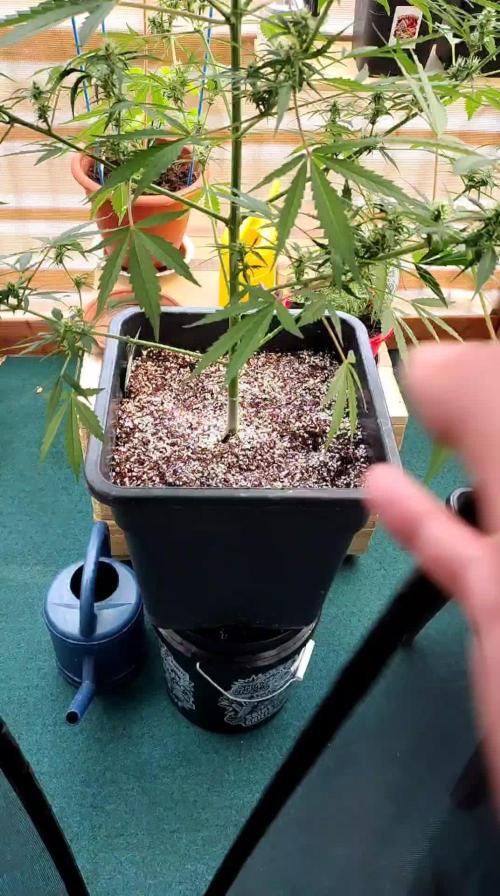
Sono nate tutte e già sono pronte per crescere in maniera abbondante. Dopo una settimana già sono dieci centimetri alte e tranquillamente si stanno adattando al caldo estivo italiano. È stata una germinazione perfetta e sono felice di avere scelto queste magnifiche banche dei semi mondiali. I cloni invece hanno preso bene e sono già posizionati a terra all'aperto e posizionati in penombra. Alcuni cloni non c'è l'hanno fatta ma più di nove cloni sono in perfetta salute e hanno iniziato a radicare. La pianta madre dei cloni è una Orange Bud raccolta indoor in gennaio e poi trasferita in outdoor per farla rigenerare e ad inizio aprile ha iniziato una seconda fase vegetativa abbastanza mostruosa perché sta formando centinaia di diramazioni biforcute e sta prendendo la classifica forma di cespuglio grezzo. Ne vedremo delle belle con queste varietà coltivate biologicamente. Un abbraccio a tutti.


Processing
Likes
10
Share


@UrbanFog
Follow
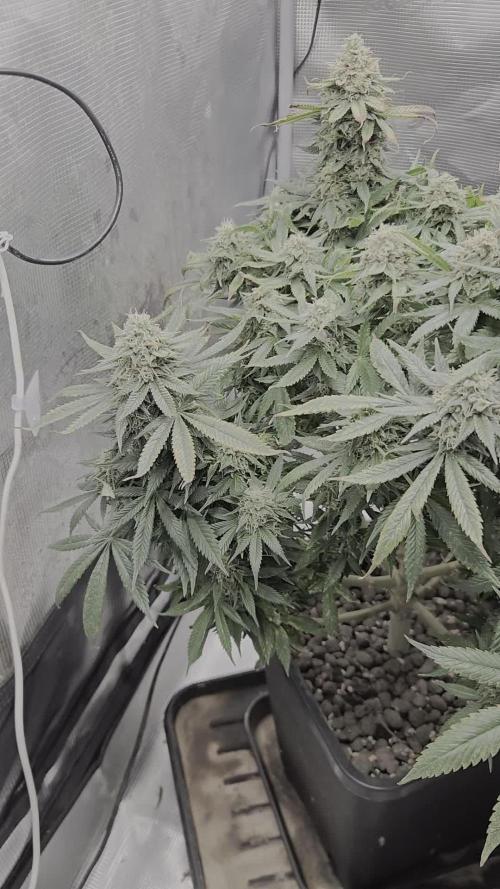
Plants continued to grow well some plants show signs of nutrient deficiencies, trying to address it without burning all the other plants.
But besides that all looks good and we ready to flip to flower. 12/12 cycle to start.
Clones looking strong and ready to be replanted as mothers for the next batch of clones / SOG


Likes
4
Share


@SEGA_Y_Griega
Follow
13.3.23 verschüttetes sauberes Wasser 150 (ppm) hervorragende Entwicklung im Moment
Do-Si-Dos-OG-Cannabis-Samen sind ein weiteres von der US-Westküste inspiriertes Meisterwerk. Es war nur eine Frage der Zeit, bis Girl Scout Cookies mit unserer Colorado Ghost OG kombiniert wurde, die beide das Rückgrat unseres Strain-Sortiments bilden, um diesen potenten, indicadominanten Hybriden zu kreieren, der nach nur 60 bis 65 Tagen Blütezeit erntereif ist. Gönn deinem Körper und Geist eine entspannende, stimmungsaufhellende Behandlung mit diesem Raucherlebnis par excellence, das mit dem Geschmack von süßem Gebäck und vollmundigen, sahnigen Aromen deinem Gaumen schmeichelt.
Alle schriftlichen und visuellen Materialien sind nur für Informations- und Bildungszwecke bestimmt.
Diese Woche habe ich mich entschieden, ein großes Zelt Mars Hydro 120•120 zu installieren, für eins und eine Lampe mit großer Reichweite FC E4800. Ich habe die Klimaanlage eingerichtet, jetzt liegt die Temperatur bei etwa 24, ich habe zwei Lüfter installiert, um den Secret Jardin Monkey Fan 20w zu blasen, ich wollte sie schon lange kaufen. Die Heizung funktioniert auch! Hoffe es wird bald wärmer 😅

Likes
Comments
Share

@MrHazeAmaze
Follow
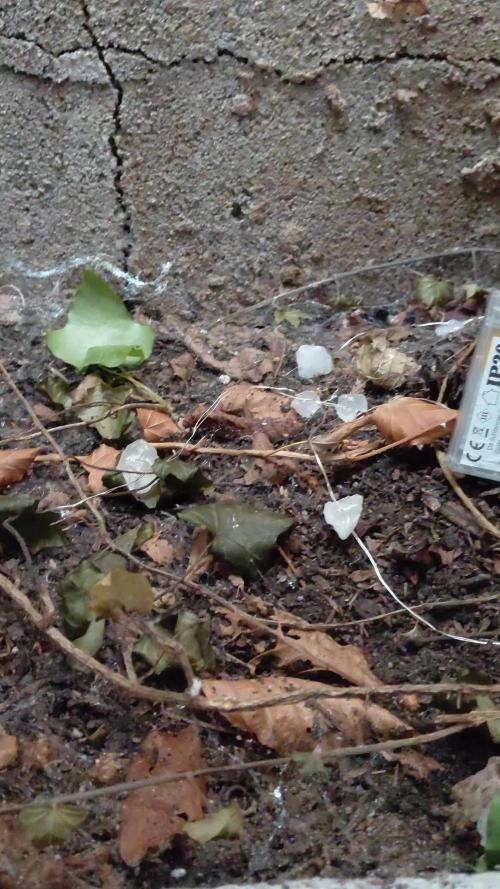
I raised her in a skull, but most of her life was spent in neglect. I left her outside in burning heat, then in sudden cold, dragged her indoors, then abandoned her again. She suffered thirst, darkness, and the bite of spidermites that stripped her leaves — though strangely, they spared the flowers, as if something in her bloom commanded a grim respect.
When her time came, I did not cut her. Growing is usually a preparation for harvest — you nurture only to take, always before death arrives on its own. I chose the opposite. I carried her down into the cellar for her final weeks, set her skull in the stone-lit dark, and simply let her decline. There she stood, a crown of fading flowers above hollow bone, turning slowly from bloom to ruin.
I left her to wither not by accident, but as proof. To show that a grow without harvest becomes its own message: that life, denied the cut, meets death as it is, unshaped, unclaimed. And in that cellar, in her vessel of bone, she embodied what I wanted to see — beauty not ended by hand, but surrendered to shadow.
Likes
18
Share


@Dunk_Junk
Follow
She's doing her thing this week.
Watching pistils and trichomes.
I want plenty of amber trichomes before harvesting her.

Likes
6
Share

@Fank0
Follow
Hladoví voči, ale v rámci frizúri som šmikol horné paličky na koštovku, výborné.
Likes
11
Share


@XoticGROW666
Follow
DAY 28 of Flowering 🌸🌼
Dense small buds delicious terps comin off her 🍉🎂

Likes
1
Share


@BruWeed
Follow
Se secaron rápido. Los cocos son pegajosos y tienen aroma muy fuerte.
En humedo me dio 150g en total. Tengo que esperar que se sequen para ya saber el resultado final.

Likes
13
Share


@HeavyHead
Follow
Started giving full strength nutrients and added big bud and bud candy at this point. Dropped my room temperature slightly. Been having a bit of an issue with room humidity and I’m too cheap to buy another dehumidifier so I added a second fan to keep everything dry. Starting to get a nice purple on one of the plants too :)
Also have some orange sherbet autos going in the back of check my other diaries :)

Likes
28
Share


@MrGrowthSpurt
Follow
Another excellent easy to grow strain. Early on she developed what appeared to be rust spots on the bottom half fan leaves. I implemented calmag into her feeding. It didn't appear to reverse the impact but did delay it or slow it down. Not to mention the last month she and the others have been neglected due to my schedule. She has been very resilient throughout. She is in the drying phase currently so I will definitely update when I take her for a test drive.

Likes
3
Share


@blaze454
Follow
Flower starts today.
Havent done much this week just letting the trim & transplant set in, a little defoliation.
Likes
12
Share


@Jodas
Follow
Waiting game begins. Posted a video as well so you can see a bit more of the plant. Patience is the game we are playing now. Hopefully they can finish soon. Although the trics are 50-50 milky and clear.

Processing
Likes
4
Share

@CarpediemOK
Follow
From 3 leads i cut due to yellow spots, grows better and trying to reach up

Processing
Likes
8
Share


@Chronnoisseur
Follow
Wow the smell in this tent hits you in the face like a sack of lemons if life gives you these kind of lemons you take em and smoke em 🍋🎄🤤

Likes
47
Share


@Northern_Ent
Follow
May 25: looking healthy and happy. Nice progress considering it’s another week until the end of May.
May 26: raised soil level using Pro-Mix and compost. Got rained on a bit but moved beside house to avoid the heaviest rain which verged on being hail.
May 27: topped in morning. First round of topping in what will be a 16 cola manifold. Looking good as we’re about two weeks ahead of schedule.
May 31: been cool the last few days since the toppping. Watered this morning with Monster Maxx. Slow going since the topping but she’ll be fine.
Note that for all my diaries, I do pH adjustment with apple cider vinegar and add a dab of Dr Bronner’s Peppermint soap as a surfactant. That lowers the surface tension of the water allowing it to penetrate the soil more evenly. Also I’m always warming the water to help keep the roots happy in the cool weather.
#seedsman420growoff
#seedsmanseeds

Likes
12
Share


@Amboss
Follow
Sie trinken fleißig und Blätter verfärben sich langsam … geht dem Ende zu
Werde danach nochmal einen Run starten mit 6 Cookies oder Skittelz, also nur 1 Sorte.
Ich hab mehr als genügend Fehler bei diesem Grow gemacht …umso mehr davon gelernt und werde es beim 2ten Lauf versuchen alles fehlerfrei zu wiederh
Likes
22
Share


