The Grow Awards 2026 🏆 


Likes
18
Share
@HonneyHouse
Follow
week 4.. amazing blooming.
The rain has stopped. The Dry season has come! Maybe one or two rain storm, but nothing to wory...


Likes
49
Share
@SolitudeCorners
Follow
This cross between Cherry Pie and Chemdawg and do-si-dos It smells vaguely like brain cake. However, chempie has a stronger aroma than brain cake. strong terpenes of linalool, and the smoke was quite harsh and powerful with each hit. The nicest form and most substantial buds in this crop

Likes
43
Share
@inversi0n
Follow
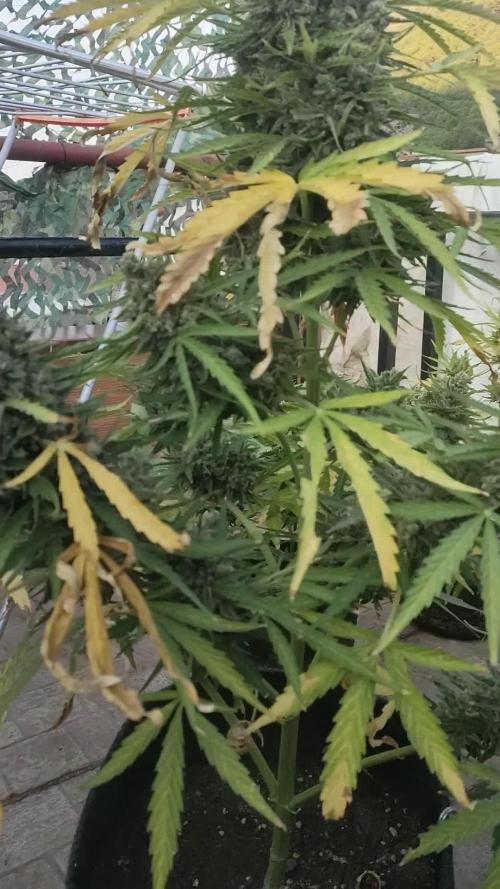
Hello, readers!
Next week without accidents! Growing good. However, she could be growing faster😁
I think at this stage, she looks a little bit over-defoliated, also I chopped off the baby buds the lowest center. I wonder, if I'll keep her in rest for the next week.
Place of ex-branch, kind of starting to mold. I've cleaned it. Will take a look a it after.
Solution at the end of the week was good with PPM, but PH started going to 5, I didn't have anything to increased it, so I changed solution
Feeding:
(Kinda Micro) NPK20, B 0.01, Cu 0.02, Fe 0.04, Mn 0.01, Mo 0.002, Zn 0.002 - 0.23 gr/liter.
(Kinda Grow) N 15.5 CaO 26 - 0.16 gr/liter.
(Kinda Grow) NPK 10 5 40 + 2 MgO - 0.26 gr/liter.
(Kinda Bloom) NPK 0 0 51 + So3 34 - 0.33gr/liter
(Kinda Bloom) NPK 0 52 34 - 0.5 gr/liter.
Orthophosphoric acid 85%(H3PO4) - 0 ml/liter
Likes
16
Share
@Prop207
Follow
Defoliated this week.full Nute change.
AC is still out, cabs are running in the high 80s

Likes
23
Share
@DeepRootsGrowTrees
Follow
MATARO BLUE by KANNABIA
Week #14 Overall
Week #13 Veg
This week she's doing really well dealing with the heat and elements it's still hot here and she starting to pre flower towards the end of the week hopefully the weather's going to cool down as she starts to flower. Stay Growing!!

Likes
4
Share
@MRSGROW
Follow
Hola amigos partiendo con la sexta semana, todas las nenas muestras claros signos de floración, se realizó la última defoliacion


Likes
13
Share
@Dunk_Junk
Follow
Well she over doubled her height this week!
Look how much she's bushed out too!
Possibly flowering has just started? Not sure how much she will stretch.


Likes
19
Share
@Ultraviolet
Follow
The plant realizes there is an overabundance of light and it seems to understand this and develops accordingly. I see a mass monster.
Focused on rates of photosynthesis, instead of photomorphogenesis.
Added a custom Lakhovsky ring around the base. It is positioned in such a way that it rotates on itself, as in the photo, and an energy field will develop all around. If we have only 1 ring, the opening goes true north and the 2 wires must not touch. With 2 rings of different diameters, I can alternate North / South openings. (4x10" Copper wire wrapped in aluminum sheathing then further coil wrapped with copper)

Likes
2
Share
@Mr_nugs_lover_David
Follow
She looks super beautiful,just like her 2 sisters I have another 2 somango auto by gea seeds as purple as her, msame aroma,just very stable Strain,the smell it's just pure authentic mango,plus she has a very gorgeous purple color on her flowers,definitely need to grow her many more times. 💚🌱💎🔝


Likes
5
Share
@SgtDoofy
Follow
April 23
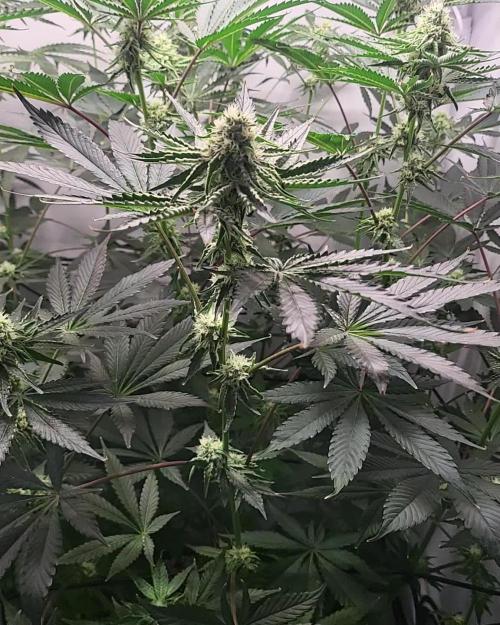
Fading leaves and turning purple. I'm making sure to do my due diligence in removing all dead leaves between the buds as they die, so that I'm not having dead leaves stuck in the bud as it dries. Trichomes aren't quite where I want them yet. The ones nearest the light are orange, but not much orange is anywhere else.

Likes
37
Share
@Haoss
Follow
The plant has removed all the leaves, the buds should be dried in the dark, at 21 degrees at 50% humidity

Likes
14
Share
@Momgrowsthechronic
Follow
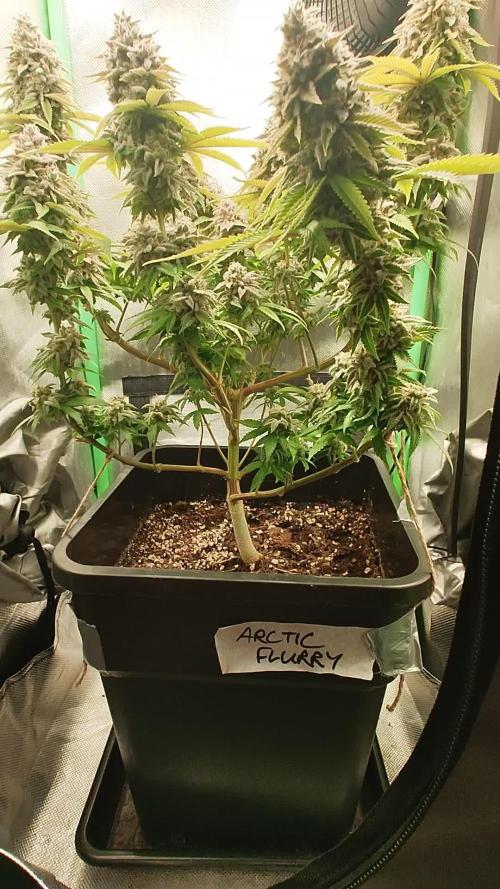
Welcome to the Week 10 update for the Sweet Seeds Gorilla Girl XL Auto’s. Not much to report as this grow is on cruise control until harvest. I will be finishing up with the bloom fertilizer and starting to flush as these lovely ladies finish out Week 10 and move into Week 11. Defoliating as necessary and consistently checking trichomes as I’ve already spotted the first few ambers in and among the already cloudy trichs! Thanks for stopping by and checking out my grow! 😎
Likes
11
Share
@420DeepGrow
Follow
📆 Semana 11:
La Epsilon F1 Auto entra en su fase final. Esta semana iniciamos el lavado de raíces para eliminar restos de nutrientes y permitir una maduración más limpia y sabrosa. Los cogollos están densos y repletos de tricomas, con un aroma penetrante que mezcla notas cítricas, especiadas y un fondo dulce. La planta muestra señales claras de madurez, manteniéndose sana y sin estrés visible.
🔄 Etapa decisiva antes de la cosecha.
¡Seguimos creciendo fuerte! 💪

Likes
7
Share
@mperkins37
Follow
LST, HST and defoliated second time, Fimmed main 1x, fimmed all tops 14 days later, fimmed all resulting tops 3 weeks later. well over 100 tops and counting, removed all tiny branches off the mains. pre loli.. lol Ill let em up in a few days. should be well beyond the 20" circumference of the 20 gal pots. Gonn a flower 2 in the space , and 2 in my newly acquired 48x48x80 tent. Shopping a few Flowering beasts to put in for the next phase. Love to get 2x https://opticledgrowlights.com/products/slim-720s-dimmable-led-grow-light-720w-triple-dimmer-3500k-uv-ir-lh351h-v2. Oh well, we will see. HAppy growing peeps!

Processing
Likes
21
Share

