
Likes
Comments
Share


@420DeepGrow
Follow
📆 Semana 7
Blue Zushi sigue avanzando con mucha presencia y estilo propio.
Esta semana los cogollos han ganado aún más volumen, y la compactación empieza a ser realmente destacable. Las flores están cada vez más recubiertas de resina, dando un aspecto brillante y pegajoso que promete una buena producción final. El tono azul se intensifica, especialmente en las puntas más cercanas a la fuente de luz, lo que le da ese toque exótico tan especial.
En cuanto a la nutrición, continúo con la base de XpertNutrients y el aporte de Sticky Fingers, que está haciendo maravillas con la producción de tricomas. El aroma sigue evolucionando: más penetrante, más complejo… con matices cítricos y un fondo terroso que se mezcla con esa dulzura fresca tan típica.
Los Adlite mantienen su rendimiento uniforme. La penetración de luz está siendo excelente y hasta las zonas bajas están desarrollando cogollos bien formados y densos.
Las condiciones climáticas siguen dentro del rango ideal: temperaturas estables entre 22 y 25 °C, y humedad en torno al 50-55%, siempre bajo vigilancia para evitar cualquier contratiempo.
Los olores en el cuarto de cultivo ya son más intensos y empiezan a llenar el ambiente. La combinación de frutas ácidas y notas kush es cada vez más evidente. Los tricomas siguen mayormente lechosos, con algunos empezando a mostrar tonos ámbar, pero aún no es momento de cosechar.
Una planta vistosa y con mucha clase.
¡Seguimos creciendo fuerte! 💪


Likes
4
Share


@mr_smooke
Follow
Only tap water for this shiny beauty. she gonna finish in 2 weeks maybe earlier. can not wait for harvest. here is day 43f


Processing
Likes
2
Share


@GrowinMyOwn
Follow
Both girls are healthy and happy. Buds are solid although still a bit small. Today my Mars Hydro TSW2000 arrived and it's already unpacked and hung. I raised the light dustance to 45 cm. I also moved the cheapo 100w LED to 2 new FastBuds Zkittlz Auto seedlings. Wow, what a difference good lighting makes!! The Mars Hydro TSW2000 is well made, easy to install and bright-ass daylight LED!! I expect to see significant fattening of the buds over the next 2-3 weeks.
Update: I swear the existing buds doubled in size within the last 24 hrs after switching out the light to the Mars Hydro. I'm excited to see how these 2 finish.
4/22 update: I'll be damned! The box from the new light (which is heavy, double wall corrugated) fell onto both plants...I heard snapping everywhere! Good ole electrical tape to the rescue!! These girls look wounded with all this black tape! It's several hours after bandaging and I see no wilting or noticable changes....keeping my fingers crossed!
The videos show both plants pretty well recovered from the damage except the purple stems and veins. I have some cal/mag coming Monday.... hoping that will fix that issue. Both are loving this new light and continue to pack on the bud weight.

Likes
30
Share


@ChitownCannaChica
Follow
Just humming along now. The smell is so amazing and unique. I was under impressed with this plant at first, but the frost and terps are changing my mind. Very unique sweet m, candy/floral with a hint of gas. Can’t wait! ✌️💚🌿💨
Likes
16
Share


@Northern_Ent
Follow
Aug 24: starting the sixth week of flowering. I’ve added another Scrog layer mostly to help keep fan leaves out of the way and expose the bud sites. This “loose Scrog” or whatever technique works quite well.
She’s fairly leafy but the buds are coming. 👍
defoliated to remove fan leaves that were growing toward centre. Don’t want to overdo it but there needed to be some removed.
Aug 25: nice sunny day and had the UV lights going. Took flash pics just before using the 730 nm far red light. Don’t use a flash like this if you don’t have the red light as you might cause it to hermie. But you can get great flash pics. 👍
Aug 26: looking good. Watered with potassium silicate this evening. It’s a strong base and it takes a fair bit of vinegar to get the pH back down to about 6.4. That’s fine though because the microbiota (‘bugs’) will appreciate a serving of easily digested acetate. That’s part of why it’s better to use vinegar than HCl. Chloride would not help but the organic acetic acid does help.

Likes
4
Share


@GrapevineGrower2
Follow
Overall, this is 9th week of flower for the entire F'22 grow season. With French Macaron beginning week 7 flower and Afgooey #1 and #2 in mid-week 5 of flower. The Afgooey #3 is just starting to form tiny budlets after an extensive defoliation as she's squatty with lots of foliage.
Updates & Observations - a lot of maintenance this week from continual ph'ing and flushing as Afgooey #2 has joined the French Macaron with low ph runoff readings. Given I'm growing in a living soil mix with periodic top dressings and teas every 7-10 days, I'm stumped. So, no more feedings for the French Macaron until harvest. Decided that next watering I will flush both girls with fresh rain water captured/stored which I have stored outside in 30 gallon barrels. Rain water tested at 7.2 ph, which to me is good enough for the flushing. It's raining for 3-4 days next week, so this will exhaust existing supply and replace with fresh rain water. Perfect timing. Will update next week.


Likes
Comments
Share

@SidekickGrowie
Follow
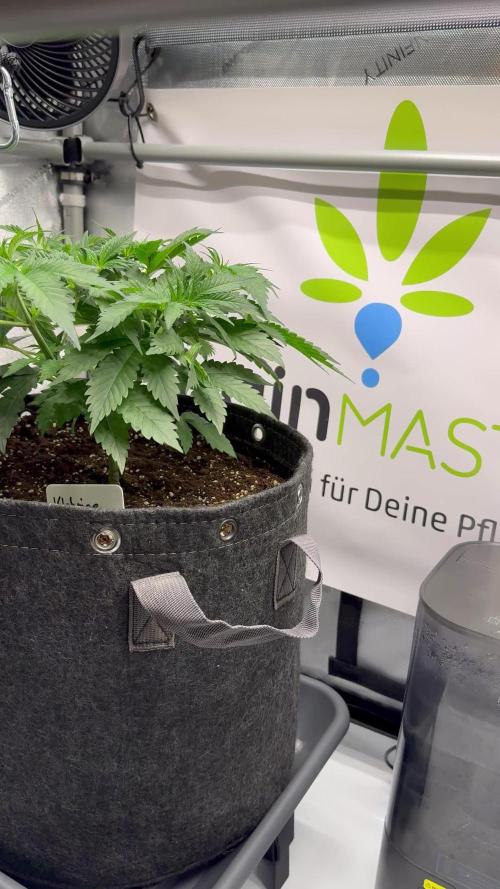
Moin moin,
In dieser Woche habe ich mich hauptsächlich darauf konzentriert die Pflanze Triebe auf eine Höhe zu bekommen.
Das tue ich indem ich die Segelblätter immer wieder vorsichtig nach unten biege. So kommt mehr Licht an die Triebe und sie wachsen dadurch schneller.
In den letzten Tagen habe ich dann die 2 unteren Triebe mit den jeweiligen Blatt entfernt. Das sorgt für eine bessere Zirkulation unter den Blättern.


Likes
32
Share


@MadeInGermany
Follow
Info:
Unfortunately, I had to find out that my account is used for fake pages in social media.
I am only active here on growdiaries.
I am not on facebook instagram twitter etc All accounts except this one are fake.
Hey everyone ☺️.
She developed very well 👍.
In the next 10-14 days she will be in the bloom tent :-).
1 g Enhancer Pro l cocos was added.
As always, a cuttings are cut before moving 👍.
Otherwise everything was cleaned and checked.
Have fun and stay healthy 🙏🏻
You can buy this Strain at :
www.Zamnesia.com
Type:
Runtz
☝️🏼
Genetics:
Zkittlez x Gelato
👍
Vega lamp: 2 x Todogrow Led
Quantum Board 100 W
💡
Bloom Lamp : 2 x Todogrow Led
Cxb 3590 COB 3500 K 205 W
💡💡☝️🏼
Soil : Bio Bizz Coco
☝️🏼
Nutrients : Green House Seeds Company Powder Feeding Bio
☝️🏼🌱
Water: Osmosis water mixed with normal water (24 hours stale that the chlorine evaporates) to 0.2 EC. Add Cal / Mag to 0.4 Ec Ph with Organic Ph - to 5.8


Likes
12
Share


@SpliffDoc
Follow
Getting dense now, really enjoying growing this strain, I'm excited to see the end result in 3/4 weeks. Let's go.l... Have a good weekend people, stay high🏻😉💚


Likes
26
Share


@GuerillaGorilla
Follow
21 september
She is really close.
Weather forecast is pretty good the last part of this week. She has 3 or 4 more sunny days to go.
After that she will be harvested in steps. Big first, bottom second. Probably couple of days in between. Same process for all my plants. MAROC was also harvested like this during the past week.
It was a tense few weeks with all the rain we had. I had to cut out some buds to keep mould from taking over but i managed to keep the damage under control.
Biggest surprise was that fungi now grow underneath the plant as well, not just in the buds😅
Lovely sight to see!!

Likes
17
Share


@Mr_Motalovah
Follow
Hello Growers and Tokers! 👋 👩🌾 🧑🌾.🔥💨
Another week in flower, except for the height there isn't much progress with her.
Structure is all uneven, growth is uneven, should have topped before..
Hope you all have a great day!
One love!


