


Likes
Comments
Share


@BIGBUDZ450
Follow
Day 78. Everything is looking good. I will be adding Potassium in the next weeks since I’m growing with LED and the strains I chose aren’t geneticaly compact buds. Hopefully it will make a heavier yield and more Compact buds.
I replaced Terpinator for Rezin from the same company Green Planet. Fed them full, 4 L - 4.5 L ( 200 - 700 ML runoff )
Day 79. Letting them do their thing till the next feeding.
Day 80. Buds getting bigger heavier and stickier.
Day 81. Fed them full, 4 L - 4.5 L ( 200 - 700 ML runoff ). Had a little problem today and temptures rised yo 35-36 C (usually at 27-30).
Fixed it and they showed no sign of damage yet. They smell really good and strong but different between eachother.
Day 82. Huge Growth in buds showing, Buds got alot Bigger. Letting them do their thing. thinking of feeding them a PH Water Feeding to flush them out clean.
Day 83. Tempatures and humidity are on point. Nice air circulation going on and everything seems good. Fed them full, 4 L - 4.5 L ( 500 ML - 900 ML runoff )
Day 84. Next feeding will be 6.0 Ph water nothing else with 15-20% runoff to flush them out.


Likes
22
Share


@CampaCavallo
Follow
Ultimo weekend per la Big Bud... porca vacca ho fatto le foto con l'obiettivo sporco... Scusate ragazzi

Likes
9
Share


@Crazy_Doofus
Follow
Slightly Light amber, but I'm cutting her. She really looks ripe. Also an infestation of sap eaters, so the plant is at it's end. The plant with long stem is not even 48 grams, very disappointing! Very thin flowers. Maybe if I'm lucky, I will have 10 gr 😞😞😞
Likes
107
Share


@MrJones
Follow
I was very impressed with the yield from 1 plant, 88 Grams, the smell when you open the curing tote is phenomenal, the buds have plenty of trichomes, and get you stoned as hell. I grew this plant in y super coco, with only a few late flower top dressings, straight forward and very easy. I would recommend these seeds to anyone!

Likes
5
Share


@Scrublord
Follow
tons of issues in veg but we made it. Just waiting the final few days. gonna go to day 60 and chop.

Likes
3
Share


@OldskoolHed
Follow
Fattening up every day and smelling amazing! Took out calmag supplementation and will start a flush next week. Starting to see a bit of senescence. She finishes at 8.5 weeks max consistently.
Likes
5
Share


@4Haut
Follow
Hi@all,
week five. Again, not much exciting happened here. It’s growing and growing. Small and bushy with thick branches. 💪🌿👌
It looks very healthy. Every week, I have to defoliate and tie down the branches, otherwise, it would look like a jungle 😄
greetings 😎👋
Grow.Hard.Go.Pro

Likes
2
Share


@Ninjabuds
Follow
It's a nice change of pace to have these warmer temperatures, even if it's not quite spring yet. Low 40s during the day is a lot more comfortable than what we've been dealing with lately. Hopefully, this is a sign that spring's around
Those Bubble OG's are looking fantastic! It's awesome how two of them are starting to get that purple color – they look so cool. The third one might look a little different, but that just adds to the fun of growing them.

Processing
Likes
52
Share


@CBD_Sweden
Follow
@MephistoGenetics,
Hi all the happy people here in GrowDiaries.
This is my second cultivation ever and it will be fun to try a bigger space than my closet grow.
First, I'm just going to say I'm done with the construction of my new growroom.
The room is 2.14 meters by 1.7 meters and has a ceiling height of 2 meters.
It provides a floor area of 3.6 square meters.
I use a 54 Watt Lightwawe T5 for germination and 2 Pcs 400 Watt HPS lamps.
I have a channel fan that replaces the room air about 40 times an hour to get a comfortable environment in the room, the air enters a fresh air intake from the outside.
The air is purified through a carbon filter to then leave the room to the rest of the basement.
Then I use that heat to heat the rest of the basement.
I will use 10 pcs 15 liter Autopots to grow with and a 100 liter water tank that supplies the pots of water and nutrition.
I will grow completely organically in soil and will watercure my buds to get the best possible medicine for me.
But there are no cultivation rooms to be displayed here, so I continue with what is most important.
I am very excited to see how the new growroom will work and how this Stilton Special will turn out.
Strain Name: Stilton Special F1
Genetic heritage - Sour Livers F3 x Northern Cheese Haze F3
Strain behaviour - Stilton grows well from the off, and develops into a stout but branchy specimine that leads to a fine yield of awesome flowers. She's not too stretchy but also is sizeable enough with good growth, to train and shape to your liking. Flowers develop pretty fast and grow to a good size, it may to advised to clear out some undergrowth and if needs be a very gentle defoliation mid-way through the grow, although leaf tucking may suffice well enough.The end product is of top shelf quality and she doesn't lack in yield either.Give your garden, nose, and body a treat and be sure to indulge in a slice of Stilton this year, You won't regret it.
Size - 50 - 70 cm
Structure - Medium height but bushy
Flower Density - 9/10
Indica/Sativa - 65/35
Cycle Time - 65 to 70 days from sprout
Yield - 90 to 140 grams as a single plant
Best Method for overall high yield - 9-12 per 1,2m x 1,2m sq in 10-15 Liter pots (Soil)
Aroma - Very strong, Cheesey/fruity/sour/spicey/ with a dash of coffee.
Taste - Dank berries
Effect - Good hybrid powerful but balanced effect
Medicinal Benefits - TBA
Best Grown - Indoor/Greenhouse
Cannabinoids - TBA
Extract information - Ideal extract candidate - High in resin, oil and terps.
--------------------------------------------------------------------------------------------------
2017-10-02. New week, im starting to increase the nutrients now. Added video and pics. The girl is 31 cm high and very bushy. She is in some early stages of flowering.

Likes
Comments
Share

@Drehpaper
Follow
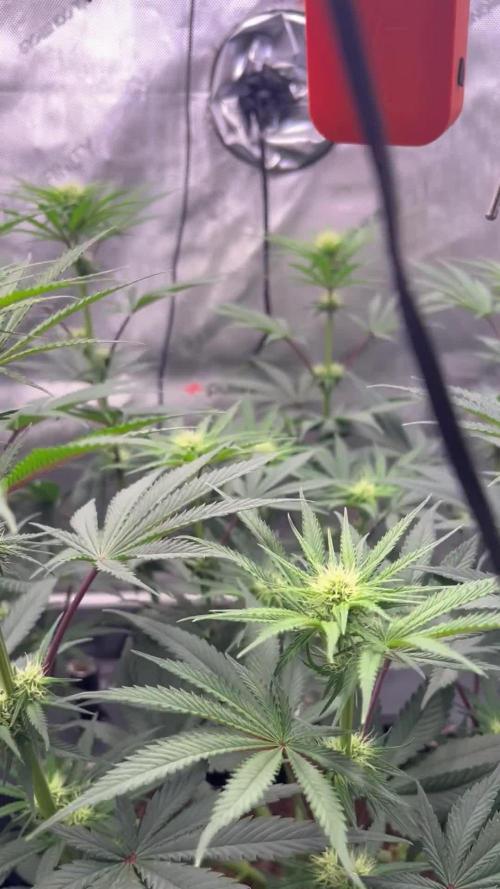
Woche 7
Tag 43-49 / Blüte Tag 15-21
Luftfeuchtigkeit 50
Tag 27
Nacht 22
PPFD 800
DLI 34,56
Höhe 55
VPD 1,4
Lampe Abstand 40cm
Lampe auf 60%
Acht Tage nach Umstellung, erste Blüte Anzeichen zu sehen.
Komme leider nicht unter die 50% Luftfeuchtigkeit, wird wohl bis Ende so durchgezogen.
An Blüte Tag 16 wurde sie radikal entlaubt und um einige Triebe erleichtert. Evtl bisl zu Radikal
🙈.
An Tag 21 wurde sie mit 0,5 Liter Komposttee gegossen. Eigenkreation ausm Komposthaufen von Oma 👵.
Temperatur leider auch immer um die 27 grad die ich nicht gesenkt bekomme. Werden hoffentlich nicht zu viele Terpene flöten gehen.


Likes
8
Share


@4leksz
Follow
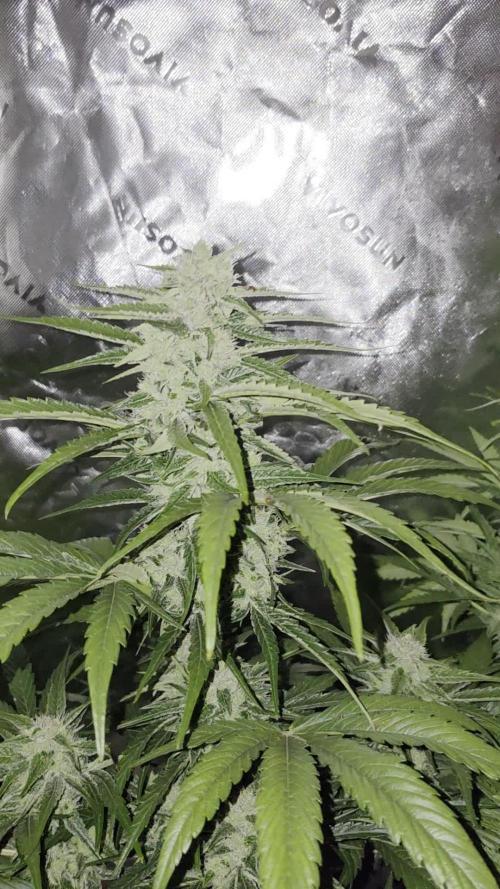
This Week we are going through Flowering Week 1 and they doing so far nice.
Only one Big Bud is not happy about it he's not growing anymore and i don't know if he don't like the solution or Genetik from clone is weak.
Added water today around 70 Liters and split it into the 6 Water Tanks.
Ph 6.0
EC 1.4
On the bigger plants the ph is dropping on 5.1 so i added ph up to get him on 5.8.
A few leaves are going to show bad colour so i looked maybe it was underfeeding, i monitor them for the next days and tell you how is going.
Thanks for watching my report
Stay Green :)


Likes
2
Share


@TOMI08
Follow
64.nap
Valami nagy robbanás volt az ak47 lányokon..
Nagyon meleg van és szeretik 4 naponta itatomm őket
Ma nagyon meleg volt 34fok a fólia sátorban gondolom több
Likes
25
Share


@JonnyKush
Follow
day 73
I was not ready for all this! 🤣🤣 they literally exploded, even though the buds of El Patron are much thinner than the purple queen I have in my tent, I had to tie them up so that the weight of the flowers didn't break the branches. I have to say that 6 photoperiods are too many for my 1m x 1m x 2m tent. in addition to this I have noticed that they are very hungry. like me and give me some advice. thanks for stopping by, have a nice day and happy cultivation 💚🌳💚🌳

Likes
14
Share

@Centollo
Follow
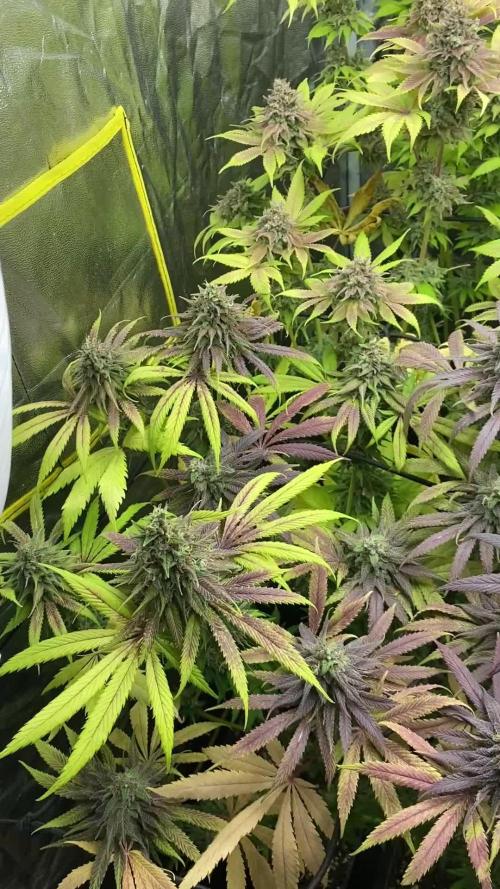
Última semana!!! Muy contento con todas las variedades!! Cuando la seque y la cure, volveré a escribir mi opinión de cada una de ellas. Buenos humos!!



Likes
23
Share


@Firepharmer
Follow
Flushed and chopped down!!
Vert impressed with the Futur vert flora max series led’s killer quality killer yield


Likes
30
Share


@cherokee
Follow
Очень яркий синий цвет листьев 😁.
Всем привет 🙌🖖.
Вытащил куст из тента и задел ветку, запах наполнил комнату.... Ето был аромат свежего яблока, очень насыщенный аромат. Растение выглядит готовым к харвест, держим неделю на чистой воде и под нож 😁.