
Likes
Comments
Share


@GERGrowDesigns
Follow
Harvest Time of Fast Version B Strain and Welcome to :
-Designers Club -
Special Thanks to John for hopping through my Messages to Join The SSSC/DP Photo C8ntest
The Project was Supported by Narcos Seeds to give the Strain the Perfect lifespan it could Deserve .
Light used for The Contest Grow :
Tenty Pro x4 200w in a space of
60x60 Homebox Ambiente Tent.
Preparation Before Harvest :
5 Days without Feeding / 2 Days of them Complete in the Dark .
Enough Talk from me , just Enjoy youre Seats and be a part of The Designers Club .
Good Luck to Everybody and Keep up Growing !

Likes
13
Share


@Terpz_Hunter
Follow
Growth has been slow but solid thought I'd do a update for the last 2 weeks, bud sites really stacking now getting very dense and sticky, its been a long grow but I think she's nearly there few more weeks, still not looking like a massive yielder but now the bud sites are bulking out and becoming dense I think it will be better than expected 🙏 very potent skunky smell coming off her

Likes
3
Share


@Qaggy
Follow
Gave them all a defol as they was getting to bushy at the bottom.
They all look great apart from number 3. I can’t seem to perk her up. Tried straight water for a week, ph is 6.3. Then tried her with nutes but nothing’s making her happy. Think she’s just 1 of them doom and gloom girls, we all have known them haha.

Likes
3
Share

@AbbyCat
Follow
The sick ones are looking stronger and still really behind, but I think they will all bounce back. The new growth looks healthy, and they look strong for the most part. Just really small compared to the healthy sisters. 4 week veg starting with nut change, removed Voodoo Juice.

Likes
8
Share


@TrueNorth
Follow
Okay growmies here we are at the end of our GELATO AUTO 🍧 by FAST BUDS. It was such a pleasure to grow, i learned so so so much this run that will help me through the rest of my adventures. The beginning was tough as i am new i over watered and did not ph the water and what i mistake. But its okay i learned. She bounced back like nothing and produced these HUGE, FROSTY, DENSE BUDS! I remember the panic i had week 2-3 and wanted to scrap all of this and start over.... thank the weed gods i didnt because look at this masterpiece. I always said she took for ever but hoped she becomes a beautiful queen. And here she is. She was SOOO HUNGRY AND THIRSTY! Over a all a pleasure and amazing grow. I will for sure grow again and again. She responded so well to LST and topping... slowed it down but it was so worth it guys lmao...
GROWMIES! I LOVE LOVE LOVE YOU ALL SO SO MUCH! Thank you for all the continued support and likes and comments and help. Id be no where with this with out all of you. And thank you to the FAST BUDS team and to you heather! Grow diaries thank you for the plat form. I love you guys. All of you. All my sponsors. Thank you.
Until
Next time growmies! Stay positive, stay safe, stay

Likes
17
Share


@Sergio_721
Follow
So far it seems to be fine even if the high humidity worries me even if the temperatures are still high then they have stopped growing and will finally focus on the flowers and slowly we recover these small deficiencies
Likes
19
Share


@Robin87
Follow
2nd week of flower almost complete, she’s starting to stretch😅 she’s got all the room in the world above her so she can grow to the sky for all I care, beautiful colours amongst the leaves, the reds, pinks and purples look 💥.. No defoliation, LST or any sort of training this week, Plants being left to just grow naturally from now till harvest. Untill next time👊🏻

Likes
3
Share


@KushManAdam420
Follow
ploughing on ahead this week , i have removed some lst ties from each plant . focusing on leaf tucking . Since we are now in flower.
I did a little defoliation for the topped crinkle to remove bud sites that would not reach the canopy . otherwise these have not been stressed at all it seems , ive only leaf tucked and lst , more pics coming soon
we are at full power - 200w . thinking of upgrading


Likes
1
Share


Likes
11
Share


Likes
47
Share


@Jimmy89
Follow
Decided to give these a few more days, was planning to chop them on day 56 but I’ll let them go till day 60. They have had over a week with no nutrition, just water. Photos taken day 59 of flower, they’re coming down tomorrow!!

Likes
7
Share


@OwlGang_Uk
Follow
Gorilla Glue #1 - Harvest Comment - I Am Very Satisfied With What I Got, I got 3 ounce 7 grams - I Uses Advance Nutrients PH perfect In veg then I switch to the iguana juice organic juice for the flowering stage. I notice a much more slower growth when I switch to organic nutrients.00
Likes
2
Share


@stggenetix
Follow
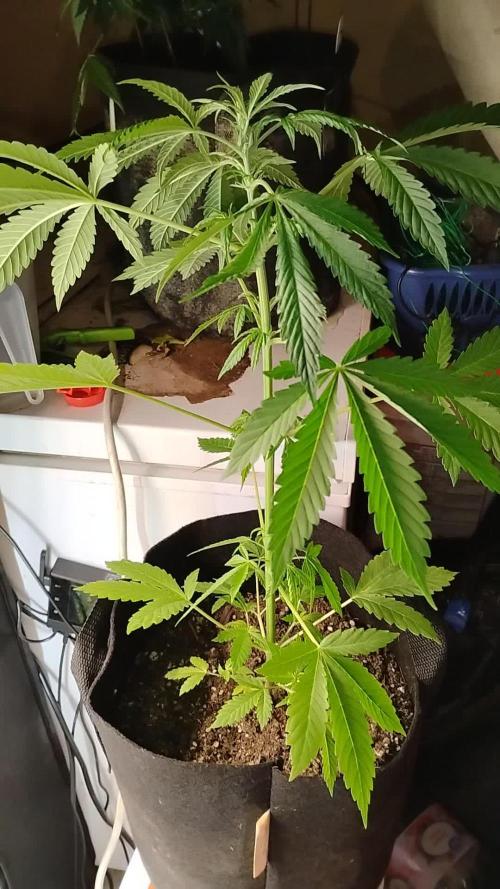
massive growth in this girl. i decided to flip them both cuz they are in a 2x2. trying to get 12 tops. 6.3 ph 1800 ppm run off. the one girl goy reckt by knats so her roots got stunted. haven't decide what to do. toped her and she grew strange. gonna bump up the lights a bit maybe she streached out to much. topped one last time in the 3 gal. cal mag and silica only for now.

Likes
17
Share


@Leonard_Lunte
Follow
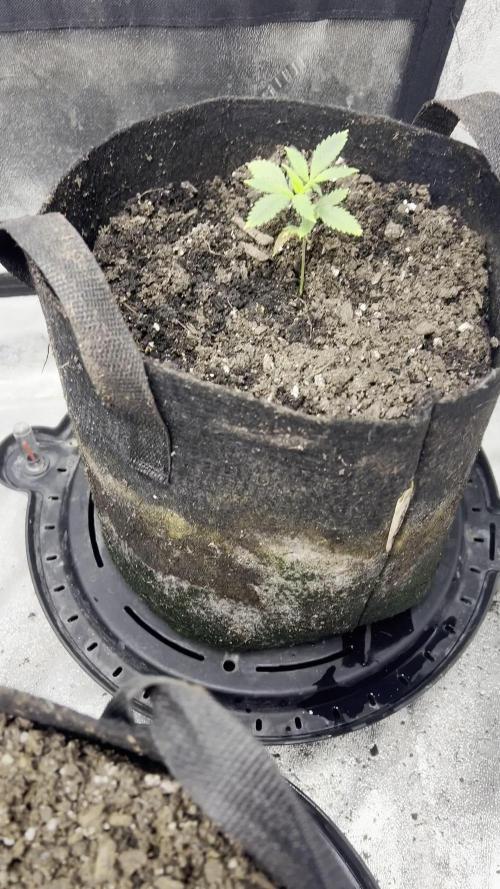
Picture 1 - Day 8 - Seedling 1 got its nutrients the first time today. 1ml/L Biobizz Grow about 700ml.
Picture 2 - Day 8 - Seedling 2.1 still stretching a bit too much, am waiting for the new light to arrive.
Picture 3 - Finally got the new setup, the grow tent isnt perfect yet but itll do for the next few weeks (its just an old temporary closet) it leaks a lot of light and moisture but since I only have these 2 mini plants rn I dont think its gonna be a huge problem until flowering.
Picture 4 - Day 9 - Seedling 1 looking good and Seedling 2.1 (3 Days old) will hopefully stop stretching now that I finally got the bigger light here. Watered 2.1 again today with just ph water.
Picture 5 - Day 10 - Nothing special happening, the plants are looking good!
Picture 6 - Day 11 - I now installed a fan in the grow area to better the ventilation. The fan is doing a great job at moving air around, but kinda messing up the moisture coming out of the humidifier... (With fan and humidifier on at same time = 40% with just humidifier running = 60-70%) Not sure how to fix that yet... Will water Seedling 1 again tomorrow.
Picture 7 - Day 12 - Seedling 1 growing good but its leaves are still looking really weird, I think theyre going up on the edges because I put them under slight wind stress, but that issue is fixed now. Some parts of some of the leaves still look really odd to me, like they got cut off or something? I dont know
Picture 8 - Day 12 - Seedling 2.1 is 6 days old now and growing good, theyre some tiny yellow dots on the leaves surface but its really slight so I dont know if its something bad. I watered both plants today, Seedling 1 with Bio Grow Nutrients and Seedling 2.1 with just Ph'd water.
Video - Day 13 - Both seedlings still growing, but looking kinda sus.

Likes
10
Share


@DNBgreen
Follow
los esquejes enraizaron rapido a los 9 dias ya tenian raices y el dia 10 fueon transplantados


Processing
Likes
17
Share


@professor
Follow
Defoliated yesterday. Not up to the screen yet, and I'm impatient. If it's not there next week, I'm going to raise up the pots.
When I switched to 12/12 I also began spraying the taller plant in the dirt pot with colloidal silver. Soon that pot will leave for the honeymoon suite.
Likes
12
Share


@chrisss
Follow
Day 57) nothing
Day 58 ) Fed ph”d recharged water, half a gallon
Day 59) nothing
Day 60) Fed calmag and bloom , lotta calmag cuz I see cal def
Day 61) nothing
Day 62) flush with 2 gallons of phd water
Day 63)
Likes
39
Share


@Roberts
Follow
Bubble OG Gum auto is looking great. Super frosty colas on her. She has a sweet smell with a bubble Gum smell. Trichromes were still overall clear. I will leave her in feed a few more days. Then go to ph water for her flush week. She looks good, and smells great. Thank you Spider Farmer, Athena, and Ganja Farmer. 🤜🏻🤛🏻🌱🌱🌱
Thank you grow diaries community for the 👇likes👇, follows, comments, and subscriptions on my YouTube channel👇. ❄️🌱🍻
Happy Growing 🌱🌱🌱
https://youtube.com/channel/UCAhN7yRzWLpcaRHhMIQ7X4g


Likes
5
Share

@AestheticGenetix
Follow
7/17/25 pistils are coming in nicely. Albeit slowly but she is flowering now.
