


Likes
Comments
Share

@All_our_small_plants
Follow
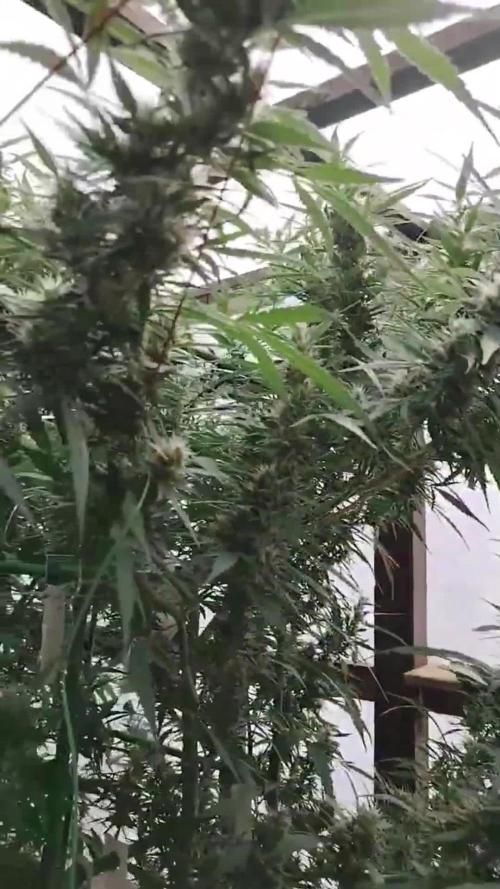
Bewässerung: 30000 ml jeden 3 Tag in der dreiundzwanzigsten Woche
pH-Wert: 6,3
EC-Wert: 1,6 mS/cm
Temperatur: 24ºC
Luftfeuchtigkeit: 60%
Schädlingsbekämpfung: Raubmilben
Düngemittel: Sie bekommen ab jetzt Brenneseljauche da sie im Outdoor Bereich ist.
Besonderheiten: Der Boden um den still herum wurde mit Holzasche behandelt gegen Meltau.
-Tag 152 Heute haben wir sie nochmal etwas gebunden damit die Blüten mehr auseinander gehen und sich nicht berühren, das Wetter ist weiterhin sehr schlecht und es sieht so aus als ob der Rest der Woche nicht viel besser wird.

Likes
25
Share

@Nedizzle
Follow
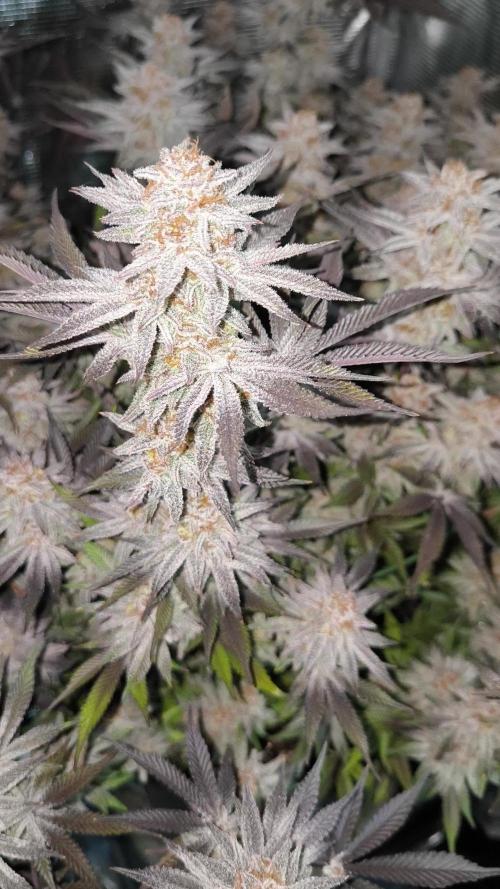
Overall a very nice growing strain. I really like the open structure. I would give her 70 days of flowering. This pheno is mid on the taste and she needs more time to unfold flavors, but i would grow her again, just to have a different exhale experience. The effect is nice for focusing on whatever is in front of you. 8.5/10.
A lot of sugar leaves btw, but i didnt weight it yet. I expect 40% trim of whole dried plant. Its a lot imo.
The yield is on the upper XL range (100-150g range). XXL begins at 150g for me.
My next grow is already running on DWC(hype). Its Lemon Cherry Gelato and Jealousy. I will mainline it too and try to sharpen my skills. Cya 😀 soon

Likes
7
Share


@HegauHillsFarmers_D23
Follow
Seit Ende letzter Woche wurde das Licht auf 12/12 h umgestellt 💡
Die RP43 ist in dieser Woche nochmal ein Stück in die Höhe gegangen und hat sich insgesamt gut entwickelt. 🌿🌱
Auch die Vorblüte ist an Blütetag 7 das erste mal erschienen. 👀
Sie ist bis jetzt gut in die Blüte gerutscht🌱
Likes
25
Share

@GERGrowDesigns
Follow
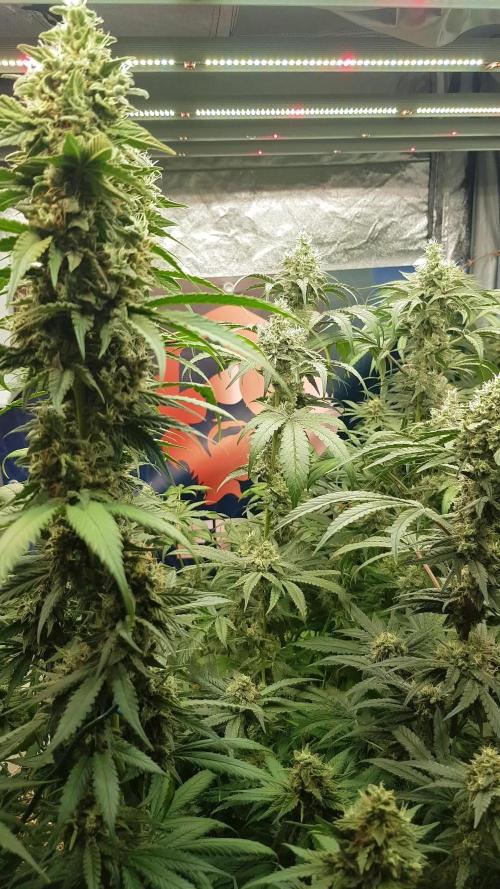
-fast Diarie Finish up sorry ( allready Harvested )-
[Be Back soon !]

Likes
6
Share

@tsf_homegrow
Follow
🇩🇪
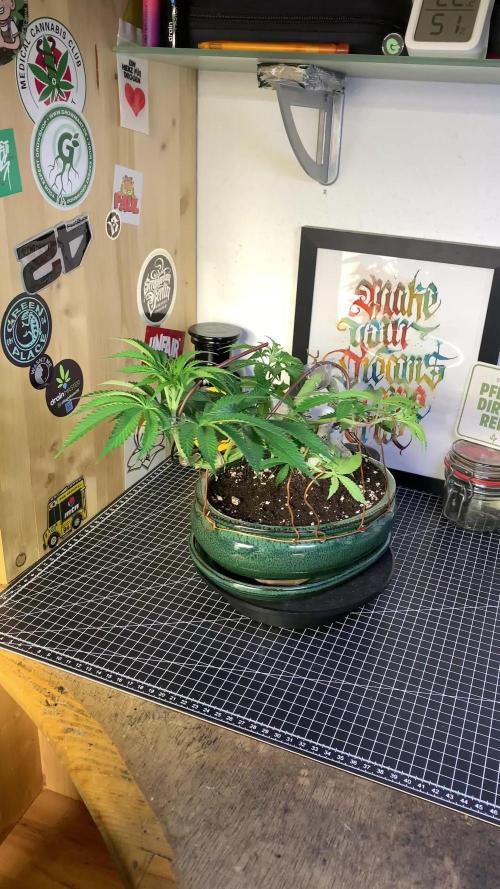
Ich war dann doch neugierig und hab mich dazu entschieden nach einer Woche einen Teil der restlichen Erde und den Rand vom Airpot zu entfernen um mal zu schauen wie sich die Wurzeln in dem Bereich machen. Und tatsächlich mehr oder wenige wie geplant und am Ende durch das verrutschen der Pflanzen oberhalb der Erde auch wie erwartet nicht ganz perfekt aber dennoch bin ich für den ersten Versuch sehr zufrieden. Auch wenn die Wurzel nicht von Fingerspitze zu Fingerspitze geht und sich der Stamm nicht mehr zur Seite sonder mehr nach oben verwachsen hat. Ist sie trotzdem sehr gelungen. Und kann sich die nächste Zeit erstmal wieder erholen und wird nur hier und da in Form gehalten.
Happy growing💛✌️
🇬🇧
I got curious and decided after a week to remove some of the remaining soil and the edge of the Airpot to see how the roots were doing in that area. And indeed, more or less as planned, and in the end, due to the plants shifting above the soil, it wasn't quite perfect, as expected, but I'm still very happy with it for the first attempt. Even though the root doesn't stretch from fingertip to fingertip and the stem has grown upwards instead of sideways, she still turned out very well and can now recover for a while and will only need occasional trimming. Happy growing! 💛✌️

Likes
23
Share


@cmstacker01
Follow
A couple days before chopping.
Spotted budrot at 2 spots in the New 2. So almost time
to cut before it get worse.
The rest is doing fine, New 1 and Strawberry are gonna be the first ones to get chopped together,branches are under load and some are bending down


Likes
6
Share

@DogDoctorOfficial
Follow
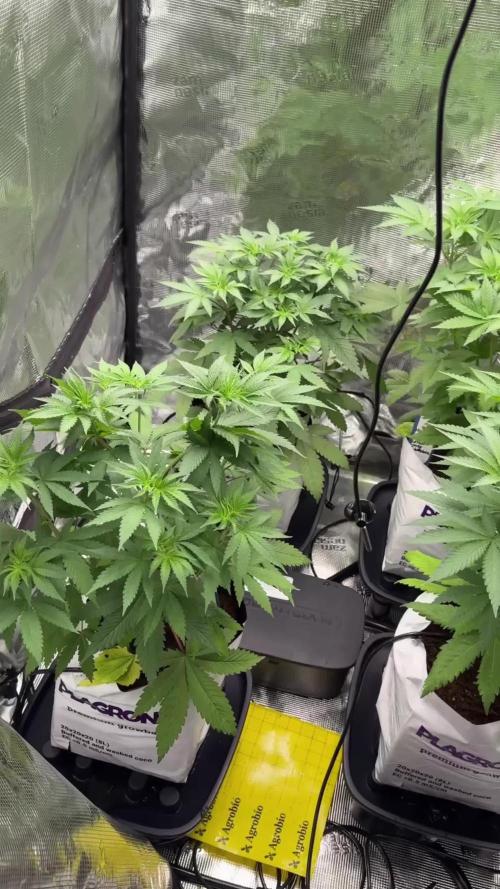
🥒 Project Blue Tent – Week 5
Pickle Lemon Haze F1 – Pheno A (Folder 14A)
Hello everyone, and welcome back to another update from Project Blue Tent! 💙🌱
If this is your first time stopping by, welcome!
Project Blue Tent follows four individual plants, each documented in its own dedicated diary from seed all the way to harvest. Every plant receives the exact same environment, nutrients, lighting, irrigation and care, allowing us to observe how each phenotype expresses its own unique personality despite sharing identical conditions.
This week marks another exciting milestone for Pickle Lemon Haze F1 – Plant A.
After recovering beautifully from topping, it was finally time to install one of my favourite training techniques...
The SCROG net.
🌿 Week Five – The Canopy Begins
This week was less about vertical growth and more about shaping the future.
With the plant fully recovered from topping and growing faster than any of the others inside the tent, I decided the timing was perfect to install the SCROG net and begin spreading the canopy.
Plant A immediately confirmed my suspicion.
She has become the most vigorous plant in the room.While the other ladies settled comfortably beneath the screen, this phenotype almost seemed eager to escape it. Every branch wanted to continue growing upward, so the goal this week became gently guiding that energy sideways instead.
One branch at a time.One square at a time.
Nothing forced.
Nothing rushed.
SCROG is very much a daily conversation with the plant rather than a one-time training session.
Looking at her today, I already have the feeling she may end up occupying the largest portion of the canopy.
Only time will tell, but she's certainly making a strong case for herself.
🕸️ What is a SCROG?
SCROG stands for Screen of Green, and despite the name, the net itself doesn't actually support the buds.
Its primary purpose is to control the plant's shape.
Instead of allowing one dominant top to grow taller than everything else, the branches are gently guided horizontally beneath the screen. As each branch reaches a new opening, it's carefully tucked into the next square, encouraging the plant to spread across the available space rather than simply reaching toward the light.
The result is a flatter, more even canopy where many growing tips receive similar light intensity.
Instead of producing one large cola and many smaller ones hidden underneath, the plant is encouraged to create dozens of equally productive flowering sites.
It's one of the most effective ways to maximize light efficiency inside smaller tents.
🤔 Is SCROG for everyone?
Not necessarily.
One important thing many new growers don't realize is that once the plant is woven into the screen, moving it becomes extremely difficult.
Need to remove the pot?
Almost impossible.
Want to rotate the plant?
Not anymore.
Need to carry it somewhere else?
Forget about it.
The plant essentially becomes part of the tent.
For growers who frequently move their plants for maintenance, watering or photography, SCROG can quickly become frustrating.
Personally, I don't use it on every grow.
But in compact setups like this Project Blue Tent, where every square centimetre matters, I absolutely love working with it.
There's something incredibly satisfying about visiting the tent every day, gently guiding a few branches, watching empty spaces slowly disappear, and seeing the canopy become flatter and more uniform with each passing day.
It isn't a technique everyone will fall in love with...
But it's definitely one I encourage every grower to try at least once.
Only by experiencing it can you decide whether it's the right style for your own garden.
🌡️ Environmental Conditions
This week the environment remained stable, allowing the plants to focus entirely on recovering from training and continuing vigorous vegetative growth.Average conditions were:
• 🌡️ Day temperature: 30°C• 🌙 Night temperature: 25°C
• 💧 Relative humidity: 58%
• 🥥 Root zone temperature: 24°C
• 💦 Nutrient solution: 18°C
• ⚗️ pH: 5.8
• ⚡ EC: 1.92 mS/cm
• 💨 CO₂: approximately 450 ppm
• 💡 Light schedule: 18/6
Even with slightly warmer daytime temperatures this week, the plants have continued to show excellent vigor thanks to stable root temperatures, consistent irrigation and healthy airflow throughout the tent.
🥥 Feeding Update
One observation from the previous couple of weeks was the slightly lighter shade of green across all four plants.
Although they remained healthy and continued growing without slowing down, I felt they were asking for just a little more food.
Rather than waiting for deficiencies to develop, I made a small adjustment to the nutrient solution.
Current feeding now consists of:• Plagron Hydro A — 1.9 ml/L
• Plagron Hydro B — 1.9 ml/L
• Plagron Hydro Roots — 1 ml/L
This small increase has already made a noticeable difference.
The fresh growth is returning to a richer shade of green while maintaining the vigorous posture I've been seeing throughout the project.
One of the things I continue to appreciate about growing in coco is how quickly plants communicate with you. Small adjustments often produce visible improvements within just a few days, making it much easier to fine-tune nutrition before small issues become bigger ones.
🌿 Pickle Lemon Haze F1 – Plant A
This phenotype keeps reinforcing the impression she's given me since the beginning.
She's vigorous.
Responsive.
And full of energy.
Even after being bent beneath the SCROG net, every branch seems determined to keep pushing upward, which is exactly the kind of behaviour I was hoping to see before entering the next stage of vegetative growth.
The stems continue thickening beautifully, making the training process much easier than it would have been with weaker growth.
The internodal spacing remains compact, the foliage is healthy, and the plant has handled every bit of stress I've introduced so far without missing a beat.
At this stage she already feels like a plant that's going to demand plenty of room.
Whether she ultimately becomes the dominant lady inside Project Blue Tent remains to be seen, but she's certainly making her intentions known.
🔍 Looking Ahead
Over the coming week the focus will remain exactly where it should be.
No rushing.No unnecessary stress.
Simply continuing to tuck new growth beneath the SCROG screen while allowing the canopy to expand naturally across every available square.
I'm excited to see how each phenotype responds to this new training style.
Some plants naturally embrace SCROG.
Others fight it every step of the way.
That's one of the reasons I love documenting projects like this.
Every week the plants teach us something new.
And I have a feeling Pickle Lemon Haze F1 – Plant A still has plenty more to reveal.
💙 Thank You
A huge thank you to Zamnesia for making Project Blue Tent possible, from these fantastic Pickle Lemon Haze F1 genetics to the complete ecosystem surrounding this grow.
A heartfelt thank you to Plagron for providing the Premium Growbags together with the Hydro nutrient line, delivering consistent nutrition and allowing these plants to thrive week after week.
A sincere thank you as well to Phytonaut for the outstanding LED lighting that continues producing compact growth, excellent structure and an incredibly even canopy across the tent.
Thank you to GrowDiaries for giving growers around the world a place to document their journeys, exchange knowledge and inspire one another every single day.
And finally...
Thank you for following along.
Whether you've been here since germination, recently joined the adventure, leave comments every week, or quietly follow these updates from the background, your support genuinely means the world to me.
Project Blue Tent isn't just about growing great plants.
It's about sharing the entire experience—the experiments, the lessons, the successes, the mistakes, and everything we learn together along the way.
I hope you're all having an amazing week, and I can't wait to show you how this canopy develops over the next few days.
Until next time...
Growers Love, happy growing, and take care everyone! 🌱💙
Likes
5
Share


Likes
8
Share

@lateKdF
Follow
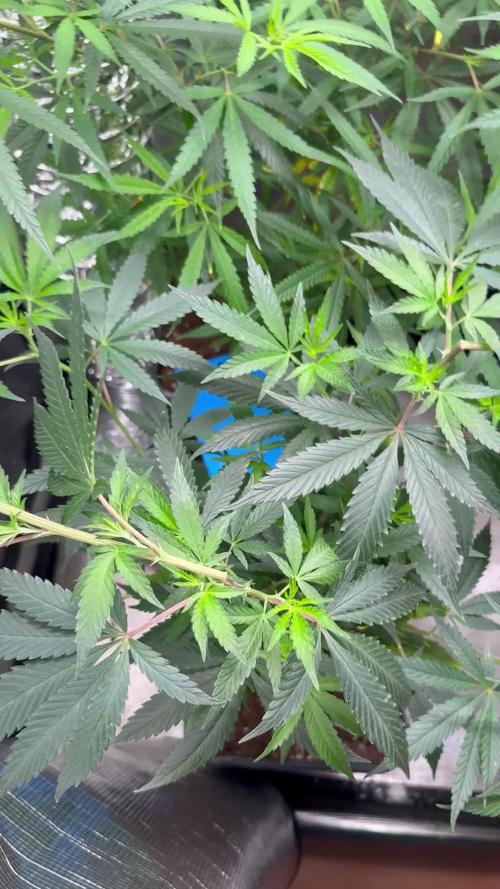
10/12/21 - phenomenal auto grow. Lvl canopy (mic drop). Was initialy disappointed with cure samples, but she is turning into a pleasant final cure. Est. 15%, nice and predictable


Likes
38
Share


@Cariboo_OG
Follow
Utopia Haze is a rare heavily sativa dominant hybrid (90% sativa/10% indica) strain created through back crossing Brazilian Sativa strains. This tasty little bud took home 1st Place for Best Sativa in the 2008 High Times’ Cannabis Cup and for good reason – with its potent 18-22% average THC level and long lasting cerebral effects, Utopia Haze is one powerhouse smoke. The Utopia Haze high comes on soon after you finish your first toke, hitting you with a strong cerebral lift that infuses you with a sense of hazy relaxation.
Type: Feminised/Photoperiod
Cultivation: Indoor/Outdoor
Flowering Time (days): 70-75
Indoor Yield (g): Up to 650
Feminised Outdoor Harvest Month: October
Feminised Outdoor Harvest Month Week: 3rd-4th week
Aroma: Citrus, Woody, Pungent, Mint
Effect: Cerebral Lift, Hazy Relaxation, Sleepy
Welcome Everyone to the Final Entry of my Utopia Haze Grow !
There is so much to discuss ! I have been extremely busy as of late trying to get this Harvest together, but i am happy to have it here for you now !
I Seriously under estimated the amount of time, help from others, and my own necessary skills to pull this off.. and i still kind of screwed it up lol !
But its worth noting i have never actually done this before and trying to document it during....was extremely hard.
It is next to impossible to work an iPhone with rubber gloves on !
First I want to discuss everything step by step so before you jump straight into the comments on how the end product is so small in "quantity"
Rest assured i am happy with its"quality"...and thats all that matters to me because Life is a journey not a destination! and i have learned so much from this grow that I couldn't be any happy even if i messed some things up :)
But at the very least I hope you read through this entry in its entirety with an open mind and focus more on the process, rather than just the outcome!
I ran out of Ice & i was only able to wash three times..(normally I've heard you should go sometimes 5-6 washes)
Preparation is Key & things will be much better next round :)
Photos 1-22
These are pretty self explanatory but for those of you just tuning in now.. this is what happens to a very happy plant when you don't have the necessary tools to monitor key components of growing cannabis.. Ph, as well as EC levels play a very key role in the outcome of your grow lol that being said I was just able to save this plant by purchasing both tools but that doesn't mean the plant didn't suffer because of the prior events.. This was a Huge reason behind me choosing to turn this harvest into what i would consider
"Solventless Hash Rosin" from "Ice water extracted Bubble hash".
Pictures 23
The idea here is the process of using "fresh Frozen Cannabis" this has been discussed many a time online on such sites as instagram and here on grow diaries as well.. I personally have Never tried the process so i decided to try it out and make a judgement for myself..
Video 24
The Cannabis has now been in the freezer for 72 hours making it very well frozen.. as you can tell i struggled getting it all into the 25u Screen Wash Bag. One thing of note i would do differently is i will de-stem my next batch as i also believe this played a part in the amount of plant matter that escaped through the sieves.
Photo/Video's 25-28
The idea here is "ice water Seiving" & especially with the bags that I am using here that are only have screen material on the bottom portion of the bag it is very important to have spaces in-between the screens to allow the water to pass directly through the screens into the bottom bucket with the least amount of resistance.. because the hash is so extremely temperature dependant if it gets warm on the side of the bag.. it will stick there and not make it to the bottom to become use able product..
29
You do not need to use as much Ice as i used here lol... the idea is to keep everything very cold..i certainly achieved that but at the sacrifice of using so much that i ended up grinding product and producing "contaminants" but in the end they are just plant matter that i would be smoking when i rolled up my joint either way so.. I'm not super disappointed..
But it should be noted that what you want to achieve here is a Layering effect where you have the wash bag between two small layers of ice while the "water current" washes the Trichomes away allowing them to be separated by the screens setup below :)
Before Starting the machine you should allow some time (i.e.;10-12minutes pre soak to allow the product to become saturated) before the first cycle.
By video 32 I have just ran out of ice lol..
Video 33-34
Here I have a tip for you.. to separate the screens that you sieve through.. cut 5 gallon buckets to stretch them across nice and tight.. it'll make scooping your Bubble that much easier ! i learned this from the many "Frenchy" videos I have watched :)
Picture 35
Here in lays the problem for most people.. drying your hash without loosing vast amounts of "Terpenes" whilst also stay ever vigilant against mold !
Thanks to all those videos I've watched on youtube.. id like to think this was one of my most successful parts of this process..
Things to Note; Terpenes start to seriously evaporate at temperatures 68F or 20C
you need to stay as cold as possible whilst bringing the Relative Humidity in the space down into the 40-30% to stay away from that nasty mold !
I used my cold storage room in the basement.. with a dehumidifier running to keep the space at 45% RH & staying at a constant 15c.
All while spreading the hash as thin as possible across parchment paper, on top of the white screens with a fan moving air across both sides of the paper.
Pictures 36-38
These are some macros i took in the middle of my drying session I fell in love with the colour.
Yes i know the black spots are plant material but they will get caught when i bag the hash & squish the oil out.
Thing to Note; at this stage it is important to ensure you 'micro plane" the hash down as fine as you can whilst staying weary of the temperature... any "chunks" will hold pockets of moisture.. that lead to potential problems..ie; mold ...
Picture/Video 39-41
Successfully planed bubble hash ready to be bagged and Squished !
Picture 42
Ive decided to follow Pedro.. from Pedros Grow Room and double bag to be on the safe side so i don't have any blow outs.
So thats One 25u bag inside one 160u bag ! :)
Pictures 43
This is almost 3 grams of the bubble hash from above, already melting in the bag.. this is where i ran into trouble again lol things started getting to warm in the house and i was only able to get one of the three squish's i did on video :( things started getting sticky.
Picture 44
This is basically just a photo of the equipment I'm using; 3x5 LowTemp Cage in the frame I built myself, with a 20Ton bottle jack.
Something to note here is this is an older Lowtemp model with only a single heating zone which is which i have it closed here heating Both sides of the press :)
As well as the importance of having adequate pressure on your plates.. my rig is very overkill for the size of hash bags..lol
Video 45
Here is the lovely press video.. its didn't quite work the way i wanted either lol my directional folding wasn't quite tight enough for a big "drip" :)
&the Press was set to 65°c
Photo's 46-50 are pretty self explanatory :) I had a blow out.. but still managed to pull an 80% return from the hash once squished...& yes it tasted amazing :)
Was it worth it in the end... that could be debated.. for some..i understand..its not your thing, but for those of us that are interested in making our own concentrates.. free from Solvents...
I wouldn't make it any other way :)
If even ONE of you reading this diary finds it helpful to reference for ANYTHING.....even if its "what not to do" ill consider it a success !
Thanks again for tagging along on this garden adventure.. its been one heck of a journey !
Much Love from B.C. Canada,
Until Next time,
Cariboo

Likes
14
Share


@Boilly
Follow
Well 2 got chopped down as the trichomes were nice and milky. The other 2 I completely defoliated and gave a good shot of nutes. The roots seemed a little on the moist side. 1 plant gave 147grams wet the dark plant gave 155 grams of wet.

Likes
16
Share


@Weed_nerd
Follow
she grows well but is a bit saggy at times. should take and clean out of it a little it is a little dense and also train out branches a little more .but I am happy with it
Likes
19
Share


@BB_UK
Follow
Such a beautiful plant! She’s fully developed and finishing off her flowers now! Swelling everyday and naturally fading! She’s drinking a lot slower now too so I checked her under the loupe and all trichromes are cloudy so I’m sure she’ll finish at 8 weeks! She’s currently on week 6 and 3 days in bloom! So In her 7th week! I’ll continue to follow the requirements to bionova and then flush once!, as I said I’ll check her under the loupe! Smells like it’s going to be full of terps! I just open the tent and smell her! Fantastic strain!

Likes
8
Share


@Froggman
Follow
The ICE is almost done; the NL doesn’t even seem close. Interesting since ICE sprouted a day later than the NL.
Likes
76
Share


@Natrona
Follow
Memes July
Carnivores
Topping High Cloudz 8/10 .
Outside grow question-rot & caterpillar
frac.
Likes
1
Share

@Professor_Little
Follow
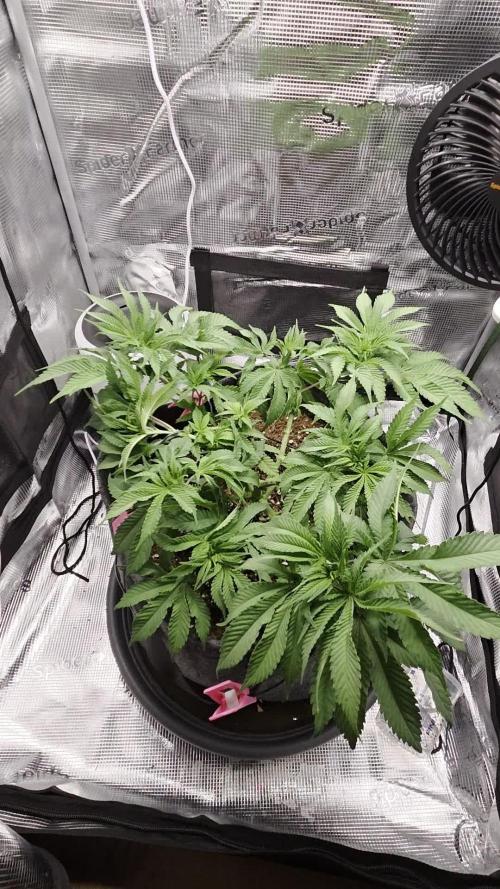
This week’s the last week of veg, flipping her today 😊. I stripped off most of the unnecessary fan leaves and did some LST to even out the canopy. Can’t wait to see that stretch kick in! :))


Likes
25
Share


@Mr_Juice
Follow
Was grown in a 4l bag,I got a harvest that I didn’t expect at all.A reward for the quality of the setup and care.
Anesia❤️top

Likes
17
Share


@420DeepGrow
Follow
Gracias al equipo de Kannabia Seed, Marshydro, XpertNutrients y Trolmaster sin ellos esto no sería posible.
💐🍁 Moby Dick 🐋:
Criada a partir de dos parentales icónicos, como es el cruce de White Widow y una Haze pura G13, este choque de titanes provoca un híbrido que golpea a las puertas de las sativas más fuertes disponibles en el mercado.
Estamos ante una criatura impresionante en todos los sentidos, con ejemplares que florecen en solo 9-10 semanas en interior y arrojan un peso en lonja de 550 gr./m²
Al igual que su padre Haze, nuestra Moby Dick ofrece agradables notas cítricas, pero con efluvios de vainilla y eucalipto, una mezcla de aromas que genera una combinación intrigante, que puede llenar cualquier habitación con una fragancia inolvidable.
El sabor es muy parecido a su olor, con toques de limón agrio que harán que tu lengua cosquillee al inhalar, convirtiéndose lentamente en un humo dulce y terroso, con pinceladas de madera e incienso que se adhieren al interior de la boca al exhalar.
💡TS-3000 + TS-1000: se usaran dos de las lámparas de la serie TS de Marshydro, para cubrir todas las necesidades de las plantas durante el ciclo de cultivo, uso las dos lámparas en floracion para llegar a toda la carpa de 1.50 x 1.50 x 1.80.
https://marshydro.eu/products/mars-hydro-ts-3000-led-grow-light/
🏠 : Marshydro 1.50 x 1.50 x 1.80, carpa 100% estanca con ventanas laterales para llegar a todos los lugares durante el grow
https://marshydro.eu/products/diy-150x150x200cm-grow-tent-kit
🌬️💨 Marshydro 6inch + filtro carbon para evitar olores indeseables.
https://marshydro.eu/products/ifresh-smart-6inch-filter-kits/
💻 Trolmaster Tent-X TCS-1 como controlador de luz, optimiza tu cultivo con la última tecnología del mercado, desde donde puedes controlar todos los parametros.
https://www.trolmaster.com/Products/Details/TCS-1
🍣🍦🌴 Xpert Nutrients es una empresa especializada en la producción y comercialización de fertilizantes líquidos y tierras, que garantizan excelentes cosechas y un crecimiento activo para sus plantas durante todas las fases de cultivo.
Consigue aqui tus Nutrientes:
https://xpertnutrients.com/es/shop/
📆 Semana 3:
Muy buena semana, he aplicado un riego solamente con agua de manantial para reducir la cantidad de sales acumuladas en el sustrato y se ha notado una mejoria .
Creo que le quedan unas dos semanas por estirar, parece que va a ser una buena cosecha.
Se mantiene un buen control del cuarto de cultivo gracias a @marshydro y @trolmaster.
Mantengo las dosis de 1/3 de nutrientes recomendados por el fabricante.
Potencia del foco 80%
