




Likes
Comments
Share


@Earthsower
Follow
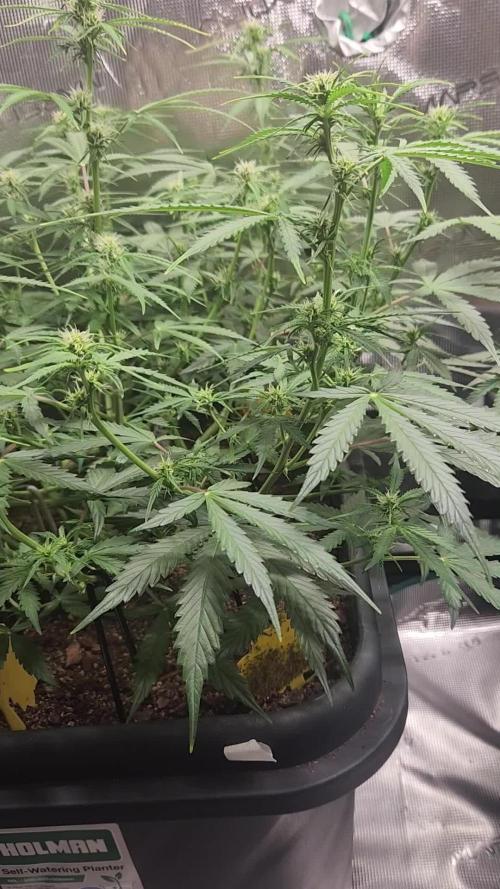
At the end of week she is doing well. The stigmas are fully puffed and the bracts are swelling up. The Afghan #1 has ceased growing. All her energy is being used to flower plus her leaves are beginning to fade. She has a sweet and fruity aroma emanating from her. The Afghan #1 stands at 76cm ta

Likes
7
Share


@Huntress007
Follow
She was defoliated again and put into flower and has been receiving different nutrients since the change! She’s moving into flowering!

Likes
28
Share


@AlpenZilla
Follow
This week the time had come, the plants were chopped down. They were left to dry for almost exactly 7 days, a little too long as it turned out.
One head bud had to be removed due to the risk of mold.
All in all, the harvest turned out to be smaller, certainly also due to the fact that I could only grow three plants on 50x50cm in their vegetative stage to a limited size at the beginning.


Likes
2
Share


@dauntless
Follow
Strain is Lemon Pie x Gorilla Cookies Auto R2
Grow started on July 8th, 2022
I dropped these directly into another pot with some plants that I was pretty sure were not awesome. I was right and these germinated quickly and are growing well.
Out of four, the two I kept were the best ones, so I named them 1 and 2
Direct to soil, same feed as my Green Gelato Auto grow, Flora Nova Bloom with all the good Gaia Green nutes and worm castings and myco in the soil already.
Crimson Clover is cover/companion
July 23, 2022
Day 15
My impression of these two autos so far: super fast growing, topped on day 15, 1st week of veg. I was NOT going to top them, but they are so fast, I need to buy some time, since the other plants are filling out now. I don't think she will slow down by much.
Likes
12
Share

@All_our_small_plants
Follow
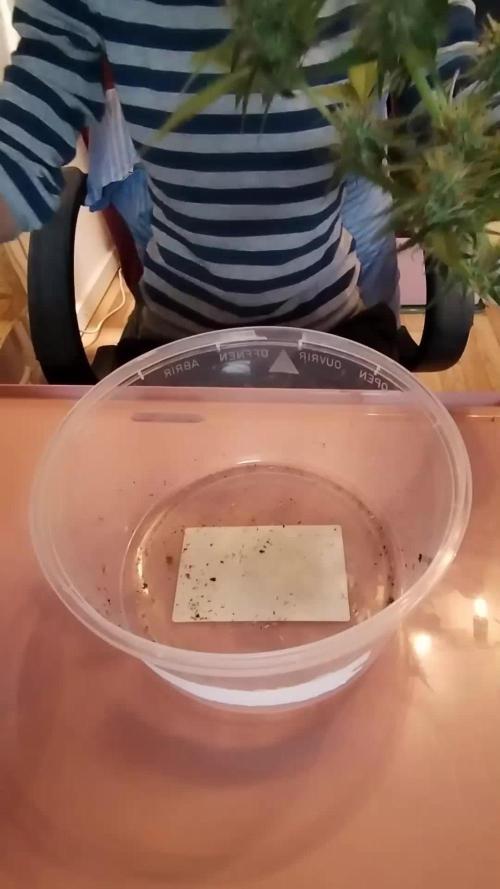
Wir haben sie nach 58 Tagen geerntet sie hatte schon alle Trichome Milchig und ihre Härchen sind fast alle Braun/Orange, Wahrscheinlich war es zu warm im Zelt und das Verlangsamt das Wachstum. Jetzt im Winter wird es sicher besser, und die Pflanzen haben weniger Stress


Likes
31
Share


@THCpapa
Follow
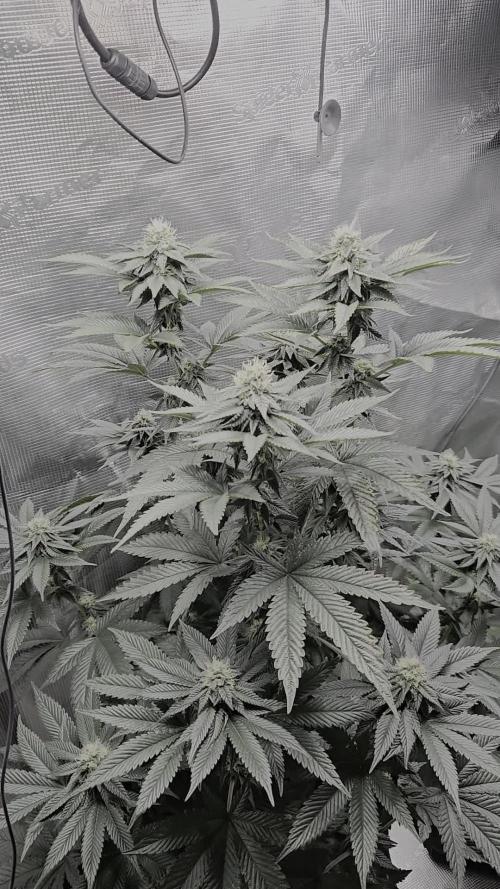
Week 18, and my buds are on a growth spree – they're growing and growing, reaching for the stars! But here's the funny part – I can actually smell them now when I open the tent. It's like a fragrant leafy surprise every time I peek inside.
As I watch my buds plump up and expand, I can't help but feel a sense of awe and wonder. It's like witnessing a tiny leafy miracle unfold before my eyes. Here's to Week 18 – a week of growth, fragrance, and the pure joy of watching nature at its best. Cheers to my amazing garden – may it continue to bloom and delight in the weeks to come! 🌿🌼


Likes
7
Share

@BlackForestGrower
Follow
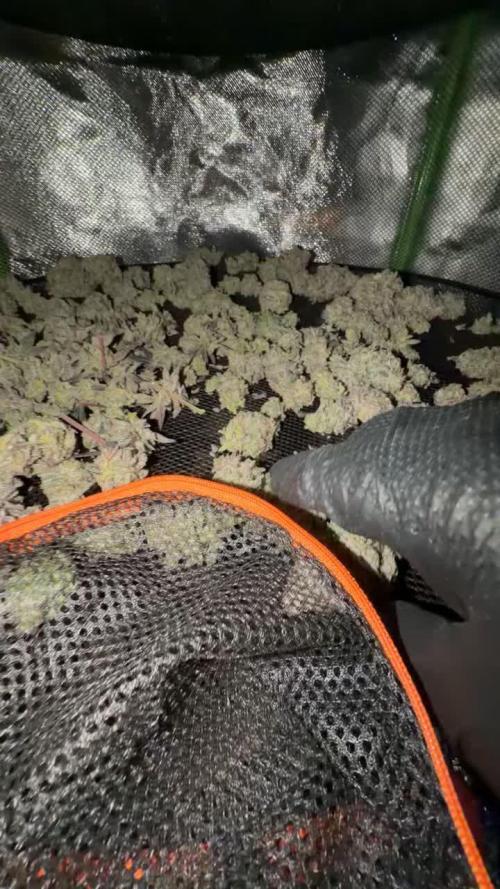
It was a great last run.
It’s been a beautiful time.
My time here done now.
BlackForestGrower out. 🌲✌️

Likes
15
Share


@inhale_exhale
Follow
This week has been really hard.
Until this week the electricity was turned off on average once every two days, for 4 hours in the evening peak time. But the last 7 days the electricity is turned off twice or thrice a day also for 4 hours. I think that in this case it is better to reduce the light day and slowly started to reduce it at the beginning of flowering, and already reduced it from 18 to 16 hours, and that was a bad idea (((:
The temperature outside was already around 30 degrees in the shade, and it rained almost every evening, as a result, the air humidity up to 65-70% so it was impossible to leave the girls in a closed box without a working fan.
I had to cover the windows and work with my hands waving a piece of cardboard)))), adding back 30 minutes of evening sun outside the window each day.
Same story since morning, but this more positive, we meet the morning sun, and move around the whole apartment behind the light frame of the window, running away from the shadow))) the main thing is that the morning is sunny, because will have to continue working with a piece of cardboard until the light is turned on (((:
Also, as you can see in the first photo, I installed a large fan and removed the lower wall of the box, because the ventilation system did not help ((:
Looks crazy but I already like it, new challenges and new experiences all the time, big plus a good habit to wake up at dawn! So no matter what, we are happy and breathe deeper 🙏

Likes
6
Share


@Fullmeltalchemist
Follow
D56/F8 - 11.14 - The LA Sunset and Passion Berry in the 5x4 have gone absolutely beast mode. I'm loving it. Nothing new to report except the obviously responded well to defoliation, got them some peony rings and a blumat system, which is really impressing me so far!!
D59/F11 - 11.17 - the smaller LA Sunset in the 3 gallon is stretching very noticeably but maintaining and nice internode distance 👌
D60/F12 - 11.18 - These plants are vigorous as heck. The Passion Berry is absolutely dominating the stretch <3

Likes
2
Share


@filo22bla
Follow
Woche 5
03.08.24 - 10.08.24
Das Wachstum geht ungehindert weiter....! Diesmal konnte ich leider keine Fotos machen, da ich in der Woche wenig nach den Pflanzen schauen konnte. Dafür kleine Zeitraffervideos von der Zeltkamera.
Die Pflanzen zeigen leichte Anzeichen einer Überdüngung. Daher wurde diese Woche nur bei jeder zweiten bis dritten Bewässerung gedüngt. Außerdem wurde die Beleuchtung umgestellt von der Lumii auf 2x Sanlight Evo 120er da sie endlich nach mehrmonatiger Verspätung angekommen sind.
Die Werte Temperatur, Luftfeuchtigkeit und VPD füge ich nachträglich noch ein.
Die Behandlung mit dem Neemöl bringt leichte Besserung. Ab Montag kommen noch Nematoden zusätzlich mit in die Box, da ich ab jetzt nicht mehr das Neemöl benutzen möchte aufgrund der langsam voranschreitenden Blüten.
Likes
12
Share


@Shinobi
Follow
Máme tu 36°C .vyzerajú zdravo.budúci týždeň budú búrky,uvidíme ako to prekonajú.po búrkach ich ešte ostrihám posledný krát.mier Bol čas tak som ich ostrihal teraz🤪

Likes
34
Share


@SalocinSpecial
Follow
D68 (28/01/2021): First official day of week 6 in bloom and first official day (second in reality) of pre harvest flush. The smell is strong when I open the tent! It does not take long for the whole room to smell dank and even outside the room.
- temp: 24-25C light ON ; 20-22C light OFF
- no water
- RH: 49-52% light ON ; 49-50% light OFF
D69 (29/01/2021): I did a first proper flush today by running approximately 2.5 gallons of water trough the medium. There is still a lot of nutrients in the medium. I might do the exact same flush tomorrow. The PH of the run off is high (around PH7-7.1). This is an other reason to flush again tomorrow. I also reduced the light ON schedule by two hours. So now 18h hours ON and 6 hours OFF. I will continue reducing the ON period until they are ready for a complete dark period. I also try to reduce the air temperature.
- temp: 24-25C light ON ; 19-20C light OFF
- water: PH6.4, 135PPM, 2.5 gallons each
- run off: PH7 and 680PPM for Glue Gelato ; PH7.1 and 560PPM for Banana Kush
- RH: 47% light ON ; 48-53% light OFF
D70 (30/01/2021): I did a second flush since I was not satisfied with run off PPM of yesterday. Today, the run off PPM is under 300 which is what I wanted. The run off PH is still high with 7.1. Banana Kush is ripening with the pistils slowly turning brown. Glue Gelato look sooooo yummy and I can't wait to harvest it. There is a small color change in some leaves but I'm expecting more in the next days.
- temp: 23-24C light ON ; 19C light OFF
- water: PH6.4, 125PPM, 2.5 gallons each
- run off: PH7.1 and 260PPM for Glue Gelato ; PH7.1 and 250PPM for Banana Kush
- RH: 46% light ON ; 46-48% light OFF
D71 (31/01/2021): Glue Gelato is changing color. I'm checking trichomes everyday on both girls and no amber yet.
- temp: 23-24C light ON ; 19C light OFF
- no water
- RH: 45% light ON ; 49-50% light OFF
D72 (01/02/2021): Well well well...the clock is ticking for those girls. Glue Gelato is now having a couple of amber trichomes. Banana Kush don't have any. Overall Banana Kush has less trichomes and fluffier buds. This girls is not ready yet but I will need to chop her down at the same time has the Glue Gelato because my drying space is the tent I'm growing in. I will try to push the Banana Kush to ripen faster by lifting up the lamp at 16 inches from top bud and by reducing of 2 hours the day period for a 16 hours light ON and 8 hours light OFF. But at least all Banana Kush trichomes looks milky.
- temp: 23-24C light ON ; 18-19C light OFF
- water: PH6.2, 123PPM, less then a gallon each
- run off: PH7.4 and 200PPM for Glue Gelato ; PH7.4 and 287PPM for Banana Kush
- RH: 45% light ON ; 40-45% light OFF
D73 (02/02/2021): I gave water probably for the last time today. Trichomes on Glue Gelato are starting to amber on top buds. Not a lot of amber but you can see that all the trichomes are starting to degrade by curling down slowly. Trichomes on Banana Kush are not amber at all but they all look milky. Glue Gelato is ready to harvest but Banana Kush need more time. It's tough to make a decision to chop or not since they are not at the same stage of growth. I want to place them in a complete 48 hours of darkness before harvest. 1h less light today for a 15h light ON and 9h light OFF. The lamps are now at 20 inches.
- temp: 23-24C light ON ; 18-19C light OFF
- water: less then a gallon each
- RH: 45% light ON ; 40-45% light OFF
D74 (03/02/2021): Glue Gelato is ready for 48h of darkness. I will take her out of the tent and place her in an other room without light. I will try to maintain a proper environment in this room and if it smells to strong or if the condition are not good I will replace her in the tent and both will start the 48h darkness. The idea is to give Banana Kush 2 more days to ripe and swoll more. After 48h, I will chop Glue Gelato and place her in the tent to start drying. Banana Kush will then start her 48h darkness. I don't know if this strategy is good but I will monitor everything closely and react if something is wrong.
- temp: 22-23C light ON ; 19C light OFF
- no water
- RH: 47% light ON ; 43-45% light OFF


Likes
17
Share


@Fat_Olsh_Farms
Follow
Day 36 (Bettis). Just starting to flower. Doing some minor defoliation and supercropping. Very satisfied with her progress.
Day 41. Continuing with minor defoliation and supercropping.


Likes
38
Share


@Danger90946
Follow
01/04/2022- Hello and welcome all been away on some family matter. So today was the last day this girl got watered and will also be the last day she got light as well, she will be cut down Friday morning. The smell has gotten a lot more stronger since flush was started last week Wednesday. Will update before I chop her down.


