The Grow Awards 2026 🏆 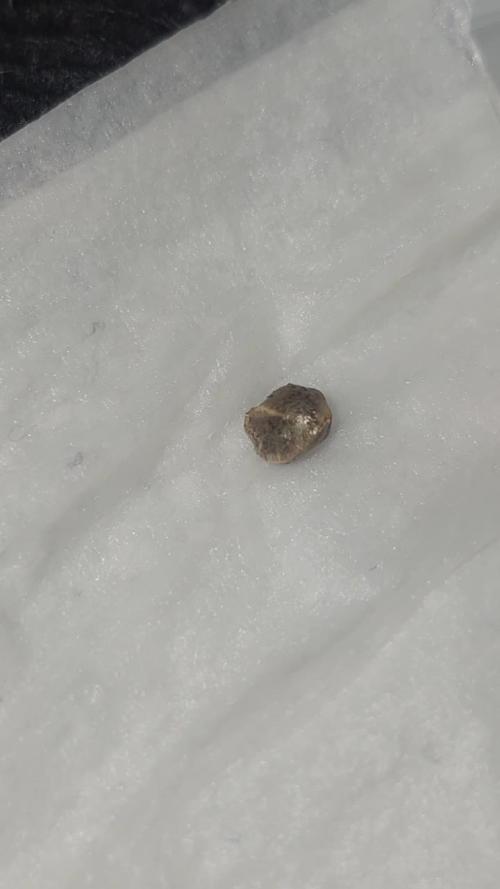


Likes
Comments
Share
@GREENPHOENIX6262
Follow
01/01 - This entry is for a grow along with other growers on IG - She is a cross breed between Red Diesel and Oaxacan - The plan will be to grow for cloning then flip her into flower with her babies around week 4 of Veg for the clones - This will be started in my 2x2 then transplanted into a 5 gallon pot and dropped into my 3x3 😎😎😎😎😎😎😎😎😎
01/03 - Tail' root has sprouted - dropping in 60z double cup - after about a week in a prop dome transplanting into 12oz solo cup - after another week dropping into 1 gallon pot - final transplant for this mother will be a 5 gallon fabric pot
01/04 - Dropped into solo cup - using a top clear cup for humidity retention - medium is a combination of coco/perlite and worm castings with added supps (Myco, Microbes and Silica
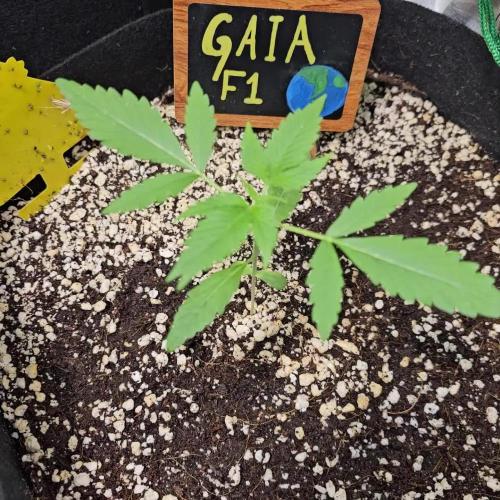
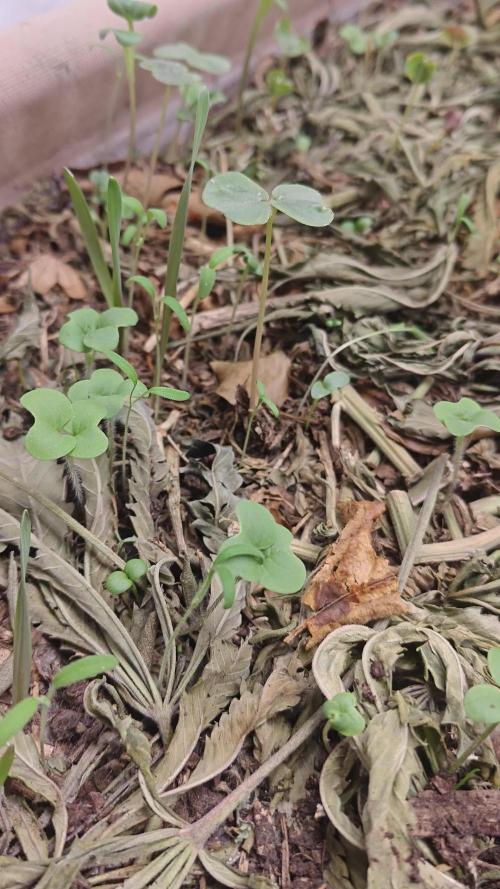
01/07 - Seed successfully germinated - true leaves have dropped - currently running in 2x2 with Grape mother - Keeping in solo cup for about 2/3 weeks until ready for 1 gallon pot transplant.
Likes
144
Share
@TOTEM
Follow
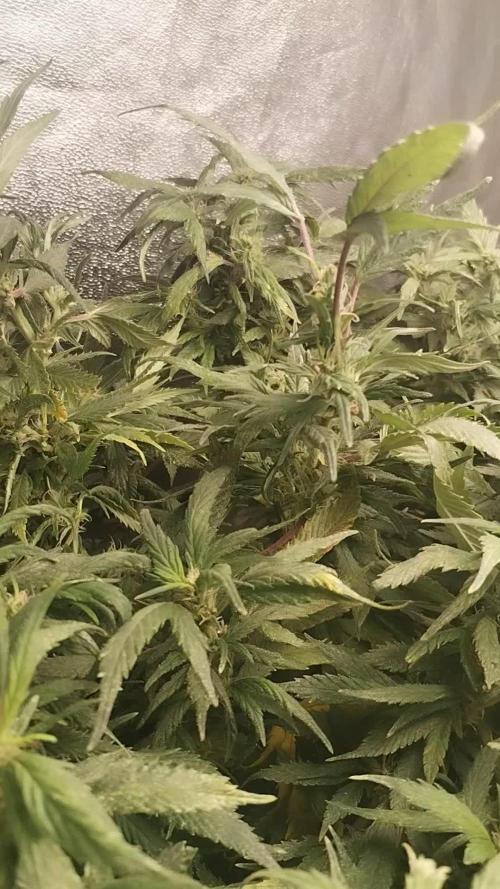
Day 28 update: I think the light was too close to the plant, so I increased the distance to 50cm. It should help with the stretch of lower branches. Then I switched to Advanced Nutrients feed chart, adding 4ml/L of A+B formula and 2ml/L of other additives (for every liter in the reservoir). This made the ppm go crazy. Let’s see what happens, but I don’t like these unclear instructions. Ph Perfect keeps the ph stable for just a few hours, and they don’t say anything about ppm. Bad!
Day 30 update: LST session + defoliation on fan leaves that were hiding lower branches.
Day 32 update: transplanted to her final 20L AirPot (from a 5L one)! Added some michorrizhae as well where I placed the plant. Since I got a bigger pot, now it’s 250ml of solution every hour, instead of the previous 125ml.
Day 34 update: immediately stopped using Advanced Nutrients feed chart (from their calculator) because I had that crazy 3100 ppm in the reservoir and noticed a small sign of overfeeding on a leaf in the top. I removed part of the solution and added tap water back until I got about 800 ppm. NOT HAPPY!
Day 35: LST! Again


Likes
46
Share
@Daweed83
Follow
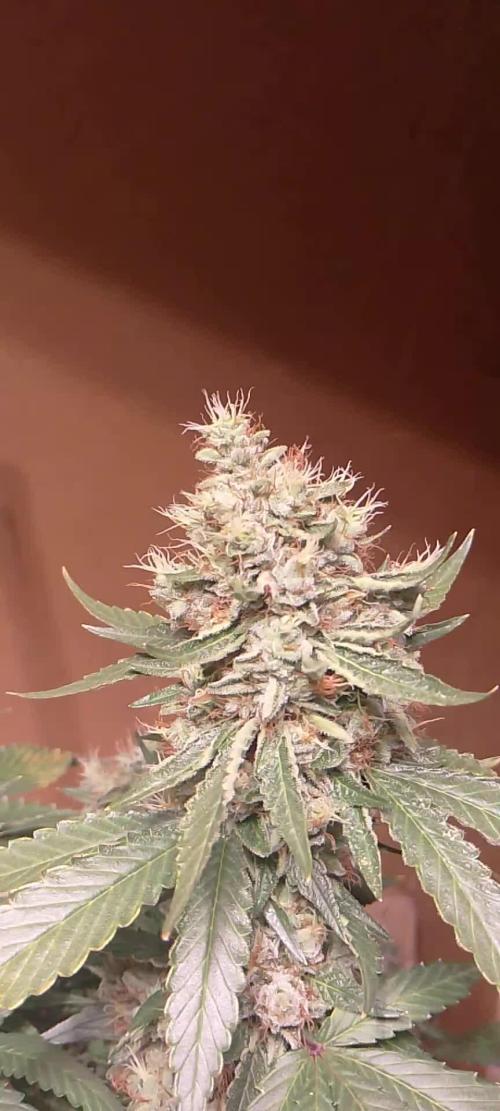
I was worried because the buds had a very different aspect compare to the other plants but I guess its their genetics that makes them buds with more pistils. they getting very fat now so I’m not worried anymore ! Please let me know if there anything wrong 🖖🏽🖖🏽


Likes
7
Share
@Canabisseurs
Follow
Week 7 begins and things are finally settling after a tough pest battle. I’ve been hitting spider mites with Bioneem + Neudosan sprays regularly (lights off), and the difference is clear — far fewer webs now. Ants were crawling up stems a while back, but a dish soap rinse handled them well and I’m barely seeing any now.
Bud sites are fattening up, trichomes are mostly cloudy, and the smell is classic Blue Cheese funk — sharp and sweet.
Harvest Plan:
Going for a split harvest:
Top colas around day 63–66 (week 9), depending on trichome progress.
Lower buds/popcorn will stay on for 5–7 days more for extra ripening.
Trichomes: Mostly cloudy, pistils ~60% browned and starting to pull back.
Feeding Notes: Still finishing up bloom feed — Ripener starts week 8.
Final stretch ahead. Just managing airflow, keeping a close eye on trichomes, and prepping for flush. Let’s finish strong baby!

Likes
18
Share
@Kirsten
Follow
The plant is doing really well. We are progressing at a normal pace.
There isn't much else to report this week. These weeks are always slow and pretty boring.
I'm just keeping the medium sufficiently watered.
Here is what I did this week.
12.9.25:
I watered with 1.5L of dechlorinated water PH'd to 6.4 with;
💜 1ml Trace
💜 1ml Flourish
PH: 6.4
PPM: 318
16.9.25:
I watered with 1L of dechlorinated water PH'd to 6.5 with;
💜 1ml Trace
💜 1ml Flourish
PH: 6.5
PPM: 308
The fungus gnats have really incresed since I did a watering of the whole tent.
I have some more sticky traps set out, and I will not water for several days.
Once it has dried the top soil, I will add some more Diatomaceous Earth to the top 5cm.
Thank you for checking in this week and hanging out in the comments 😁💚✌️🌱🤞🧡
Likes
5
Share
@Nvchods3
Follow
empieza la 7ta semana de floracion.
se sigue alimentando con top crop
se le realizo poda de bajos para aprovechar al maximo la luz y engorden esos bellos cogollos tan apreciados.
Likes
1
Share
@KushNorte
Follow
Está semana he aplicado una última solución de riego con un PK 50-30, apartir de hoy se aplica riego con enzimas como un prelavado

Likes
4
Share
@Slobasian
Follow
Sunday last day of week 11 expecting to cut it down fed banana, molasses, and honey for a final flush with ice, Friday final ice flush. In the dark for 12 hours then cut down for harvest

Likes
6
Share
@IvanPalma
Follow
Se nota que los cogollos van engordando, como tengo plantas de diferentes clases se nota que las indicas van casi en su final. Las indicas por otro lado las he puesto al fondo del cultivo que son las que mas demoran. Todas en general tienen mucha fuerza pero cada riego recojo un par de hojas que se han caido solas. Al final quite el scrog y las deje sin ello y solo les he sujetado algunas ramas pero creo que van muy bien. En dos semanas mas 2 de estas plantas estarán listas para lavado de raíces.

Likes
12
Share
@thonhash
Follow
Simplemente aplique una PEQUEÑA poda de bajos antes de trasplantar y pasar a floración.
Empezamos la aplicación de enzynabis para crear una buena vida microbiana (también muy útil para evitar excesos o aprovechar cualqier “resto” que contenga nuestro suelo).
También empezamos a regular los watts del led mars hydro ts1000,y a medida q vayan pasando las semanas se irá regulando a mayor potencia, hasta llegar al maximo (150w)

Likes
2
Share
@Mitenslite
Follow
La planta sigue floración de manera correcta, no se ha estresado más que la última vez, ya se pueden ver los tricomas y añado al riego melaza para la formación de resina.
Likes
4
Share
@Witteviking48
Follow
Since this is my first time around, before getting started, I took a week to finetune my freshly built setup. Took me a couple of days to get the parameters in order, mostly battling high humidity due to wet soil straight out of the bags. (Plagron Promix)
At the beginning of this week i first put the pots in the tent (actually a 4 by 5) and started feeding the soil the myco alraidy. Figured it could be benificial.
Them being autoflowers, I planted the seeds in the original pots and covered them with solocups. Watering mostly around the solocups multiple time per day wit a pressure dispenser.
I took about 72 hours for the seeds to start germinating.
Kept Par levels on the high side (350 and up day by day to 480 in the last days of week 1, probably less to the plants themselves because of the solo cups) thinking the strong genetics could handle it. All the while checking for signs of to much of it. That didn't occur, even after taking of the cups a day or two after germination.
Nice as I am, I did not take any pictures, this week! But! some footage from the room where it all happens :)

Likes
117
Share
@PEAKYPLANTERS
Follow
good friends, greetings to all
my little girls are growing beautifully .... the buds are starting to take shape and are full of glue! I think I still have some for a few weeks .... I'll keep you updated
best regards


Likes
54
Share
@WishiFishi
Follow
***May 2
The plant looks like it's either a little deficient or it's starting to go through some senescence.
I added 1 tsp. extra of both calnesium and the Bloom, to give it one last push for the last going off. The nugs are all solid as rocks, and the smell is still just as strong.
When touching the plant, my hands are left with a very sticky feeling.
It responded very well to the supercropping last week, and hasn't shown any issues.
Still a few fresh pistils coming in, so I think it's finishing off stacking and then next week I can cut the nutes back down and let it finish itself off.

Likes
71
Share
@Roberts
Follow
Blue dream extreme has been growing very fast till this morning. She is showing signs of overwatering because she grew roots so fast, and needed more air between tips and basket. This is causing her to be droopy looking. I will pull about a half gallon to gallon of water out here shortly. My other issue is solution looks like it might be a bit strong in nitrogen. Hopefully she will grow into it soon at the rate she is growing. I topped her, and removed first node leaves, and branches. Growing her in a group grow under the Spider Farmer SE5000. Growing her in a 5 gallon new level hydro bucket. Links below. Thank you Spider Farmer,
New Level hydro, and Amsterdam Marijuana Seeds AMS. 💪❄️🌱🤜🤛
https://amsterdammarijuanaseeds.com
SE5000
https://amzn.to/3qFpAML
Spider Farmer Official Website Links:
US&Worldwide: https://www.spider-farmer.com
UK: https://spiderfarmer.co.uk
CA: https://spiderfarmer.ca
EU: https://spiderfarmer.eu
AU: https://spiderfarmer.com.au
Coupon Code: saveurcash
Thank you grow diaries community for the 👇likes👇, follows, comments, and subscriptions on my YouTube channel👇. ❄️🌱🍻 Happy Growing 🌱🌱🌱
https://youtube.com/channel/UCAhN7yRzWLpcaRHhMIQ7X4g
www.newlevelhydro.com
www.hygrozyme.com


Processing
Likes
7
Share
@x_grower
Follow
Last week was very challenging, two girls got really tall below the white light, while the other two below the blurple spectrum ended up being smaller and bushier, both looking fantastic. Last week I also probably went too far defoliating the shaded smaller girl which stunned it a bit for a day or two but its flowering vigorously again. Although the unexpected stretch which led to uneven light coverage overally the platns are looking solid, smelly and sugary :)
Likes
37
Share
@GrownwithLED
Follow
After germinating the seeds are transplanted into small pots with soil (see tutorial in VIDEO above). The soil is prepared with water mixed with a little bit of BIO NOVA Roots (0,5 ml/l), which aids the development of the seedling. Transplanting is very easy now, because they have grown a STRAIGHT tap-root while hanging during the SERIOUS' WAY of germination. This straight root allows for easy potting of the seeds. Simply make a little hole in the center of the soil with your pinky finger and carefully place the germinated seed with the white root pointing DOWNWARDS into the hole. Best is to lay it onto one side-wall of the hole with the seed shell right at the surface. Then I push the other side inwards and enclose the whole root with soil. At the end only the top of the seed-shell peeks out of the soil. IT IS VERY IMPORTANT to plant the seeds NOT TO DEEP into the soil. The seedling only needs extra strength to work itself upwards thru the soil and you run the risk of the soil drying out and the seed dying off. When you PLANT THE SEED VERY SHALLOW into the soil (=with the top of the seed-shell still peeking out) your seedling can grow out right away and you have a small plant already 24 hours after putting the seed into the soil.
The small seedling sometimes still has the seed-shell on its 'head', it normally falls off by itself, but sometimes you have to carefully help and take it off with your finger nails. Be careful to NOT clip of the seedling accidentally when you do this!
The seed-shall has an inner lining, which feeds the small seedling when it germinates. This inner lining sometimes gets tangled around the stem of the small seedling after the shell has fallen off. This little skin MUST be taken off the stem right away! Once it dries up, it gets hard and can strangulate the seedling around the stem. In order to avoid this, the skin must be taken off as soon as possible! I show it in the pics above and also made a video about taking off the inner lining of the seed.


