


Likes
Comments
Share

@benmcintosh
Follow
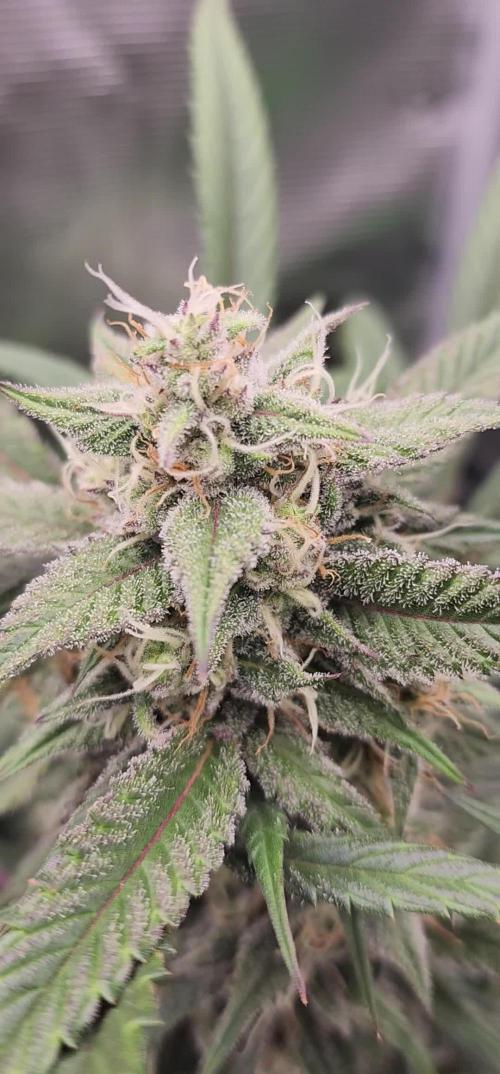
Day 56...Started feeding everyone with a feeding schedual. The mullberry is full of small nugs wont be the biggest buds but looking like they will fatten up. I should of started her new feed schedual 3 weeks ago instead of last week (my fault), but her smell is loud and proud of her heritage and is unmistakeable...the Blutane and CQ started on full feed this week. There nugs are both pretty decent, next grow will def mix soil a little different. I had 2 heavy and 1 light so got a good average for next mix. Again the smell with these 3 ladies in 1 tent is pure blueberry bliss.

Likes
2
Share


@DrBud420
Follow
The plants were fed 3 days ago for the last time.. after the soil has dried, only flawless finish will go (probably from tomorrow) for the next 10-12 days, how long will it last... Glookies has a strong, exotic smell, it smells a lot like melon, sometimes a little like coffee... the smell is intense and can be felt even at 40-50 meters, especially at night... it is currently in full potency, some 90% trichomes are cloudy-milky and sometimes amber, when it is removed it will be exactly what an indica dominant hybrid should be... Dos Si Dos 33# also smells a bit like melon, but I think it will completely lose that smell by the end, no lime, citrus and mint as it says, it smells mostly like gelato, which makes sense because it's genetics,but I like it...it's like I planted gelato lol...but unfortunately I won't leave it as long as it requires because the weather won't allow it, I'll take it down in 12 days at the latest because after that the temperatures will go up to 3 degrees Celsius at night, the humidity will go over 70 , it's going to rain, there's no point in keeping it longer than that, I'm just increasing the risk of mold, and it's not like I haven't already thrown away a couple of moldy heads...50% of the trichomes are cloudy-milky, the rest are transparent and some amber... I hope that by the end it will be able to achieve at least full potency because time will not allow for more amber
These plants are real viking warriors, they didn't miss a bit of stress, but thank the dear Gods, it was reflected in the potency, and not in the production of seeds... this season is the worst season I've ever experienced, and so are my plants ...throughout the season they were under stress, and I was under even more stress...the weather in May and June was cold, without enough sun, temperatures were low, constant rain, ice and storms...after that came abnormal temperatures that easily exceeded 60 degrees Celsius in the direct sun....drought for almost 3 months, without a drop of rain, on the hottest days some plants drank 100+ liters of water, including food, I couldn't believe it with my own eyes... outdoor this year cost me more than if I did indoor... there were a lot of storms throughout the season... the last storm completely uprooted 3 of my plants and I had to take them down... of course I didn't manage to cut that much grass in time, so I ended up with over 600 g of dry moldy gorilla zkittlez( that's about it, the quarter that I cut gave 150 grams of dry matter, so I realized that there was no reason to continue cutting) it got worse because I didn't have time to cut it, and it was soaked from the rain... I still can't complain even if I I don't like the smell, I'm not a fan, it's potent and the work is relaxing and divine, I managed to save about 20 grams without it being touched at all... I have more strains that have been in jars for some time, but this is not the place for them now, I will certainly include some footage of them in jars as well...all the strains are superb and each is beautiful in its own way...I couldn't stop I decide on just one... dos si dos 33, runtz x layer cake, glookies and mimosa x orange punch I'm definitely planting again in the future..
I'm also interested in what barney's amnesia lemon is like because I really like this one, so next year I'll probably plant it too
Dos si dos is about 120 cm tall, glookies 2 m
These two plants had additional stress unlike the others which also didn't suffer...they were in smart pots, staked and one morning I go for a tour and see the plant broken, and the pot torn all the way, like a beast that was there.. .did some wild animal fly over there and got tangled up and uprooted it all... and it was as if someone had cut it with a knife, after a few days the same with the other plant, the same completely... then I seriously started to i mean someone is casting a spell on me lol then they were transplanted in early bloom into direct soil
Then glookies was transplanted to a place with much less sun than it was in, but at that moment I couldn't choose, what is there is..

Likes
33
Share


@DWCbuds
Follow
Continue Daily low stress training. Cut all nutrients in half. Added another led light. Cutting back lights to 18 hours.
Started to defoliate a small amount(day 30)
New growth seems pretty healthy. Few leaves have nutrient burns but not all of them. Checked ph and it was a little high so I got it down to 5.75. Adding 1/2 gallon of distilled water a day to prevent further burn.
Day 33 She starting to show some preflower so I did a water change added 1ml of each nutrients (added koolbloom)execpt armor si and hydroguard 1/2 ml each. PPM 325 PH5.8 Humidity 50% Temp 80F
Week summary. A few issues with nutrient burn but I think I have found the sweet spot 300PPM. Vegetative growth has slowed down this week and started preflower. She's drinking about a gallon of water a day. I'm a little worried about the height so I might switch to 12/12 lighting. (Small tent height)


Likes
7
Share


@GrownyStark
Follow
I'm 90% sure this one is in her finishing week here. More amber trichromes are coming in daily.
I don't wanna push her too far like last time because this strain turned pure amber and kinda lost some crystaly luster during the curing process. My light timer, grow tent, and light upgrades really made a big difference in bud development compared to my last run with Runtz basically leading to bigger more frostier buds. I'm dropping temps lower at night. I give it a couple liters a day to keep the top soil moist. Flushed water comes out 6.8 ish. My CO2 exhale bag was the biggest flop as it was expired and did not activate.
I plan on 48 hours darkness before harvest starting today: the day of the eclipse. With the new moon we have a high pressure system that is peaking at night around 1028 dB. Water should be pushed up into the plant from roots. Coupled with lights out....all theoretical witch craft.
I have a small 2x2 dark tent pictured which needs to have AC bring in cold fresh air from outside. If no fresh air added the tent gets humid and stagnant after a while.
The darkness period is bringing out that strong and sweet 'medicinal' smell. If you ever tried weed labeled medicinal youd have an idea of what I mean. I guess thats the orange bud/chemo lineage traits. Before lights off the smell was more towards yeast fermentation smell and not soo sweet.
Likes
40
Share


@xbrico
Follow
Day 89 - pH thing has been quite steady the last few days, but I think part of the reason is I have been keeping it over 6 (between 6.1 & 6.3) which makes me think it may not be able to feed on something so keeps pH stable (This pH issue could be root acidification with too much Potassium; it seems to coincide with the PK Warrior being added - pH needs to be below 6 for Potassium uptake to happen so I artificially blocked it by keeping pH above 6!!!). EC also going up but not as quick as it was...drops back further than it was when adding RO water (i.e. if it drank 10L and EC went from 1.7 to 1.9, adding 10L back takes it to 1.6).
So, as I have been promising myself for the last couple of days, I did a full tank change. Have dropped the feed substantially for the start of week 7 (Which is technically Monday coming). New Nute Strength:
Silicon - 1ml/L
Sumo Boost - 2ml/L
Bloom A - 1.2ml/L
Bloom B - 1.2ml/L
PK Warrior - 0.4ml/L
Sensizym - 2ml/L
Fulvic - 2ml/L
EC 0.8, pH 5.9
Did have A & B @ 1ml/L but EC was barely 0.7 (Background EC of water is 0.2) so added the touch more A&B so as not to super starve them. Will now monitor pH/EC for the next few days and try to keep levels nice and even for the next 9-10 days before going to week 8 force and week 9 flush and the finishing bulb!
*************************************************
Day 85 - Dayum this pH management getting funky now!!! For the last week, pH keeps taking a nose dive (0.5-0.7 a day) with water level dropping and EC rising. Can't work out what the girls are at at all. Apart from lower leaf loss due to light being blocked, the plant is creating some new leaf matter (As you would expect) where light is getting reflected down low but can't work out the pH drops. No matter what EC i set them too, or pH, they only appear to be taking on water...or something micro (Ca/MG or the likes) and leaving the macro's.
Topped up tank with some RO (Reclaimed from dehumidifier) water and only added calmag since tank change 3 nights back (It has some N in it for the new green and hopefully just gives what it needs with Ca/Mg). Apart from that, just keeping an eye on things to make sure no burn...dont want to put them on a starve on the beginning of Flower week 6!!!
Likes
4
Share


@DaddyPrime2
Follow
9/11/24 need to transplant soon. need to figure out space for
9/16 transplanted into 3 gallon pots. added myco to the roots and
Likes
12
Share


@JerMeds
Follow
Going to try video update this week. let me know if you like it.
Day 30, Day 24, Day 17- Good growth this week. Most are budding up. They are still pretty small but happy.
I am feeding them 5-7 gallons distributed between the 10 of them every 2 days or when the coco feels like its starting to drying out.
Outside temps have come down the past week so it has been much cooler lately.

Likes
79
Share


@JUNGLE_B4RNS
Follow
-Sensi Seeds Research:
The Sensi Seeds Research breeding project has created eleven cannabis seed varieties.
How? By combining new cannabis cultivars with a selection of strains from their long-established cannabis gene bank. For the first time in thirty-six years, they are opening the doors of the Sensi Seeds Research and Development Department.
Week #16, week #8 of Flowering :
The #741 are done ! They’re good to harvest.
#1318 is just right behind for the Indica’s phenotypes and are ready to harvest. The Sativa phenotype might need another 10 days to go.
Shiva Skunk is definitely ready too
The Northern Lights needs another 10 days
Super Skunk will be ready at the end of next week
Black Domina needs a few more days
#11 is a 9 weeks Flowering period ( smells like Sensi Seeds got his own Bad Azz strain now 😊 )
Next week will probably be the last week for this crop. And this week was the last feeding week for the late ones.
I had to back up the Mars-Hydro SP 250 a lil bit further, the plants right under the light were showing some reversed leaves.
I’m really happy with this crop, I would strongly recommend those new genetics as much as the old school ones.
( I’m looking for a job in the Cannabis industry as Master Grower, Mineralogist, Quality Control 🐞 )

Likes
40
Share


@Ukfarmer420
Follow
Hi guys,
So this week im expecting rapid growth on all the plants, my plant still has orange spots i call it plant aids 🤣. There on 18/6 light cycle. I will be doing some lst on them to try and fill my grow space out abit.
I been soaking them and turning lights down for 2 hours then turning light back up for a few hours then soaking again so on so on. My misses plant is doing better than mine thats for sure tho.
Happy growing canna family 💚🍁

Likes
24
Share


@Stinkfox
Follow
Getting into the final week and a half. I’m looking for all cloudy trichomes, with no amber on this one. So it might be day 56 on the dot. I’ll take a look later in the week. I’m getting excited. I’ve never had White Widow.
Likes
8
Share


@Ro1M420
Follow
Find her good
I think the flowering Time will be long ! Changing light in the week for 300w !
The plant looks good the leave looks a little bit down and wet !


Likes
10
Share


@Archieballs
Follow
Both plants are looking good. Trichomes still not completely cloudy but giving nothing but PH water so that as soon as trichomes are right they can be harvested.
Likes
5
Share


@BasiGoToGrow
Follow
Week5
The week is over and all looks fine.
Both ladies are preparing to bloom and are growing. Orange Sherbet is now 28 cm tall. Bruce Banner has caught up a lot this week and is at 25 cm.
For 1 liter of water there was 0.5 ml of silicate;;
0.5 ml of Calmag;; 2 ml of BioNova BN-Zym, 2 ml of BioNova TheMissingLink;; 2 ml of BioNova Auto complete fertilizer and 1 ml of 100% organic algae juice.
Ph 6.0-6.3 23°C
Likes
14
Share


@GoldenWeedGrower
Follow
D43/V39 - 13/05/23 - Changed water , added nutes until EC=0.9
D44/V40 - 14/05/23 - Defolation - Added water EC= 1.1 pH 6.5
D45/F01 - 15/05/23 - Start flowering. Monitoring water from maximum to above, for the week out
D46/F02 - 16/05/23 - Continuing LST. Flowering stage is now clear
D47/F03 - 17/05/23 - EC= 0.9, Added nutes until EC 1.1. pH 6.4 (added some drops of pH-)
D48/F04 - 18/05/23 - Added water and nutes EC=1.1, pH 6.5
D49/F05 - 19/05/23 - Nothing to report

Likes
31
Share


@LockDownGrow
Follow
got them all in there 10 gallon pots ,
I don't like too start autos in peat pots in a cup but needs must as I was waiting for the soil too arrive , these first two weeks always seem like watching paint dry , very slow and boring and nothing much seems too happen 😀😴😴😴
Likes
2
Share


@Trinidad
Follow
42 days placing seed in water. Past week plant has grow alot however looks like a cal mag and potassium deficiency. Changed reservoir water today. pH still keeps swining up. After res change pH was around 5.4. Will check later to see of it goes up again. Also had humidity and temperature problems which was sorted in past week. All in all she looks good Hopefully she will recover nicely.

Likes
Comments
Share

@420DeepGrow
Follow
📆 Semana 2
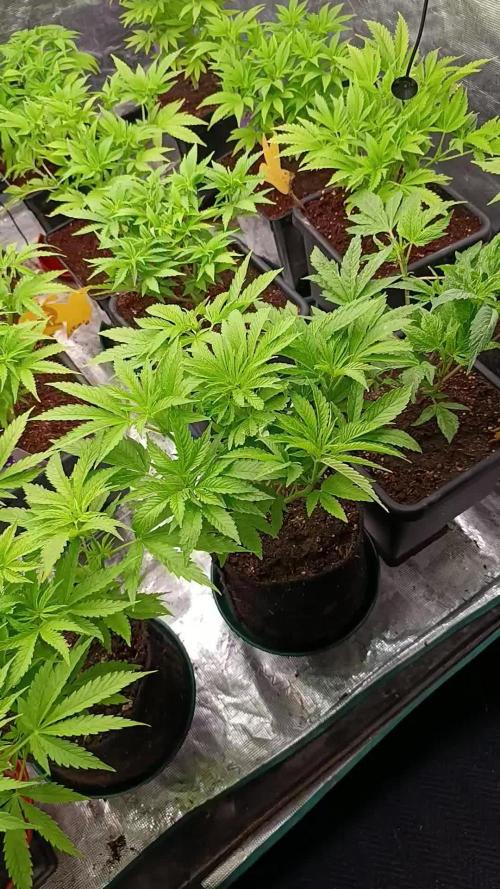
La planta entra en floración activa con un estiramiento controlado y los primeros pistilos claramente visibles. La estructura continúa abriéndose de forma equilibrada y las hojas mantienen un verde sano y uniforme. El tallo principal permanece firme, sosteniendo el ritmo de crecimiento sin signos de estrés.
El desarrollo sigue siendo constante y ordenado, enfocando progresivamente la energía en la formación floral.
Seguimos creciendo fuerte 💪!

Likes
16
Share


@Albeginner420
Follow
This week i started to fertilize with the combo tablet Bloom booster with 1g per liter. The plant is really healthy and i have no complaint and the smell Is absurd.
Likes
9
Share


@stone2345
Follow
Seeming like we are going to be harvesting in the next week or so. So we are moving on to flushing. Watering twice a week with ph balanced water. No nutrients.
