


Likes
Comments
Share

@Canna-Community
Follow
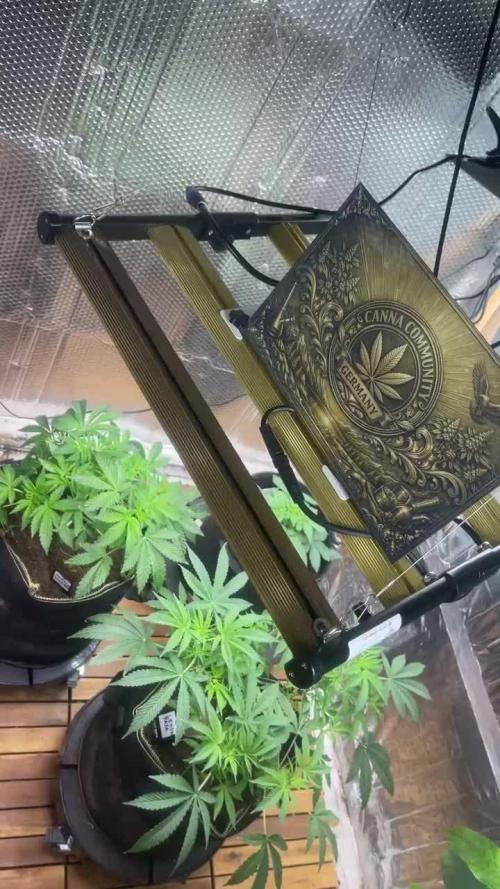
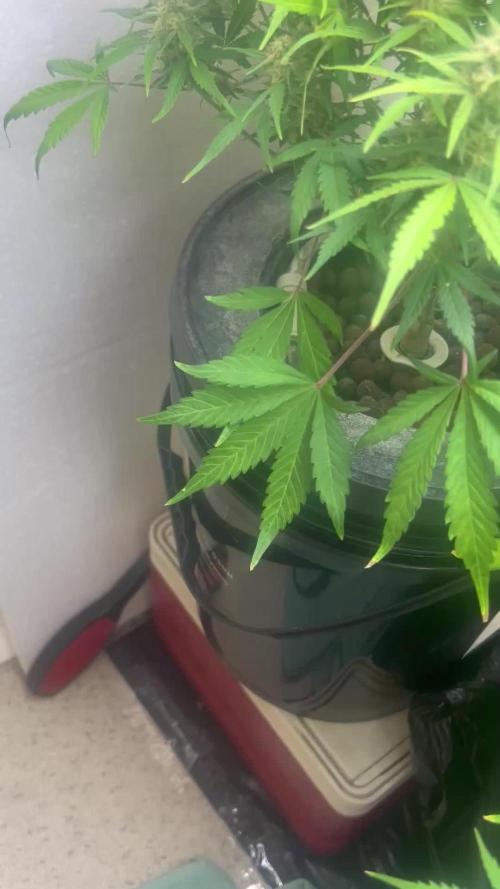
Die Pflanzen zeigen aktuell eine sehr gute Vitalität und ein gleichmäßiges Wachstum. Blattfarbe, Struktur und Standfestigkeit sind unauffällig und entsprechen einem gesunden Entwicklungsstadium.
Weitere stressauslösende Maßnahmen sollten vorerst vermieden werden, damit sich die Pflanzen vollständig stabilisieren und ihre Biomasse weiter aufbauen können.
Nach ausreichender Wachstumsphase und Erreichen der gewünschten Größe kann planmäßig in die Blütephase übergegangen werden.

Likes
13
Share


@Luv2Grow
Follow
Day 50 - Starting week 8 and she’s as good as she can be right now. After reading some advice I may be giving her too much water so gonna slow down how much I give her from here on out. Even though this girl won’t produce as much as I’d like, I’ll still get something and will be growing another one soon.
Day 52 - She still seems to be doing ok right now and the leaves are starting to fade a bit so will probably give her another round of nutes in the next couple of days but it might be too little to late for this girl.
Day 53 - She’s starting to put on a bit of weight now. All her bud sites are all starting to lean over so might have to start using the yo-yo’s to keep her propped up. She’s just about dry so she’ll get some water tomorrow.
Day 54 - She’s still doing good right now and gave her about half a gallon of water and nutes today. She still seems to be fattening up on a few of the buds but some are still pretty fluffy. She’s still pretty young right now so holding out hope that she’ll beef up, though I’m not seeing much more pistil development but all her trichs are still clear with a couple cloudy mixed in there.
Day 55 - All still going well but nothing much to speak of right now. She took well to the watering yesterday and just took her out for some updated pictures and such.

Likes
19
Share


@RDWCGrowing
Follow
Week 1 Day 1 - 8/12/2023
1st Water change Day! Such a special time it is when you remove the little bit of Nutes that you gave them as an appetizer and you give them their first real meal.
Added
39 Gallons of Water to my system
SILICA= .5mil/Gal = 19.5 = 20mil
Root Drip = 1mil/Gal = 39mil
Cal Mag= .25mil/Gal = 9.75 = 10mil
FLoraMicro= 3.0mil/Gal = 114mil
FloraGro = 2.0mil/Gal = 78mil
FloraBloom = 2.0mil/Gal =78mil
ORCA= .5mil/Gal = 19.5 = 20mil
Week 1 Day 2 - 8/13/2023
Everything is looking good the roots are making thier way to the water and the new grow is looking nice and green.
Week 1 Day 3- 8/14/2023
Everything is right on track, they are looking beautiful and in the praying postition all leaves happily lifting towards the light.
Week 1 Day 4- 8/15/2023
Looking beautiful today and looked like she could use her first haircut.. gave her a TOP off. Roots are laying in the water everything is looking right on track..
Week 1 Day 5- 8/16/2023
walked in and the humidity was under 60.... ohh noooooo.. So I added 2 humidifiers to the tent and attached them to my InkBird controller which is set to 62. She had roots nicely in the water.. this grow is on!!!
Week 1 Day 6- 8/17/2023
Humidity was a little low this morning, so I refilled the humidifiers. Other than that, the temp looks great, the PH looks great, the PPM looks good the plant is in the praying position and all damage from the little drowning seems to have been fixed. Happy Happy.
Week 1 Day 7- 8/18/2023
Yay.. week 1 in the books, roots in the water growth has started first hair cut given and both side nodes are growing. Everything is looking good and on track.. A lot better than week one of the last grow when I had them drowning week 1.
Really excited on how this grow is going to come out.
Likes
12
Share


@Jays_Not_Here_Man
Follow
Week 7 of Veg for these beautiful ladies! It was a stressful week for the girls but they made it❤️
Day 44 I decided the girls had outgrown their 2 gallon nursery pots and were ready to move on. After a quick cleanup of the undercarriage, they were ready to go.
I like to keep my soil in a Rubbermaid bin, either with a fan lightly blowing, or the exhaust line from my tent blowing at it. Since I started doing this, I have not had any gnats or pests in my grows, of course with regular cleanings and IPM…
This time around, I decided to use some Dynomyco to increase the mycorrhiza count of my Promix HP. This will increase root development and allow for better uptake of nutrients overall. Within an hour or so all of the ladies were transplanted ❤️ 2 in 7 gallon fabric pots, and 1 in a 5 gallon fabric pot ( the 5 gallon will finish in my 2x4 tent)
Once the girls bounce back and take hold of their new forever pot, I will be setting up my custom “floating” SCROG net and allowing them some time to get bent and tucked all nice snug before I flip to a flower schedule. Happy Gardening ❤️🇨🇦🌱😎

Likes
16
Share


@OwnWayGoodWay
Follow
The first days of this week I added some monster bud mix (watch video) and trained the plant. She is growing fast and she looks good 👍
No defoliation, No Ph-down (or -up), only water and monster bud mix in a light mix soil 💪
We can see the first pistils in the nodes.

Likes
8
Share


@jaydee702
Follow
She has been doing really well in such a small pot the roots are packed very tightly and am worried about root problems like root rot
or lack of oxygen in the center being so condensed in such a small space
i still have at least a week and a half to go before harvest hope it will make it to the end

Likes
69
Share


@nonick123
Follow
Día 9 (10/06) N/A
Día 10 (11/06) N/A
Día 11 (12/06) Llueve mucho. Humedad alta por aquí. Eso les favorece
Día 12 (13/06) Se empiezan a desarrollar las hojas verdaderas a una buena velocidad! Todo en marcha! 💨
Día 13 (14/06) Riego ligero 100 ml sólo H20 EC 0,5 en previsión del trasplante en el día 15 de la planta
Día 14 (15/06) Se nota que estamos en el día 14 desde germinación y la mayoría de las plántulas van viento en popa!
Día 15 (16/06) Hoy procedemos a trasplantar a las chicas a su maceta intermedia de 6,5 litros
Se prepara con 5,5 Litros (85%) de sustrato PRO-MIX HP BACILLUS+MYCORRHIZAE + 1 Litro de Insect Frass (15%) + 65 gramos de Earth Vibes Super Soil (10 g/L substrato)
Se llena la maceta de sustrato con las manos (limpias) y rompiendo los trozos más gruesos, para que el sustrato esté aireado y esponjoso, sin presionar
Se coloca una maceta vacía de 1L para que quede la forma perfecta de la maceta donde están las plántulas (ver fotos)
Se espolvorea la parte proporcional de la probeta de microorganismos sobre el agujero de trasplante
Se saca la plántula de su maceta actual (bonitas raíces 😍) y se coloca en la maceta final
Se riega muy lentamente hasta percolación profunda con H2O EC 0,5 pH 6,5
Se coloca mulch (acolchado) de paja para evitar traspiración excesiva y cuidar a los microorganismos del suelo
A ver como reacciona al trasplante!
💦Nutrients by Lurpe Solutions - www.lurpenaturalsolutions.com
🌱Substrate PRO-MIX HP BACILLUS + MYCORRHIZAE - www.pthorticulture.com/en/products/pro-mix-hp-biostimulant-plus-mycorrhizae
Likes
7
Share


@FastBudsInShed
Follow
So, my method of germination is, I use a small glass container with some distilled water, I place that with my seed in a cabinet on top of an (AC infinty) seedling mat on 14 strength. My seeds develop tap roots within 24 hours. After that I place seeds directly into my medium. Btw, I do not put her in the amended soil, I dig out the center and use a seedling starter mix to prevent stunting from the nutrients.
On day 12 she was looking thirsty and I was going to give her another day but decided that I was going to go ahead and give her a small dose of recharge, she is one day now away from early veg according to FastBuds timeline. I'd say she is right on schedule, also looking very healthy. It is day 13 and her height is 5" , and this will conclude my germination portion of this grow diary. Thank you for reading and checking my grow out, this is my first grow log and I hope I am up to par, I am very excited to keep this going, and if there are more things I should mention or do please let me know so I can make this perfect. Thanks
Likes
91
Share


@Greenwolvesfarmer
Follow
Me encantó la cepa y su facilidad de cultivo ! Aun que tuve muchos problemas ambientales y climáticos . Me atrasé unas 3 a 5 semanas con estas nenas , pero nos recuperamos bien ! Usamos malla scrog chilena #kanovicultivo , lo mejor que he usado en malla scrog , no se le comparan , su espacio preciso! .
Las 4 comenzaron en pequeños vasos , luego de 1 a 2 semanas , trasplanté a macetero de 5.8lts , finalizaron 3 en maceteros textil 19lts y 1 en macetero de 20lts AirPot !
Comencé a brindarle 20hrs de luz / 4 hrs oscuridad , a la 3era semana 19hrs de luz y a la 5ta semana bajé hasta el 18 / 6 .
Usé un panel QB de 480w regulables , chips marca Samsung de 3500k , chips epistar UV 660nm iR , el mix completo gracias a mi bro MKleds chile ! Se pasó ! De todas maneras recomiendo una potencia mínima de 600w ( QB LED ) para espacio de 120x ..
Usé un bio estimulante chileno , que a mi parecer fue uno de los mejores que he visto y usado ! El grande #trichomemania , te cuento que este producto activa un mecanismo de defensa en la planta (SAR) , haciendo que reaccione y se trate de defender con mayor producción de resina , terpenos y tricomas ! Es increíble ! A los 24hrs tienes resultados , un saludo grande a los hermanos ! El mejor producto 10000000%....
Grande eva seed , buenisima esta cepa , me dí cuenta que si se deja madurar un poco más , su sabor es más frutal candy , exquisita cepa !....
Estamos probando con un papel de blunt organico 100% libre de tabaco marca *jamaican buzz*...al fumarla su efecto es notorio , enseguida viene el efecto psicoactivo y cerebral , se viene a la vista un tanto distorsionado el entorno ...la vision un poco más brillante , y a la vez relajado ..
Hoy 18 de agosto estamos probando con un papel de celulosa organico marca lion rolling circus ( foto al final del album ) , quema bastante bien , al parecer ya está casi en su totalidad secado , combustión lenta , buen sabor afrutado citrico con toques candy diesel ...uuff efecto despues de 3 quemadas ya por los cielos , totalmente cerebral y estimulante , un gusto charlar con amigos !
Al manipular su fruto , la planta expele un olor afrutado con limon maduro y skunk , con finales de candy terra , una delicia , muy buena cepa , ahora mientras escribo me siento un tanto "mareado" con esa mitad de blunt ! Buenisinaaa!...
____
La verdad cuando comencé a cortar cada planta era como llenar "infinitamente" el armario donde dejaría secandola , se llenó casi la mitad y un poco más sólo con 1 planta cortada ! Increíble producción , yo estimo unos 90g por planta aprox , ya he consumido un buen peso además ...veremos en estos días que esté por completo su secado ! Esta riquísima , sus efectos fuertísimos ...100% ...
___
Una cosecha buenísima, muy parecido como obtengo resultados en comparación con el sodio , todo bien me gustó la experiencia !....
Además tuve la oportunidad de hacer extracción en seco de su materia vegetal . Obtuvimos entre un 18 a 20% de retorno ! Para mi primera vez , geniaaaal ! Su utilizó prensa de 12 toneladas , de apretó a 80°C por 4 minutos .
.
.
Usen lemon king ! Una delicia .

Processing
Likes
2
Share


@MO_Gardens
Follow
Like my other auto I'm growing, I've learned these are much different from photo plants. They don't like heavy feedings or lots of light. My other photo plants enjoy both.
I've feed some liquid seaweed and molasses over the past week, and have continued the LST. So far so good.
Likes
10
Share

@The_Holy_Herb
Follow
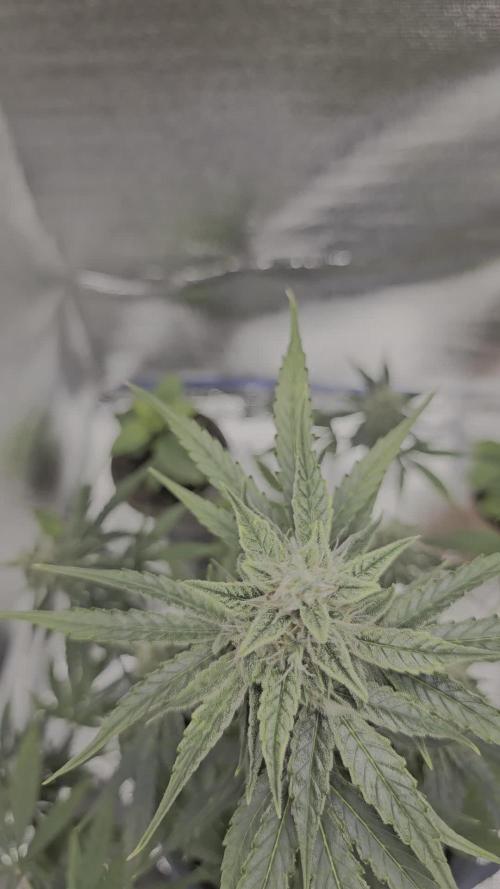
Hello y'all! Today marks the last day of the third week of flowering.
At the start of this week I watered the plant with 1 liter of plain water, no excess draining. I also applied some extra LST, I really wanted to expose as much as possible the buds. My light is not that powerful, it produce real 70/75 watts... so I do my best to take advantage of it with some LST and a major defoliation. I took out 13 leaves, some of them were a bit crushed or damaged so they had to go to create more space for the light and overall for the health of the Titan. Some of them they were just making too much shade on the buds so they also had to go ahhahaha
Couple of days ago I watered with 3 liters of water with nutrients. The excess was 1.5 liter.
I found the limit of the pot, around 2.5/3 liters of water per week. That's the sweet spot.
I was concerned that the plant didn't drink enough but then if I take in consideration that the pot is only 7 liters and I did fill it with around 6 liters of soil...then I think is more than fine as it it. We will see.
So in conclusion this week the baby got roughly 4 liters of water adjusted to pH 6.3.
The water that drained off the pot was around pH 6.7/6.8. I think is a little too much and I am considering to water next time with pH around 6.0 o 6.1 maybe I will be able to drop the pH of the excess water to 6.6 or 6.5. We will see.
The temperature is constantly around 21 to 23 degrees celsius and the humidity at the moment is constantly under 50%. At least I don't have to worry about mold. I hope.
The smell is strong with some mango scents, amazing plant! I hope it smokes also as good as it smells!
I wanted to point out something that I've noticed and it popped in my mind.
My pot was for 7 liters but in the pot I have roughly 6 liters of soil. So there is some extra empty space for soil on the very top of the pot.
The problem is that I noticed that on the very bottom of the main stem the plant tried to sprout some extra roots but because there was no soil around it they didn't spread and died straight away.
I've noticed that the plant could be much stronger or bigger if I let her root also a bit higher on the main stem... but because there was no soil around the stem the roots didn't come out from there. You can see it in the last picture. I circled in red the spots.
I believe I could do much better if the roots were starting a lil higher on the stem and not just where is the soil.
If you don't get me or im unable to explain myself cus im stoned then please give a look at the last picture of this week. You will understand what I meant, if not peace and love the same hahahaha
Overall I believe everything is going in the right direction, in 2 weeks +- I should harvest. I hope I can get 50 g dry of this plant. See you next week guys!

Likes
16
Share

@pHilosophy420
Follow
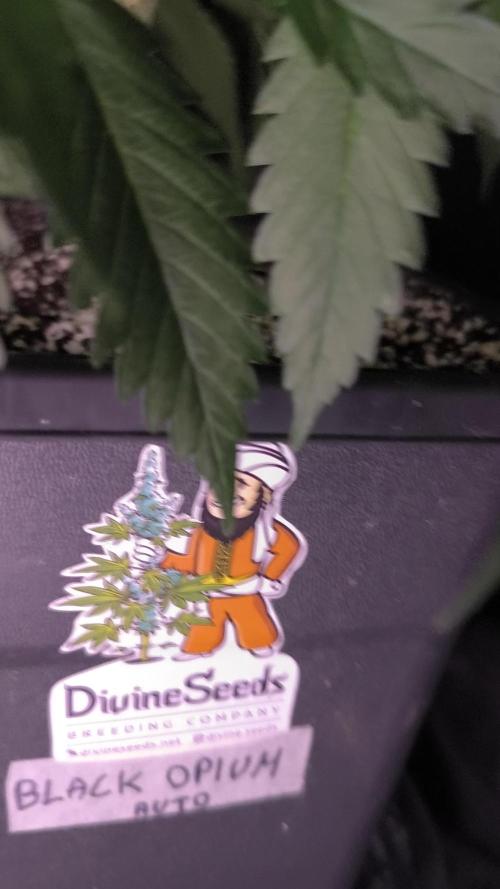
Day 63- She was very bushy and I did defoliation and LST using second ring to expand the branches vertically (beging of week 8). Now she has stretch and buds forming nicely 🙂👌

Likes
8
Share

@Northfork
Follow
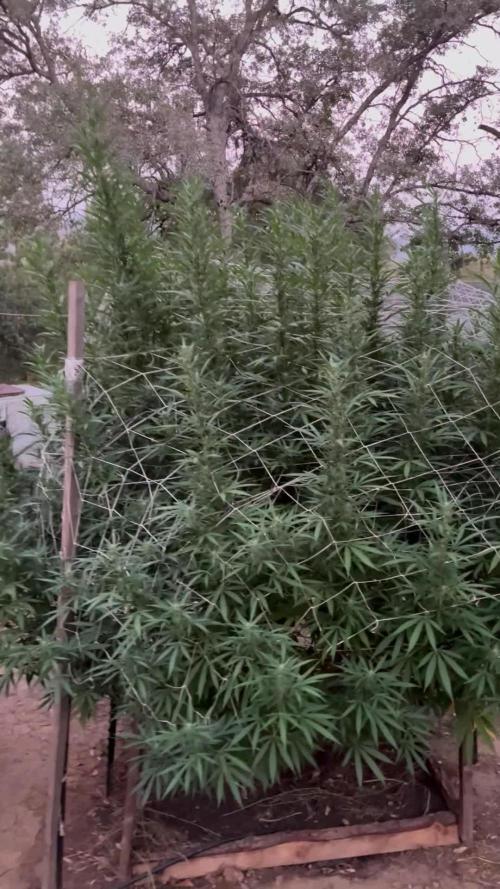
8-25-25
Apple fritter has stopped stretching and started stacking really good super Frosty sticky apple fritter buds everywhere plant is going to start getting heavy soon.

Likes
87
Share

@Schafe1001
Follow
Oops, things started from seed on May 20, so that makes these about two months (56 days)
In other words, this is week eight and a picture of each plant after defoliation slightly

Likes
15
Share


@MotherNaturesSon
Follow
One thing I’ve taken from this grow is that I think I’ll be trying organic soil style indoor growing after my current Coco hempy run. I feel as though the main thing this would benefit is overall taste and smoke smoothness, of which i feel a difference, but want to test the results myself before determining so in my personal growing experiences. Thanks for reading me ramble on about this plant I love. Cheers


Processing
Likes
28
Share


@Elysian_gardens710
Follow
I sprouted 2 feminized Chocolate Mint OG seeds from HSO 😁💪🌱 these were taken from a pack of 10,the remainder I will sprout after flowering these 2 so I can learn their growth patterns (morphology) first.
I'm starting them in a Jiffy Tomato pod.(really like these for watering.u can really see how much water u are giving them.) On a heat mat at 74° for the 1st 7 days. They are under 2x Viparspectra 600w LEDs in a 2x4 tent.
At day 7 I transplanted #1 into a 1gal plastic round pot. And the 2nd plant will be going into a 7"x7"x9"
They are both in Happy Frog Soil medium by Fox Farms. The plan is 6 weeks veg then flower time!

Likes
11
Share


@BLAZED
Follow
Week 8 (17-3 to 23-3)
17-3
Temps: 17.4 to 21.9 degrees
Humidity: 60% to 72%
18-3
Temps: 17.5 to 22.2 degrees
Humidity: 54% to 65%
19-3
Temps: 17.9 to 22.4 degrees
Humidity: 52% to 61%
Watering: Both 500 ml. EC: 0.4
Watering: Both 1000 ml. EC: 1.4
Defoliated both plants and attached some shoots to the rack.
20-3
Temps: 18.2 to 22.8 degrees
Humidity: 59% to 69%
21-3
Temps: 18.5 to 23.4 degrees
Humidity: 57% to 67%
Watering: Both 1000 ml.
22-3
Temps: 19.4 to 24.1 degrees
Humidity: 55% to 67%
Watering: Both 1000 ml.
Set the strength of the light to 50%
23-3
Temps: 19.8 to 24.8 degrees
Humidity: 58% to 67%
Watering: Both 1000 ml.
As you can see, instead of removing the leaves, i tucked down all the leaves to open up the canopy.
I will see if i like this method as its the first time i try this.
I also attached some more shoots to the rack, its looking nicely spread out now :)
Likes
39
Share


@Hashy
Follow
This is the 2nd MSNL strain I have tried and the genetics are great. She got the longest time in the tent as she is a standard photoperiod and the rest of the grow where fast flowering photoperiods.
I trimmed her after 16 days of drying and got 35g of decent buds and 9g of ok buds.
Power used for whole grow in 114 days.
Lights=201.7Kw (201.7×0.25)(=£50.42)
Rad=212.23kw (212.23×0.25)(=£53.05)
201.7÷114=1.769kw per day light average.
Average 100w for veg
Average 150w for flower.
Light average for grow 125w.
Stats for the grow.
FFNA2410=42g
FFNA2411=45g
FFNA2412=43g
Acapulco Gold=44g
Expected hash from trim 28g
Total=174g
174÷125=1.39g/W


Likes
12
Share


@BudXs
Follow
Not saying a word about these. Fuck, too late
Pretty good so far. Bangdangbuds (Hawkbo) did them much better tho
Likes
11
Share


@growerflowerweed
Follow
bueno hemos iniciado el dia de hoy con un transplante final de cada de estas niñas las he transplantado a un sustrato propio hecho por mi con los suficientes minerales y propiedades para qeu este cultivo sea una locura , solamente estoy con pulverixador