


Likes
Comments
Share

@-KxeyV-
Follow
✨️
14.04.26
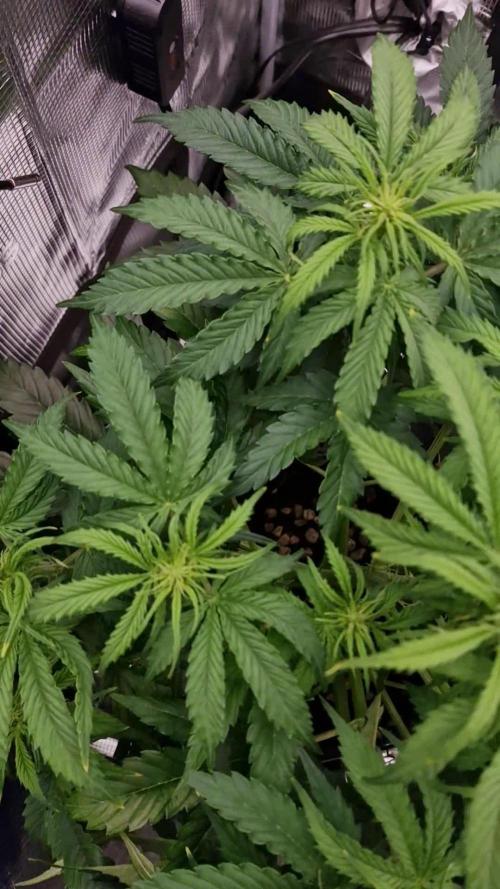
Ich habe von Woche 4-7 alle paar Tage die Triebe entfernt die zu weit unten wuchsen aber die Blätter erstmal in ruhen gelassen. Hab nur dort welche entfernt wo es beim Gießen störte oder Buds überdeckt wurden. Jetzt ist sie erstmal fertig für die Blüte 🌱✌️

Processing
Likes
11
Share


@PowerofNature96
Follow
on day 20 I added the new 250w led panel.
everything is proceeding perfectly even if I noticed a bit of dwarfism in the fat banana due to probabilmento to the wrong conservation of the seeds by my grow shop. however I have given some magic potion to the fat banana now let's see if it gets stronger in the next week. greetings to all and good cultivation!


Likes
9
Share


@HIAZ_urbanbudfarmer
Follow
Been a busy week getting the new setup going. She has been going really well , first week of flower , interested to see how she goes. She is a nice little plant problem free so far.


Likes
7
Share


@Cultivatorcarlos
Follow
No bug or disease problems. I even took her off veg nutes way too soon and she recovered like a fucking champ. I’m popping two more this week. Unfortunately i didn’t weigh it because Of some very unfortunate circumstances that I was dealing with at the time. I essentially had to vacate my premise within 24 hours. A few days after harvest. Anyways. I ended up smoking the whole thing with my friends and it was straight fire. The terps were crazy also. Super sweet. After curing she had a very sweet smell like bubblegum / grape. This was only my second harvest ever.

Likes
Comments
Share


@jaimecamarinha
Follow
Sensi seed Northern lights x haze day 39 of flowering going well no mayor concerns , increasing nutrient levels to ec 1,6 - 2.4 fertigating daily and supplements like amino’s, silica and calmag once a week

Likes
13
Share


@CBDezz
Follow
Growing these ladies was great and super easy. I ran into a problem early on from not using the correct PH when watering and they bounced back nicely. Seed to harvest in 10 weeks probably could have went another week.

Likes
18
Share


@Earthsower
Follow
She received 100ml of made solutions of an E.C of 1.7 before I repotted her she has received no water. She is about 10 cm with long internode spacing. Another set of five fingered leaves coming through the peak. Maturity is on the horizon. The next feed signs of wilting!


Processing
Likes
2
Share


@eldruida_lamota
Follow
Esa familia, nuevo LST con misty gorilla autofloreciente, empezaremos de momento con 2/3 misty gorillas con este método de cultivo. Uno de los ejemplares me parece algo pequeño aun como para andar atando nada.
Añadi BETA SHARK , quite el producto de crecimiento, y aporte el producto de floración de la gama BLACK LINE de AgroBeta.
También quite el enraizante, ya que fácilmente consigo buenos cepellón es y con varias semanas de dosis son suficientes.
Ph controlado en 5.8 humedad entorno al 45%, la temperatura no sube nunca a los 27 grados , se queda siempre en 26 poco.
Se las ve con buen color , un tallo bastante manejable, fueron atados entre 2 y 3 nudos por planta con alambre forrado.
Espero que os gusten las fotos e imágenes ya que gracias a Zambezaseeds, marshydro y AgroBeta es posible este cultivo, un saludo fumetillas 💨💨💨💨.

Likes
6
Share


@Huckleberry39
Follow
I am so excited to grow this Mexican Airlines from @420fast_buds. She is About twelve days out of The Dirt and is doing excellent.
But I wouldn't expect anything less from the peeps at @fast_buds. She is looking super indica early on. Can't wait to see how it goes. See you guys back here next wee for another update ( if not sooner)!!!
Peace and love
Likes
18
Share


@DogDoctorOfficial
Follow
Hey fellow green thumbs! 🌿💚 We’ve just wrapped up the sixth week of flowering with our Auto Fast Pete and Auto Northern Dragon Fuel from Super Sativa Seed Club. With harvest just around the corner, this week has been all about the final push. Let’s dive into the details!
🌟 Week 10 (Sixth Week of Flower) Progress:
Day 64-66: Final Bud Swell
• Auto Fast Pete: Pete is in the final stages of bud development. The buds have swelled significantly, becoming denser and more resinous. The aroma is incredibly strong, filling the grow room with a delightful scent. 🌿🌸
• Auto Northern Dragon Fuel: Dragon Fuel is also in her final stretch, with thick, sticky buds that are heavily covered in trichomes. The plant’s resilience continues to impress as she pushes through to the end. 🌱✨
Day 67-69: Flushing Phase
• Nutrient Strategy: This week, we’ve switched to just water with a TDS of 100 and a pH of 6.8. The goal is to flush out any remaining nutrients, ensuring a clean and smooth finish for the final product. 🌿💧
• Reservoir Details:
• TDS: 100
• Temperature: 18°C
• pH: 6.8
• Environmental Conditions:
• Temperature: 31°C
• Humidity: 51%
Maintaining these conditions to optimize the flushing process and prepare for harvest. 🌡️💧
Day 70: Final Observations
• Auto Fast Pete: The buds are fully matured, with a thick coating of trichomes and a rich aroma. The plant has responded well to the flushing process, and the foliage is showing signs of nutrient depletion, indicating a successful flush. 🌿🌼
• Auto Northern Dragon Fuel: The buds are dense and sticky, with a beautiful trichome coverage. The plant has also responded well to the flushing, and the leaves are beginning to fade, signaling that she’s ready for harvest. 🌱🌟
🌟 Care Tips:
• Light: Maintaining the 12/12 light schedule as we approach harvest. The plants are thriving under this schedule, and the buds are fully developed. 💡
• Autopot System: The Autopot system has provided a steady water supply throughout the grow, reducing the need for frequent manual watering. This week, the system is delivering only water to ensure a proper flush. 🌊
• Nutrient Monitoring: Switched to just water with a TDS of 100 and pH of 6.8. Monitoring the plants closely to ensure they are properly flushed and ready for harvest. 🌿
• Environment Control: Maintaining a stable temperature of 31°C and humidity around 51% to create the perfect conditions for the final stages of flowering. Adjusting airflow and positioning to optimize plant health. 🌡️💧
🌟 Genetics Spotlight:
Auto Fast Pete:
• Characteristics: Rapid bud development, strong structure, early resin production, and impressive resilience. Despite some stress earlier, this strain has produced dense, aromatic flowers.
• Harvest Expectations: Fully matured buds with a rich aroma and thick trichome coverage. Expecting a potent and flavorful final product.
Auto Northern Dragon Fuel:
• Characteristics: Robust structure, dense bud sites, resilience, and heavy trichome production. The buds are sticky and aromatic, showing great promise for a high-quality harvest.
• Harvest Expectations: Dense, sticky buds with a beautiful trichome coverage. Anticipating a strong and potent final product.
🌍🌿 Fun Fact:
Did you know? 🌿✨ Flushing your plants with just water before harvest helps to remove any residual nutrients, leading to a cleaner and smoother smoking experience. It’s a crucial step to ensure the best possible final product!
For all the in-depth action and detailed explanations, head over to my YouTube channel! 🎥✨ I’m sharing all the tips, tricks, and step-by-step guides to help you get the best results from your grow. This week has been particularly exciting as we prepare for harvest, and there’s so much more to explore and learn together!
👉 Join me on YouTube ink in my profile 👈
🌟 Conclusion:
Week 10 marks the sixth week of flowering, with both Auto Fast Pete and Auto Northern Dragon Fuel showing remarkable progress. The buds are fully matured, and the plants are ready for harvest. With careful monitoring and a successful flushing process, we’re set for a promising and rewarding harvest.
Stay tuned for the harvest report, and happy growing! 🌿💚✨
#SuperSativaSeedClub #Week10Report #FastPete #NorthernDragonFuel #PlantMagic #GardeningJoy #NatureLovers #PlantPower #InspireGrow #YouTubeJourney
Germination method 🌱 @thecannakan
Genetics @supersativaseedclub_official
Nutrition
@aptusholland 🌿
@aptus_world 🌎
@aptus_es 🌍
@aptusbrasil 🌱
@aptus_thailand 🌿
@aptus_portugal 🌳
@aptususa_official 🍀
@aptusplanttechnz 🌺
@aptusplanttechaus 🍃
Ambient controls🎮
@trolmaster.eu @trolmaster.eu.support @trolmaster.support @trolmaster.agro
Soil @promix_growers_eur @promix_cannabis
LED - @lumatekeu
Watering- @autopot_usa @autopot_global
Love and attention- @dogdoctorofficial
As always thank you all for stopping by, for the love and for it all , this journey of mine wold just not be the same without you guys, the love and support is very much appreciated and i fell honored and so joyful with you all in my life 🙏
With true love comes happiness 💚🙏 Always believe in your self and always do things expecting nothing and with an open heart , be a giver and the universe will give back to you in ways you could not even imagine so 💚
More info and complete updates from all my adventures can be found ⬆️link in the profile description ⬆️
Friendly reminder all you see here is pure research and for educational purposes only
💚Growers Love To you All 💚
Discount Codes :
@thecannakan DOGDOCTOR 15% off
@theneutralizer PORKIT7-DOGDOCTROSO 15% off
@kannabiaglobal DOGDOCTOR 30% off
@seedsmangenetics DOGDOCTOR 10%off
@terpyz.mutant.genetics DOCTOR 15% off

Likes
15
Share


@GanjagrowingGal
Follow
Started flushing today, day 55, seeing what looks like trichomes going amber but my scope arrives tomorrow so I’ll finally get to see exactly what is going on. But I’m sure the scope is gonna show that the trichomes are screaming that they’re ready lol

Likes
Comments
Share


Likes
4
Share

@TommyBVRSA75
Follow
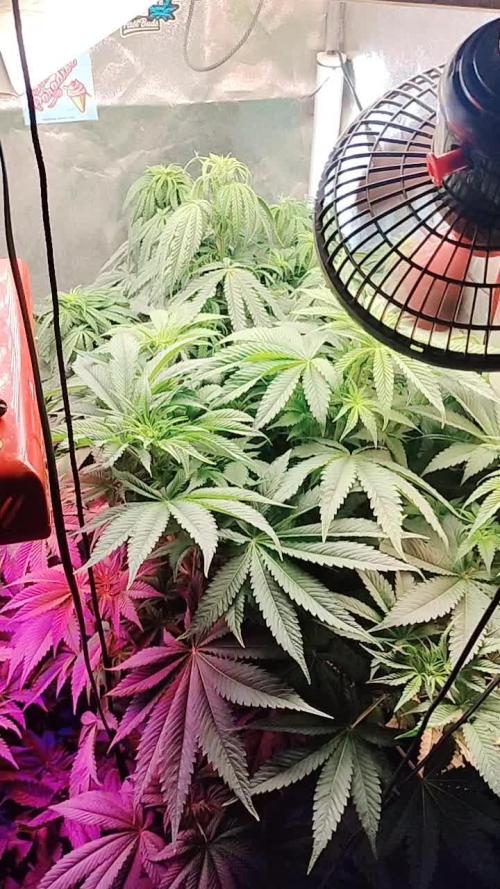
Detailed video (15 minutes) explains fully detailed aspects of the winter growing season 2025. All about strains, settings, climate conditions, nutrition and many more.

Processing
Likes
4
Share


@Green_Thumb
Follow
Added some CO2 to help with photosynthesis while at higher temps. These ladies really blew up at the end of last week and this week! The smell has really starting to be noticeable and pistols / flowers are finally showing! Side note I finally got more seeds to replace the one I lost early on. These ladies are really starting to become a treasure. Ended my LST this week.
Likes
67
Share


@Canna96
Follow
Happy Independence Day! I got this Acid Dough wet trimmed in about 2 hours which is freaking awesome! She is sticky and stinky AF!!! This is my first run by Ripper Seeds, and I am honestly very very impressed, and it takes a bit to impress me. She will not yield as much as the Wedding Cheesecake, but cutting the trim time by 75% is worth it to me. I think she will put out around 12-13 zips dry, which I am happy with for an autoflower, especially one that was ready in under 90 days. I will absolutely be growing this again, only problem is my list is sooo freaking long with autos I want to try, and I am only growing 2 autos at a time now due to only having a 4X4 tent for flowering. I hope everyone is enjoying their weekend, be safe and blaze on!!!
I ended up with 12.2 OZ dry, which I am happy with, but I definitely I know I can do much better. The buds are very dense, and absolutely smell pungent AF. I really enjoyed growing this strain, which was given to me from a fellow breeder who loves Acid Dough and spun this one to an Auto. I can't wait to squeeze these buds, as I they are so sticky and dense, I believe I may be able to achieve 25% yield, something I have never done before. I will definitely be growing some more from Ripper Seeds in the future, I believe they killed it with this strain. Thanks for stopping by, be safe, and Blaze On!


Likes
Comments
Share


@SmokinTehHerbz
Follow
Jacks at 3.6/1.2/2.4 grams per gallon starting after transplant once per day.


Likes
10
Share


@YAKDADDYDWC
Follow
I found seed foeming and bananas so i decided to cut my losses before it got out of hand im just glad they got to where the are now first time grow first time using dwc and i fucked this shit up for a first timer you beauty
Processing
Likes
33
Share

