




Likes
12
Share


@balansa
Follow
hey there.
so first of all we have a company as u see in the video above. i do not know exactly but this is some kind of a mite. thisis not a spider mite itsmuch bigger. so never mnd ihopeshe wont bother use any more. i spreyed my baby with neem oil and some some dometic organic pesticide.
second off all i cant believe the to my eyes. look at the trichomes. she will be deffietely the most potent auto plant that i have ever grown. lookatthe video of close up trichomes above.
overally she is very very healthy plant smells wonderfully!!! unbeliavabe plant !!
happy growing mates

Likes
Comments
Share

@Lebanese_Landrace
Follow
Week 7 June 21 update :
Plants were thirsty this week
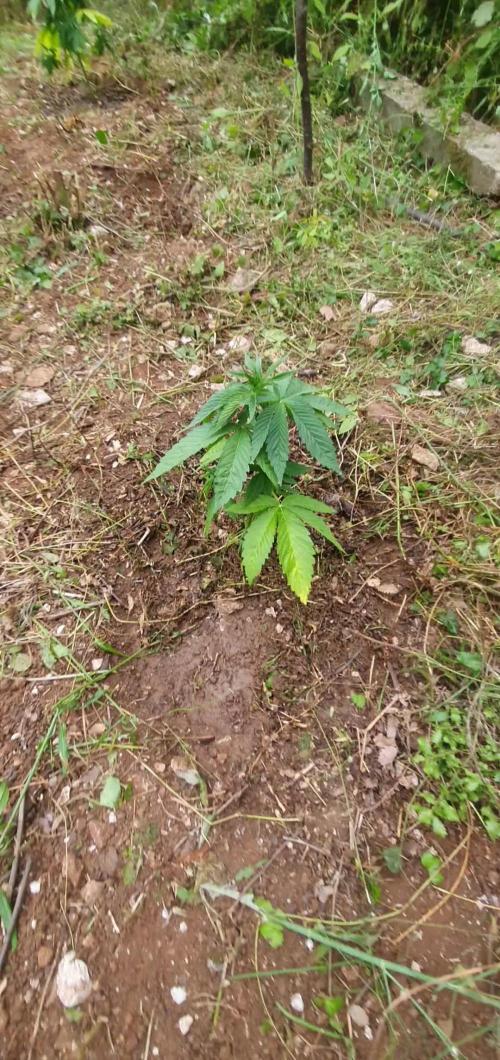
Tranplanted directly into soil added some vermi compost and watered 26L of water to each now the real growth begins 🙌🏼 stay tuned growmies
Likes
7
Share


@PrinceOfHerbs
Follow
The plants are growing beautifully and the first signs of flowering can be seen.
Flowering day 10💚


Likes
1
Share


@Blessed
Follow
Cured for 1 month, nice trichomas covering, smell good, nice THC level (not for beginners), easy to grow, long cycle, needs long term veg time.
Processing
Likes
20
Share


@victor_lion
Follow
This is a strain that is very easy to grow and resistant, after the fourth week it sticks a lug, and does not need a lot of vitamins, it grew with only 13 and 12 hours of light and went through cloudy days and a lot of humidity

Likes
24
Share


@Mr_Awesome_Badass
Follow
Well had a lot of fun making my pot look amazing. There are some things hidden on here right now that will start to be reveled around weeks 4-6.
At that time I will add the rest of the pot for everyone to enjoy.
It's a fun one.
Soaked her in water for 24 hours then planted her right in the Fox Farm - Happy Frog soil. Hopefully in a few days she will POP!!
FYI the cover photo is of my wife's zombie corn tattoo. There is a reason for this. Will have to wait to see the surprise as to why it is relevant.

Likes
8
Share


@eldruida_lamota
Follow
Esa familia, buenas noches , pues vuelvo de nuevo a actualizaros la semana, traigo novedades, primera semana en floración, todo va de vicio, ya han marcado su sexo, y no veáis que color y vigor.
Ph en 6,2 temperatura y humedad están dentro de los parámetros correctos. Menos de 50% y temperatura inferior a 27 grados.
Solo tenéis que ver las fotos y los vídeos y apreciar su salud.
Agradecer a marshydro la confianza puesta para poder ofrecer estos proyectos, y a agrobeta por su gama de nutrientes que probaremos en futuros proyectos.
Un saludo fumetillas , la semana que viene vuelvo con más.


Likes
7
Share

@Karl_Heinz420
Follow
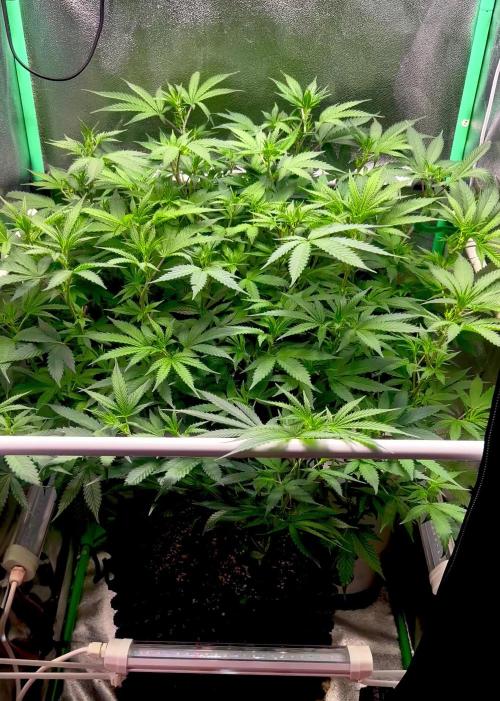
Original Sensible Seeds - Frosted Guava 🍈
Enjoy - Week 9 👨🏻🌾❄️
- 25-28 grad Celsius
- 55-60% humidity level
- 20l Air-Pot
(75% BioBizz All-Mix, 25 % BioBizz Worm Humus)
- RO-water (PH 6,25)
Sanlight Evo 3-60 40%: about 400 PPFD
Spider Farmer Glow30 6h/18h on

Likes
2
Share


@Lovemabud
Follow
I never actually weighed this plant once dried. I would estimate around 400+ grams as I gave away so much to friends and it still lasted me well over 2 years.
Beleive it or not, my wife who disapproves of me smoking never knew I was growing. Until the end that is when she needed a screw driver and entered my shed to see what you can see in the videos.
Hahahaha, it took a while to recover from this thats for sure.
After this crop was finished, I basically rarely smoked for 4 years until I decided to go under lights this year. And now outdoors again with my latest project.
Likes
24
Share


@Giggle_butt420
Follow
Im soo excited for this run! This risentek soil is Amazing for starting seeds!!! 💯🌱🔥🔥✅🙌🏻💚💚😍

Likes
8
Share


@Hempcules
Follow
WEEK 11 (Day 71-77)
I harvested all my Dos-si-dos on Day 73. The plants remained very small and compact, which was partly intentional. The pot volume was set quite low, which I wasn't entirely happy with. Splitting the pots also turned out to be less practical, as the plants ended up too close together.
Despite that, the harvest turned out quite respectable. Visually, I really like it the dark tone and the many trichomes make for a fantastic look.
The aroma is also quite special. First and foremost, I find it has a strong, sweet note in its scent.
As for the cultivation, the Dos-si-dos were very easy to care for and handled all training exceptionally well. Due to the short distance between the shoots, I might even recommend LST or just a single, simple topping.
I fertilized almost exclusively organically, except that I added a bit of Plagron Green Sensation during the flowering phase.
I continuously defoliated well to ensure good air circulation, which worked quite well. In the last two weeks, I kept the lights on for 24 hours straight to avoid fluctuations in temperature and humidity. By the end, I settled at a DLI of around 60—it was a bit more than desired but still worked fine.
In the last week, I only watered with plain water and dimmed the lights a bit. Some of the tips developed a purplish hue. The buds appear very firm and voluminous, sparkling thanks to the dense, white layer of trichomes.
I would absolutely grow this strain again since it has a truly great and robust growth pattern, though next time, I would choose larger pots. I'm now drying my harvest at around 60% RH and 21°C until the smaller stems become brittle, then I'll store them in my hygrometer jars for curing.
I'm satisfied with the yield as well. Based on my calculations, I reached about 400g/m². A good result for such small bonsai-like plants.
For small grow spaces, this strain is really perfect. I've never grown such small yet productive plants before, and I found it to be a great change of pace.
A huge thank you to Zamnesia for the support—it was, as always, an honor.

Likes
224
Share


@Hellishjam
Follow
Wow would I ever just love to put the hps in now and flip these, they just look so good! Everything is growing well and roots already bustin out of the bottoms of the pots these are going to look awesome in 2 weeks! I’ve knocked the lights down to 16 hrs as we’re gettin pretty close to going outside. There was a couple nice overcast day the ladies spent out on the deck for roughly 4hrs a day to prep them for the final transplant, for the most part were half way there before they get any training, not sure if I’m going to be topping or just super cropping I’ve got two week to figure it out I’d like to get a hight of at least 2 feet before hand. Anyways that’s it for now peace ✌️🏻

Processing
Likes
5
Share


@Mr_nugs_lover_David
Follow
She looks perfectly healthy and ready to get big! Haha so excited about this beautiful strain,I hope you all enjoy my diaries I'm growing 4 plants of this genetic,and 2 more automatics from this wonderful Spanish seedbank,let's see what we can do! 💚 🌱

Likes
14
Share


@Farmerted
Follow
This little plant pushed through until the end without too many issues. Smells good and produced smokable bud for sure. Overall I am pretty happy with it for all the abuse it took in 200 ml of dirt. Looking forward to my next diary as well. Thinking I will do one with the Apple Betty and mimosa evo clones I just took.
Likes
28
Share


@GrowInger420
Follow
Week was good, give her just cold water now to the end. Now buds getting big amd slowly start purple. Have a nice week ✌️
Likes
29
Share


@MadeInGermany
Follow
Info:
Unfortunately, I had to find out that my account is used for fake pages in social media.
I am only active here on growdiaries.
I am not on facebook instagram twitter etc All accounts except this one are fake.
Flowering day 22
since time change
to 12/12 h
Hey guys :-)
The stretch is in full swing and it continues to develop beautifully :-).
The GBL fertilizer does exactly the job it should 👍.
Organic more PK will be added in the coming days.
It was poured 3 times this week (for nutrients, see table above).
The lowest shoots have been removed so that the energy reaches the upper area completely :-).
Otherwise, as always, the lady was checked for her health and the tent was cleaned.
I wish you all a lot of fun with the update this week.
Stay healthy 🙏🏻
You can buy this Nutrients at :
https://greenbuzzliquids.com/en/shop/
With the discount code: Made_in_Germany you get a discount of 15% on all products from an order value of 100 euros.
You can buy this Strain at :
https://www.amsterdamgenetics.com/product/kosher-tangie-kush/
Type:
Kosher Tangie Kush
☝️🏼
Genetics:
Kosher Kush
X
Tangie
👍
Vega lamp:
2 x Todogrow Led
Quantum Board 100 W
💡
Bloom Lamp :
2 x Todogrow Led
Cxb 3590 COB 3500 K 205W
💡💡☝️🏼
Soil :
Canna Coco Professional +
Nutrients :
Green Buzz Liquids :
Organic Grow Liquid
Organic Bloom Liquid
Organic more PK
More Roots
Fast Buds
Humic Acid Plus
Growzyme Big Fruits
Clean Fruits
Cal / Mag
Organic Ph - Pulver
☝️🏼🌱
Water: Osmosis water mixed with normal water (24 hours stale that the chlorine evaporates) to 0.2 EC. Add Cal / Mag to 0.4 Ec Ph with Organic Ph - to 5.8

Likes
13
Share


@WeedTheNorth
Follow
Great strain with Strong genetics. I'll approach this gal a little differently next time with regards to training. I topped early and this plants sativa side kicked in and grew a tall lanky legged gal 58". The quality is fire here I'd definitely train differently to get the most out of your canopy which is what I'll focus on in the future. By far the most dense and sticky buds I've grown to date and it comes on my 1st year Anniversary cultivating cannabis. Thank-you Grow Diaries for allowing me to learn from this fantastic platform as well as share the experience to others.
Likes
16
Share


@osmrducks
Follow
Day 22: Honestly didn't think I would have made it this far. The girls are looking great minus a couple of issues. I have over watered them and over fed too! Not to mention trying to LST too early. I will wait a bit longer before watering this time.
Day 23: MORNING - They were super dry. I have been over watering a bit so I watered maybe 1/2 gallon for all 6. I also did some more LST and took 1 large fan leaf off of each plant. I will update again before lights out.
Day 23: NIGHT - The girls are responding very well to the LST. I don't think they are liking the 80°. I am starting to have issues with lower humidity again. I need to try and figure some sort of ducting out or possibly even get a small AC unit for the grow room.
Day 24: MORNING - I removed a couple more leaves that were covering potential bud sites. I have also done a partial main-line on the smallest girl. It looks to be already showing pistols. I've had to open the tent with a big fan blowing directly in with the humidifier behind it. The girls were getting hot and dry.
Day 24: NIGHT - Well 5 are showing to be female. The biggest plant is showing no signs of sex. I am guessing it will be the mystery seed. I will be doing no more LST to these ladies for at least a week or better. I think I have stressed them out enough the past 2 days.
Day 25: These girls are very resilient!! I tortured them all weekend and the one I nopped off to do a sort of mainline grew by 20% at least.
Day 26: It is the official 3 week mark today and the girls are starting to flower. I tied em down to get light to all bud sights. I will 100% not touch them unless they need it from this point!!!! They are soo small and I need not stunt them any more!! I have removed the Mystery Seed as it looks to be a male and I do not want to take the chance!! Also fed and watered today. Only 200 ppm for the feed.
Day 27: Nothing new to report. These girls are gonna be tiny :| I must've stressed em too much too soon :( Looking good though I think! 💪
Day 28: I never do what I say. Dumb! Broke main stem on one of the best plants. Taking it as a lessons learned. It's been two hours and she looks SICK! Oh well.

Likes
4
Share


@QixxGrows
Follow
Day36, 37, 38: Seems to be growing a set of leaves per day now. Super growth! Stretching to the top.
Day39: I had a hiccup with the camera. For some reason it stopped responding at 04:30 in the morning. I only realized it much later. I still don't really know why, but reseating the data ribbon fixed the issue.
Day40: After fixing the camera, I decided to take this view again. The Lady is starting to show some nice growth and this view will show it best. If you look carefully, you'll see that her branches are not green, but rather reddish. Definitely related to genetics :) Everything else is within limits. Plus, the leaves look super healthy.
Day41: Here you can see the stem colour better.
