




Likes
11
Share

@420DeepGrow
Follow
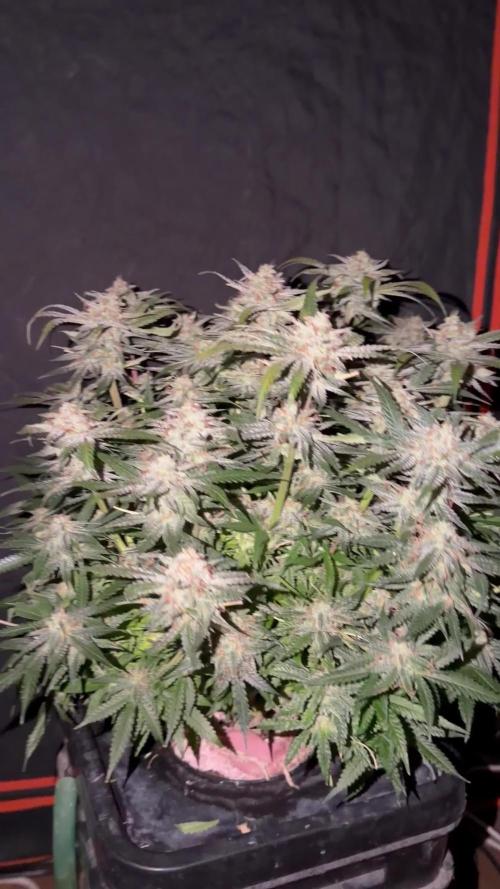
📆 Semana 5
El stretch ha finalizado y la planta concentra prácticamente toda su energía en el engorde de los cogollos. Los sitios florales comienzan a unirse a lo largo de las ramas, aumentando de forma visible el volumen, la densidad y la producción de resina. Los aromas empiezan a intensificarse mientras la estructura sostiene un desarrollo floral uniforme.
La canopia permanece estable, aprovechando al máximo la intensidad lumínica y favoreciendo una maduración homogénea en todas las puntas. El consumo de agua y nutrientes alcanza uno de los niveles más altos del cultivo, por lo que mantener un riego y una nutrición constantes resulta fundamental para sostener el ritmo de crecimiento.
⚡ EC: 1.9
💧 pH: 6.2–6.5
🌡️ Agua: 20–22°C
🌫️ Humedad: 40–45%
💡 PPFD: 1050–1100 µmol/m²/s
🌡️ Temperatura: 24–27°C
🔥 Nota: Comienza la fase de engorde intenso. Mantener un clima estable, una nutrición equilibrada y una intensidad lumínica constante permitirá maximizar el tamaño, la densidad y la calidad de los cogollos durante las próximas semanas.
Seguimos creciendo fuerte 💪!


Likes
20
Share


@Mr_nugs_lover_David
Follow
She's an octopus full of very stinky sweet nuggets man!. I'm in love with this black cherry punch #1 she's in a 30l pot and her performance has been amazing. Very happy with this lady. The aroma of the flowers is suuper sweet very like cherry and like strawberries. Such a pleasure to grow this Cherry pie 🥧🍒 cross 🔝💎👨🌾
PD: I had to tie some of the colas cause they were just Fallin cause of the weight of the nugs.
A set of 2 branches broke because of the weight of the nuggets so I chopped it down the 2 colas and put them in the drying room.

Likes
7
Share


@Huntress007
Follow
She was defoliated again and put into flower and has been receiving different nutrients since the change! She’s moving into flowering!


Likes
1
Share


@Growing_Spartan
Follow
August 25th
Buds are getting more dense and picking up their trichomes nicely, only issues have been temp swings from 87F-72F and RH from 32-45, adjusting the setup to have smaller ranges

Likes
26
Share

@420DeepGrow
Follow
Gracias al equipo de Seedsman y XpertNutrients sin ellos esto no sería posible.
💐🍁 Bubba Cheescake:
Bubba Cheesecake es un cruce de Bubba Kush anterior al 98 con Cheese Cake (Wedding Cake x Exodus Cheese). Se trata de un híbrido 70% índica con muy buenos rendimientos, alto en THC y bajo en CBD. Bubba Cheesecake prospera en interiores y exteriores. En interior se aconseja un corto periodo de crecimiento vegetativo debido a la cantidad de estiramiento que presentan las plantas. Las plantas pueden crecer hasta una altura de 250 a 350 cm. cuando se deja crecer naturalmente al aire libre. En interior, la floración dura entre 60 y 65 días, con rendimientos entre buenos y altos, de 400 a 550 gr/m2. Las plantas de exterior son capaces de producir entre 700 - 800 gr. peso seco. En las latitudes norteñas, en exterior, los productores pueden esperar cosechar a principios de octubre. Los cogollos son grandes y duros como piedras. Las plantas maduras muestran atractivos colores púrpuras y azules y brillan con una resina pegajosa que cubrirá las manos del cultivador si no tiene cuidado. El componente Wedding Cake agrega dulzura al sabor del regaliz y el aroma es terroso y musgoso. La producción de THC es muy alta con un nivel bajo de CBD. El efecto es intensamente narcótico, fuerte y duradero.
🌻🚀 Consigue aqui tus semillas:
🍣🍦🌴 Xpert Nutrients es una empresa especializada en la producción y comercialización de fertilizantes líquidos y tierras, que garantizan excelentes cosechas y un crecimiento activo para sus plantas durante todas las fases de cultivo.
Consigue aqui tus Nutrientes:
https://xpertnutrients.com/es/shop/
📆 Semana 8:
Se aprecian unas lindas preflores hembra, comienza a estirar de forma acelerada.
Todo sigue su ritmo y ellas comen bien todos los nutrientes, comienzo a aplicar sugarshot, silica force y enzimas.


Likes
2
Share

@ProlificGrowth410
Follow
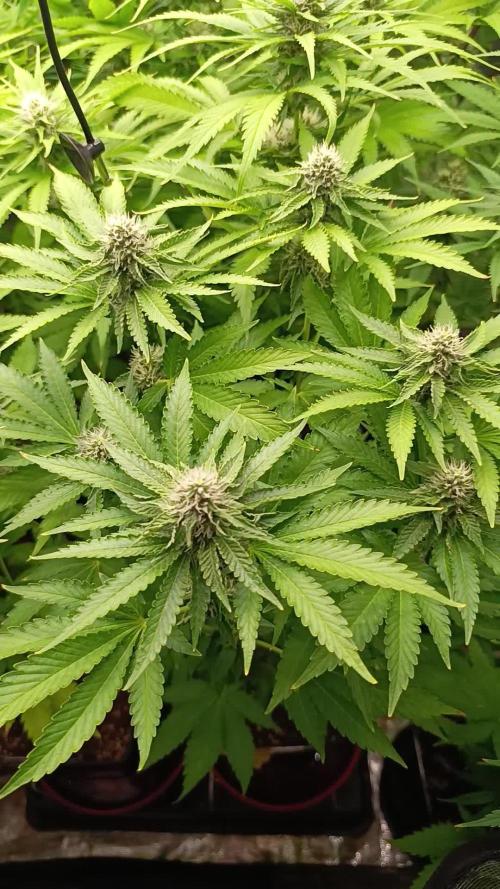
Day 100 from seed by far the healthiest most stacked plant in the tent, very dense nugs, strong citrus and berry smells kinda like blueberry lemonade, I'm very impressed to say the least.
Likes
10
Share


@Raizativa
Follow
Hola
Primera semana se demoraron 4 días aproximadamente en salir de la tierra.
Se han realizado 2 riegos:
200ml c/u
1ml calmag
100ml c/u
1ml Bio grow
1ml Bio heaven
0.5 calmag
Raiza 🐈


Likes
69
Share


@Natrona
Follow
Auto Bullet week9
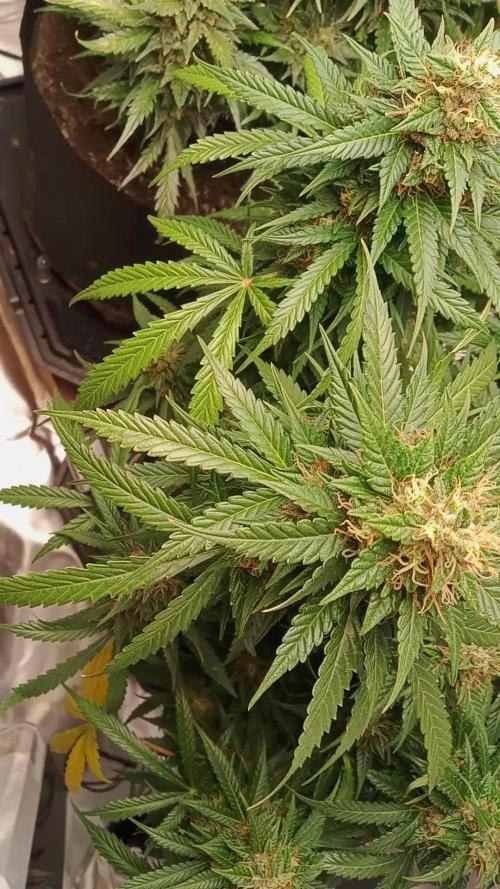
She stands tall holding her fatteng buds high like a tiara. And they sparkle ✨️ like 💎 diamonds. I'm only giving water now and hope to see more coloration appearing.
Thanks for the visits, likes and comments, I appreciate all the plant love💚.
Have fun & love what you grow 💚
Sending you good vibes of love, light, and healing 💫
💫Natrona 💫

Likes
17
Share

@masterofsmeagol
Follow
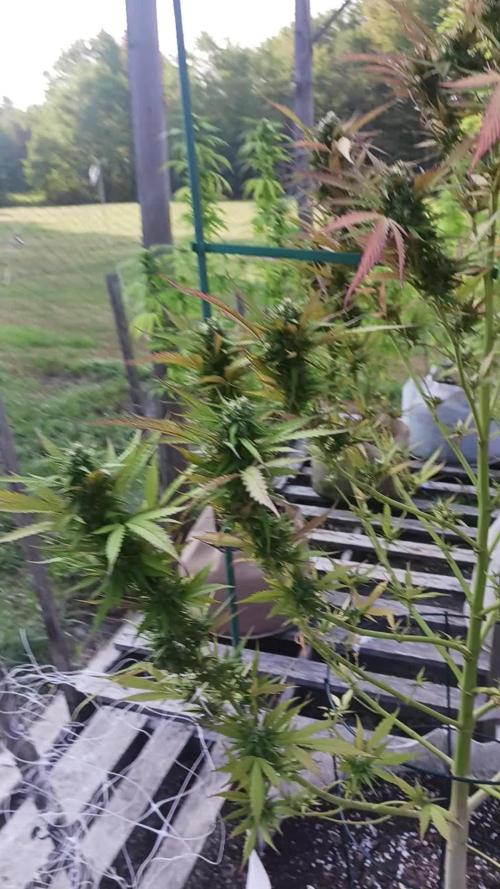
8/30 Rained yesterday and pretty much all night. Plants looked happy this morning. I'm thinking about feeding today or tomorrow. The late flowering special kush doesn't have much longer and it will be done. I'm going to need to do another treatment for the thrips. Nights are so cold that I think they aren't a major problem. No signs of septoria either. No signs of ANY molds or mildew. Even where I took the pillar out but I removed a lot. I am noticing (especially on the pink kush and the special kush in the back) the wierd "top hat" lower buds like I previously did. I don't think it's the chipmunk. It's like they eat fresh buds and leave the top there. I think it might be earwigs but I haven't seen ANY. Birds have been keeping my garden pretty clean. Almost everytime I walk down there it's like a flock of birds takes off lol. I was watching the little finches all perched on my cage. I've seen them dart in and grab a snack. It's pretty cool how it works. Symbiotic relationship. I feed the birds amd they help keep my garden pest free.
EDIT: Went to check the girls around 430. It seems like everytime I see the flowers they've swelled in size. Especially the natural mk ultra. Everything is really coming together. Pink kush is behind but it's starting. I'm getting lots of fall colors but I'm losing lots of leaves too. I wouldn't have defoliated as good as I have if I hadn't had problems. I thought the plants were done getting taller or stretching but after this rain they ALL seem taller. The buds are swelling as well. I'm on the home stretch with the early special kush. Few more weeks. Everything looked amazing tonight. I wanted to take some pictures but I left my phone. Smell is greatly increasing.
8/31 I don't get how we got NO rain the ENTIRE summer but it's rained the past few nights? Maines bipolar weather I guess. I see the same shit as prior years. Something crawls up and eats small shoots and developing buds but leaves larger ones alone. I thought it was earwigs before. I'm not sure now. I'll have to go look at night and figure out what's eating shit. It's just small secondary shoots mostly. Stuff I should've pruned but I leave on so the won't eat my fucking colas. I got some work to do but I'm getting closer.
9/1 Well we made it to September. Pink kush is finally STARTING to form little buds. After some research (and watching those fucking locusts try to fly into my cage but can't because they are to fucking big. I was lucky I found that enormous one on the stalk of the furthest special kush right where the tip cola starts. Luckily I was able to get him. Didn't have to take pics or a video or even check if they need water. It rained a little last night and the buds were a little wet. I'm planning to feed when I get back. If they need water I'll give it to them. My early special kush is getting real close. I want to harvest at peak timing but sometimes exigent circumstances screw that up. However i think I'll be able to let this girl finish properly.
EDIT: Went back over to check weights and everything was super heavy. Plants are all turning fall colors. I checked the trichs on my special kush, mk ultra and 10th planet. Everything looked great in the sun! Everything is swelling and getting frostier everyday. I'm hoping that the pink kushs will finish. My early special kush LOOKS like it should be done but it's not. Looking at the trichs and stigmas it needs more time. I've found on several plants that between the; giant caterpillars, earwigs and pillars that they can take a whole branch and pretty much decimate it in a night. I chased one of those giant locusts around my Cafe and it finally got out. Bastard was almost the size of a small bird! I should feed tonight and possibly do a treatment for pests.
9/2 Had to shake to plants off again. Bags are still heavy. I'll probably feed tonight. I'm noticing tons of damage on lower and interior branches. The grasshoppers or locusts or whatever they are can strip a whole branch! They can even bite through little stems. I'll never grow outside without floating row covers again. The special kush is getting really close. Sometime this week I'll look for a mature tester bud. Both MK ULTRAS are exploding in flower and getting frostier daily.


Likes
14
Share


@CanadianFillmore
Follow
Week 3F begins. Raised the light a bit, will see if it makes a difference with the leaves.
Bud sites are popping and looking good for their small size.
Thanks for stopping by.

Likes
17
Share


@Naujas
Follow
This is my second growth in a suitcase, I got 30 grams of dry flowers from the first growth, but this growth together with FastBuds is obviously much better than the first one :) although the girl's leaves burn from the light, which is only 10-15 cm from the flowers, but the girl copes with it perfectly :) good luck to everyone.
Likes
3
Share


@Ieiogrow94
Follow
Eccoci qui...
Tutto va per il meglio, questa settimana si inizia a vedere la resina e ora si inizieranno a formare le cime, per questo aggiungo Sugar Shot di @xpertnutrients vedremo l'evoluzione settimana prossima.
Odore intenso, sta recuperando dalla carenza presentata è davvero molto bella e sembra anche pesante.
Grazie a tutti per il supporto🔥🌲❤️

Likes
1
Share


@Elguacho420
Follow
Primera semana de crecimiento de estás red cookies gelato, fue una semana sin complicaciones, humedad relativa en 40% y temperatura rondando 20-23 grados, tienen un color espectacular boludo, estoy deseando que llegue la época de florar. Volvemos por aquí las proximas semanas guachines . 🇦🇷🇪🇸 Muchos humos para todos 💨💨💨
Likes
1
Share


@Takeaims
Follow
Zamnesia f1 flowering along nicely in the back of the tent got new f1s at all different stages. In this tent there is week 3 plants at the front and week 7 at the back sorry for the confusion you know what's its like when you get going stay tuned got another tent going up with all f1 hybrids Zamnesia do


