
Likes
Comments
Share


@GangbudsGenes
Follow
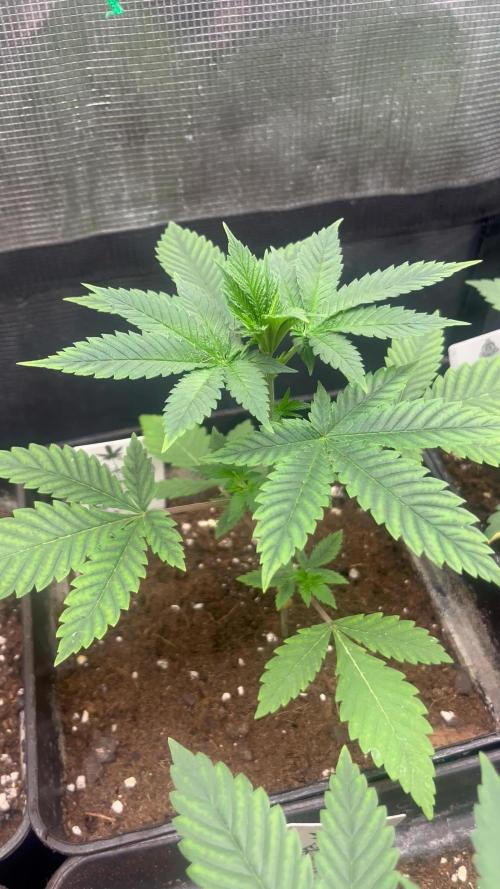
21/12/20
inicio de semana esta pequeña esta ermosa al contrario que su hermana que estoy cultivando muestra otro feno esta mas como un pino esta estirando pero muy uniformem
23/12/20
62 cm de altura
27/12/20
cierre de semana

Likes
40
Share


@Totogrowuk
Follow
We’ve had a lot of rain and so I’m concerned about the more developed bud sites and bud rot. Hopefully have a dryer week.
The amnesia Zkittles is now the tallest and she’s looking fantastic.

Likes
2
Share


@I_Identify_As_A_Dan
Follow
Day 35
Just wtf is this growth.. Shes already at the top of the light and i cant increase the height anymore 😅
I may have to bend over that main branch so she doesn't get burnt, but i don't know what else do yet.
Just waiting for the others to catch up in flower before i start feeling bloom nutes. (even though she already needs it.)

Likes
4
Share


@rkomaaa
Follow
I struggle with them every day...I break them, bend them, but they persistently want to hit the lamp. And ofc a bit of light burn
Likes
8
Share


@Chubbs
Follow
Week 4 for these girls. They've doubled in some since last week. I took a couple of the bigger fan leafs off this week, also raised my lights up allowing some stretch. Starting to see some preflowers and pistols. So next week will be off to the flower stage.
Happy Growing.


Likes
58
Share


@MadeInGermany
Follow
Flowering day 37
since time change
to 12/12 h.
Hey everyone ☺️.
It gets more beautiful from week to week 😍👍.
As usual from this phenotype, everything is black / purple again on this beautiful Pheno 😊.
The buds are getting thicker and thicker and already smell extremely tasty 😍.
Next week I'll go up a bit with the Ec and add some Pk 13/14.
Like every 12-15 days, the water was completely replaced and all electronic devices checked for safety 👍.
The Ph / Ec measuring device was also recalibrated.
Otherwise there is nothing to report for this week and we'll see you again with the next update ☺️👍.
I wish you and your families a Merry Christmas 😊.
Stay healthy and let it grow 🍀
You can buy this Strain at :
www.Zamnesia.com
☝️🏼☝️🏼☝️🏼☝️🏼☝️🏼☝️🏼
Strain
Gelato clone from mother (Zamnesia )
☝️
Genetics: Wedding Cake x Gelato x Gelato 33
👍
Vega lamp: 2 x Todogrow LED CXB3590 COB 55 W
1 x Sanlight S2W 62 W
💡
Flower lamp : 2 x Todogrow LED CXB3590 COB 55 W
1 x Sanlight S2W 62 W
💡 ☝️
Grow Aero System : Growtool 0.8
☝️
Fertilizer:
Canna Aqua Vega A + B , Canna Aqua Flores A + B , Rizotonic, Cannazym, CANNA Boost, Pk 13/14, Canna Cal / Mag, Canna Ph - Grow, Canna Ph-Bloom
☝️🌱
Water:
Osmosis water mixed with normal water (24 hours stale that the chlorine evaporates) to 0.2 EG. Add Cal / Mag to 0.4 Ec Ph with ph- to 5.2 - 5.8
💦 💧


Likes
15
Share


@XperencdGmanXG
Follow
Again plants are growing very quickly and all I am taking care of is the microbes and the water. Raised rootball temps to 24c plants are liking it.


Likes
32
Share


@ArtisticGrown
Follow
Got the trellis net up directing them where to grow, week 5 and last time I watered I think the ph was a little low. Hard to tell without a good ph pen. I ordered on and it’s on the way so I won’t have to worry about wrong ph. I think it’s been showing in some of the leafs


Likes
10
Share

@eldruida_lamota
Follow
Que pasa familia, vamos con la cuarta semana de vida de estas Mental Rainbow F1 de Sweetseeds.
Vamos al lío, las plantas se trasplantaron a macetas de 7 litros.
El ph se controla en 6.5, la temperatura la tenemos entre 24/22 grados y la humedad ronda el 70%.
El ciclo de crecimiento puse 20h de luz, el foco está al 50% de potencia.
Me gustaría estar más encima este cultivo pero la salud me está impidiendo un poco este 100% con el proyecto. Con suerte la semana que viene andaré mejor.
- os dejo por aquí un CÓDIGO: Eldruida
Descuento para la tienda de MARS HYDRO.
https://www.mars-hydro.com
Hasta aquí todo, Buenos humos 💨💨💨


Likes
228
Share


@StarLorr
Follow
Welcome to my Pablø Ęscøbar diary.
In this diary:
Seeds: sponsored by Ðivine Șeeds
Media: Promix HP
Nutrients: Advanced Nutrients, Diablo Nutrients.
Light and Weather: Şun☀️and Mother Earth.🌎
___________________________
Feeding:
Wed 17Jul: 6L nutrients pH'd 6.5
Thu 18Jul: 8L water not pH'd
Fri 19Jul: 8L water not pH'd
Sat 20Jul: 4L nutrients pH'd 6.5 and 4L water not pH'd
Sun 21Jul: 7L water not pH'd
Mon 22Jul: 8L water not pH'd
*please note that most water only feedings are 2L at the time throughout the day in bottom saucer*
___________________________
What a beautiful summer that we're having, my Ðivine Ladies are just about to start flowering and i am having a hard time to keep up with their feedings and i might need to sprinkle some Gaia Green Bloom on them to keep up with the water only feedings🤔
______________________________
Pablo Escobar is such a beautiful plant to grow outdoor, sturdy and so much greenery in it😍
______________________________
Thanks for stopping by, likes and comments are appreciated!👊🏻😎
Keep on growin!
Keep on tokin!!!
😙💨💨💨💨💨

Likes
4
Share


@Blacklion
Follow
On week 8 i just gave these girls a water feed because i been dealing with ph problems so i ph my water at 5.0 - 5.4 for about week and a half to try and bring the levels downs so far its been working the ph reading today was round 7 -6.9 so happy now we can move forward. Did a lil Lst today to get the new site growing taller. So happy growing and cheers

Likes
2
Share


Likes
19
Share


@Hempy_The_Kid
Follow
Week 13 took my second plant. 30 gram top wet. Will take 3rd plant in a day or 2. 4th plant still week behind but looks more like 2. Plants only drinking ph water @ 1 gallon every 3-4 days.

Processing
Likes
20
Share


@Mr_nugs_lover_David
Follow
She's looking super healthy and and strong can't wait to see this beautiful strain in full flowering stage, I'm feeling a very good stretch,shed definitely a big girl,she's eating very well, no deficientes or nutrients burn so far. Let's see how this wonderful organic lady performs.
On August 9th I start to see the change from vegetative stage to flowering stage,she looks super healthy and strong,I missed some watering a few days ago,however she is perfectly fine and happy,she's a dream to grow.

Likes
33
Share


@Southwest_budders21
Follow
She's packing on some weight now shocked how chunky she is after the shock of the transplant. She's definitely a strong girl that's for sure
Likes
8
Share


@Ferenc
Follow
Hi there! Some more LST is done especially on Orange Sherbet and Wedding Cheeskace. Purple Punch and Frosty Gelato remain small and it is too hot now they were burnt also I removed some leaves. Outside is 30 degrees inside 38 OMG. They are not in my house so just see them once a week harder to look after them... They are flowering also all good hopefully the heat wont damage them that much. Lamp distance is back because it was a bit too close also I guess...

