Processing
Likes
7
Share
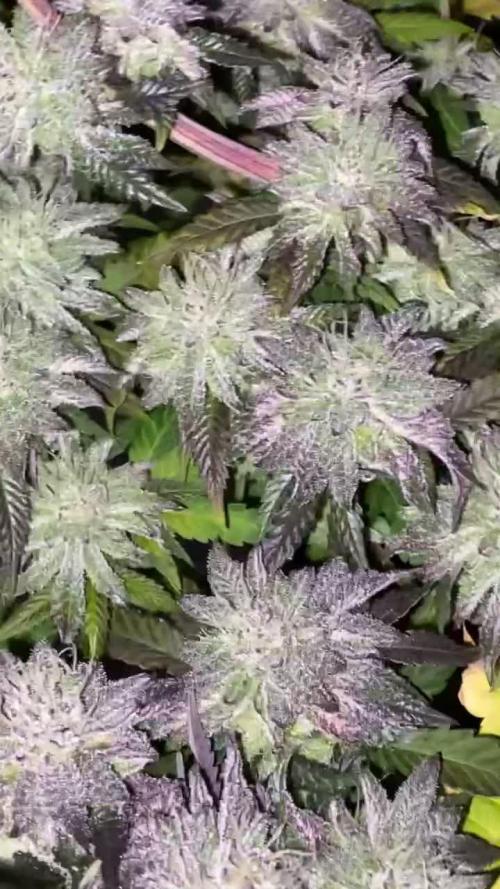
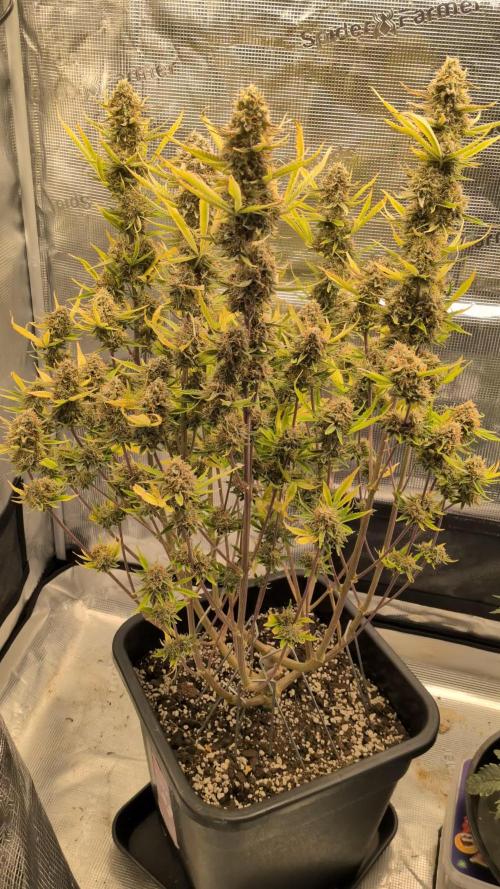
**Encontrarás la traducción a español al final de la descripción** From/Desde: 22/03/19 || To/Hasta: 28/03/19 From day/Desde día: 29 || To day/Hasta día: 35 You can find the Gorillas Diary here: ** Podéis encontrar el diario de las Gorilla aquí:** https://growdiaries.com/diaries/25675-makingmoney-with-gorilla-mm-vs-gorilla -----IMAGES & VIDEOS----- Video 1: Exactly the same video as 2 but accelerated +400% to fix it to 1 minute for instagram. Video 2: 7 days (29~35) TimeLapse, 1 image each 60 secs @ 30 fps Video 9: An overview video not as awesome as the music 😂💪 Video 10: Myself working on the babies, lowering tops, topping & training. -----WEEK SUMMARY----- Well, now i'm getting a bit scared as i adventured myself into Photoperiod, high training, full topping... in indoors at once. I feel that plants are going good, but i really don't know what am i doing, and if i'm doing well. Also i don't know how much time should i give them of vegetation stage, because i don't want to eternalize myself with this tent, so i'm planning to leave this upcoming 6th week and maybe the 7th of vegetation, but no more. Anyway they look pretty atm 😻. -----WATERING CALENDAR----- 24/03/19 - 1.000 ml with all week nutrients @ 0.9 E.C. PH5.8 *****ESPAÑOL***** -----IMÁGENES & VÍDEOS----- Vídeo 1: TimeLapse, exactamente el mismo vídeo que el 2 pero acelerado a un poco más del 300% para ajustarlo a 1 minuto para Instagram. Vídeo 2: 7 días (29~35) TimeLapse, 1 imagen cada 60 segundos @ 30 fps. Vídeo 9: Un vídeo general no tan increíble como la música de fondo 😂💪. Video 10: Yo trabajando en las pequeñas, rebajando las alturas, haciendo topping y entrenando. -----SUMARIO SEMANAL----- Bueno, ahora estoy empezando a estar asustado. Me he aventurado a probar con fotodependientes, entrenamiento fuerte y super topping, todo a la vez. Siento que las plantas van bien, pero realmente no se lo que estoy haciendo ni si lo estoy haciendo bien. También tengo dudas sobre cuento tiempo más dejarlas en estado vegetativo ya que no me quiero eternizar con este armario. Por lo que estoy planeando dejar esta sexta semana de crecimiento y quizás una séptima, pero no más. Aun así y con todo, se ven preciosas 😻. -----CALENDARIO DE RIEGO----- 24/03/19 - 1.000 ml con todos los nutrientes semanales @ 0.9 E.C. PH5.8
Likes
54
Share
@ASCBOOGS
Follow
Day 51 veg done a bit more lst and hst and topping now gonna give it 1 more week then 12/12
Processing
Likes
2
Share
@MephodMan
Follow
Tap root issues - too long in jiffy block Still working on dialling in VPD
Likes
11
Share
@Element
Follow
The nutrients are always referred to the 3 youngest plants! The older one (Black x Mexican) and the Critical Auto is taking about 1ml/L of CalMag 2ml/L of Coco A 2ml/L of CocoB Until this point the only plant trained was Black x Mexican, with LST and suppercropping (on accident, trying to bend a branch for LST) and some defoliation
Likes
21
Share
Day 43, pH is at 6.0 currently. Plants are praying towards the light so that’s a good sign. Some spots still show up on a couple leaves, just a couple small spots, could still be adjusting. Will know in another day or so if the problem has been corrected or not. Day 44, they seem to be responding better to the change in nutrients. They’re eating and still putting on growth. Some spots are appearing but that’s probably just still an affect of last weeks overload. Day 45, PPMs have continued decreasing and they have consumed about 1.5 gals of water over the past 72 hours. I topped off their res a little bit and readjust pH to 5.9 (it rose to 6.6 because they’re consuming a lot of nutrients) Day 47, Nutrients was almost gone, changed nutrients and bumped up to 800PPM (0.5 scale) Day 48, the nutrient solution inside the buckets gets up to 78-79° by the end of the day (lights on). When lights go off, they drop down to about 70-72°. I built some insulation sleeves out of double layer bubble foil. Should insulated them enough to maintain their lower temp without increasing throughout the day. You can see in photos but in the video I also created tops for each of the buckets to help reflect light and heat from the buckets. Day 49, plants are doing great PPMs are staying pretty stable meaning they have about the perfect ratio of nutrients which is 815PPM currently. Insulating the buckets was a great idea it’s kept the res temps stable and stopped them from rising throughout the day! Today marks day 14 of flower.
Likes
16
Share
@ertaverd
Follow
everything is fine, the rains have stopped and it seems that the plant is quite mature, I think I will harvest it next week. It has been 2 weeks without watering with fertilizer, making the washing of roots as natural as possible. It has developed a very beautiful purple color in only 2 weeks, because of the stress caused by the cold. I have also found some worm and some rotten bud but usually it is holding it very well
Likes
4
Share
@Slobasian
Follow
Sunday last day of week 11 expecting to cut it down fed banana, molasses, and honey for a final flush with ice, Friday final ice flush. In the dark for 12 hours then cut down for harvest
Likes
2
Share
Likes
51
Share
@nonick123
Follow
Día 8 (28/10) Subo a DLI 20 Spray solo H2O RO en el top del sustrato Retiro la cúpula de humedad, porque una de las CBD Auto 20:1 tenia el tallo ligeramente doblado por falta de resistencia Sin la cúpula y con el ventilador a la potencia mínima (1/10), van a tener una suave brisa que va a hacer que se fortalezca el tallo! Día 9 (29/10) Las plantas se han estirado mucho y se tambalean un poco Creo que deberían haber tenido un DLI más alto desde el principio! Día 10 (30/10) CBD Auto 20:1 y LSD-25 Auto se encuentran "tumbadas" porque el tallo se ha estirado mucho! Hago un soporte casero con una brocheta de madera + alambre + clip de enrejado para mantener los tallos verticales! Spray solo H2O RO en el top del sustrato Día 11 (31/10) Las plántulas se muestran verticales y felices! Una de las CBD Auto 20:1 está mostrando un desarrollo muy rápido! Spray solo H2O RO en el top del sustrato Día 12 (01/11) Spray solo H2O RO en el top del sustrato Día 13 (02/11) Las plántulas se están estirando mucho! Creo que las falta DLI Subo el DLI a 30 Spray solo H2O RO en el top del sustrato Día 14 (03/11) Introduzco la 1ª BioTab a 5 cm de profundidad, lado derecho 1er Riego! 750 ml de H2O RO + ORGATREX 5 ml/L + BACTREX 1 g/L 💦Nutrients by Bio Tabs - www.biotabs.nl/en/ 🌱Substrate PRO-MIX HP BACILLUS + MYCORRHIZAE - www.pthorticulture.com/en-us/products/pro-mix-hp-biofungicide-plus-mycorrhizae "GDBT420" 15% DISCOUNT code for the BIOTABS Webshop https://biotabs.nl/en/shop/
Likes
6
Share
Likes
85
Share
Start of day 84 ...... January 1 2022 Start of week 12 ........ 58 DAYS INTO FLOWERING 😕 LOOKS LIKE THERE GONNA GO A LITTLE LONGER THEN EXPECTED ? 😕 ( HAPPY NEW YEARS😋 🎅 🎄) ( SMELLING GREAT ) !!!!!!! Check out the full grow video on latest weekly update Super Exceptional Growth Daily Still adjusting LST when needed and leaf tucking....... Water Only when needed but its drinking more every otherday and adjusting lights when needed...... Rain Water Only ....... ( DAY 26 AND BOTH NL 1 & NL 2 SHOWED PREFLOWERS ) ( DAY 49 AND RESIN PRODUCTION HAS STARTED ) ( DAY 57 , EQUIPMENT FAILURE , main FAN , over heated😡 tripped breaker , reset light timers , lost a DAY, REPLACED new Main Fan 😁 back up running 👌) ( DAY 70 DID ITS FINAL FLUSHING TODAY TO GET RID OF ANY BUILDUP ) ( DAY 77 AND IT SHOWS A SLIGHT DEFICIENCIE MAYBE A CAL/MAG GETTING CLOSE TO END OF LIFE ) IM ALSO DOING VERY LITTLE, SLIGHT DEFOLIATION ( DAY 89 AND ALL IS GOOD , THERE FATTING UP ) DAY 89 .....NL 1 SHOWS CLEAR TO MOSTLY CLOUDY RESIN HEADS , STILL AWAY TO GO ....... DAY 89 .....NL 2 SHOWS MOSTLY CLOUDY RESIN HEADS , JUST WAITING ON THE AMBER TO GET STARTED , GETTING CLOSE BUT MORE TIME NEEDED...... I hope you enjoy my growlog...
Likes
3
Share
Hi guys, as we are in isolation I thought it would be a good time to try and grow my own weed so got my self a 1.2 x1.2x2 tent 600w hps light and all the shogun nutrients I’ll need. Also running a 4” carbon filter system. I did some research on the best way to start autos and I went with just planting them straight into there final pots on 18/4/20 the medium I am using is already charged so using just 6.8 ph water with the light been on 24hrs. All 3 seeds Sprouted in 72hrs. Going to keep the light on 24hrs for another 4 days then will switch to 18/6 in week 2. Was struggling with low humidity a couple of days in, so purchased a humidifier which seems to have helped bring it up to between 60- 75%. Also adapted the clean air intake to my tent so it’s bringing in cool out side air. Can’t help but keep on checking on them like a kid in a sweet shop 😂.
Likes
31
Share
Esta semana han aparecido los malditos trips en las hojas, estoy tratando este problema con aceite de neem . Con el tema de fertilizantes he regado con melaza únicamente, a las macetas con 3 litros de agua cada 3 días.
Likes
7
Share
@Pjm70
Follow
She has started her bloom. She is growing so well. This week I took off all her tie downs. Then 2 days later decided to tie her back down. She has had steady tension on her branches. So when I released her, she tightened back up. With the ties on, there is little reason for defoliation, as of now. She gained height, but nothing crazy. All her main top branches have always been pulled down to be side branches. Everything else was let to grow that came up the center. Really the side branches are the top of the canopy. Surprised I have not broke a branch. 8/26 2 gallons Fed 8 tablespoons Foxfarm Big Bloom, 15 MLS Tiger bloom and Foxfarm Open sesame 1/2 teaspoon. 8/30 Gallon and a half of tea. Cow and worm poop. Every year I'm going to grow a photo in a different shape. This year I just wanted to see how many tops I could make. Looking forward to next year's design. However not as much as I want to see what this voluptuous beauty produces. Voluptuous seems to be very fitting for her. Love this plant, she has been very fun to grow. She also thought me a lot.
Likes
2
Share
This are 2 of the 29 ladies of my SOG in 7l pots, let's see how this couple of ghost cookies by original sensible perform, very stocked on their genetics!
Likes
92
Share
Week 9 - First Week of Flowering 🌸 The dark period has ended, and these ladies came back into the light fully energized and ready for action! It’s just the first week of flower, and they’re all praying, stretching, and absolutely thriving—filling up every inch of the tent. This grow space is officially packed from wall to wall, with each plant competing for its share of light and showing off some of the biggest, healthiest leaves I’ve seen yet! 🌱 A few strategic plucks here and there have kept airflow smooth and light penetration balanced. Those big leaves? They’re a sign of happy, healthy growth. Large leaves help the plant capture maximum light energy, essential during this stage, especially as they start focusing on developing those flowers. When plants grow huge, vibrant leaves like these, it means they’re well-nourished and content in their environment—a true testament to the well-balanced conditions we’ve got going in the tent! Flowering Parameters 🌡️ Room Environment: • Temperature: 26.7°C • Humidity: 63.3% • CO2: 960 ppm • VPD: 1.29 kPa (prime zone for flowering health!) Lighting: • Light Intensity: 835 PPFD (ideal for boosting flower growth) • Solution: pH 5.96, TDS 460 ppm, temp 21.1°C • Medium: Moisture: 100%, TDS: 520 ppm, Temp: 21.6°C Carbon Filter Installation & Smell Management 🌬️🌱 With the transition to flower, the scent profile is already starting to kick in—crazy for the first week, right? 🌸 To keep everything fresh and under wraps, I’ve set up a carbon filter system. Here’s how it’s working: I’ve connected the filter to my Aerofan, which pulls air directly from the tent. This air is cleaned by the filter and released into the main room, where it then passes through another filter before exiting my space. This dual-filter setup means no scent escapes into the wild, keeping things stealthy and the grow room a peaceful, scent-contained environment. Perfect for anyone concerned about keeping their home free from that telltale aroma! 🕶️🌬️ Enhanced Lighting with Emerson Effect 🌞 This week, I’ve introduced an extra 15 minutes of red light at the beginning and end of each light cycle. Why? Well, this red boost taps into the Emerson effect, enhancing photosynthesis efficiency, especially during the flowering stage. By stimulating a little extra wake-up and wind-down light, we’re mimicking the natural sunrise and sunset experience for these plants, which can help reduce flowering time. Not only does it encourage smoother transitions into day and night, but in theory, it’ll help these ladies finish a bit faster, while giving them a little nudge to build more substantial, quality flowers. 🌇 Nutrient Adjustments 🌱 Now that we’re in flower, I’ve swapped out the Start Booster for P-Boost and TopBooster to specifically support flowering needs. Here’s why: • P-Boost brings in additional phosphorus, vital for energy transfer and cell division as the plant channels more resources into budding sites. • TopBooster supports the flowering phase by improving flower quality and density, helping to build those big, aromatic buds we’re after. These changes bring the nutrient mix in line with what’s most beneficial at this stage. All this precise dialing in is easy to manage thanks to the TrolMaster system. From pH to nutrient scheduling, the TrolMaster ecosystem and ThinkGrow LEDs have been the ultimate teammates in this grow journey, giving me real-time data, fine control, and peace of mind. 💯 (Not introducing UV light just yet, but stay tuned as that’s coming soon for an added boost!) Looking Forward 🌟 Next week, we’ll be upping the reds, giving us an even greater chance of activating those flowering signals for a smoother, faster transition through the cycle. I’ll keep tweaking and fine-tuning every parameter to make sure these ladies get exactly what they need to thrive. Big thanks to the TrolMaster system for keeping everything in balance and optimized, along with the supportive Grow Fam following this journey! Your enthusiasm, advice, and support are a huge part of this grow’s success. Keep following for more updates, and stay tuned for what’s next! 🌿✨ P.S. Deep Dive: TrolMaster’s MBS-S8 CO₂ Sensor & Smoke Detector 🚨 The MBS-S8 CO₂ Sensor from TrolMaster is a powerhouse for growers, especially when it comes to optimizing plant growth and efficiency in a controlled environment. This sensor continuously monitors CO₂ levels and integrates directly with the TrolMaster ecosystem, giving you real-time data on CO₂ concentration. Ideal levels of CO₂ can significantly boost growth and yield during certain stages, so understanding and managing CO₂ is key. With the MBS-S8, I can control CO₂ levels precisely, keeping them within the optimal range for photosynthesis. This sensor is a game-changer because it adjusts CO₂ delivery automatically, giving plants exactly what they need without any extra monitoring from me. Meanwhile, TrolMaster’s Smoke Detector is an essential safety device, especially in spaces with electrical equipment, lights, and heat-generating components. This detector can be set up to alert me instantly via the TrolMaster app if any smoke is detected, allowing me to respond immediately to any potential issues. Fires and smoke are rare in controlled grow setups but having this safety measure provides peace of mind and lets me focus on the plants without constant worry. It’s an incredible tool for any grower prioritizing safety and proactive monitoring. Discount Codes so you can save big on your next check out 💚💚💚 Kannabia - DOGDOCTOR 30% off SeedsmanSeeds - DOGDOCTOR 10% off CannaKan- DOGDOCTOR 15% off terpyz.eu - DOCTOR 15% off The Neutralizer - PORKIT5-DOG 15% off As always thank you all for stopping by, for the love and for it all , this journey of mine wold just not be the same without you guys, the love and support is very much appreciated and i fell honored and so joyful with you all in my life 🙏
 With true love comes happiness 💚🙏 Always believe in your self and always do things expecting nothing and with an open heart , be a giver and the universe will give back to you in ways you could not even imagine so 💚 Friendly reminder all you see here is pure research and for educational purposes only Growers Love to you all 💚💚💚
Likes
12
Share
@rickhaZe
Follow
Dia 32: agregamos mas sustrato a cada planta y realizamos poda de hojas bajas y nudos mas desfavorable Dia 35: agregamos la primera dosis de blossom blaster pro. 6 ml en 6 litro de agua, aplicamos 500ml a cada planta. Dia 37: aplicamos 500ml de agua por planta. Dia 38: sesión de fotos a todos los ejemplares de este cultivo y rotación de las plantas dentro de la carpa, todos los dias hago estos movimientos para que todas capten la misma luminosidad y el sustrato se seque mas parejo. Dia 39: aplicaremos monster bloom en el cultivo, la solución será de 1.8g (ya que es en polvo) en 6 litros de agua