


Likes
13
Share


@Arkain_Jenetics
Follow
Everything is going good. Some are showing some sort of deficiency . Lowered lights a little bit. Going to start watering every other day. One of the critical thunder autos is like 8 inches tall lol definitely breeding her.


Processing
Likes
10
Share


@Murojuanna
Follow
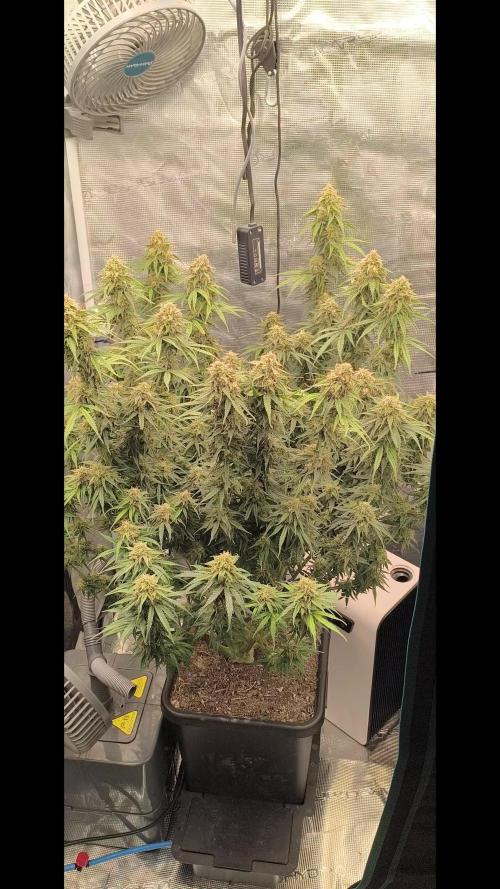
Lowered feed to half of what I was feeding previously, will begin a 14 day(approx) flush next week.

Likes
44
Share

@Condocannibus
Follow
THANK YOU CANNABIZ SEEDS FOR ALL YOUR SUPPORT AND YOUR AWESOME GENETICS.
2 BLUE DREAMS 💙 YEILD 12.5 OUNZES THATS 2 OUNCES A SQUARE FOOT. 2X3 TENT. ALL JARRED AND CURING.

Likes
11
Share

@Sensemillia
Follow
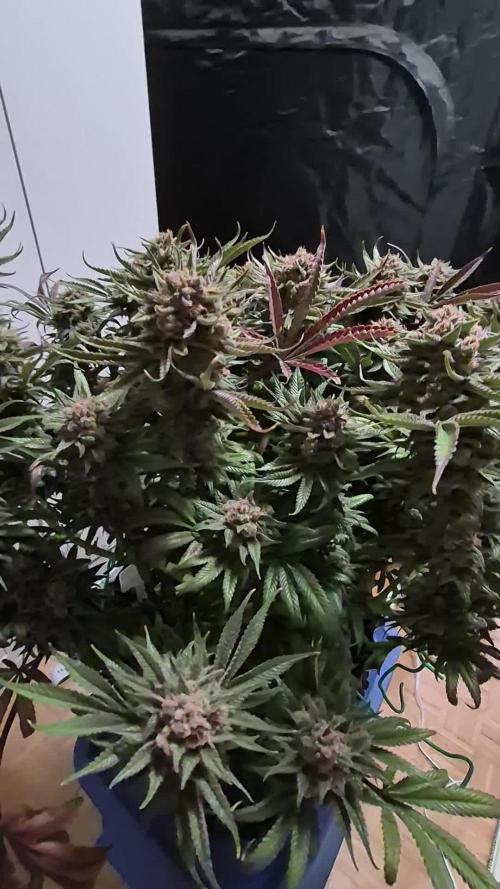
Day 77 from seed
She started to drink less, about 3 liters a day.
0 fade.
Another 2 or 3 weeks and she be done.
This one is taking her time.
Day 80 from seed:
Reduced canna nutes to 50%
Removed big bud nutes from res.
Next week i will stop all nutes and lower ppfd + temp.
Also i will turn on the 440nm in a week for tri production.
0 fade 0 amber trichomes.


Likes
5
Share


@PortkeyCannabis
Follow
Ah well she is done! I learned so much on this first grow and I’m not stopping now. I’ll have chop pics and weights. I’m doing whole plant hang so we will see how she turned out!!

Likes
3
Share


@Earthsower
Follow
She has had a saturation of amino acids and root juice. The stem is firming up well. Waiting for her to develop a bit more before I repot her. But for now she looks well!

Likes
179
Share


@Tropicannibis_Todd
Follow
💩Holy Crap We Are Back At It And Loving It💩
Growmies we are at DAY 35 and she's just killing💀it👌
👉We are in the Preflower stretch 👈 Everything is looking good even the Tiny Cup 🥤
So Shit , I gave them just a tad to much nutes on the last feeding 👈 But I have since fixed it
So I'm starting to pull her over and do some low stress training 🙃 and some defolation 😳
Lights being readjusted and chart updated .........👍rain water to be used entire growth👈
👉I used NutriNPK for nutrients for my grows and welcome anyone to give them a try .👈
👉 www.nutrinpk.com 👈
NutriNPK Cal MAG 14-0-14
NutriNPK Grow 28-14-14
NutriNPK Bloom 8-20-30
NutriNPK Bloom Booster 0-52-34
I GOT MULTIPLE DIARIES ON THE GO 😱 please check them out 😎
👉THANKS FOR TAKING THE TIME TO GO OVER MY DIARIES 👈

Likes
53
Share


@CTCan
Follow
OG and CBD got the chop yesterday. Sorry I forgot to take pics of it. I was rushing through it as we had dinner plans and it took way longer than I expected. Was also pretty baked which didn’t help lol. They’re currently drying at buddy’s house so will take pics next week.
OG was probably a bit early but I don’t mind an energetic high. She was also battling rot so I wanted to salvage as much as I could. Should get close to a pound from her and maybe a half pound from CBD.
Gonna give Shark Shock one more week as she’s a bit behind the others. I’m not worried about rot as she’s been the most resilient. Temps are gonna get to the low single digits so I hope it doesn’t stress her too much. Her leaves are turning purple from the colder weather already.

Likes
30
Share


@WeWantItToGrow
Follow
This week has been one of great gains in both size and vegetation we have seen a vertical leap in two plants that is astronomical almost 4 inches in a week! Had to do some pruning to expose new bud and a little bit of low stress training on to plants to see if we can expose light to the underside and perhaps get a little more love out of our lower buds The stalk size on almost all of these plants is almost as big as your thumb but on one it is actually relatively skinny that is the one we’re doing the low stress training on we just started the low stress training and it is taking very well to it One of these plants is extremely dark in color on the vegetation and has typically about 11 fingers per leaf! Not sure what that means yet


Likes
233
Share

@Tropicannibis_Todd
Follow
🐶🐶🐶🐶🐶 👉Alrighty Then👈🐶🐶🐶🐶🐶🐶
We're 56 days in and we be moving along great 👈
👉Well my friends we are just moving along well so couldn't be happier 👈
All plants are blooming like crazy 🤪 🙀
We got some great growth right across the board on all plants 👈 All plants receiving at least a min of 850 PPFD
🐶 🐕 🐶 🐕 🐶 🐕 🐶
So we are back for another round 😛 But this grow is special because my big boy needs some love too , he's been getting on the old side of things and his hips have been giving him trouble so I've been buying CBD treats for him and it works great so 😉 👍
I've decided to grow this for my little buddy 🐶 so I can make him some Doggy 🐕 Treats and plus I've never tryed it myself and I really wanna give it a go👈 😊 so let's see what it's all about 👈
I will post the recipes at the end of harvest 👏
So Let's Do This👈
👉Soil Provided by ProMix.ca
👉Nutrients Provided by Agrogardens
👉Lighting Provided by MarsHydro.ca
👉Seeds Provided by Kannabia Seeds

Likes
141
Share


@bioaccessory
Follow
На этой неделе произошло много событий: во-первых, когда гнул сломал основную магистраль "красной" растишки. Вроде и делал всё как обычно аккуратно, не поливал перед этим двое суток, и всё равно переломил, да еще и в проблемном месте, да еще и до хруста, ветка едва держалась на тоненькой кожице. Всё-таки склоняюсь к мысли, что гибкость и ломкость растения в том числе зависят от сорта, ведь это случилось не в первый раз в этом цикле. А вы как думаете? Я же смазал место перелома мёдом, и зафиксировал в нужном положении (как происходило восстановление см. на серии фото). Самое грустное, что я сломал её еще раз, уже когда ставил растение под ScrOG, и здесь мы переходим к еще одному событию конца этой недели(установку ScrOG см. на серии фото)
После всех манипуляций установил световой режим 12/12🔆 (на 42-й день от каски).
Начинается интересный период - выход растишек на цветение, заходите посмотреть.
Спасибо, что заглянули, и будьте здоровы! 🙏
Продолжение следует ...😶

Likes
5
Share


@Rizza78
Follow
Sorry busy week. They are getting close. Just turned the lights down 20% to simulate fall for last couple weeks. Will add ice in 6 days to flush.

Likes
Comments
Share


@JararacaHaze
Follow
Vigorous Males, Strong Clones, and Bud Formation
This week was full of action in the grow! Two out of the three males are in full bloom, and I’m actively collecting pollen. They are impressive plants, with strong structures and large pollen sacs. If everything stays on track, I believe the females will be ready for pollination in about a week.
Observations:
All 18 clones have successfully rooted! Some have already entered the vegetative stage and are receiving supplemental light at nightfall to keep their growth steady.
The plants responded very well to the light defoliation I did earlier. Now, the buds are starting to take shape, showing great progress in the flowering phase.
To optimize this stage, I spaced out the pots, ensuring better airflow and increased light penetration, which should support full and healthy flowering.
This week, I plan to top off the pots with more substrate, ensuring the plants have enough space and nutrients to reach their full potential.
Next Steps:
Keep monitoring the males and collecting pollen at the right time.
Watch the females closely to determine the ideal moment for planned pollinations.
Observe the clones' growth and adjust care as needed.
The grow is on the right track, and expectations for the coming days are high!
Likes
Comments
Share

@blaze_fpv
Follow
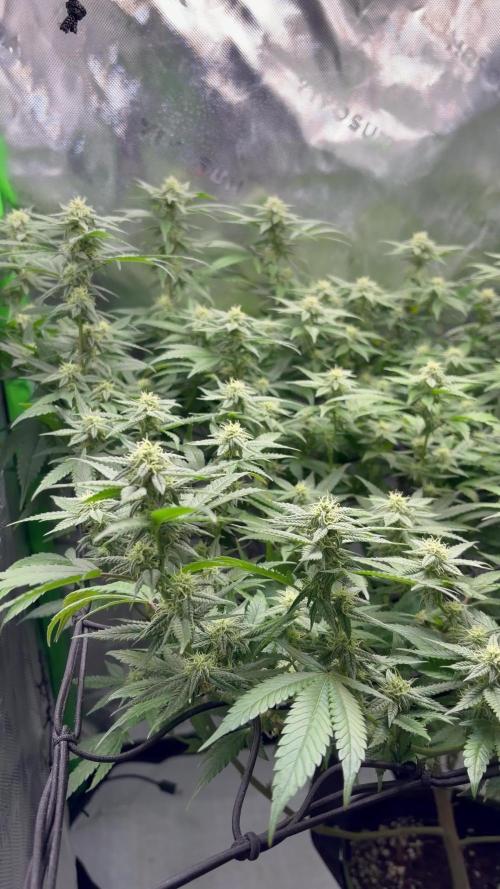
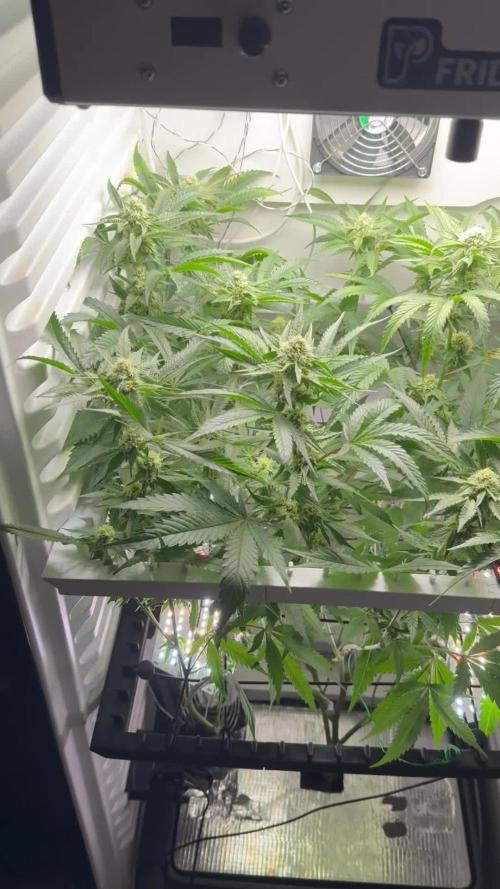
start of week 5 flower | having minor deficencied but nothing crucial | smells insanely like permanent marker already


Likes
20
Share


@ThatZimbo
Follow
Start of the grow in a DWC cross Bubbleponics system.
Using two clones with the plan to scrog them out and have 5 to 8 strong colas per plant.