
Likes
Comments
Share


@DoDhLo
Follow
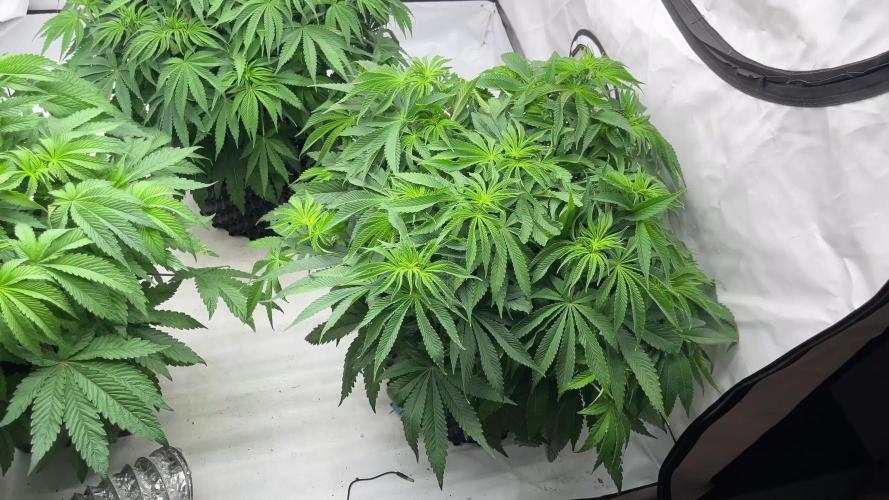
Finally managed to get some money & bought some real lights (Added a 500W Hps lamp). Also bought aluminum and made a tent .
I Lost track of the plants names . The plants seems to be growing for the first time when i added the extra lamp.

Likes
14
Share


@Mr_Pgrow
Follow
PART 3 of my vlog🌱
Don't forget I have single Diaries running with these beautiful Girls, Feel free to check them out !!!
Hope you enjoy, feedback welcome ✌️
Mr.PersonalGrow 🌱✌️


Processing
Likes
4
Share


@Ageddd
Follow
Same feeding as last week, but after last dose of BigOne, some tips are burned showing nuterients limit again, so next 2 irrigations were with plain water but the result was she started to loose the dark green at the end of this weekso im trying to reverse this, rising TopBloom a little, next week will be feeding 3 ml/l adding 1 more ml/l, but at the moment no more Big One as the Buds are really full of hairs all over the plant
Top Candy is almost ready to give some sugars next weeks
Really developed a bush structure, im really happy :)

Likes
51
Share


@Reyden
Follow
Il cultivo sta andando bene per fortuna le piante sono sane a parte qualche foglia secca in basso ma per quel poco che le ho seguite sono molto contento 🙃
Questa settimana ho aggiunto bio Bloom di Green house feeding ( nuova linea di fertilizzanti GHSC )
E sembrano andare alla grande con un ec 1900
Insieme uso fertilizzanti Atami soil bicomponente A/B che funziona benissimo ora che ho capito le dosi per ogni pianta 😝
Spero di riuscire ad aggiornare anche io resto ma sono molto impegnato e pieno di lavoro ragazzi quindi chiedo scusa ma state tranquilli che le piante saranno sempre al sicuro!!!! 😃💯🤩🌱✋😶🌫️

Likes
23
Share


@greenAF
Follow
Lights 40%
Feed Listed above then PH/EC adjusted
D7 So the girls looks healthy they should blow up after the next feeding. Should be able to shed it's travel scars soon.
D11 starting to pick up the pace 😁
Likes
9
Share
@Gorillanonymous
Follow
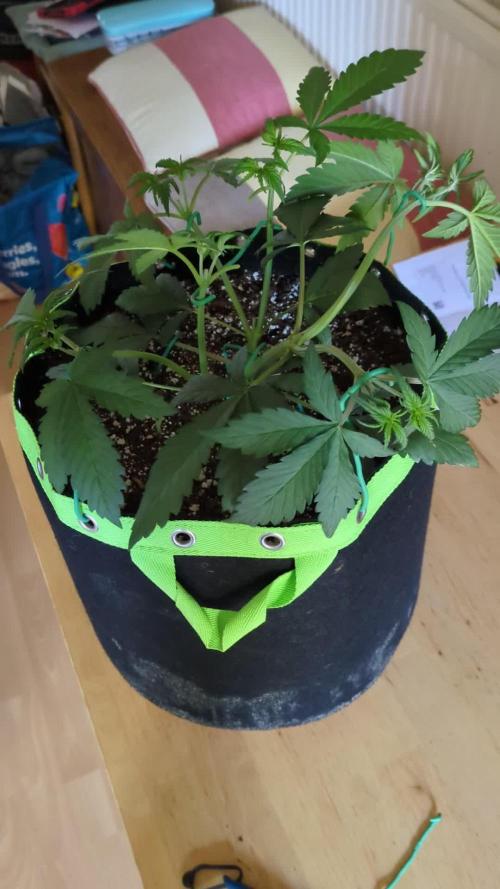
Day 23 - Annoyingly, one of the main shoots snapped off after I pegged it down. It was fine when I left it, but as it is such a vigorous grower, it snapped off under the pressure of its own growth.
All is not lost, as I will top it 4 times instead of my usual 3, to make up for the lost buds. This plant appears to be a BEAST so I think she can take it no problem. I should end up with 24 glorious main colas and a load of b-grade for the hash making pile!
I gave her around 2 litres of treated water (see germ page for details). Around 500ml directly into the base of the plant, and the rest spread around the pot.
It's important during this late vegging stage to water into the edges of the pot as much as possible, and encourage maximal root spread. Big roots = big fruits
She's starting to smell earthy!
Day 28 - she doesn't need any water today. The pot is still heavy. She's growing fast, so I'm confident I can top her one more time. I've pegged down 4 of the arms into a circle shape around the edge, and tied two arms together pointing vertically straight up. It should look stunning in a couple of weeks!
Likes
Comments
Share


@Olduffybastard88
Follow
Moved half the girls in the tent kept the others in the greenhouse as I will be planting them outside and flowering these ones inside

Likes
14
Share


@StewartBloom
Follow
Okay so I'm trying something new, since I've gone away from a switch to water for the last week flush I harvested the tops and best smalls and packed the cannatrol full. I'm giving the under growth a bit more time to rippen before I harvest that for the the freezer. If this turns out to be a bad idea I'll not do it again in the future. The last long video is what's left in the tent right now. Let me know if any of you have experience doing this.
Updated with a bunch of pictured of dried and cured. Ended up with 186g of beautiful flower. 72g of untrimmed smalls I'll make into RSO, I have a lot of back and nerve pain and RSO hands down the only thing that brings me actual relive, I'm late to the party on this one but I set a side part of the grow for it now.
I let the under canopy and shorter tops go another 10 days feed at half strength and I'm glad I did, it ripened up nicely and definitely got a lot of color. I forgot to get pictures of that harvest but I will when I pull it from the freezer to wash. My test jar of this washed at 4+% (the last picture). Last update will be results of that wash.
Last update on this one, I added a couple hash/rosin pics at the end. She washed from plant to rosin at 4.03% the terps are musky skunk, sweet pastries, and fresh Linen. I'd definitely grow this one again.
Likes
3
Share

@BunnyBud
Follow
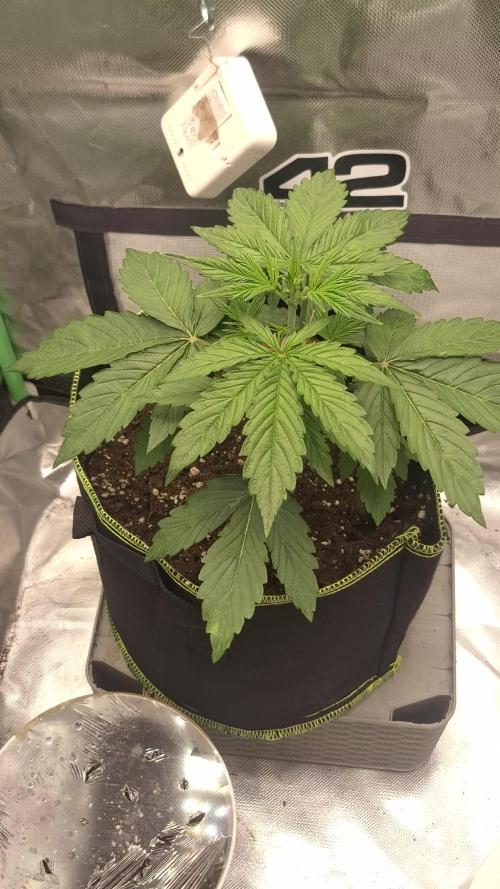
Week 3 – Vegetative Stage | Tester Log
The plant has now entered week 3 of vegetative growth. A light feeding schedule with base nutrients and CalMag supplementation was introduced early to support healthy metabolic activity.
The plant shows good vigor and compact morphology, with short internodal spacing and symmetrical lateral development, indicating efficient light exposure and stable growth. Leaf color is mostly uniform healthy green.
A slight observation: the new emerging leaves show very light yellowing on the tips. At the moment it’s unclear whether this is caused by light proximity or a very mild nutrient excess, but it remains minimal and will be monitored and adjusted if necessary.
The seedling was kept under 12h light during the first week for acclimation, then switched to 18h light, which is currently maintained to optimize vegetative growth.
Overall the Sticky Orange XXL Auto continues to show healthy and stable early development going into the next growth phase. 🌱

Likes
16
Share


@GutterHoe
Follow
So the week went well. She loves to be naked. I trim her small fan leaves daily to keep it clean and shock low. SUGAR is just everywhere. I'm using 1tsp of tiger bloom in 2 quarts for two waterings then one just water. Ended the week with huge buds forming everywhere. Zoom in
Likes
6
Share

@Philhsy
Follow
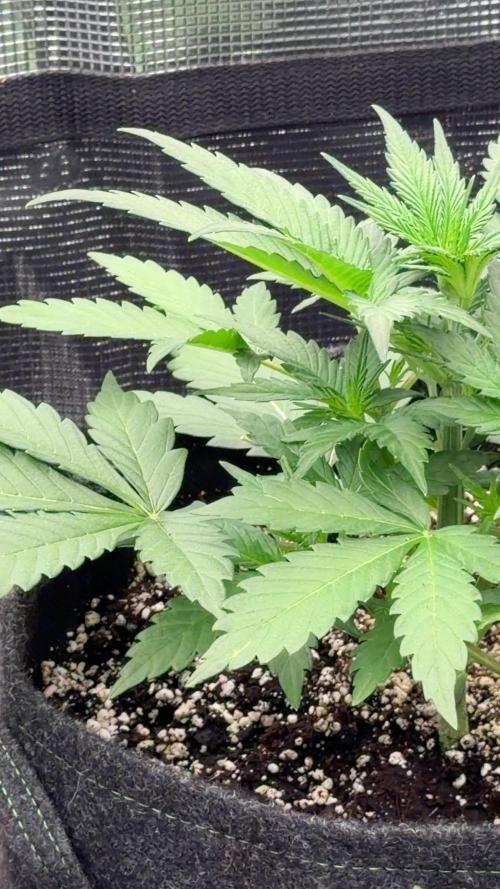
🍨 Guava Sundae Auto – Week 3 Update
Week 3 is here, and Guava Sundae Auto is looking happy and healthy! 🌱
This week she received her first light feeding at around half strength, and so far the response has been very positive. The foliage remains a healthy green, new growth is coming in strong, and the plant continues to build a nice bushy structure with plenty of future bud sites developing.
Growth has been steady with no signs of stress, making this an easy and enjoyable plant to grow so far. The roots are clearly getting established, and the plant is beginning to accelerate as it prepares for the upcoming stretch.
Everything is on track, and I’m looking forward to seeing how the Guava Sundae genetics express themselves once flowering gets underway. For now, it’s all about maintaining stable conditions and letting her continue to thrive. 🍨
Thanks to Fast Buds for the opportunity to run these genetics. Excited to see what the next few weeks bring! 🌱


Likes
12
Share


@Luv2Grow
Follow
Day 64 - The start of week 10 and decided against defoliating and just tucked all the leaves in the middle instead. I’ll still pluck some here and there when needed. Buds are getting nice and fat and still has some decent time to fatten up even more.
Day 65 - Ended up having to give her 2 gallons of water today, she’s starting to drink a lot. Buds are still fattening up nicely and smell is strong as hell.
Day 67 - Not much happening, just watering/feeding when she needs it and doing a little light defoliating every couple of days. She should be ready for water tomorrow.
Day 68 - All still good and she was ready for water and nutes so she got 2 full gallons today. This might be her last actual feeding of nutes before starting to flush but I’ll see how she is over the next week or so.
Day 69 - Just some updated pics for the day, nothing new happening. Waiting for the pistils to start dying off but no real sign of that yet.
Day 70 - Ending week 10 today and she’s got some fat and stinky buds. Haven’t really started looking at trichs since all her pistils are still bright white and healthy. Hopefully she’ll start winding down here in the next couple of weeks.
Likes
12
Share


@Noob_quest
Follow
Another good week ticked off...
No sign of fungus gnats since the daily neem oil and diac...’ earth.
Seems to have done the trick but I stay vigilant!
All the girls starting to fill out a bit. And getting covered in trichomes. Pics don’t do justice even the stems are covered.
The other 2 plants in the grow stretched crazy and a bit later than these. Happily I think they’ve stopped.
Nothing exciting planned from here other than a top dress later this week and just watering and an odd compost tea till the finish.
Thanks for reading, have a great week 😊
Likes
34
Share


@Hempface86
Follow
Idk 🤷♂️ 🤷♂️ i've seen people with similar phenotypes, so I know it's not anything i've done.. Usually I am raving about Zamnesia Seeds but this grow was a real letdown. Especially because it's a contest grow, and I had put so much into it.. not very happy.The plant was ugly from the beginning.. deficiencies from the beginning.. and she's gotten the same treatment every plant I ever grow gets .. she produced a lot .. i just don't know how good it's going to be... Not a sugar leaf on the whole plant... No sweet smell .. i'm just glad this grow is over......... Okay, now that it's dried for a couple days. It's official, this grow was a complete waste of time.. I'm not gonna smoke one b off the entire plant. It's all going in the freezer for butter. It's absolutely trash.It's all larfie ruderalis 💩 .. no more autos


Likes
2
Share


Likes
91
Share


@420Highlifecouple
Follow
Iv added bud candy to the nutrients mix.The main girl is late,actually all of them are but I guess it came down to learn my led,2nd grow is clearly showing experience pays.learning light height ph to nutrients and tempretures.All virgin territory to us but we are grateful for what we learnt.im guessing the main is another 2 weeks away has her pistols are at 25% and the other girls are just growing and filling out.
Don't forget to watch us on YouTube for future tips tricks and giveaways!
Peace and much love,its 420 somewhere.
https://growdiaries.com/grower/420highlifecouple
https://youtube.com/channel/UCKvjJ_S8nRI2wTc4cx_O1KQ
https://myfastbuds.com/?a_aid=616a33e294e50
With every order you will get a free seed
Join the community on GROWDIARIES
It’s a awesome place to meet cool people, document your grow and learn a lot from fellow growers, happy growing 😊🌱


Likes
1
Share


@omgfailsauce
Follow
Lots of new growth this week. Donny 2 is looking great, but I feel like Donny 1 is missing something. Gonna give the girls a compost tea this week.