Likes
Comments
Share


@MasterKush714
Follow
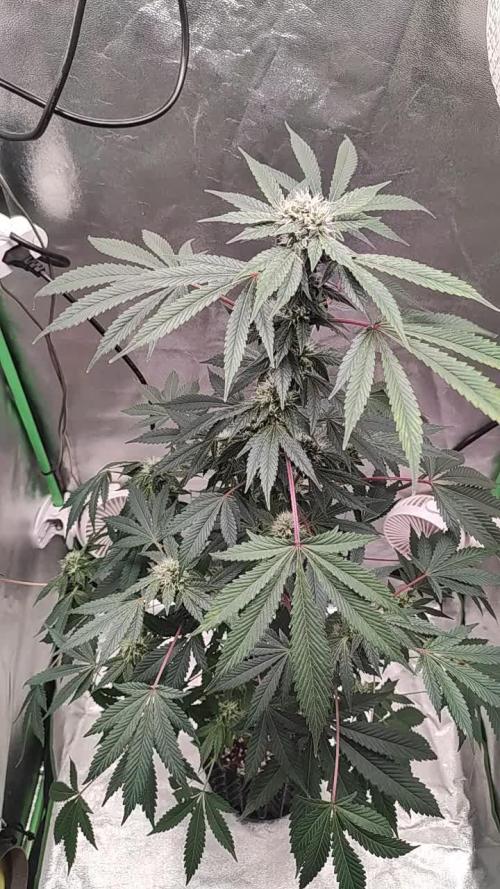
Hey guys so I'm starting to realize that Autos are probably going to be my best route
from here on out as far as growing, just so much easier to handle and manage lol
but anyways!! These girls are doing great so far, really showing their strengths and almost
no weaknesses, so ill keep updating as we go along, but everything else is listed in the stats.
I'm going to be posting more and more accurate data as well as I'm getting all the right tools
for a proper grow...thanks again guys one love!!! LFG!!!!!!!!!!!!!!


Likes
4
Share

@Ribemarti
Follow
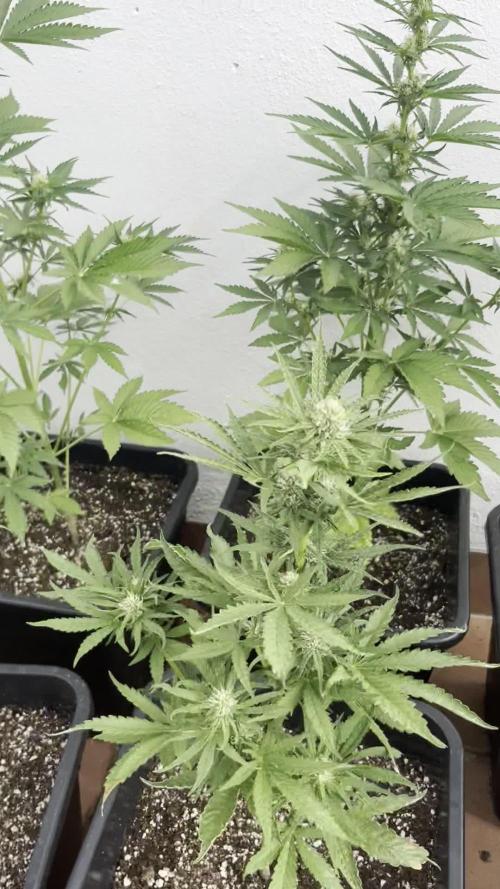
VEREMOS UNAS PLANTAS PEQUEÑAS,
PERO CON ILUSION YA QUE SON LAS ULTIMAS AUTOMATICAS, HACE 40 GRADOS AFUERA
HUELEN MUY BIEN Y LAS ESTOY REGANDO CON 3 lLITROS DE SOLUCIÓN CADA PLANTA
Likes
6
Share


@GrowzWithZee
Follow
Can I smoke it already?!
Ice Cream Cake by nature, the bud is covered i pure sweet resin goodness!
Harvest soon!!

Likes
14
Share


@GodZilla_Owner
Follow
Week 7 – Day 51 (BT27)
A quiet week for RedPure#4 – mostly just watering, observing, and removing an occasional leaf 🍃
The stretch seems to be coming to an end. Height is stable at 40 cm, and space is still manageable 😅
Her buds continue to swell and look very promising 🍇
However, the drain pH remains low at 5.7, which might explain some of the issues she’s showing.
After some digging, I suspect the combination of BioBizz soil and Advanced Nutrients is the cause.
BioBizz relies on microbes for pH buffering, unlike Plagron or Canna, which use dolomite lime.
On top of that, I’m feeding the microbes with Bud Candy – which likely lowers the pH even further 🔬
📌 Takeaway: If you're using Advanced Nutrients, a substrate like Plagron Growmix or Canna Terra might be more compatible.
With BioBizz, the pH in runoff stays constantly low despite using water with pH 6.6.
RedPure remains the most sensitive strain in the tent – but also one of the most aromatic 🌸💜

Likes
1
Share

@RageTdavis
Follow
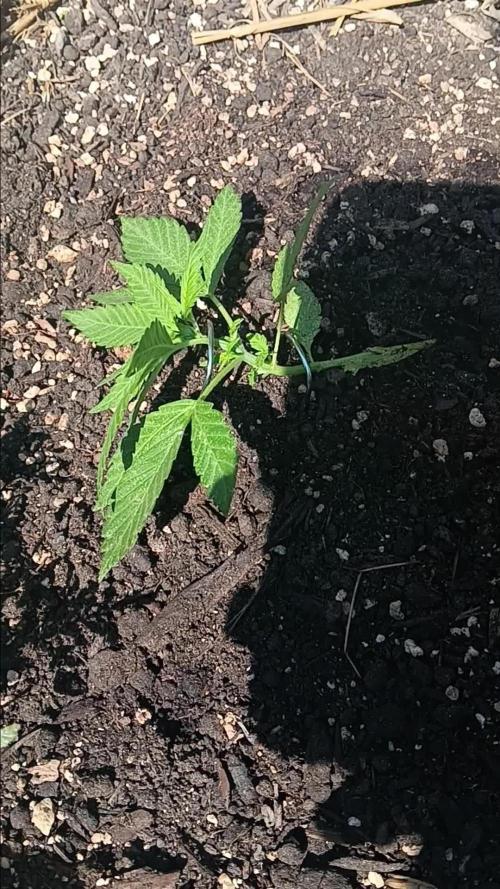
Im enjoying this autoflower run so far its showing me a little nutrients can go a long ways. Not just 10ml or plus every feed out of the bottle. I've been feeding 1ml or less. Ph is simple easy I barely have to go no more then .4 each feed to up my ph. I hope I she stretch well before flowering 💐
best of growing

Likes
6
Share


@victor_lion
Follow
Una cepa de fácil crecimiento y resistente al ataque de bichos, humedad alta y climas cambiantes, aunque la cosecha no fue muy abundante debido a su estructura compacta, sería bueno aplicar alguna técnica de crecimiento para obtener más cosecha, una fácil y rica planta medicinal

Likes
Comments
Share

@RooftopFarmer
Follow
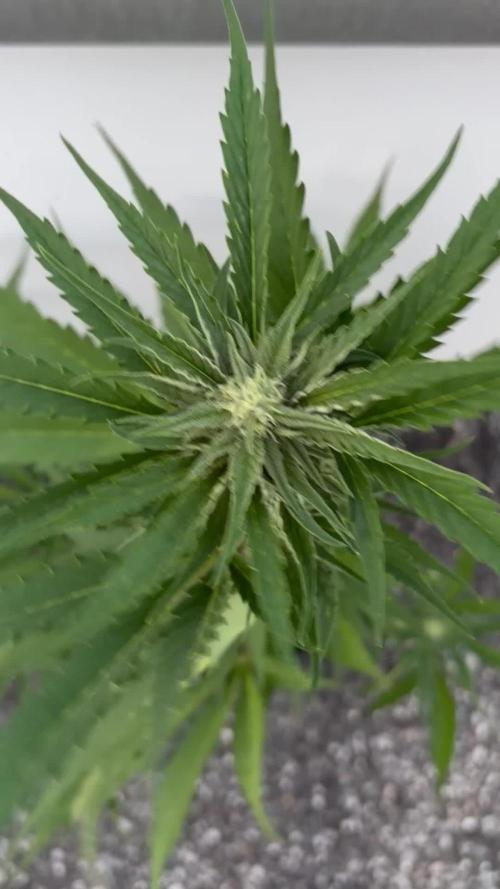
Banana Guava – Week 8 (Fast Buds Outdoor 2026) ☀️
Weather was okay this week. Banana Guava continues to receive regular nutrients and good sun exposure. Apart from some minor leaf damage she is looking solid.
She has grown to about 70 cm and is fully in flower. The height increase is still strong, but the aroma is not very noticeable yet. Overall she is developing well.


Likes
10
Share


Likes
100
Share


@ILoVeThiSpLaNt
Follow
Eccola la Milk Monkey. Non riuscivo a capirla ma parlando con un amico e mostrandogli le foto e l'odore che ha quando la tocco(crema, vaniglia comunque dolce dolce) mi ha detto che ho trovato fenotipo Cookies&Cream
Le altre piante stanno abbastanza bene. Ultima settimana di fertilizzazione e poi due settimane di sola acqua.
Ci vediamo settimana prossima per altre foto 🖐️ 🤞


Likes
20
Share


@Green_Dream
Follow
Well, what to say other than the pictures can already show? I wish the GZkitz buds were just as large as the Critical ones :D Maybe they will surprise me and flower one week longer then their sisters :P :D
For some reason I get an error when I try to upload the time lapse video, hope it workes out in the end!



Likes
21
Share


@Dezignertreez
Follow
I didn’t yield as much as I would like but I did get some quality flower 83 ofgrams worth between the three cardi b plants, and about 74 grams of 2 envy mintz plants I did have a lot of stress in the beginning which got corrected late and also I might have flipped too early , but all in all it’s some tasty beautiful flower definitely running again gonna do 1 plant this time so tune in for that journal
Likes
11
Share


Likes
56
Share


@Master_weeda
Follow
Bonjour à tous les padawans et les maîtres jedis
La semaine 4 est déjà là!
Décidément cette plante est vraiment exceptionnelle! Elle représente la force et j'en suis fier 😍
Je me donne pour defi que durant mon LST je fasse faire au tronc un tour sur lui meme.
Ma plante est saine le LST ce passe relativement bien je l'ajuste tout les jour je le combine avec la technique du pincage d'Apex cela me permettra d'avoir une canopé plus homogène donc une meilleure pénétration lumineuse et par conséquent un meilleur rendement.
Le pinçage est une pratique courante en horticulture.
Beaucoup de cultivateurs l'utilisent pour améliorer le rendement de leurs plantations cannabiques ou autres.
Il est souvent question de 'taille' des bourgeons apicaux.
Cette taille se pratique également mais il n'est plus alors, à proprement parler, question de pinçage.
A l'instar d'une taille, le pinçage va permettre de stimuler le développement des ramifications tout en préservant les sommités en vue de la floraison.
Il est très utile pour uniformiser une canopée.
Pour réaliser le pinçage, il vous suffit de presser 'fermement' la tige [entre le pouce et l'index] aux environs de l'apex jusqu'à sentir un léger 'crAck'.
Cela aura pour résultat d'endommager les vaisseaux impliqués dans la circulation de la sève [situés dans le pourtour de la tige], la tige conserve toutefois une certaine rigidité.
Pour obtenir le même résultat, il est également possible de vriller légèrement la tige sur elle-même.
L'interruption du circuit d'alimentation entre le ou les apex et le reste du plant va provoquer un déséquilibre hormonal qui aura pour conséquence le développement des ramifications antérieures au point de pinçage.
Jour 25 j'arrose mon pot normalement avec un quart de son volume en eau toujours avec un PH de 6.3 à cette eau j'ajoute 0.7 gramme de greenhouse feeding enhancer pour favoriser son développement racinaire.
Par la suite je n'aurai plus qu'à ajuster mon LST jusqu'au stretch et surveiller mon arrosage, Je pincerai mes apex suivant la pousse de la plante pour uniformiser la canopé.
Jour 26 à force de patience et de délicatesse j'ai réussi le défi que je me suis fixé en faisant faire au tronc un tour sur lui meme (photo jour 26) ce défi ma permis d'améliorer grandement la technique du LST. Au-delà de ça cela ma permis de donné au tronc une structure en forme de colonne vertébrale ce qui a pour conséquence une meilleure pénétration lumineuse et une belle canopé homogène.
Que la force soit avec vous 💪

Likes
175
Share


@love_2_grow
Follow
Day 15
Today I switched the lights from the Seedling program to the Growth program. I measured around 640 PPFD at the canopy level so a bit high for early veg but I will leave it where it is now and keep an eye out for light stress, and raise the lights if I have to.
I also added a second USB fan for increased circulation. USB fans are great when the plants are small and you don't want the stronger winds that the regular clip fan generates. I also started the clip fan but directed it towards the lights to help keep them a bit cooler.
I adjusted the extractor fan from 60 secs Off/30 secs On to 30 secs Off/30 secs On in order to remove more hot air. This will have to be tweaked further and I'll monitor my temps to figure out a suitable setting. It becomes a balance between temp and humidity. I really wish I had a system where I could set a target VPD and then the system would automatically adjust temps and humidity to follow that target. Not practical in my small setup though but maybe one day...
Temps are always an issue in my setup as I have two powerful lights inside one small tent without AC. I have set the light cycle so that the lights are on during the night but off during the day to help to balance the temp a bit. I'm also considering getting some extension cables and put the LED drivers outside the tent to see if that helps to bring down the temps a bit further. Later in the grow I will use CO2 so that will help a bit against higher temps.
Finally, I watered the plants as they were getting a bit dry. The left plant got 1 liter and the right plant 1.5 liters as the sensor reported that that pot was a bit drier. I reckon it has to do with the plant being larger (almost double the size of the other plant!) I should also really get my ass in gear and hook up the Blumat system so I don't need to worry about hand watering.
Day 16
Nothing to report really except some additional growth, both vertical and horizontal.
Day 17
Watering time again. Gave them 6.2 pH water this time and once again more to the right plant as it drinks more. I guess around 1.3 liters for the left plant and 2 liters for the right one. I tried putting in my small USB humidifier into the tent but I soon realized that it can't share the USB power that the fans are running on so will have to get another USB power cable in there. Didn't expect that small humidifier to use that much power. Oh well, that's a job for another day.
Day 18
The girls are thirsty it seems as I had to water again today according to the Blumat sensors (I really, really need to install my Blumat system as soon as possible but should get the last bits that I need in a day or two). I gave them 2.5 liters of water (pH 6.7) and once again a bit more to the right plant.
I also was able to squeeze in my tiny humidifier into the tent even though the tomatoes are still in there. Turns out that all I had to do was to switch the USB power adapter from the old Samsung one that I used to a more powerful iPad charger. Now it works just fine to run the fan and the humidifier on the same power. The reason why I'm using a small USB humidifier instead of a proper one is simply due to the lack of space in my small tent. This (very basic) humidifier is the smallest one I could find yet have a decent size tank so I don't need to fill it up all the time.
Day 19
The cover crop EXPLODED since yesterday so the first thing I had to do today was to cut that back a bit. I also started brewing some compost tea (AACT). I mixed together worm castings, rock dust, biochar, lime, bentonite, neem meal, kelp meal, and molasses and will leave it brewing for 24 hours and then feed it to the plants tomorrow. Would have liked to add alfalfa meal as well but haven't been able to find any. I usually put my seed starter warming mat under and taped to the brewing bucket to increase the tea temperature and microbial activity.
The plants are doing their thing, a little bit taller and a little bit wider. I will probably top the right plant next week but not sure about the left one as it is smaller so might need another week.
Day 20
The compost tea was ready today after 24 hours of brewing. I fed each girl with around 3 liters of tea (pH 6.8) and as I wasn't planning any foliar feeding this time around I kept the tea unfiltered. So that everything that went into making the tea ended up as a top dressing. I guess I don't have to water for a couple of days after this.
Not much change is plant size but the leaves are filling out.
Day 21
Today was completely uneventful so not much to report except that I probably will top the right plant tomorrow as it is up to 5 nodes.

Likes
12
Share


@GanjaFarmerGrow
Follow
A beautifull Week 5 is behind us...
She is going FANTASTIC for an legal BIO grow...
Amazing branches and BIG size from BIG Seedbank...💪💪👌👆
Great genetics...
I hope she keeps going like this...
fingers crossed..🙏

Likes
43
Share


@deFharo
Follow
Bienvenidos cultivadores de marihuana clandestinos, y también, a los que tienen la fortuna de no serlo!🖐️👨🌾
16 semanas de vida para esta planta hija de una Reina, nacida en casa y ahora cultivada al calor del hogar, siete semanas en horario de floración 12/12h y todavía tiene mucho que decir, su madre tuvo un periodo de 11 semanas de floración y si esta princesa sigue sus pasos los cogollos vana a ser majestuosos... a jugar
He estado fuera unos días y al llegar todas las plantas gozaban de buena salud, las flores crecen y esta planta apesta, mis dedos se quedan pegados a las flores si las toco!
Hoy al llegar he preparado una comilona para todas mis plantas, ahora, todos reunidos con música de fondo, hemos bebido felices y comido con placer y en abundancia... que siga el juego!
Hasta la próxima...
SALUDOS Y SALUD A TODOS!!
================================
Semilla obtenida el año pasado de la planta original, probablemente un retro cruce S1, un paso más hacia la auto suficiencia total en cultivos de marihuana! Mira el diario original: https://growdiaries.com/diaries/146971-grow-journal-by-defharo
Info de la cepa original: https://en.seedfinder.eu/strain-info/Queen_Mother/Delicatessen/
Floración: 8 semanas
Queen Mother es una cepa sativa estabilizada, gracias al minucioso y sistemático trabajo de selección y mantenimiento de la cepa, que el breeder Mario Bellandi, afincado en España desde hace más de 30 años, desarrolla sin descanso y con la máxima coherencia.
El cruce inicial de esta cepa, y que hoy permanece intacto, surgió a finales de los 90 entre una sativa desconocida, cultivada en los altos de Tarragona (España) por la misma persona desde los años 60, unas semillas de la isla de Reunión y semillas de un cruce estabilizado de dos landrace congoleñas...
==============