




Processing
Likes
4
Share


@Ogbangbang2981
Follow
I never thought I'd say it but i think when it comes to my indoor C4 vs my outdoor C4 Indoor takes the prize, I mean that's only for now lets see what happens in the upcoming weeks. I'm sticking to my bat turd mix and all sun, I shift her around during the heavy showers, yea it rains out here. I don't feed no store bought nutrients all from nature same goes for my indoor ... if you look closely you'll see that I lst her it's only because of her mutation.

Likes
5
Share


@WickedWeedQueen440
Follow
We are now in week 7 (today MAY 13 2024 DAY 53) going into week 8 getting ready to turn off our veg stage and turn the flower on!
We have introduced the next stage of nutrition for the plant ( Fox Farm Big Bloom next we start adding Tiger Bloom) we plan on doing our flower flip between May 16th and 17th and we are looking forward to a 8 to 10 week flower time frame for this strain. We are slowly introducing videos for our gross this will be the first strain and grow Journal of ours where we will be introducing a time-lapse video of the flower stage.
This is my current plant running for the Growers Gauntlet 2024. If you have not checked it out I definitely would there's some amazing Growers and they're doing their thing. Follow along and watch us produce an amazing flowers with some pretty cool growing techniques.

Likes
7
Share

@psychonaut420
Follow
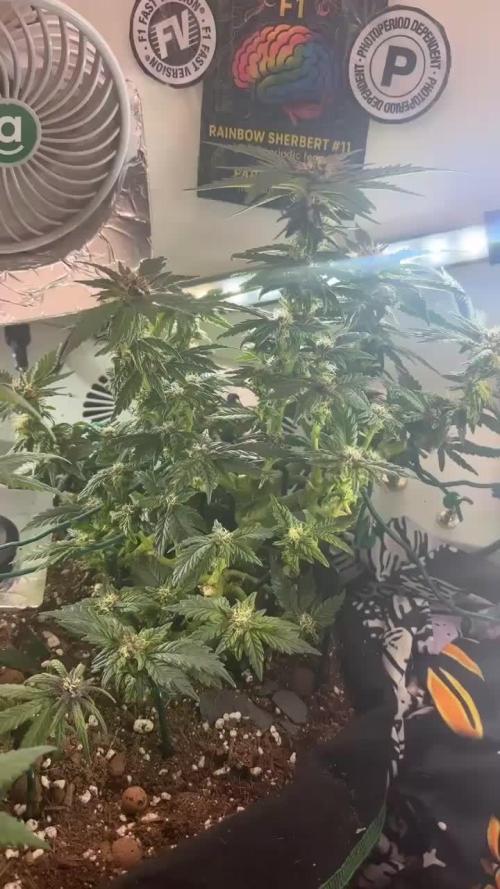
Mental rainbow f1 has been developing well the bid site are bulking up noticeably whilst just started seeing the production of thrichomes on the main bud sites while at the smaller side branches are not that far behind the main ones

Likes
80
Share


@Greenwolvesfarmer
Follow
Igual que sus otras hermanas sativas .esta belleza ha estado muy bien estimulada , creciendo rápido llegando a unos 15cm ..a su día 20 , hice corte apical , y hoy se veía bastante sanita y sin reacción de stress...que lindas sativas. Nunca había tenía esta alegría ...de todas maneras
La lemon Shining silver haze , tiene una hoja que luce "híbrida"....
Las amo a todas !
Likes
11
Share


@BLAZED
Follow
Week 9 (24-3 to 30-3)
24-3
Temps: 19.2 to 23.3 degrees
Humidity: 58% to 66%
25-3
Temps: 19.3 to 23.8 degrees
Humidity: 52% to 65%
26-3
Temps: 20 to 23.9 degrees
Humidity: 50% to 62%
Watering: Both 1000 ml.
Timer set to 12/12!
27-3
Temps: 19.1 to 23 degrees
Humidity: 55% to 65%
Watering: Both 1000 ml.
Defoliated both plants, and did some LST.
28-3
Temps: 19.1 to 23 degrees
Humidity: 55% to 67%
Watering: Both 1000 ml.
29-3
Temps: 19.8 to 22.9 degrees
Humidity: 58% to 67%
Watering: Both 1000 ml.
30-3
Temps: 19.2 to 22.8 degrees
Humidity: 58% to 67%
Watering: Both 1000 ml.

Likes
10
Share


@Geili_Seili_fireinfireout
Follow
Noch immer leicht im wachstum. Obwohl schon seit 2,5 wochen in flow. Neigt sich aber schön langsam dem ende zu und steckt bald ihre ganze kraft in die blütenbildung.
Für in der 3ten woche bin ich sehr zufrieden. Ich liebe es wenn sie die ersten 3-4 wochen noch nach spargeln. Für see of green ideal.
Die besten und saubersten stecklinge gibts wie immer hier bei ROOTS-FARMS. The best in austria and maybe europe👌🔥💚

Likes
4
Share


@Constantin94
Follow
Purple shades are starting to show up… I think the size of the buds has not change from last week, I will start to flush out this lady
Likes
4
Share

@Jabbamo
Follow
_______________________________________________________
Mo. 9.3.
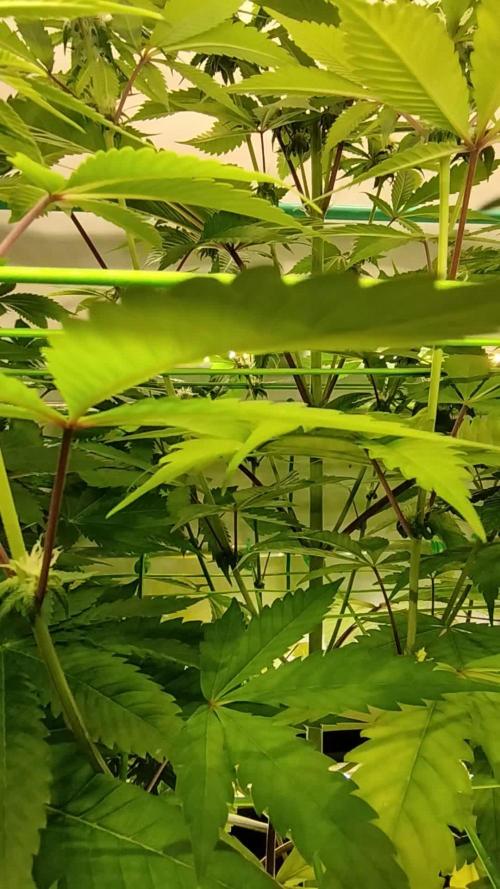
- 3 Liter pro Pflanze gegossen (ca. 200ml Drain)
1,2 ml / Liter "Calmag"
1,0 ml / Liter "Bio Grow"
3,0 ml / Liter "Bio Bloom"
1,0 ml / Liter "Top Max"
Ph 6,3 / 600 qqm
_______________________________________________________
Di. 10.3.
- Luftentfeuchter AN ( 55% / Auto / low )
_______________________________________________________

Likes
14
Share


@Mr_Dior21
Follow
Another slow week. I increased light schedule to 13/11. I’m going to slowly lower the time of light until by the time harvest day comes it’ll have a longer dark period. I’m also going to stop feeding the bottle nutrients my soil is moist still so I gotta wait. I’m predicting a couple ounces this grow.
Likes
73
Share


@Rwein93
Follow
Ciao ragazzi e bentoranti per i nuovi aggiornamenti!!!😉
Purtroppo ragazzi questa settimana non è stata delle migliori per i parametri. In Italia il caldo inizia a farsi sentire e nel box si sono raggiunte temperature di 30°C e l umidità è salita al 70% anche bagnando al minimo loro.😱
Le MimOrange crescono bene, forse il troppo caldo ha reso i rami più esili un po molli, ma tutto sommato crescono molto bene.👍
La numero 2 adesso misura 30cm. La numero 1 se non l avessi piegata sarebbe stata almeno 40 cm. Ottimo!
La numero 3 è più bassa e folta, penso che dovrò aprirla e pulirla un po.👌
Avendo cambiato zona di crescita non avevo calcolato il cambio di ph dell acqua del rubinetto e il fatto che non usi prodotti con un regolatore di ph incorporato mi ha tratto in inganno.🤦♂️
Ho misurato il Ph dell acqua dopo averla fertilizzata ed era di 7.7 così ho introdotto 0.25 ml di Ph Down e l ho portato a 6.27. Ora dovrebbe assorbire i Super nutrienti che gli stando alla grandissima!!!💪
Eh niente ragazzi! Speriamo che le temperature si abbassino di un paio di gradi, anche per noi perché si muore, e sembra solo l inizio.
Grazie a tutti per aver guardato e restate collegati per nuovi aggiornamenti.🙏
Buona settima e felice crescita🌱🌱🌱
P.S.
il video riprende le 3 talee varie all inizio, le Lemon tree, le MimOrange e 1 altra talea

Likes
Comments
Share


Likes
Comments
Share


@Elguacho420
Follow
Buenas a tod@s... Bueno otra semanita más para las niñas... Las frosty tooth... De momento va todo bien, eh tenido un "problemita" con la lámpara pero ya está solucionado, de momento todo en orden, las eh pasado a la maceta de 7 lt para q ya estén ahí, un buen sustrato y un poquitito de nutrientes para las raíces... A esta altura no podemos hacer mas q darles cariño y dedicación... De momento esto, luego más y mejor, a seguir trabajando duro... 💪🏻💪🏻 Buenos humos para tod@s... 😎⚕️💪🏻💪🏻
🇦🇷🤝🏻🇪🇦

Likes
2
Share


@MG2009
Follow
07/09/2019
Start of week 6 flower topped off the reservoir two days ago with 4 liters of nutes so will do reservoir change in a couple of days thanks to Advanced Nutrients
technology i don't have to rush to get it done. The buds are getting heavy and super dense,stems are leaning from the weight.
(Get a fan for future grow). Did light defoiliating as needed,and leaves are sticky as hell I could make finger hash if I had more plants I've used gloves and freeze them after trimming and peeled off the resin. Very flavorful!

Likes
8
Share

@Sobreruedas
Follow
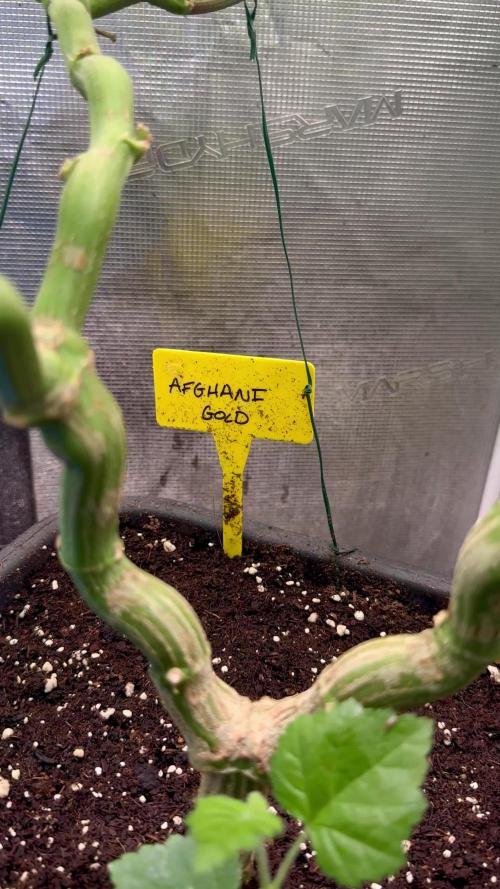
This week I flipped the photoperiod to 12/12 since the scrog net was already filled.
I also performed a selective defoliation to improve light penetration and airflow through the canopy.
The LED power was increased by 10%, and it’s currently running at around 500 PPFD to support the transition into flower 💡🌸
Now it’s time to let her stretch and see how she responds during the first weeks of flowering 💪🌿


Likes
30
Share


@BC_Green
Follow
It has been another amazing week of the plants growing. I have been watching as the Fruity Freak leaves become progressively more fern-like, and ornamental as a result!
Based on my Banizzle grows, I knew I needed to understand plant nutrients in a more meaningful way if I wanted these plants to thrive. So, I decided to get a soil test (see Ref. 1 below on how to perform a test) to understand what nutrients my plants needed. The report I received advised that I needed to add 200 lbs/acre of nitrogen, 150 lbs/acre of phosphorus, and 190 lbs/acre of potassium (see picture labeled Pic.1 (FYI you can't see these images unless you login to growdiaries)).
I then researched what to do with my results (Ref. 2 helped), and I figured out that my nutrient needs of 200-150-190 fall close to a 2-1-2 ratio. I then looked at different types of organic fertilizers (see Ref. 3 and Ref. 4) and considered that I already had a 3-10-5 fertilizer (Vermibloom) on hand. I discovered Dr Earth’s Alfalfa Meal is 2-1-2 and includes beneficial bacteria and mycorrhizae (to promote healthy plant growth and disease resistance). However, I knew I would be low on nitrogen if I only used those two fertilizers. Therefore, I decided to buy some blood meal (12-0-0). I also liked that blood meal is more fast acting while the other two are more moderate.
I hunted around for a solid fertilizer calculator and found an amazing tool from the University of Georgia Extension (Ref. 5). I entered all three fertilizers into the calculator, and it kicked out the exact amount of each fertilizer I needed to apply to 1 square foot (see Pic. 2). As I am using 10-gallon fabric pots (that can hold 1.5 cubic feet, but I put stone on the bottom and there’s space left at the top) I decided to use the one square foot application rate as I can always add more later, but I can’t take it away.
Not only did I want to understand the nutrients I needed, but I also wanted to understand the structure of the soil (as it was not included in my test results). North Dakota State University has a nice page that discusses this (Ref. 6), and I performed a soil ribbon test (see Video 1) based on this information. I determined my soil to be medium textured (which is great), but I have seen occasional water pooling on the surface, suggesting that it may be more of a medium-fine. This means adding peat moss, coco coir, or other amendments might improve drainage (and plant hydration) and allow for roots to grow more easily. In the long run, I plan to use compost to enhance the soil structure and nutrients.
I filled the bottom of my 10-gallon fabric pots with a ½” of pea stone to allow for drainage (Pic. 3). I then partially filled two 5-gallon buckets with topsoil from near where I will plant (but not in an area the roots will reach). I used a digital scale to measure the amount of fertilizers recommended by the calculator (Pic. 4, 5, and 6) and added it to one of the 5-gallon buckets (see Pic. 7). I mixed the fertilizers into the soil as evenly as possible (Pic. 8 and 9). I then poured a two-inch layer of non-fertilized soil, then peat moss, and then fertilized soil (in a roughly 2:1:1 ratio) and blended them together. I repeated this until the pot was full (getting additional soil as needed), and then I repeated the process for the other three pots.
I set the filled fabric pots in my garage (Pic. 10) for two days to allow any upset bugs to flee into my garage instead of my house. I then moved the pots (wrapping them in a contractor garbage bag to prevent making a mess) into the room with the grow light. I placed a board on top of the fabric pots to insulate the plants (in their smaller pots) from the cold soil (Pic. 11). Once the soil in the fabric pots reaches room temperature, I will transplant.
(Ref. 1) This video shows the method I used to take a soil sample. I didn’t have a field to test, so I took four samples from the area where I will eventually plant outdoors and blended them together. I then mailed my soil sample off to the lab, and about a week later, I received an email with a PDF of my results (included with my pictures this week).
https://www.youtube.com/watch?v=N9AwxmFxBwg&t=8s
(Ref. 2) This video from the University of Minnesota Extension (many universities have agriculture extensions that can assist you with soil testing and growing information for your area) discusses what to do with your soil testing results:
https://youtu.be/HYrkcfE62Pg
(Ref. 3) This is a nice article that discusses organic fertilizer solutions:
https://www.grow-it-organically.com/npk-fertilizer.html
(Ref. 4) This article lists the NPK values of many organic fertilizer solutions:
https://www.epicgardening.com/organic-fertilizers/
(Ref. 5) Many websites tout a fertilizer calculator…but this one is hands down the best I have found. If you scroll down to the bottom, you can enter any fertilizer type you want (and the cost, if you want). It will give you the exact blend of multiple fertilizers to solve your nutrient deficiencies (I included a snapshot of the solution I used in my pictures).
https://aesl.ces.uga.edu/soil/fertcalc/
(Ref. 6) This is an excellent article that discusses how to evaluate your soil:
https://www.ndsu.edu/agriculture/extension/publications/evaluating-preparing-and-amending-lawn-and-garden-soil
Likes
3
Share


@High_Grade_Dadli
Follow
Girls are coming along well transplanted set 1&2... seem to be loving it....we getting there

Likes
Comments
Share

@NAG420
Follow
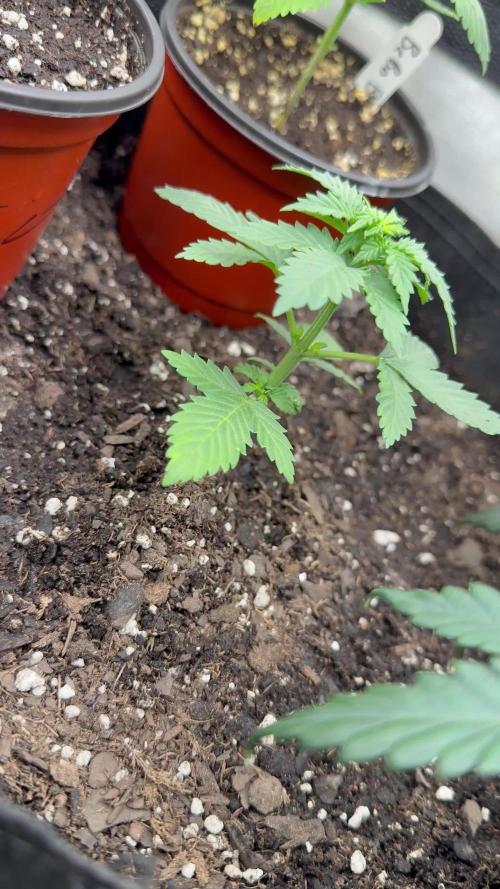
This week I transferred it into a 5 gallon pod cheese on the third note and taking water every 24 hours the root systems didn’t look that great but I think she’ll thrive in a New pot. Watered are at 6.5 pH. Will be transferring once she’s 2 feet tall into the flower.
Likes
22
Share


@DETOX
Follow
SEMANA 2 - DÍA 8
Tengo experiencia con la gama PURE AUTO de la casa, por lo que puedo afirmar que en todas las tandas que hago, alguna sufre malformación genética, y eso influye en el proceso.
En esta ocasión, le agregue al sustrato un 50% de coco y estoy regando como de costumbre, con lo mínimo (50ml), a ver si soy capaz de estirar la planta a 1 metro.
De momento es todo, nos vemos en la próxima.
Saludos y felices humos.
Likes
13
Share


@PrairieFrostGrow
Follow
**Week 8 - September 7 to 13, 2020 - Days 50 to 56 from germination******
Getting closer tho the finish line and it was a good week. Pushing them harder now for feeding as there aren’t many feed days left. Trying not to pull the feed too early this run as I want to give these girls every chance they can get to fatten up. Been an interesting run🤪 Suspect I am looking at 11 weeks on these girls........they may ripen sooner though.......so will likely feed through week 9 and think I might use Flawless Finish this run as they will all finish at different times and it may happen more suddenly than expected. This strain has a fair bit of Sativa in it and I see it in the narrow blade fan leaves and the time she has taken to start swelling.
Trichome production is a little slow but starting now. The next two weeks I expect to be the fun ones and will see how these phenos do with ripening.
Kept the feedings light and watering a little too light I think this run. Should have got a little more CalMag in them and also increased the waterings to runoff. In the earlier weeks I was holding back on the watering wanting to help avoid too much nitrogen going into bloom. They needed to be up to two and three litre daily feedings sooner than week 7 for example, coco coir😃 This caused some deficiency in mid flower. Learning experience here was to keep up the watering volumes, because of pure coco, but reduce the ppm if needed.......I reduced both☹️
There are three girls that are going to make it to harvest and obviously LAK1 is going to yield well and the others will be less........keep them happy to the end because quantity doesn’t matter as much as quality😃 Next auto girls are not going to face the same issues👍
Little more detail:
Sept 7/20 - Day 50
- Terpinator @ 3ml, Big Bud & Liquid Weight & Rezin & CalMag @ 1.5ml
- 565ppm and 5.8pH
- LAK1 - 2.5L, LAK2 and LAK3 - 1.5L
-
Sept 8/20 - Day 51
- LAK1 ONLY - 3L - CalMag @ 2ml/L, Vitathrive @ 1.5ml, Dual Fuel @ 1ml/L
- 775ppm and 5.8pH
- The other girls were on a dry out day.
-
Sept 9/20 - Day 52
- Plain water only today
- LAK1 - 3L, LAK2 - 1.5L, LAK3 - 1.5L
-
Sept 10/20 - Day 53
- Overdrive @ 2ml, Rezin @ 2ml, Dual Fuel @ 1ml
- 650ppm and 5.9pH
- LAK1 - 2.5L, LAK2 - 1L, LAK3 - 1L
-
Sept 12/20 - Day 55
- Terpinator @3ml, Overdrive, Enzymes K., Rezin, Liquid Weight, CalMag @ 1.5ml, Dual Fuel @ 1ml
- 1110ppm and 5.9pH
- LAK1 - 4L, LAK2 - 3L, LAK3 - 4L
- Heavy watering for all the girls.
Sept 13/20 - Day 56
- Terpinator @3ml, Overdrive, Rezin, Liquid Weight, Vita, CalMag, Dual Fuel @ 1.5ml
- 1125ppm and 5.8pH
- 3L for LAK1, 2L for each of the other girls......lots of runoff from all......they were still wet.
(I have been working on cleaning up some bottles from different nutrient lines😃........certainly not giving everything listed in a single feeding)
Getting caught up on the missing weeks in backwards fashion :) Wanted to keep up with the current week. Get the two missing weeks in here soon.