Likes
5
Share

@Nony_grows
Follow
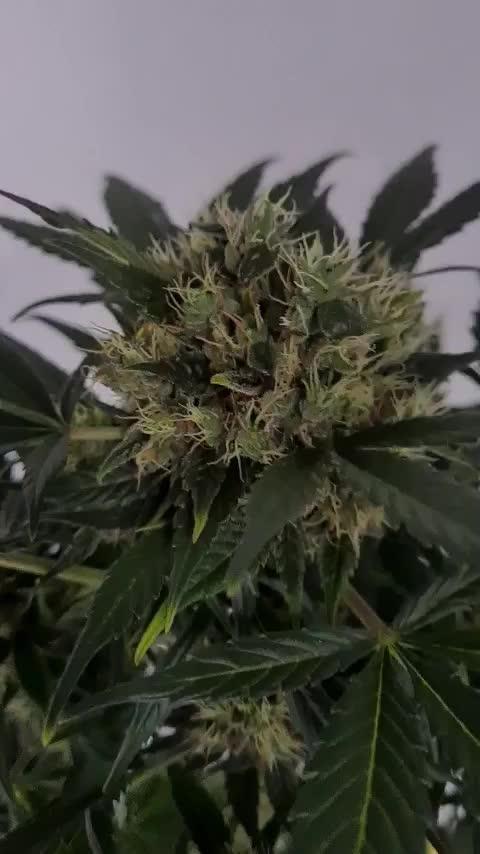
Flowers are starting to form and I’m just watching these closely because it’s my first time running them and I’ve seen a few people have issues with herms

Processing
Likes
10
Share


Likes
51
Share


@Dunk_Junk
Follow
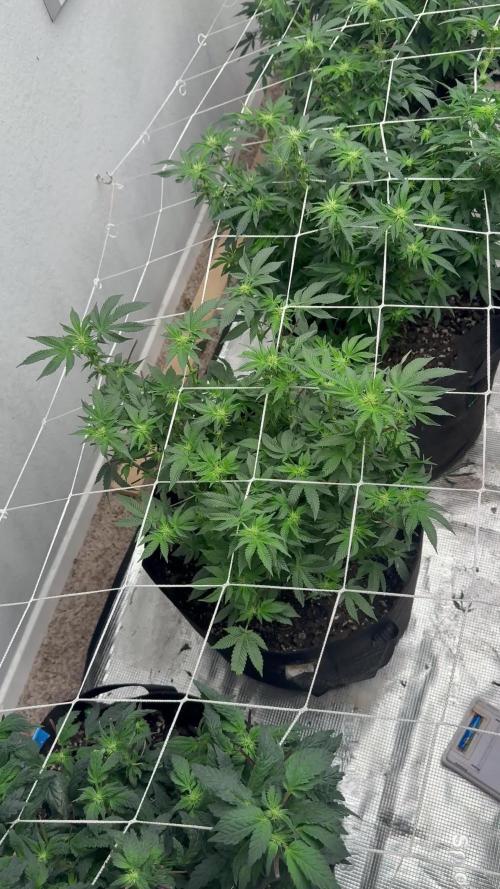
23cm vertical growth this week. Over doubled her height and got a lot more bushy too.
I think she's going to be a fab plant!


Processing
Likes
18
Share


@Blueboy2019
Follow
Can't wait for this garden to flower think it will be a nice bright colours for ya

Likes
70
Share


@Santica_Garden
Follow
I have added a video to the diary, I prefer to do the videos as I can give out as much information, and also saves you guys from having to read all my crap😅

Likes
50
Share


@6ix6ix6ix
Follow
07/09 - 3 days after breaking ground
On the second day had to remove the residue of the seed that was gluing the leaves together. Video attached
Turned the light to 50% and around 50cm from the plants.
All systems - check
Likes
50
Share


@AsNoriu
Follow
Day 82.
Its 81 day from seed touched soil ! If leaves would be healthier, i would run them at least one more week, but it is, what it is.
They spent 24 hours in darkness and now its Trim Jail !!! ;)))
Harvest Day !
Day 88. Tried bud from each, clearest weed straight from drying rack ! Only 3 feeds makes huge difference to harshness at the beggining. Still Queen is pure Tangie, can it be seed mistake ? ;)))
Day 89. Boy i am f@ckingly surprised !!! Heather - I love You, Your team, Your strains !!!! I still don't get how, but numbers are amazing, Thank You very much !!!!
Will update this diary as cure goes, but i feel so many nice words were unspoken, felt that FB will change my view about Autos - and they DID !!!
Amazing house !
Happy Growing !
Likes
15
Share


@YOZYY
Follow
Going smoothly so far had a small cal-mag or phosphorus deficiency but I corrected it and now it is healthy I will continue to keep an eye if it comes back. Doing one or two leaves defoliation on eat plant to make sure nodes are getting light but nothing overboard.


Likes
13
Share


@OrthoGrow
Follow
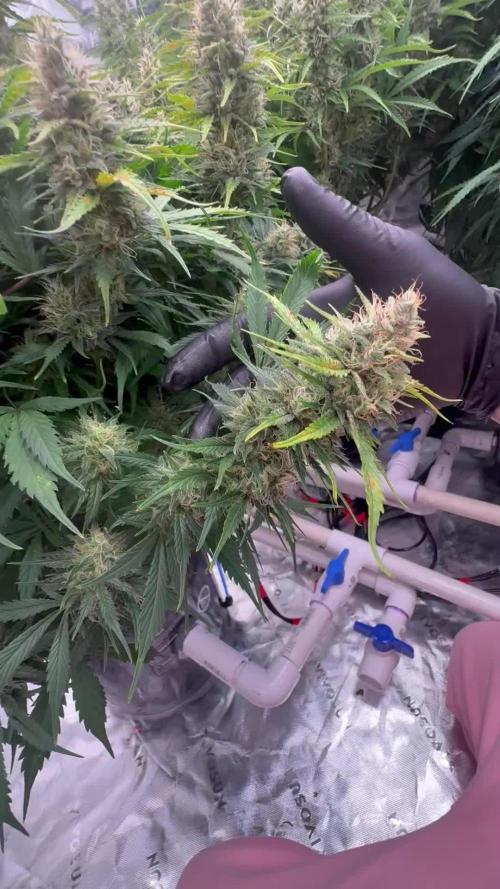
Week 10
So last week I had CalMag problem, you can still see it on her leaves, she was really stunted - not drinking, yellow/brown spots on leaves. Right now it seems under control.
What did I change? First of all I looked up, seems like CalMag is best absorbed with pH 6.5-7.2 or something, so one of the mistakes was pH too low - changed it to 6.5-6.8.
I think it all started, when I experimented and gave too much nutrients it got “lock out”. That’s why I then flushed it 2 times with only water + calmag at pH 6.8-7 and from then on strictly giving nutrients only according to the table that’s given by Terra Aquatica.
Seems like it picked up again, not seeing any new yellow/brown spots.
The buds are huge, smell is great, I hope I can farm soon.
Do you guys/gals have any tips? (On late flower/drying/curing)

Likes
2
Share


Likes
33
Share


@GoldenArrow
Follow
Bitkiyi ana merkezden uzaklaştırıp tüm dalların eşit miktarda ışık almasını sağlıyorum nem i alttaki biriken su ile veriyorum. Sabah Dallarda kırmızılıklar gözlemledim ve buruşuk 2 tane yaprak call mag takviye edilicek herşey yolunda 2 dolu 1 boş şeklinde ilerliyorum .IŞIKLAR AÇIK OLDUĞU İÇİN KUSURA BAKMAYIN .


Likes
3
Share

@Salokin
Follow
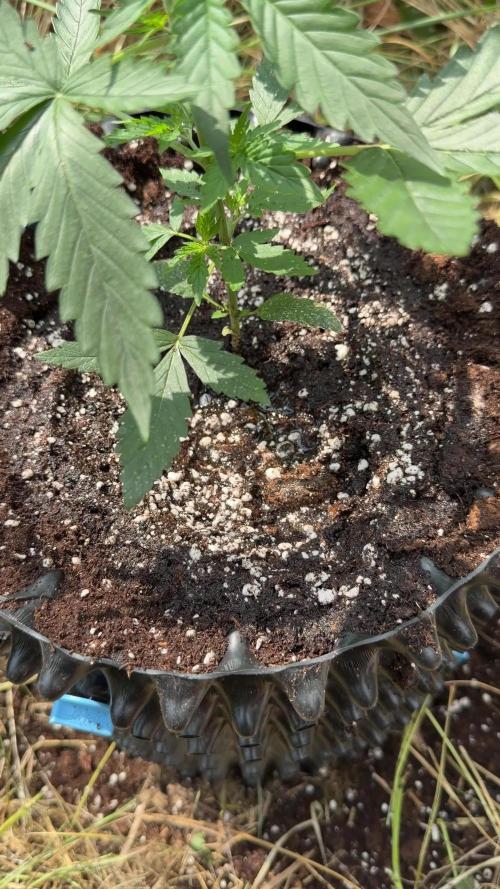
Week 4 | Godfather OG
Selection's made — she's outside now. The strongest of the three pulled ahead clearly enough that the call wrote itself.
Moved her into a 5L pot for the transplant, and gave the roots the same treatment as the rest of the lineup — **RootX** at transplant, delivering mycorrhiza (*Glomus intraradices*), *Trichoderma harzianum*, 13 strains of *Bacillus spp.*, humic acids, amino acids and vitamins straight into the root zone. No transplant shock visible — she's settled in fast, structure looks clean, lateral branching already kicking off, and the green is dark and even across the canopy.
Height at 14cm. Out in the garden now means real sun and real airflow instead of tent conditions — light schedule has shifted to natural hours, currently around 17h. Watering bumped to 0.3L per plant per 24h for the bigger pot.
Nutrients unchanged: CANNA Aqua Vega 1ml/l, CalMag Agent 0.9ml/l, Aptus Regulator 0.1ml/l. pH 6.2, EC 1.5 mS/cm. Day temps up to 29°C, nights down to 18°C — a proper outdoor swing compared to the tent. Humidity steady at 60%.
Next few weeks are about establishing root mass before the real vertical growth kicks in.
Updates every Sunday. Stay tuned.


Likes
5
Share


@PortkeyCannabis
Follow
She has just started to flower. No nutes super soil living soil still going strong. So I fed her when I should t have. And stunted her a bit. But i think she’s coming back nicely.
Likes
10
Share


@Ganja_Victoria_Aus
Follow
They cut all my plant and take it. Bad friends. The yield and number of plant was higher. Unfortunately. I walk away with 500gr of 16 different strain. No trace of Super Lemon Haze