The Grow Awards 2026 🏆 


Likes
Comments
Share
@nonick123
Follow
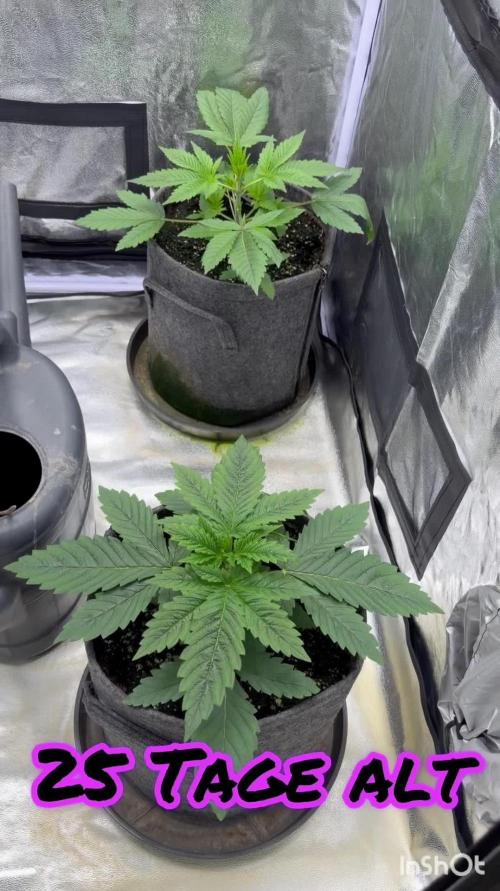
Día 15 (27/01) Ha reaccionado bien al trasplante. A ver como se desarrolla en los siguientes días!
Día 16 (28/01) Muestra un buen desarrollo con las primeras ramas formándose
Día 17 (29/01) Subo a DLI 40
Muestra un color verde estupendo 😍
Día 18 (30/01) Tras subir el DLI la temperatura en el indoor ha subido a de 22ºC a 26 ºC, de modo que va a acelerar las necesidades hídricas
Se sigue desarrollando estupendamente 😁
Día 19 (31/01) Seguimos a buen ritmo
Creo que debería haber regado este día... (Visto como estaba de seca al día siguiente...)
Día 20 (01/02) Elimino las ramas más inferiores (1er nudo) que siempre suelen quedar débiles en el stretch
Riego con 350 ml H2O RO
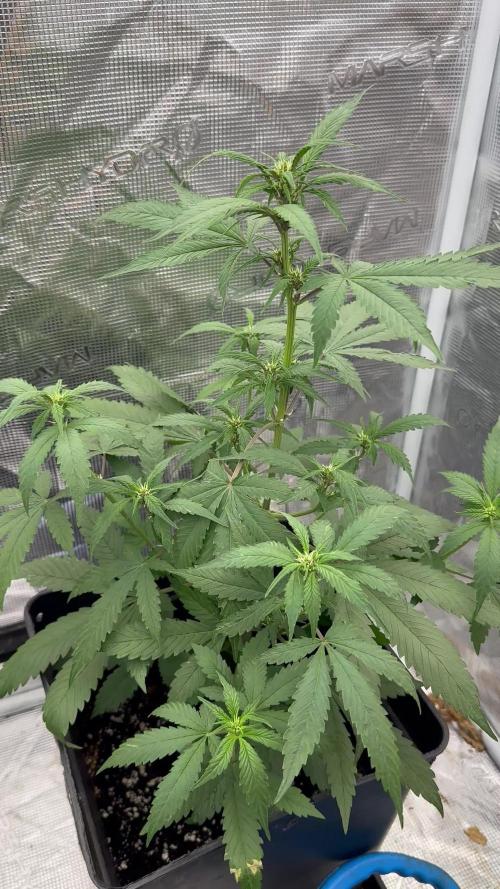
Día 21 (02/02) Empieza a estirarse! 😍
Está sedienta! Riego con 350 ml H2O
En una semana a floración!
Khalifa Genetics - https://khalifagenetics.com/product/lemon-blanco-v3/
💦 BioTabs 15% DISCOUNT code "GDBT420" biotabs.nl/en/shop/ @biotabs_official
🌱Substrate PRO-MIX HP BACILLUS + MYCORRHIZAE @promixmitch @promixgrowers_unfiltered
💡2 x Mars Hydro FC1500 EVO Led Grow Light (2024 NEW FC 1500-EVO Samsung LM301H 150W LED) - https://marshydro.eu/products/fc1500-evo-led-grow-lights/ - https://www.amazon.de/dp/B0CSSGN5D8?ref=myi_title_dp

Likes
54
Share
@MrJones
Follow
MrJones Cream Mandeiran Auto XL - ViparSpectra XS2000 240W Infrared Full Spectrum LED Grow Light
´🍪⊱╮🍪╰⊰🍪 WEEKLY GOALS 🍪╰⊰´🍪⊱╮🍪
🏡Indoor - 3"x4"x8" Custom Built Grow Closet
🌞Environment - 80F and 50%Humidity - using Humidfyer as needed.
🌾LST and Defoliation - this strain likes to stretch!
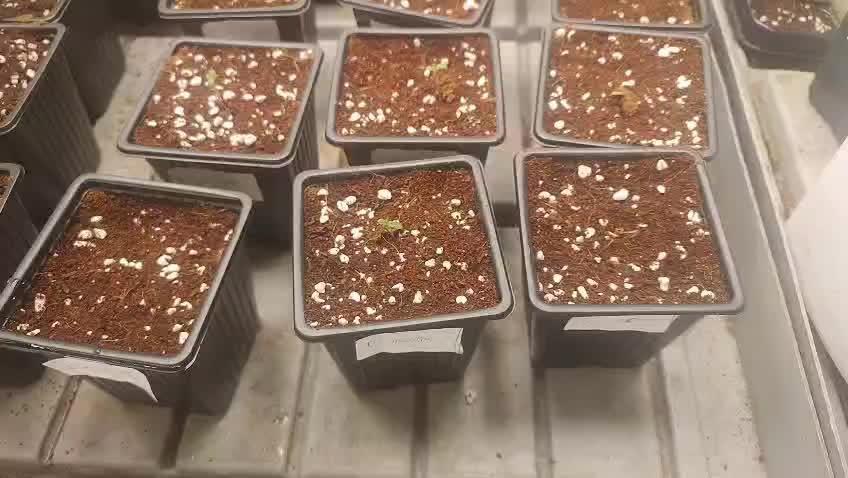
🗓️Week 2 Seedlings
⚱️5-Gallon 📊6.2 PH
💧 Feeding / Using Dr. Earth Dry Organic Amendments - Home Grown & Bud / Bloom Booster
🌞ViparSpectra XS2000 240W x2 Infrared Full Spectrum LED Grow Light
🕷️ IPM - Will be using Green Cleaner" 1 OZ per Gallon, and CannControl from Mammoth alternating between products each month for Integrated Pest Management.
´🍪⊱╮🍪╰⊰🍪 PLANT UPDATES 🍪╰⊰´🍪⊱╮🍪
📝 Notes - Girls are just blowing up, they have doubled in size and started producing their second and third nodes, the leaves look perfectly healthy! The ViparSpectra XS2000's are just killing it!
╰⊰🍪╰⊰´🍪⊱╮🍪╰⊰🍪╰⊰🍪╰⊰´🍪⊱╮🍪╰⊰🍪╰⊰🍪╰⊰🍪⊱╮
🔶Sunday 06.27.21/ Continuing feeding just H20 PHed to around 6.0/6.5
🔶Monday 06.28.21/ Plants are just doing great, no water needed for today!
🔶Tuesday 06.29.21/ Plants are looking good, the soil is still moist going to water in the morning, along with a nice top dressing!
🔶Wednesday 06.30.21/ So I topped dress with 7 TBS Dr. Earth Flower Girl and 3 TBS Dr. Earth Home Grown
🔶Thursday 07.01.21/ If you could only see how these girls are doing from the beginning of the week until now they have at least doubled in size!
🔶Friday 07.02.21/ Just watering with H20 PH - 6.2
🔶Saturday 07.03.21/ Trouble-free grow, great lights these ViperSpectra XS-2000 they run so cool for the amount of light they put out!
╰⊰🍪╰⊰´🍪⊱╮🍪╰⊰🍪╰⊰🍪╰⊰´🍪⊱╮🍪╰⊰🍪╰⊰🍪╰⊰🍪⊱╮
Cream Mandarine XL Auto®️ Information
Tall-stemmed auto-flowering strain. This high-yielding 4th generation auto-flowering strain is the resulting hybrid from the cross between selected specimens of our Cream Mandarine Auto®️ (SWS29)) and a Super Tai’98 elite clone.
The genetic coming from the Super Tai’98 elite clone contributes with interesting Sativa characteristics to this hybrid, such as bigger size, but also subtle aromatic and spicy tones with hints of wood and nuts. The so much appreciated Cream Mandarine Auto®️ genetic contributes with traits from the Indica side, such as high flower and resin production, but also sweet and fresh aromas with tones of citric fruits of the mandarin orange type.
DATA SHEET
Variety SWS55
Indica: 35% / Sativa: 63,4% / Ruderalis: 1,6%
THC: 18-23% · CBD: 0,6%
Indoor Yield: 450-650 g/m2
Outdoor Yield: 50-300 g/plant
Indoor/Outdoor Harvest: 9 weeks from germination
Height: 110-150 cm


Likes
5
Share
@YourStonedBuddy
Follow
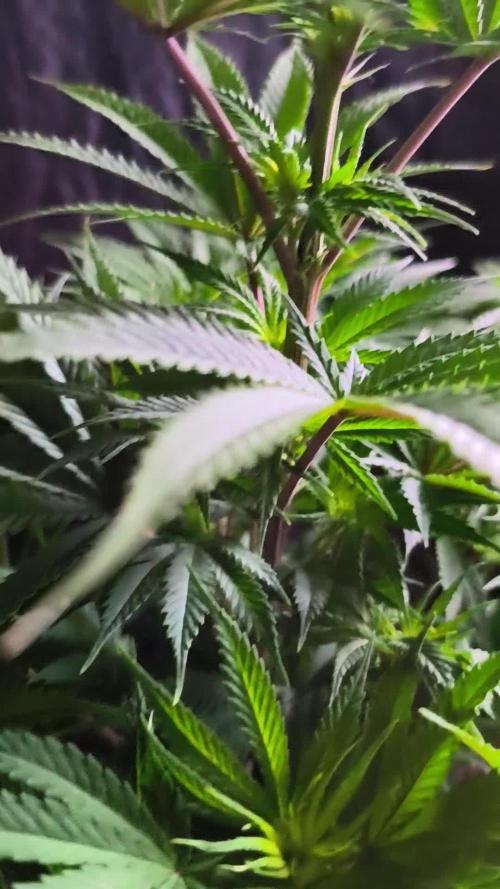
Some really solid growth this week, she is pre-flowering nicely and now transitioning into flower at the end of week 4 day.
At the beginning of the week I fed her some compost tea and threw some more cover crop seeds down. Gave her a small top dress of bokashi to keep the fungi happy

Likes
12
Share

Processing
Likes
12
Share


Likes
5
Share
@Fefa128
Follow
Hey there growers!! Sorry for skipping flower so bad.. here are some videos of the ninth and tenth week.
No excuses, but someone stole from me back then and I didn't feel like making videos for a couple of weeks.
But the experience went on, the female plant reversed and it's pollinating itself with my help like you see in the videos. Sorry again for the Spanish audio 😅

Likes
1
Share
@Deebow
Follow
Have grown 3 gorilla cookies autos out to harvest and all three have been noticeably different in growth and characteristics


Likes
9
Share
@rhodes68
Follow
Poly Harvest 622g lost about 3g to bud rot as one bud was about to go south due to all the wet assed weather lately. good thing we got her today.
Easy trim
Wow did winter ever get here fast. Snow this weekend so everything is chopped. Busy busy day
Not sure how to amend the harvest to include Zona - 445 grams wet but do what I can
She did well and in the end was healthier than Poly. Very slight point of bud rot (cold and wet) perhaps one gram affected.
Will update dry weight as I may
BTW the dog in the video is named Mater and he loves cannabis, he hangs around when I harvest and eats any leaves I discard. No hes a good dog leaves the plants themselves alone :)
Zona 167 grams dry I am good with that on a plant almost cut down lost a few grams to bud rot nothing remarkable given the weather

Likes
4
Share


Likes
12
Share
@Jays_Not_Here_Man
Follow
This was the girls last week of Veg. ❤️ I did a big defoliation, the lit in my 4x4 custom SCROG netting and started tucking and bending the tops down to fill the spaces.
They were looking pretty scraggly for a day or two after the defoliation, but within a few days the screen was filling out. I have a daily routine of lights on, tuck and bend, no weaving and then just before lights out I’ll do the same.
Temps were good, watering has been vigorous. They are very thirsty! Feeding about 1 1/2 gallons every feed now, the 4 gallon pots are a bit undersized but I wanted to see what could
Come of These slightly taller pots, rather than the wider regular sized pots. Haven’t had to add humidity this week, pretty consistent around 60%.
At the end of the week I changed the light cycle to a 12/12 for flowering ❤️👊🇨🇦


Likes
4
Share
@Shenelly78
Follow
Week 2. Has been just watching the girls grow. Watering the girls with recharge mixed with ro water yesterday. Phed to 6.4
Likes
115
Share
@DogDoctorOfficial
Follow
Greetings, fellow cultivators! We've officially crossed into the much-anticipated flowering stage with our beloved Cherry Cola Auto, and let me tell you, it's nothing short of a horticultural fiesta! The transformation over the past week has been nothing short of magical, with our once lush bush evolving into a budding beauty.
Last week was a game-changer as I bid farewell to the training supports that have guided our Cherry Cola through her bushy phase. Now, she's free to express herself, growing wild and embracing her natural beauty. The transition from veg to flower has been seamless, and I'm witnessing a symphony of bud formation that's simply breathtaking.
One of the marvels of autoflowers is their ability to veg and preflower simultaneously. It's like witnessing two acts of a play at the same time – the plant is reaching for the stars while also gearing up for the grand flowering spectacle. Cherry Cola's growth rate is nothing short of impressive, and I find myself in awe of this dynamic phase.
With the shift into flowering, I've made some adjustments to our nutrient regimen. The Start Booster has gracefully bowed out, making way for two new players on the stage – P-Boost and Topbooster. P-Boost, a phosphorus booster, is a soluble wonder that not only enhances blooming but also contributes to improved water pH. It's like giving our Cherry Cola a backstage pass to a nutrient orchestra.
Meet the New Stars: P-Boost and Topbooster:
P-Boost, with its organic acids and phosphorus punch, is playing a vital role in stimulating protein, hormone, and vitamin production. It's a symphony conductor orchestrating the blooming processes. Meanwhile, Topbooster, the dynamic duo partner, is enhancing the flowering response, producing larger fruits with more fibers, resins, and sugars. It's like a magical potion for quality and flavor enhancement.
Oh, did I mention that our Cherry Cola looks perfect to my eyes? She's a vision of green excellence, and I'm captivated by the flawless symmetry of her growth. Every day, she inches taller, embracing the flower formation with grace and poise.
As we wrap up this Week 1 Flower report, I'm left in amazing of the beauty unfolding before us. Cherry Cola Auto, with her wild growth and budding allure, is a testament to the marvels of cultivation. Stay tuned, green enthusiasts, for the next thrilling installment as the floral overture continues!
Genetics Cherry Cola Auto @Fast_Buds @fastbuds_genetics_official @fastbuds_official @fastbuds_espana
Nutrition: @aptusholland @aptus_world @aptus_
Love, Care, and Attention: @dogdoctorofficial
As always, thank you all for joining me on this journey, for your love, and for it all. My horticultural odyssey would never be the same without you. Your love and support are cherished, and I feel both honored and blessed to have you in my life <3 <3 <3
#aptus #aptusplanttech #aptusgang #aptusfamily #aptustrueplantscience #inbalancewithnature #trueplantscience #dogdoctorofficial #growerslove #fastbuds #specialplants #homegrown #fastbuds #cherrycola #CultivatingBeauty #NatureArtistry #HomegrownMagic #GreenPassion #JourneyWithPlants
With true love comes happiness. Always believe in yourself and always do things expecting nothing in return, with an open heart. Be a giver, and the universe will respond in ways you can't even dream off.
Friendly reminder: all you see here is pure research and for educational purposes only.
Growers Love to you all <3 <3 <3
Likes
1
Share

Likes
24
Share
@SaulGoodman420
Follow
Hot dry weather, so having to water every other day. Harvesting the StarDawg this week :)

Processing
Likes
2
Share
@homegrow_pro
Follow
Since the pot has a volume of 30l it takes a lot of time to create a big canopy. The plant also needs alot of time to fill up the container with roots. No extra nutrition in this week.
Processing
Likes
11
Share
@MRCANDY
Follow
Have flushed her with plain water, not going to feed for another 2 days to allow lots of oxygen to get to the roots before I change to stretch feed.
Upgraded to a 600watt hps
Overall happy with all the progress
Going to install another net in the coming weeks.


