The Grow Awards 2026 🏆 


Likes
37
Share


@JohnnyBlaz3
Follow
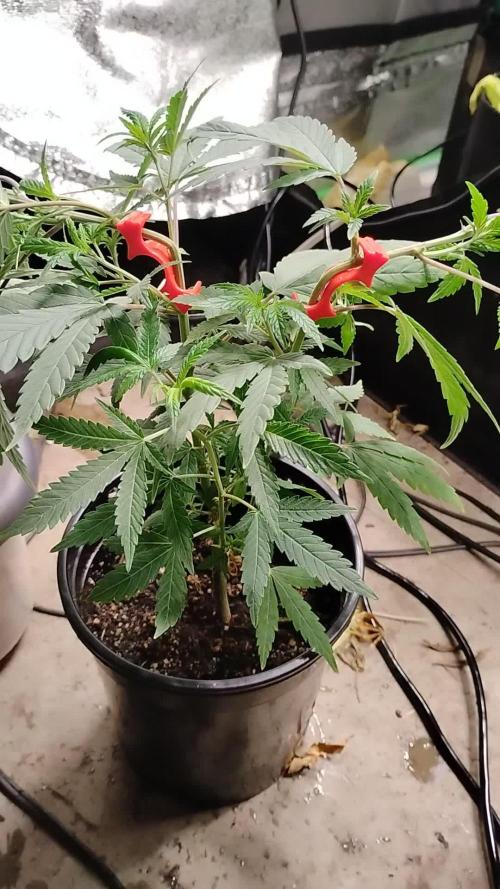
SCROG time wellllll maybe topping and fimming time then scrog time. Man barneys has the best damn genetics!! these plants grow so hearty is amazing. have another breeders strains in the tent as well and they are slacking big time compared to barneys ladies. The video shows the first day i bent the plant and started using yoyos. the pics are from a few days later. growing beautifully. will be transplanting this week and setting up the scrog
Likes
31
Share


@BigBadLion
Follow
Happy new year everyone! I hope everyone had some amazing festivities! 😃
Regarding my babies I think I might be underfeeding them and one might be shocked thanks to the heat and the lack of nutrients I gave them, last week's runoff water scared me and the plants might be suffering because of that! Most of the issues starts to get more noticeable later during the week! 😖
I started giving them few nutrients to see how they would react and at the end of the week it's clear that I had to give them waaaaay more 😵 Besides that I also moved them to their final pots and I topped Pistachio, out of the two she's the one that looks the best. I also defoliated them a little. I also believe they didn't get a transplant shock (I mean, they would've been worse if that was the case haha) and I added more mycorrhizas during the transplant (I heard they help a lot with hot climates and I need help with that badly)
Anyway, thanks for reading!
Stay tuned for the next update! 😉
Likes
3
Share


@MaltaHerbman
Follow
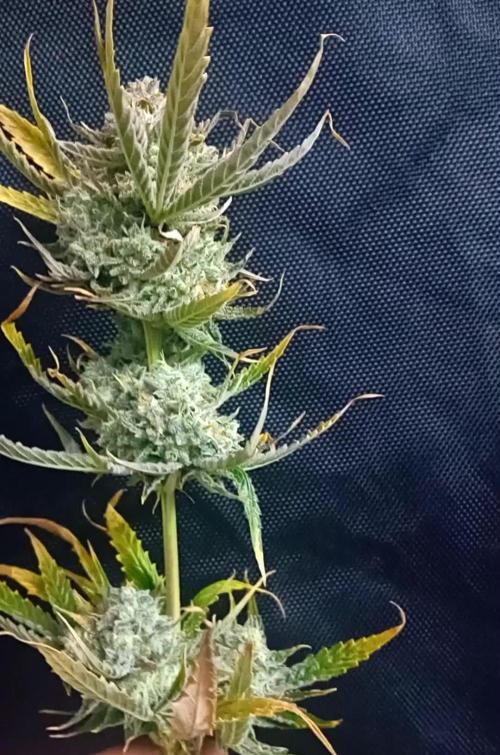
Finally harvest time 😘
Was a very nice to grow this seeds.Was happy with her from day 1 she keep growing every day and even done one time topping on this autoflower.
Now after harvest buds are really nice so 100 % Happy from grow to bloom.Now time to dry and taste 😃
Likes
33
Share


@German_GrowLab
Follow
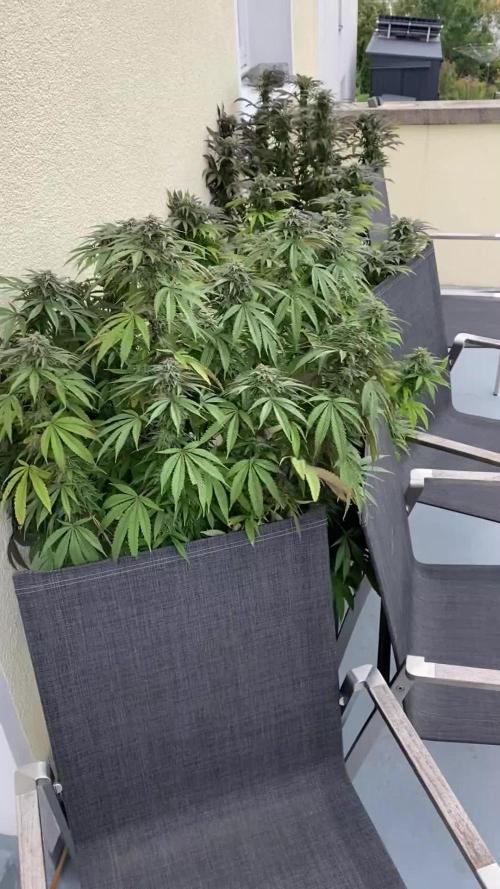
Einen wunderschönen guten Tag, liebe Grow-Community, und herzlich willkommen zur 24. Woche meines kleinen Outdoorprojekts!
Diese Woche war wirklich wieder alles gegeben: Freude, Sturm, ein ungewollter Pre-Harvest plus das versprochene Terp-Update und ich habe mir sagen lassen, dass wir heute zwei Gastauftritte im Programm haben, aber dazu später mehr. Bleibt also am besten dran.
Fangen wir mit den erfreulichen Dingen an, und das sind in diesem Report einfach die Damen! Ich war ja zwischendurch echt zwiegespalten, ob dieses doch etwas gewartete Projekt Früchte tragen wird oder in einer Hermie-Schimmel-Hölle mit Popcorn-Nugs endet. Umso begeisterter bin ich, dass mir zweiteres doch (stand jetzt) erspart geblieben ist.
Und was soll ich sagen, liebe Growcommunity: In meinem bescheidenen Heim duftet es nach Cali, und wie …
Grund dafür sind:
Filmore Slim (Purple City Genetics): (Mac 121 × Purple Punch) × Blueprint.
Aussehen: Sie zeigt eindeutig ihre Mac-Genetik. Golfballgroße und steinharte Blüten, welche durch ihren dichten Harzbesatz doch sehr an ihre Elterngenetik erinnern. Dies in Kombination mit dem schönen stacking sowie den nun immer mehr purzelnden Blättern lässt einem wirklich das Wasser im Mund zusammenlaufen.
Terps: Bisschen Cookies, gefolgt von floralen Noten, die ins zitronig-beerige gehen.
Bitter Orange (Symbiotic Genetics): Mimosa V6 × Wedding Cake.
Aussehen: Schön enges Staking, der Wuchs erinnert sehr an die Wedding Cake. Sie hatte ihre Startschwierigkeiten, aber beim Anblick der mit Harz überzogenen Blüten mit leichtem Purple (Tendenz steigend) lässt sich das vergessen.
Terps: Eine selbstbewusste Mischung aus orangenen Nim2 und Mintz, welche lange am Finger anhaftet. Das in Kombination mit einem Harzbesatz, welcher sich nicht verstecken braucht, macht sie zu einem Washer-Kandidaten.
Lemon Tree 2.0 (Silent Seeds): X-Dark Lime #20 × Original Lemon Tree.
Aussehen: Und auch hier ist das hässliche Entlein doch noch zum Hingucker geworden. Ein tiefgrünes Blätterdach, welches von gleichmäßig bestückten lilafarbenen Bussen durchbrochen wird.
Terps: Was mit einer floralen Leichtigkeit beginnt, entwickelt sich immer mehr zu einer Mischung aus Zitrone, gefolgt von einem leichten Pinien-Abgang. Sehr interessant!
Hella Jelly (Humboldt Seed Company): Notorious THC × Very Cherry.
Aussehen: Buds the size of your forearm (shout-out an Urban Remo). Aber es stimmt, she’s stacking! Schön gleichmäßiger Wuchs, wenn auch etwas höherer Blätteranteil als ihre Mitstreiterinnen, dafür gepudert mit Trichomen.
Terps: Denkt an eine Packung mit Erdbeersüßigkeiten (fast schon ein wenig künstlich). Dazu gesellen sich Zitronenaromen mit leichter Candynote. Auch sie ist ein heißer Anwärter auf einen Washing-Platz.
Kid Pambele (Black Tuna): K.O. × Sherbert Shocker.
Aussehen: Was soll ich euch sagen, was ihr nicht schon mit euren eigenen Augen gesehen habt? Sie ist eine Schönheit! Tief-lilane-Blätter zieren sperförmige, wunderschöne und zu guter Letzt von Harz nur so triefende Blüten. Wahrer Augenschmaus!
Terps: frisch floral (wie ein schönes Sommerparfüm), geruchstechnisch wie Zitrus, Orangenblüten und eine an Vetiver erinnernde Zitrusnote und irgendwo bilde ich mir noch etwas Muskat ein. Wirklich spannend!
Limonada de Mango F2 (Black Tuna): Mango Lemonade #26 × Mango Lemonade #51
Aussehen: Macht durch ihre Haze-Genetik den wildesten Eindruck (säulenförmige Blüten mit fein-fingrigen Blättern, welche sich im Herbst in ein dunkles Lila verwandeln). Dicke Harzköpfe, welche mich von Hash träumen lassen.
Terps: Auch hier kann sie ihren Amnesie-Background nicht verstecken. Limoni-frisch mit leichtem Anis-Abgang. Dazu gesellen sich tropische Aromen.
Grappelz (Black Tuna): Apple Shocker #97 (Apple Fritter × Shocker) × Tropicanna Punch #61.
Aussehen: Ähnelt auch sehr der Hella Jelly (eher ein lateraler Wuchs), hier aber mit leichten Purplenoten in den oberen Blättern.
Terps: Hier kann es sein, dass ich mich vom Namen hab beeinflussen lassen, aber ich bilde mir Noten von grüner Apfelschale ein, was mit einer leichten Candy-Begleitung fast schon an die grünen Apfelringe erinnert.
Ich hoffe, ihr konntet mit meiner Beschreibung etwas anfangen und habt nun Ein ungefähres Bild, wie es in meiner Nachbarschaft riecht.
Aber kein Licht ohne Schatten. Der Samstag hat leider ein weiteres Opfer gekostet …
Was vom Wetter her eine ruhige Woche sein sollte, endete am Samstag leider mit einem unwetterartigen Sturm. Und hier eine Lektion, die mich schon mein ganzes Growerleben begleitet: Sei nicht faul! Noch besser: Schiebe nichts auf! Storytime: Als ich morgens auf den Balkon kam, war mir klar: Ich muss die Kleinen vor dem Wind schützen. Aber erstmal ein Käffchen, dachte ich. Zu diesem Zeitpunkt sahen alle Pflanzen soweit gesund aus. Nachdem ich besagten Kaffee getrunken hatte und noch etwas verpennt durch das Handy gescrollt hatte, kam ich zurück und musste sehen, dass es mittlerweile einen Trieb der Lemontre erwischt hatte. Was aufgrund dessen, dass ich dies wahrscheinlich hätte verhindern können, doch nochmal besonders ärgerlich erscheint. Aber gut …
Ich habe den Trieb abgeschnitten und unter dem Mikroskop begutachtet. Ein Großteil der Trichome war milchig und eigentlich keins bernsteinfarben. Mit anderen Worten: Das zu rauchen wird wie ein Espresso zu viel. Aber wir werden sehen. Zusätzlich habe ich einen kleinen Windfang errichtet, um Schlimmeres zu vermeiden.
Ich bin nun dazu übergegangen, statt dem normal verwendeten Teichwasser nun Leitungswasser zum Gießen zu verwenden. Einfach für das bisschen extra Calcium (aschebedingt). Die Milch hat einen ähnlichen Effekt, fungiert aber auch als Fungizid.
Bevor der hier nie Spaß jetzt viel zu lang wird, noch eine kleine Aussicht auf nächste Woche: Ich plane, den Kleinen noch etwas Gutes zu tun, habe in dem Sinne noch ein letztes Mal eine frische Jauche angesetzt, welche ich mit einer SSt (Sproud-seed-tea) ergänzen werde. Hierzu keimen bereits grüne Linsen. Was das genau ist, wo die Vorteile sind und wie man das Ganze herstellt, erfahrt ihr dann in der nächsten Woche.
Das war’s wieder für diese Woche. Ich hoffe, es war diesmal nicht zu langwierig. Euch noch einen angenehmen Restsonntag und einen guten Start in die Woche.
Peace.
Likes
7
Share


@gdogfunk
Follow
Huge huge buds!! I will definitely be growing this strain again in the near future!!
Likes
2
Share


@TheBudWhisperer
Follow
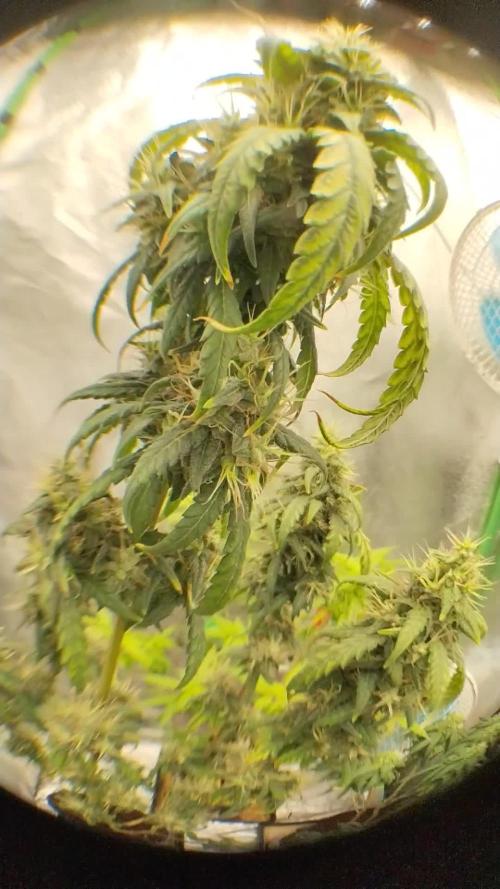
Week 1 of flower in the books and they’re all stretching nicely. Root mass is in good shape and starting to conform to the Rez walls so it’s gett’n tangled in there. We’ll move over to full bloom nutes in the coming week and hopefully cotton balls within the next 2. Alls good for now.
Likes
10
Share


@TiRobotProds
Follow
Bonjour à tous nous sommes à la semaine 7 de végétation, elle se développe bien.
Likes
19
Share


@Basementganja
Follow
Fast to flower some decently large nugs! This girl is the only one that survived my "initial torture test" for my sf4000(dimmed to 75% (333watts) in quarter of my 3x3 tent)! She was very resistant to "too much light intensity" as a seedling, and didn't mutate! Once the light was at an ideal height, she started vegging very strong, but 1 week of important time had been lost. She started to flower, and stacked up a bunch of dense buds very nicely! I'm very excited to be growing this strain again next run!-with more training.
Likes
36
Share


@Salokin
Follow
Week went again very uneventful, she is not very hungry anymore and had to constantly refill the reservoir with water to keep the ec in check. Trichomes are all cloudy and start to turn amber. She has developed that amazing purple hue and is sticky to the max, so definitely showing her glue heritable ;) I will continue to feed her until Wednesday this week and then start the flushing and darkness. Harvest will be next week end.
Likes
5
Share


@Nemessis
Follow
Calmag enter this week, the fruit are more big. Next week im gonna enter the PK from Aptus. One of my plants has a magnesium deficiency I think, I hope that with the calmag it will be fine. The smells are already magnificent, the Glookie looks like a packet of candy! The fruits will start to grow nicely by the weekend with the high PK intake
Likes
4
Share


@AestheticGenetix
Follow
This is a fantastic genetic! This is round 2 of growing this genetic.
Breeder: ziplock seeds
Lineage:Banana creme cake jealousy x bonkerz
I took this cutting awhile back, before I flowered the plant this came from.
Expect giant colas and purpling early on.
Check ouy my YouTube for more indepth videos that aren't on here
https://youtube.com/@aestheticgenetix?si=ojXKXPAFAf_vK7-X
Likes
19
Share


@valiotoro
Follow
Wonderful color😈
The smell is divine🤩
The trim was super easy & the buds are dense & super sticky👌
Likes
22
Share


@BruWeed
Follow
☘️30/09 - Se encuentra en Etapa de Enraizamiento.
☘️Este diario es para participar del sorteo "Best Rarest & Smallest Pot by seedman".
☘️Estoy utilizando una de las semillas que tengo de Dutch Passion, su genética es Blackberry Kush Auto.
☘️En esta planta voy a estar utilizando el método Fotoperiodico del calendario de Top Crop.
☘️Estoy utilizando una maceta que abarca aproximadamente 1L.
☘️01/10 - voy a empezar a darle Deeper Underground de Top crop empezando por 0,5ml por 500ml de agua.
☘️03/10 - Empieza su primer semana, agregue en una botella 500ml de agua con 0,5ml de Deeper Underground.
☘️10/10 - Empezó su segunda semana de enraizamiento y también agregue en una botella 500ml de agua y 0,5ml de Deeper Underground.
☘️17/10 - Empieza su primera semana en Etapa de crecimiento.
☘️En total van hacer dos semanas en Etapa de Enraizamiento, con 1ml en total de Deeper Underground.
☘️Estos días estaré subiendo más imágenes de como va su crecimiento.


